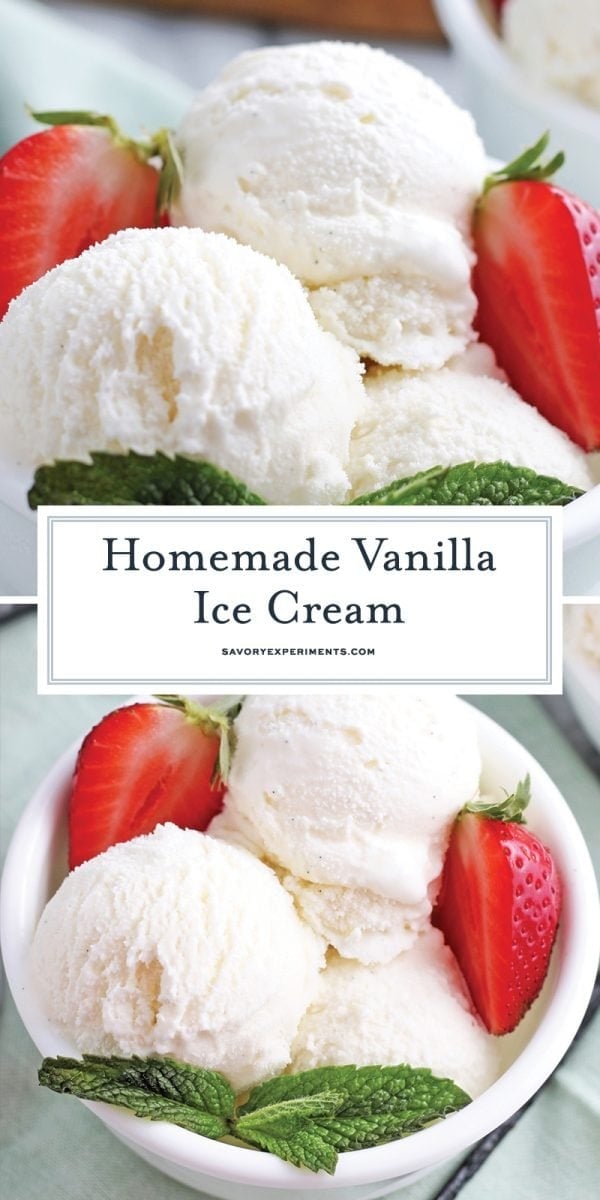
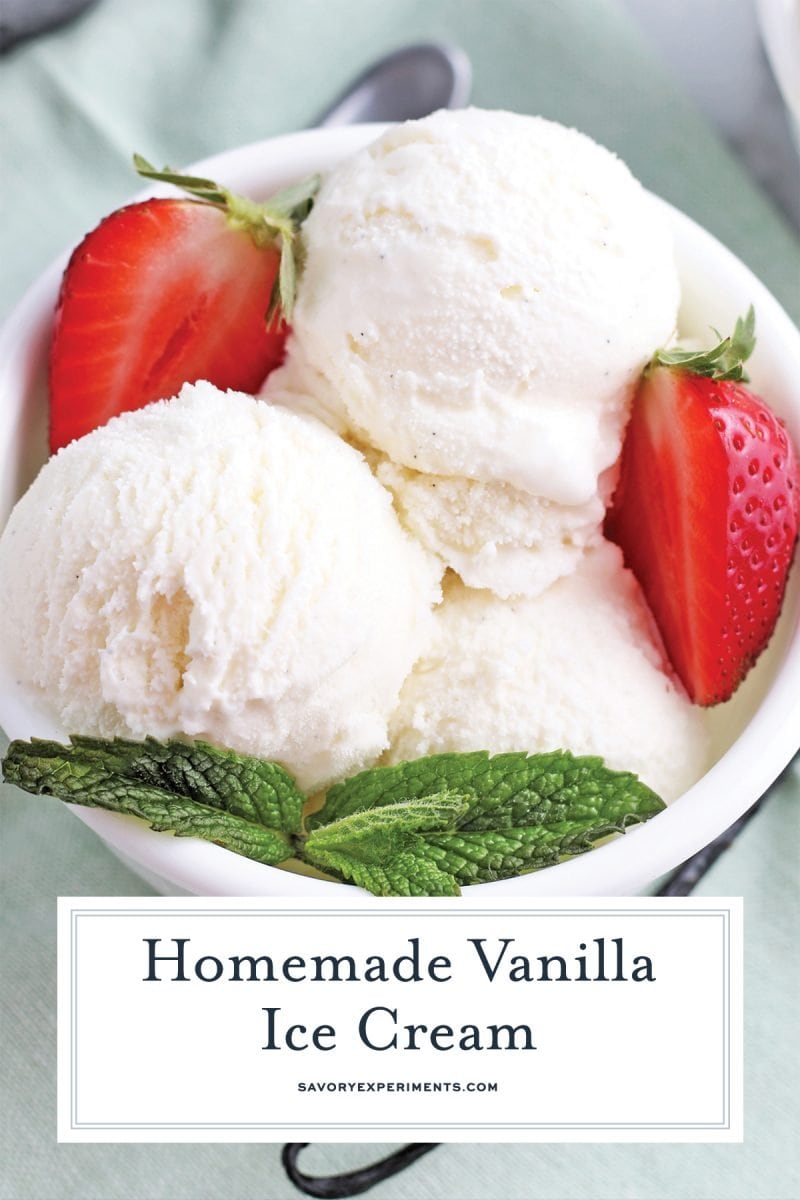
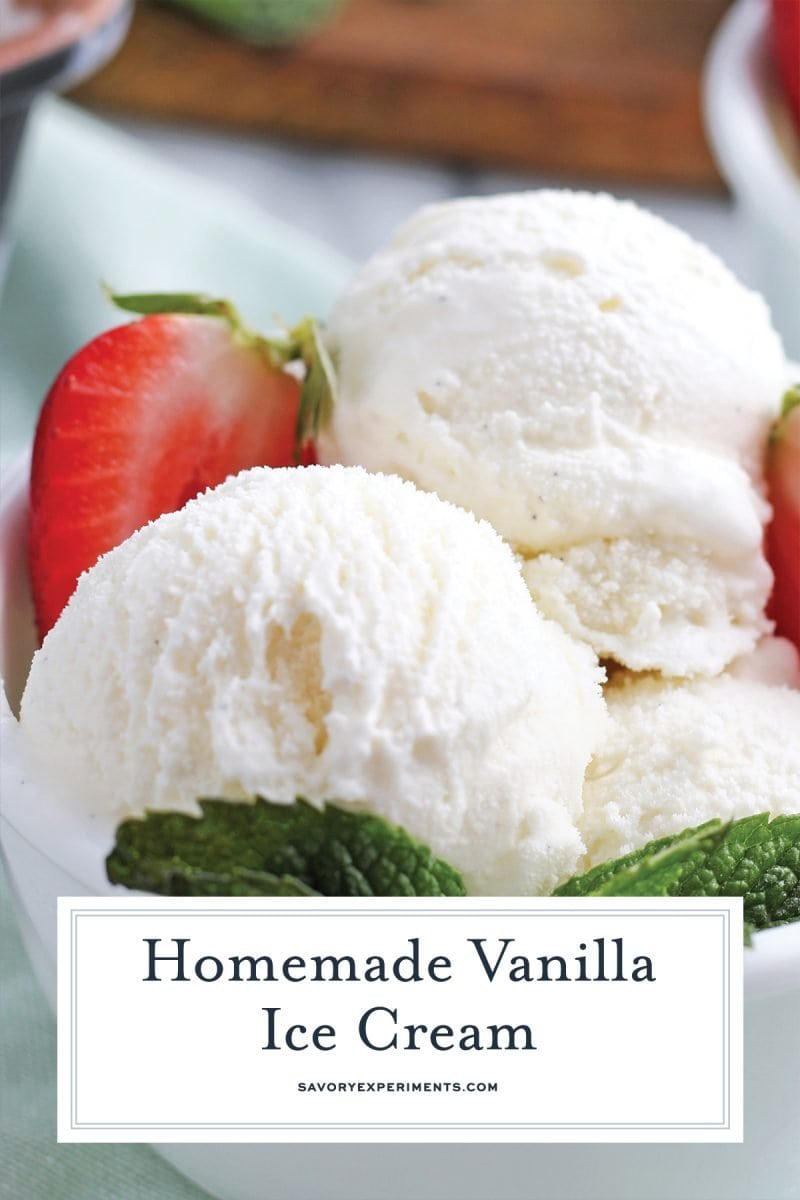
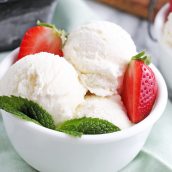
What better way to beat the heat on a hot summer day than with a scoop or two of cold ice cream? This homemade Vanilla Ice Cream recipe is creamy, sweet, and can be jazzed up with your favorite toppings or serve as the base for ripples of flavor or add-ins.
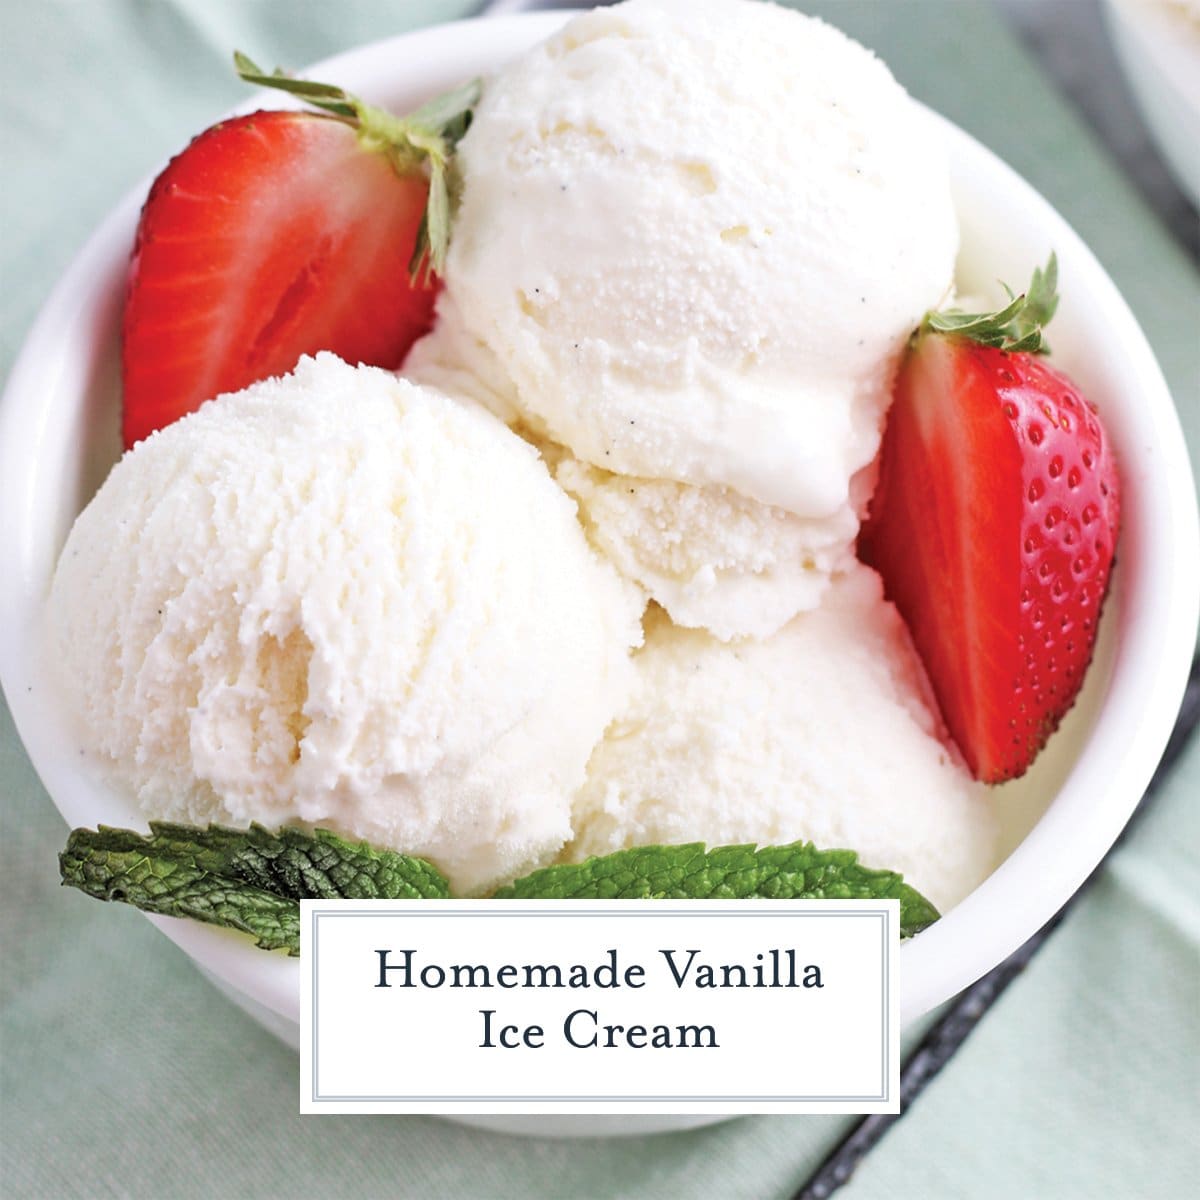
I purchased an ice cream machine last year and had great fun making flavors like Salted Caramel and Butter Ice Cream, but never came back to explore the classic popular ice cream flavors like vanilla bean.
Vanilla Ice Cream vs Vanilla Bean Ice Cream
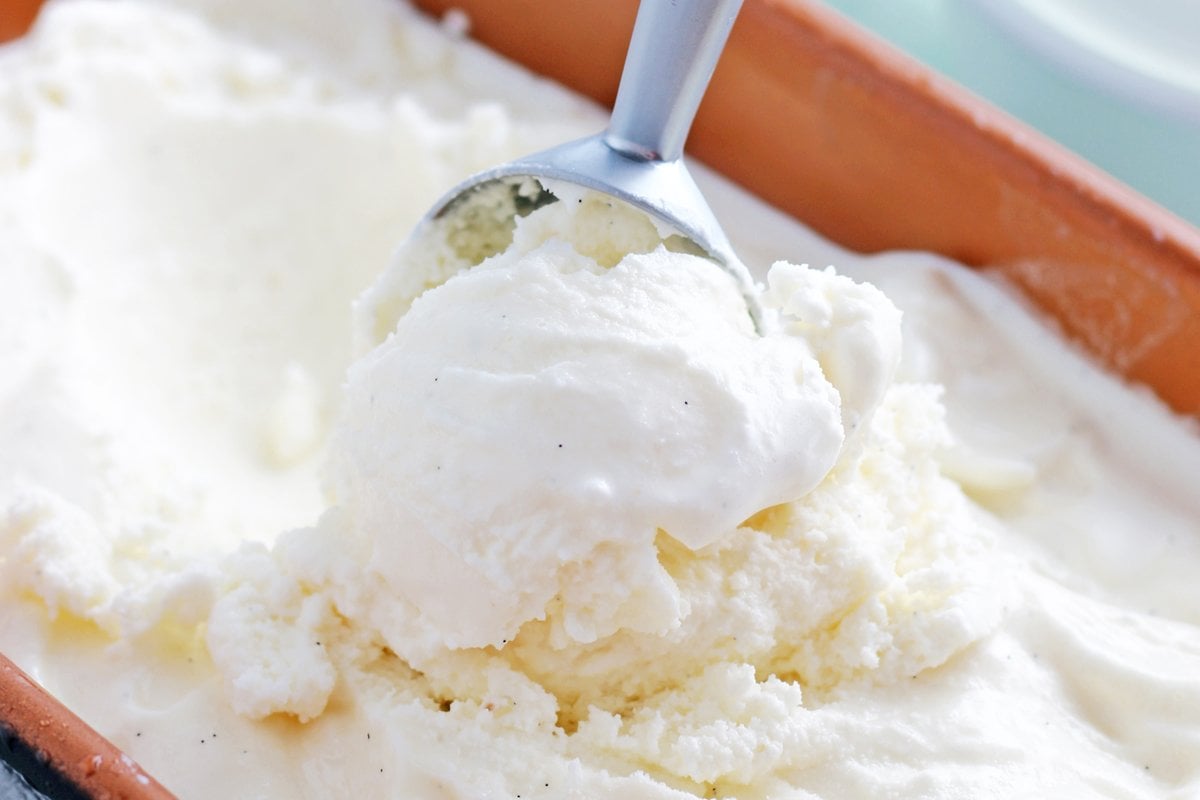
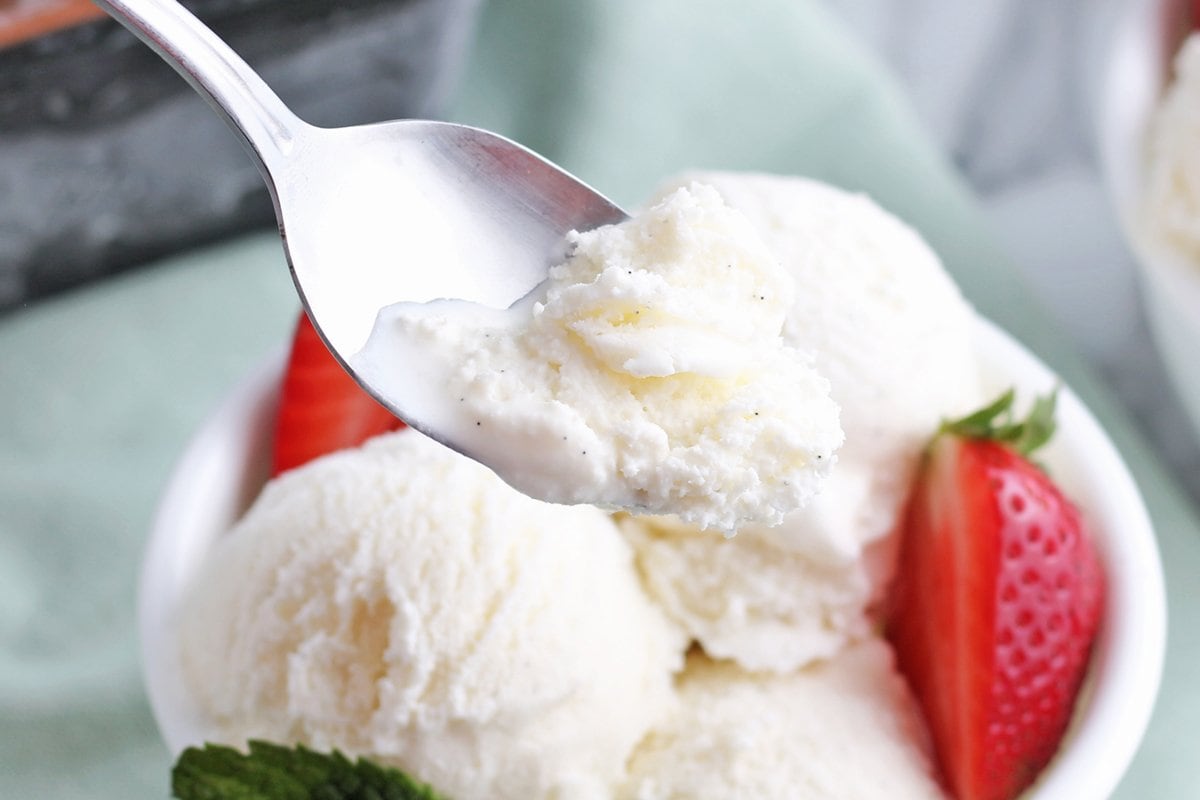
What is the difference between vanilla ice cream and vanilla bean ice cream? Really only the use of vanilla bean pods versus extract only. You get to see the specks of real vanilla bean which also packs way more of a clean flavor punch.
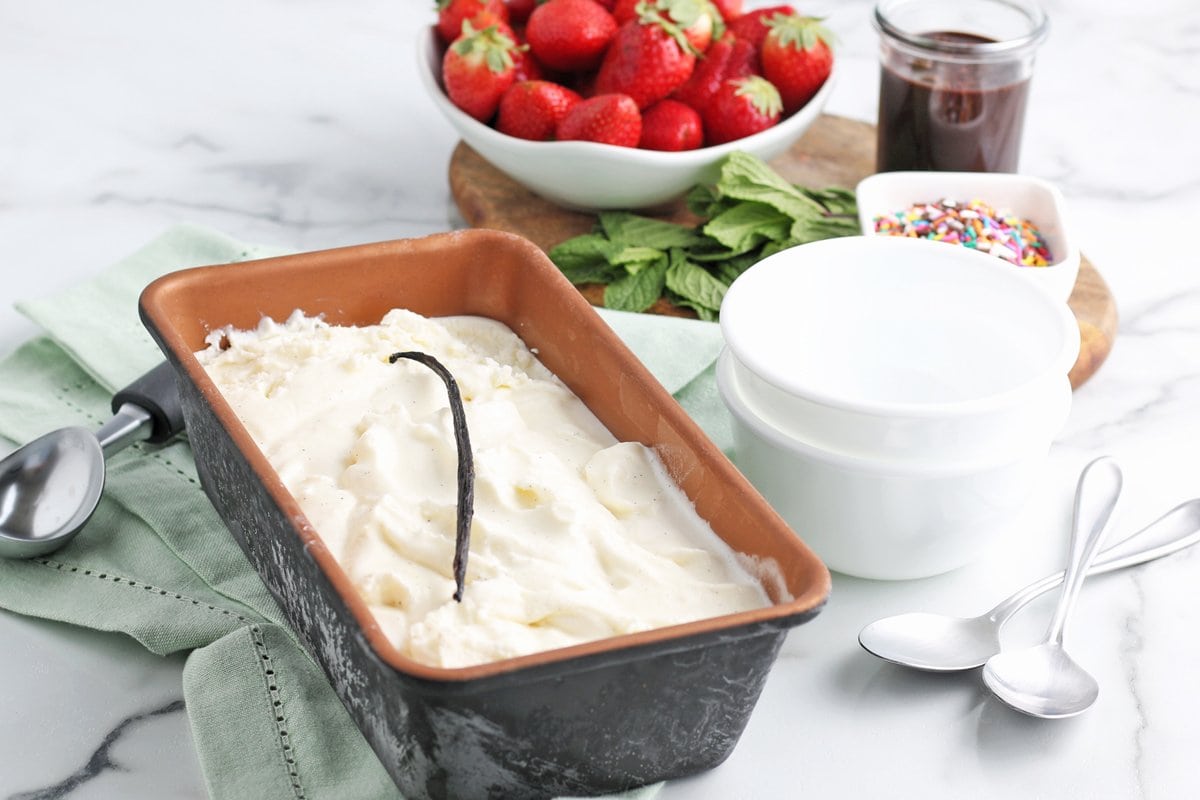
Some vanilla ice creams don’t even use real vanilla extract, instead relying on vanilla flavoring, which is a man-made version. Since vanilla beans are so expensive, this can be a more cost effective route but takes a toll of richness.
Some also use egg yolks (which gives some vanilla ice creams their yellow color), which is technically frozen custard, not iced cream. Instead of the ice cream base, it creates a custard mixture base. Both good, but also different.
Vanilla Options
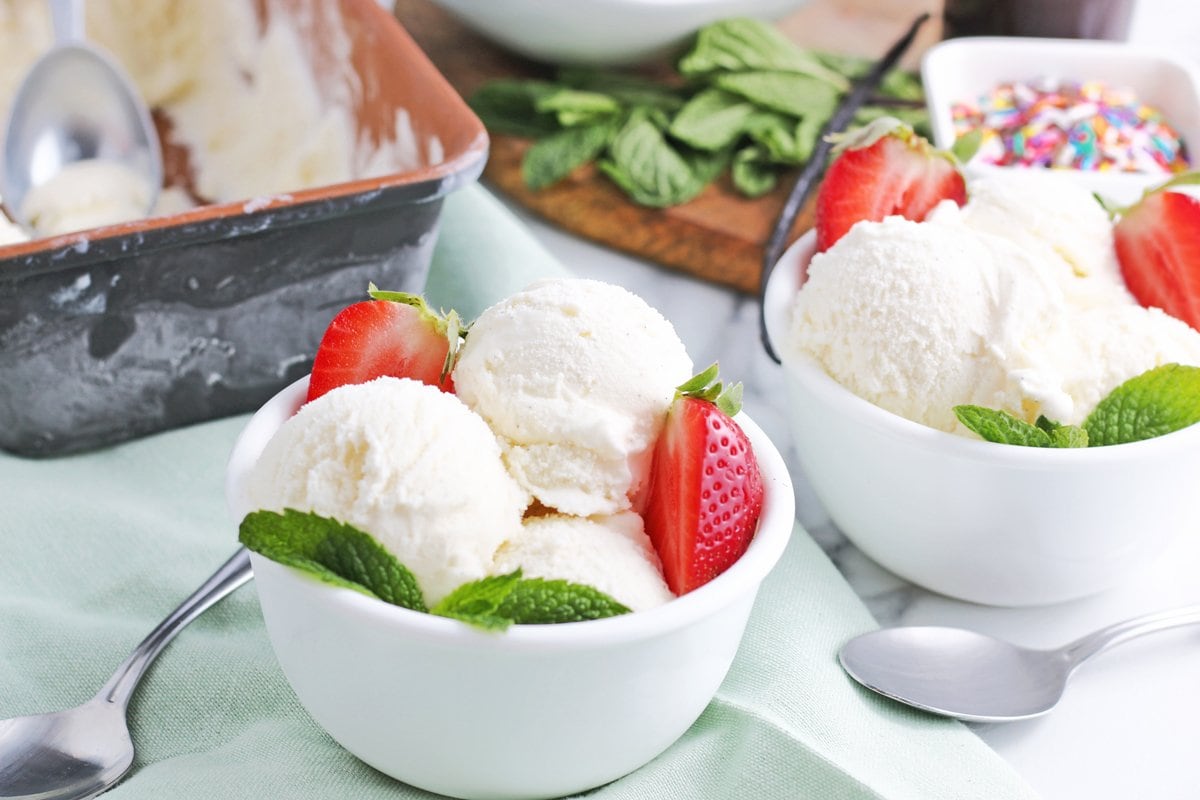
If you do not have vanilla beans or don’t want to purchase them (they can be expensive), pure vanilla extract will also do, but won’t have the little flecks.
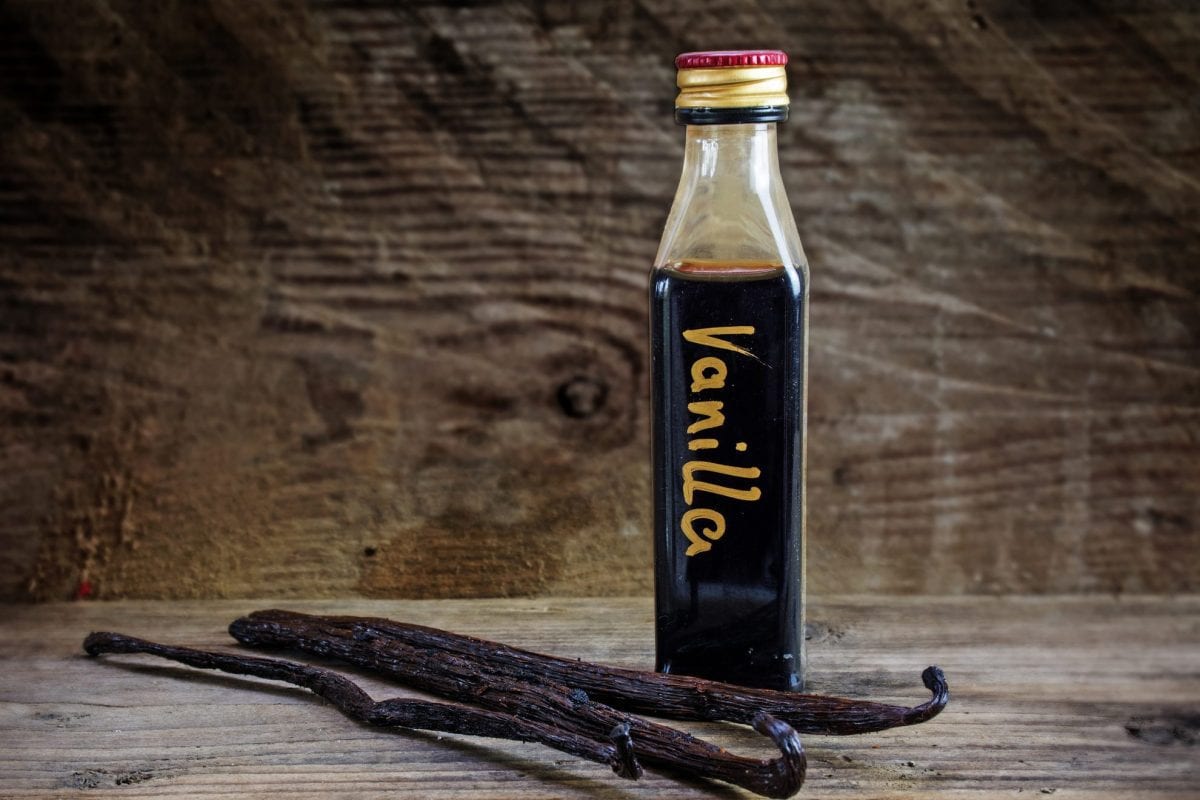
For this creamy vanilla ice cream recipe, substitute the bean for 2 teaspoons real vanilla extract during the cooling process (not while cooking). And if you really love the flavor of vanilla, add 1 teaspoon extract and also 1 bean. *Mind blown*
How to Make Vanilla Bean Ice Cream
To make the best vanilla ice cream, the ingredient list is fairly short. But remember, simple ingredients mean you also should use quality ingredients for the best results. And the best part? There is no high fructose corn syrup like the store bought kind!
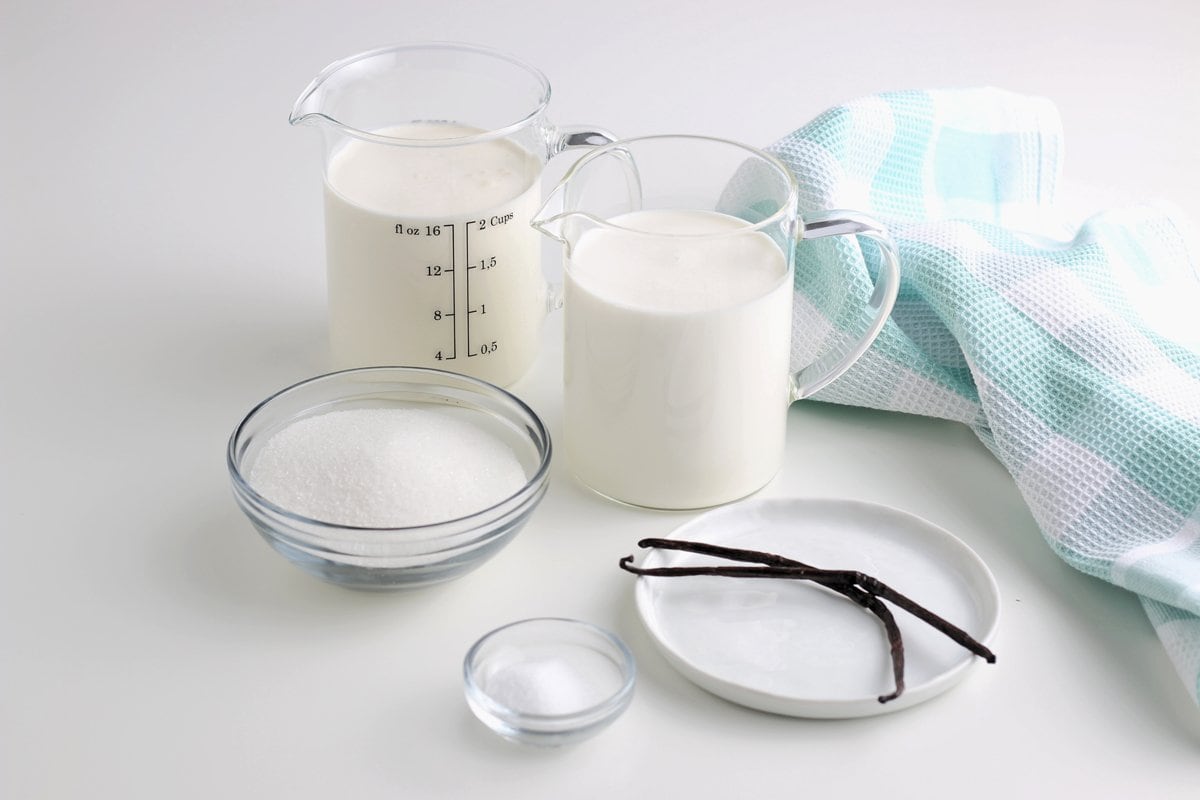
- Heavy whipping cream (or heavy cream)
- Half & Half (or whole milk)
- Sugar
- Vanilla Bean
- Coarse Kosher salt, optional, but enhances the flavors
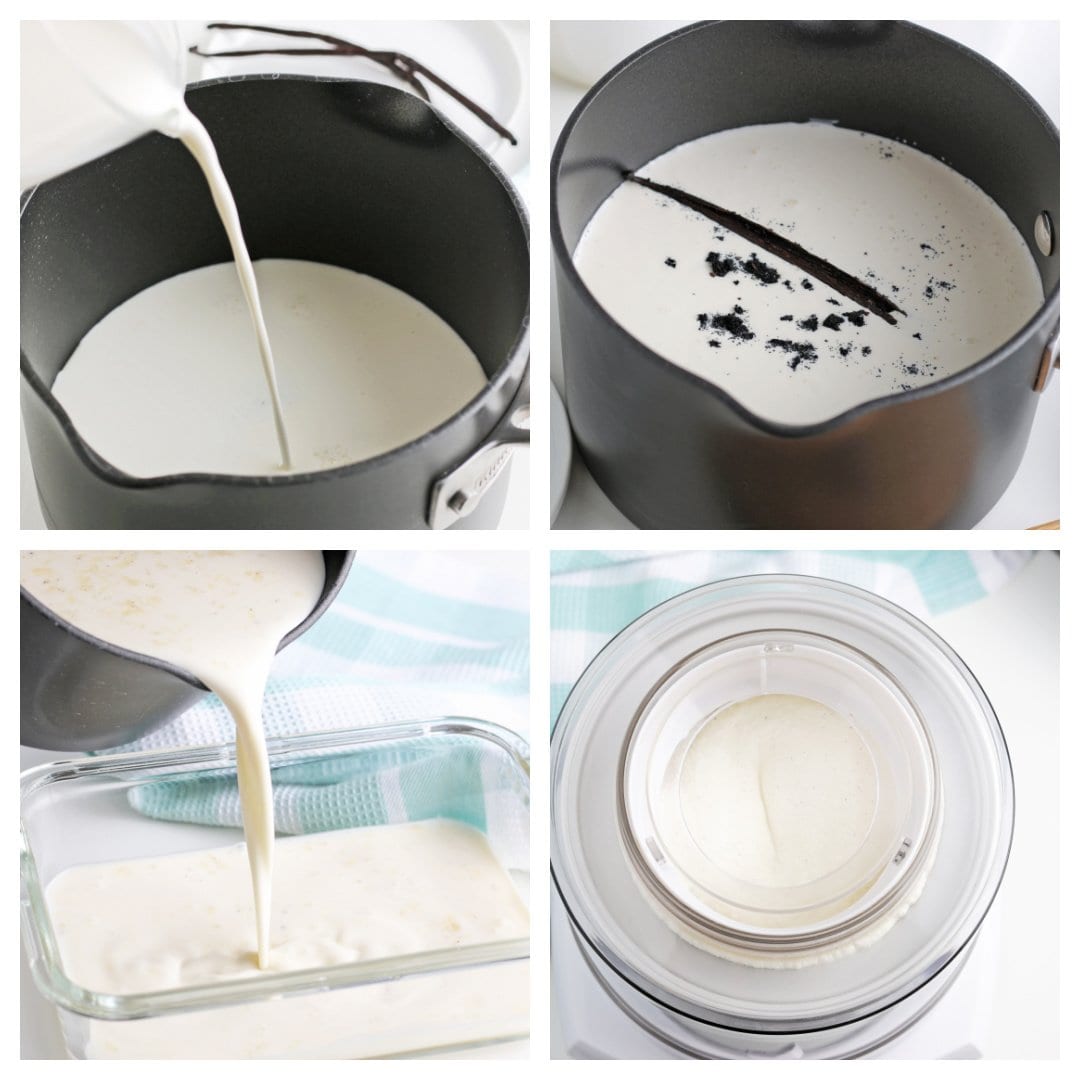
- First, you’ll make a cream mixture by heating the whipping cream with half & half, sugar and vanilla beans over medium heat in a medium saucepan. Never allow it to come to a full boil, but instead a light simmer. This helps the sugar dissolve fully and also infuses the mixture with vanilla essence.
- Next, you’ll allow the ice cream base (even though it doesn’t have eggs, it is typically referred to as the custard base) to cool fully. Make sure your ice cream maker is fully ready to go and all utensils are chilled, including the custard.
- Follow the manufacturer’s instructions for your ice cream maker, which are typically to slowly pour in the ice cream mixture while the motor is on and then allow it to churn for 15-30 minutes (depending on model). It will not reach ice cream consistency in the machine.
- Refreeze until ready to serve and the correct texture. If you don’t, you’ll have more of a soft serve texture. While freezing, place a piece of parchment or wax paper touching the top so ice crystals don’t form.
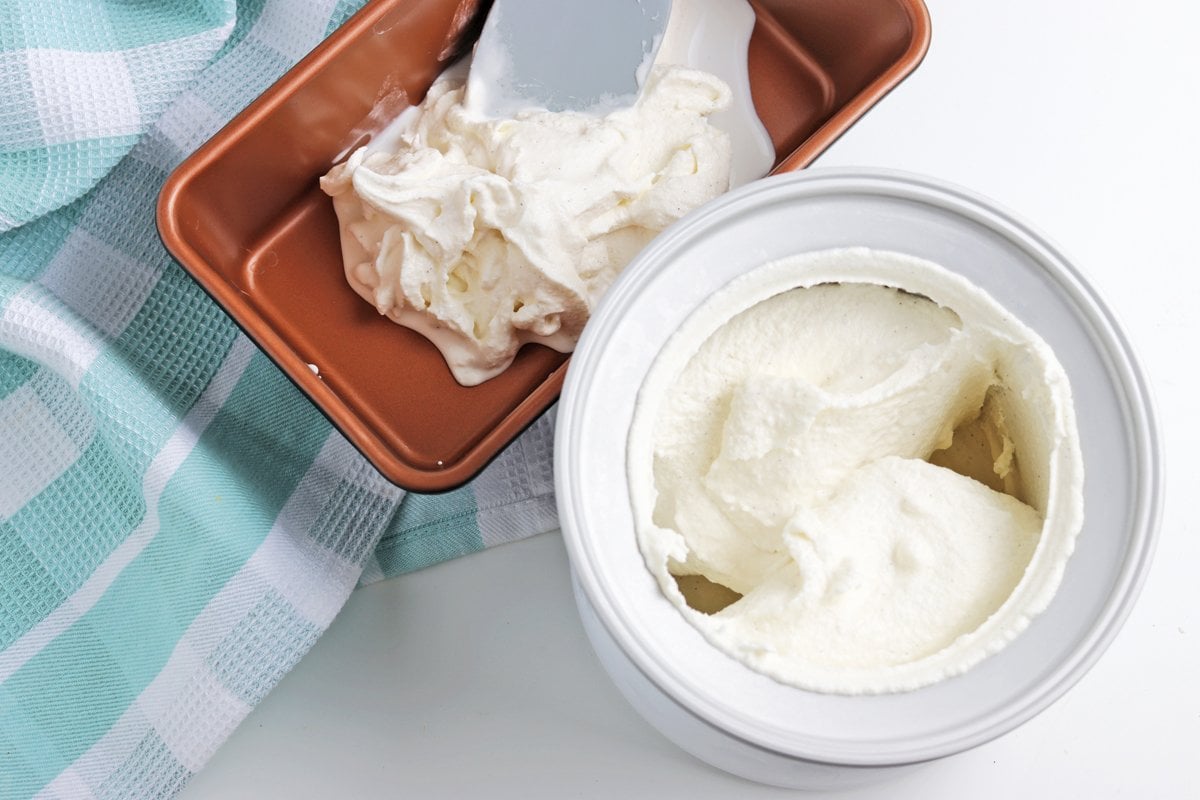
- Keep frozen and covered for up to 1 month. Remember, your homemade vanilla ice cream doesn’t have preservatives so it won’t last as long as store bought.
Vanilla Beans
I don’t particularly care for store bought vanilla bean ice cream because they use spent pods instead of fresh, loaded vanilla beans, resulting in a muted taste.
A spent pod is a pod that already been scrapped of all its goodness; basically the leftovers. You can learn more about those here.
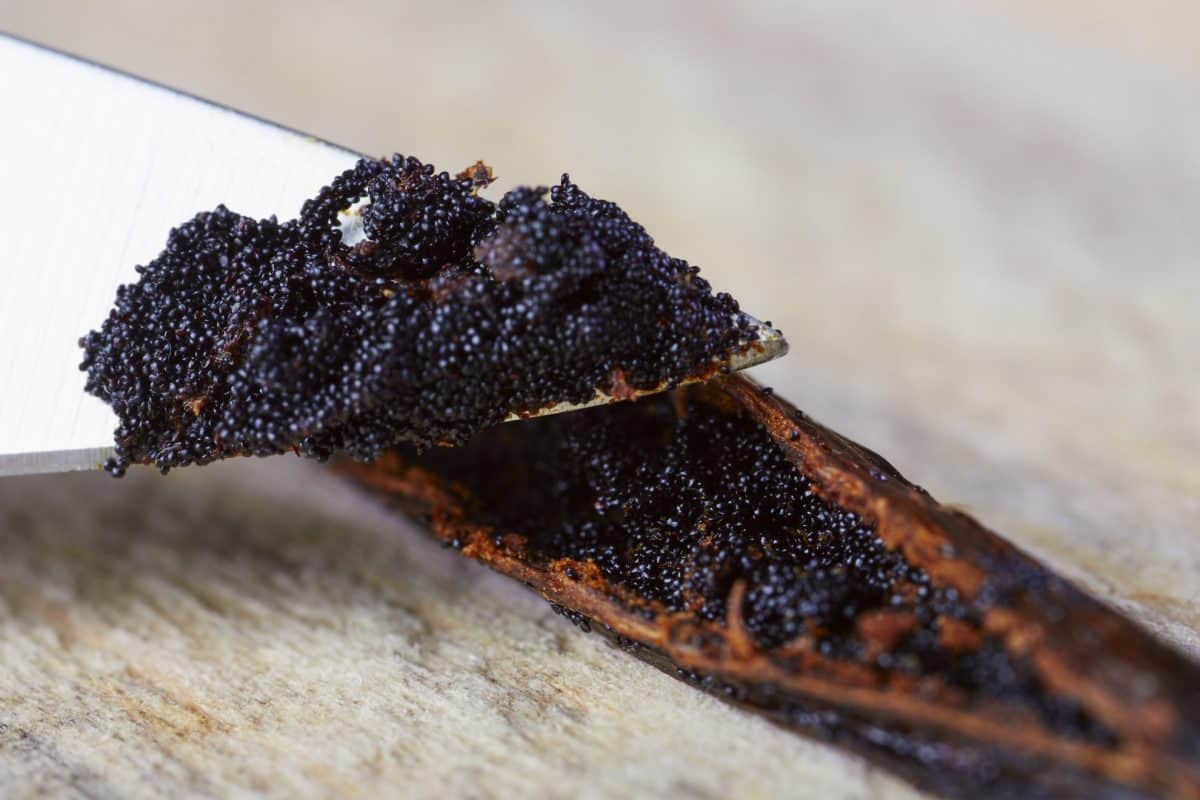
Vanilla Bean pods will also give it the rich, sophisticated flavor you look for in an awesome homemade vanilla ice cream.
Did you know that the center of a vanilla bean, all of those little flecks, is called caviar? I understand why- it is the gem and what makes these greasy little guys such a commodity and so expensive.
It is important scrape out as much as you can, but then also to boil the (spent) pod to get any left behind and further intensify the flavor. Spent pods can be used to flavor milk or creamer or even to make vanilla extract.
Ice Cream Maker Recipe
This ice cream recipe is made for use with an ice cream maker. No churn ice cream is great, but they are like comparing apples to oranges.
No churn ice cream uses whipped cream with sweetened condensed milk whereas ice cream maker ice cream uses cream and milk. All the same family of ingredients, but in different preparation. This particular recipe will not work without an ice cream maker.
Topping
After making this classic vanilla ice cream, you can add whatever additional flavors you desire, like candy or chocolate chips. Although I think the original recipe is great on its own, my favorite way to step it up a notch is to cover it in Easy Caramel Sauce. Here are a few more options for mix ins:
- Hot Fudge
- Sprinkles
- Fresh Strawberry Topping
- Maraschino Cherries
- Praline Sauce
- Peanut butter Sauce
- Fresh fruit
- Bourbon Caramel Sauce
- Hot Honey
- Nutella Sauce
- Butterscotch Sauce
- Homemade Blueberry Syrup
- Dutch Honey
- Coconut Syrup
- Pistachio Cream
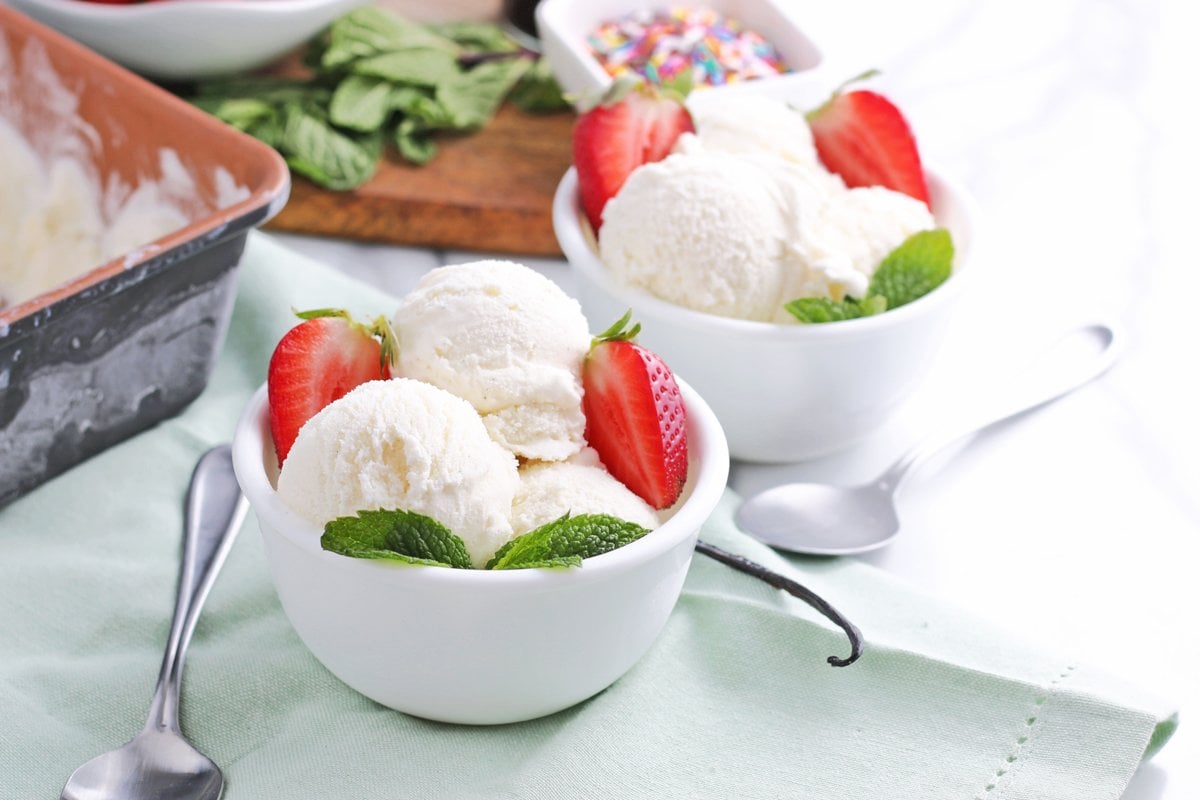
This easy recipe makes the perfect base to make your own ice cream flavors. Add in some chocolate syrup to make chocolate ice cream. You could cut up some fresh strawberries (or use strawberry syrup) to make strawberry ice cream.
Or you could even get really crazy and throw in some nuts, marshmallows and chocolate and make your very own rocky road ice cream. The options are endless.
Tips for Using an Ice Cream Machine
- Plan ahead- while making ice cream isn’t hard, you do need to plan ahead. Read the recipe fully and chart your time and ingredients to account for freezing, cooking, cooling, churning and refreezing.
- Go full fat. Don’t skimp on the ingredients here. These works best with full fat- it will give you the hardest refreeze and creamy texture.
- Freeze it all! You get the best results when all of the utensils and ingredients are cold. Anything that will touch the recipe (after cooking of course) needs to be chilled or frozen. Most ice cream machines require the center to be frozen for 24 hours.
- Remember to cool it! Why do you have to cook it before churning? It is the same process as scalding which allows some of the water to evaporate and chemically changes the fats. This makes for a creamy results instead of a crystally, watery results. But then you need to let the mix cool before churning or it will thaw the machine.
- Turn on the motor before adding your mix. The ice cream needs to be continually in motion to get the best results.
- Refreeze- the ice cream will be creamy, but not the correct consistency. While it won’t be as soft as soft serve, you’ll still need to refreeze it for 1-2 hours before enjoying, so factor that into your prep time. Also, many commercial ice creams are frozen and temperatures that your residential freezer will never reach, so it might not ever get as hard as Baskin Robbins.
- Read the Instructions– Read the manufacturer’s instructions before starting and always follow them!
Storage
You can make the base 2 days ahead of time before churning, but top with plastic wrap pushed down right to the top of the custard. This prevents the film and from developing. If film does develop, simply peel it off and discard it before proceeding.
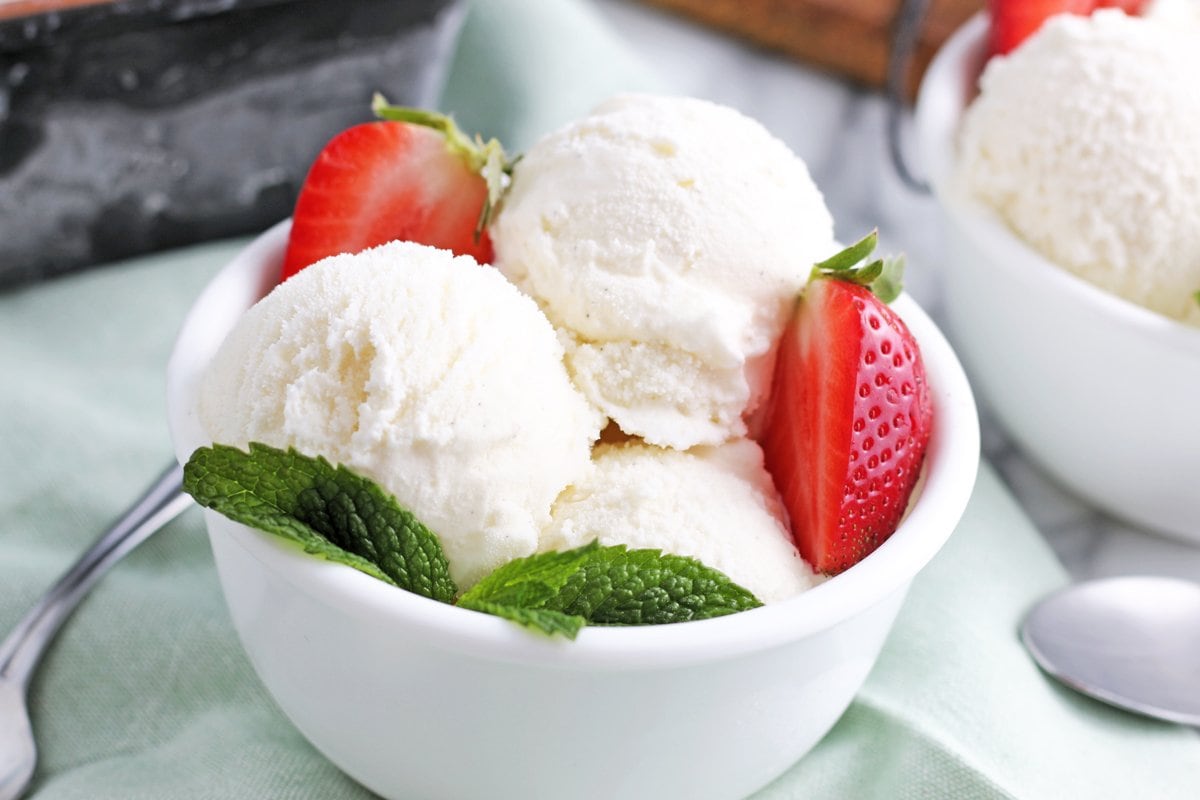
Once made, store ice cream at all times in the freezer in an airtight container for up to 1 month.
More Delicious Dessert Recipes:
- Lemon Cardamom Cake
- Red, White and Blue Cherry Pie
- Best Apple Pie
- Oreo Ice Cream
- Snow Ice Cream
- Maple Ice Cream
Chocolate Chip Pie
Homemade Ice Cream Sandwiches
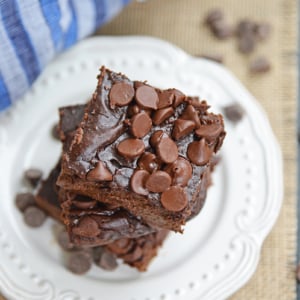
Flourless Avocado Brownies
Homemade Vanilla Ice Cream Recipe
Equipment
Ingredients
- 2 cups heavy whipping cream
- 2 cups half and half
- 3/4 cup sugar
- 1 vanilla bean *
- 1 teaspoon coarse kosher salt
Instructions
- In a medium saucepan, combine the heavy whipping cream, half and half and sugar.
- Cut the vanilla bean in half, scrape out caviar (the greasy flecks inside) and add both pod and caviar to saucepan. Bring to a low simmer, but do not boil.
- Remove from heat, stir in salt if desired, and allow to cool fully before transferring to an airtight container and placing in the refrigerator to cool for a minimum of 4 hours, but up to 48 hours.
- Prepare your ice cream maker as directed and add mixture. Prepare according to machine directions.
- Transfer to an airtight container and freeze to finish.
- If you've tried this recipe, come back and let us know how it was in the comments or ratings.
Notes
Nutrition






You inspired me to get my ice cream maker out and make some amazing ice cream. Vanilla bean ice cream is my all time favorite and so perfect. This recipe was super easy and absolutely delicious!
This ice cream is so so easy to make and tastes delicious! We enjoyed ours topped with fresh peaches and it was heaven!
What a great and easy recipe especially for summer! My family and I enjoyed this last night, and I made a toppings bar to go with it. Such a delicious and cooling treat!
Such a wonderful, classic recipe for summer! Could definitely use this ice cream with the heat we have been having lately. Definitely better homemade!
Vanilla bean is probably my number one favourite ice cream flavour, and your version looks so good! I am going to have to give it a go. Bookmarked to make over the weekend, thanks so much for the recipe 🙂
Do you put the kosher salt in the ice cream base?
Yep!
This looks perfect! Living in Arizona, I’m constantly eating ice cream (!) and I look forward to trying your yummy vanilla bean recipe!
I love making my own ice cream Jessica and this is now on the list! Looks delicious! Pinned and shared!
I love making my own ice cream; it always tastes so much better than the store-bought stuff. Your recipe looks wonderful with those little flecks of vanilla bean.
This ice cream looks just perfect – can’t beat classic vanilla:-)