Oreo Icebox Cakes have long been a standard recipe for the busy family. Even if you only have two ingredients: whipped cream and Oreos, BAM you have yourself a cake.
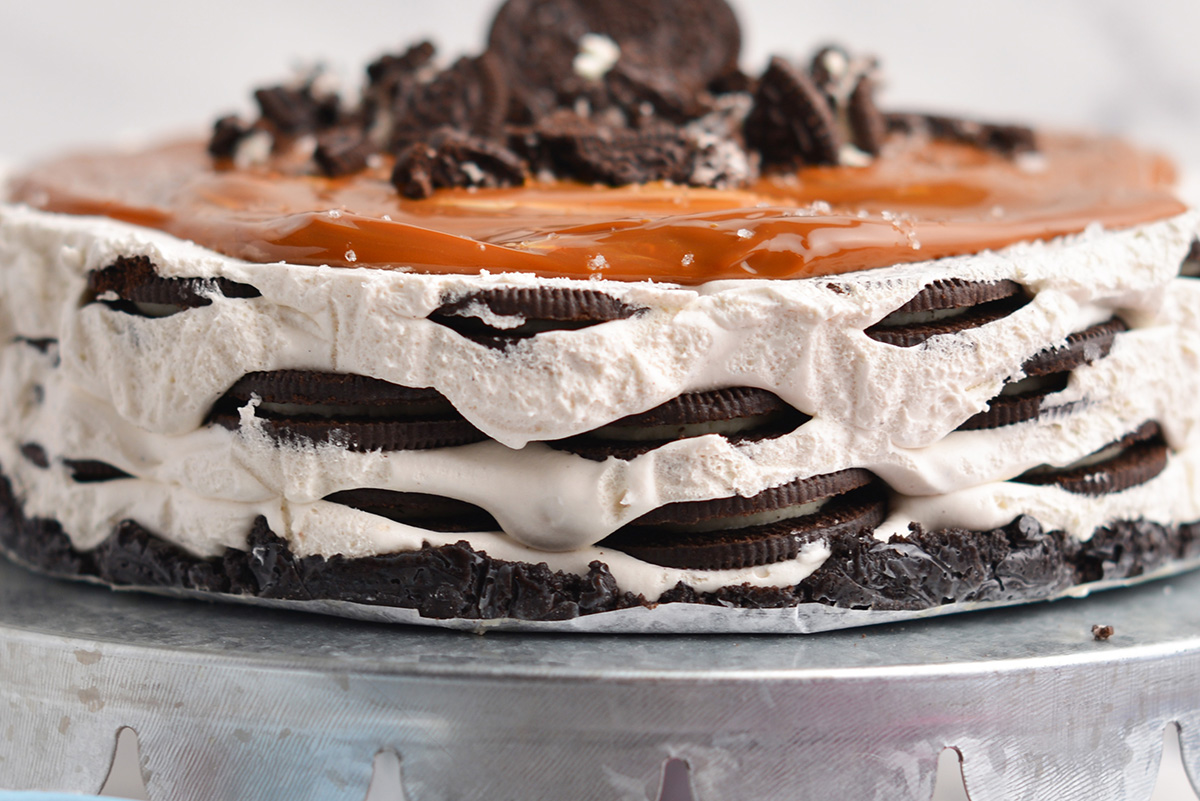
But there are a few ways you can take your classic Oreo icebox cake recipe to the next level and dare I say it… make it gourmet. But not so gourmet that the kiddos won’t eat it.
What is an Icebox Cake?
An icebox cake is a no-bake dessert (also usually no-cook dessert) that utilizes packaged cookies, cake sponge or other sweet items along with layers of whipped cream, pudding or another spread.
The basic principle is that the moisture from the spread will seep into the cookies or other base, making them soften and creating a cake layers, like a traditional sponge. After assembling, cakes are put in the refrigerator to let them naturally do their thing and soften.
Due to the name, icebox cake recipes are typically thought to be frozen, but they are actually just chilled. There are some similar desserts that use this same technique with ice cream sandwiches and other frozen desserts.
Why This Recipe Works
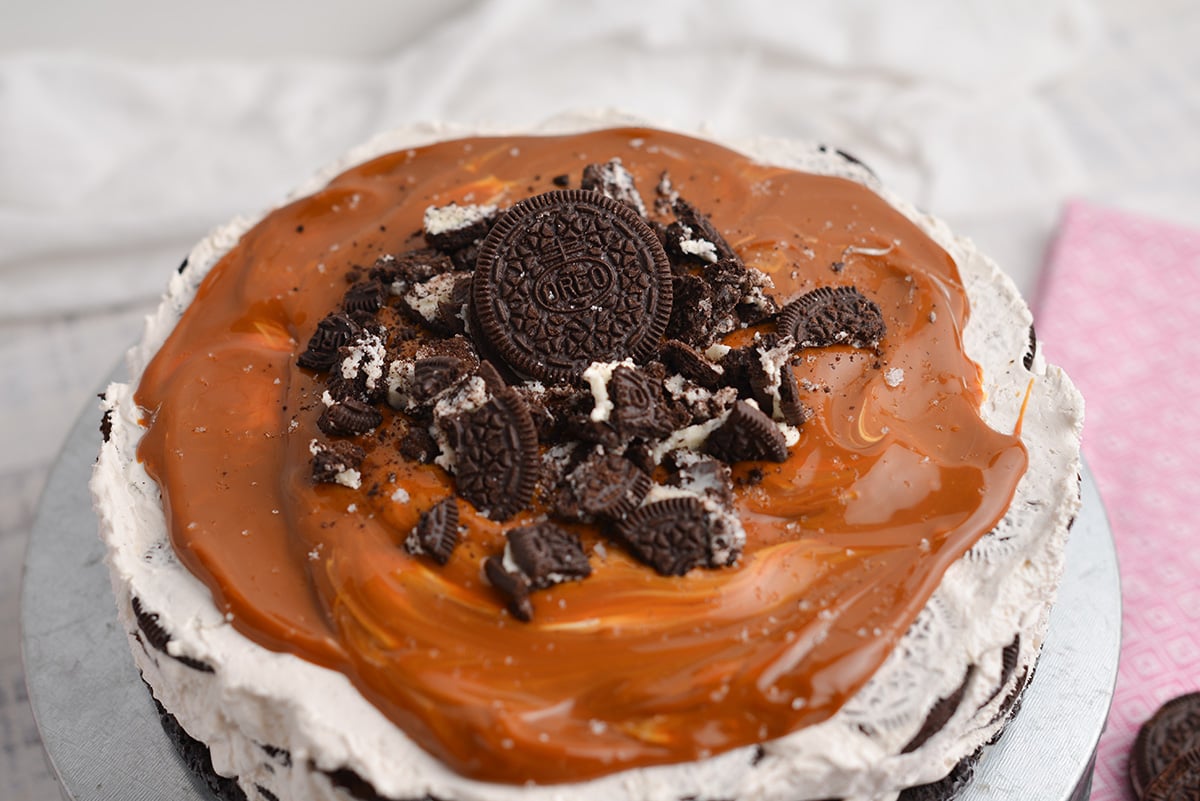
There are a million Oreo icebox cakes out there and most of them have the same exact recipe. Mine is slightly different and based on one I saw the fantastic Chef Paola Velez prepare.
Hers was fresh whipped cream using vanilla bean paste, elevating the usual ho-hum creamy later, and then topped with rich homemade dulce de leche and edible flowers.
While I loved devouring it, I am not that fancy on an everyday basis, so I adapted my own version of this beloved cake with a few of her modifications and here we have the ultimate easy oreo cake.
- Ease– Despite this being an elevated cake, I still cut corners and use whipped topping and jarred dulce de leche instead of making them from scratch, which is totally an option if you are up for it!
- Flecks- I love the smell and visual appearance of vanilla bean flecks. Using vanilla bean paste gives the whipped cream an intense earthy and sweet flavor and look.
- Make- Head and No-Bake- This is seriously the trifecta of awesome cakes here. This cake can be made up to 2 days in advance and requires zero baking… and cooking only if you count microwaving the butter.
What You’ll Need
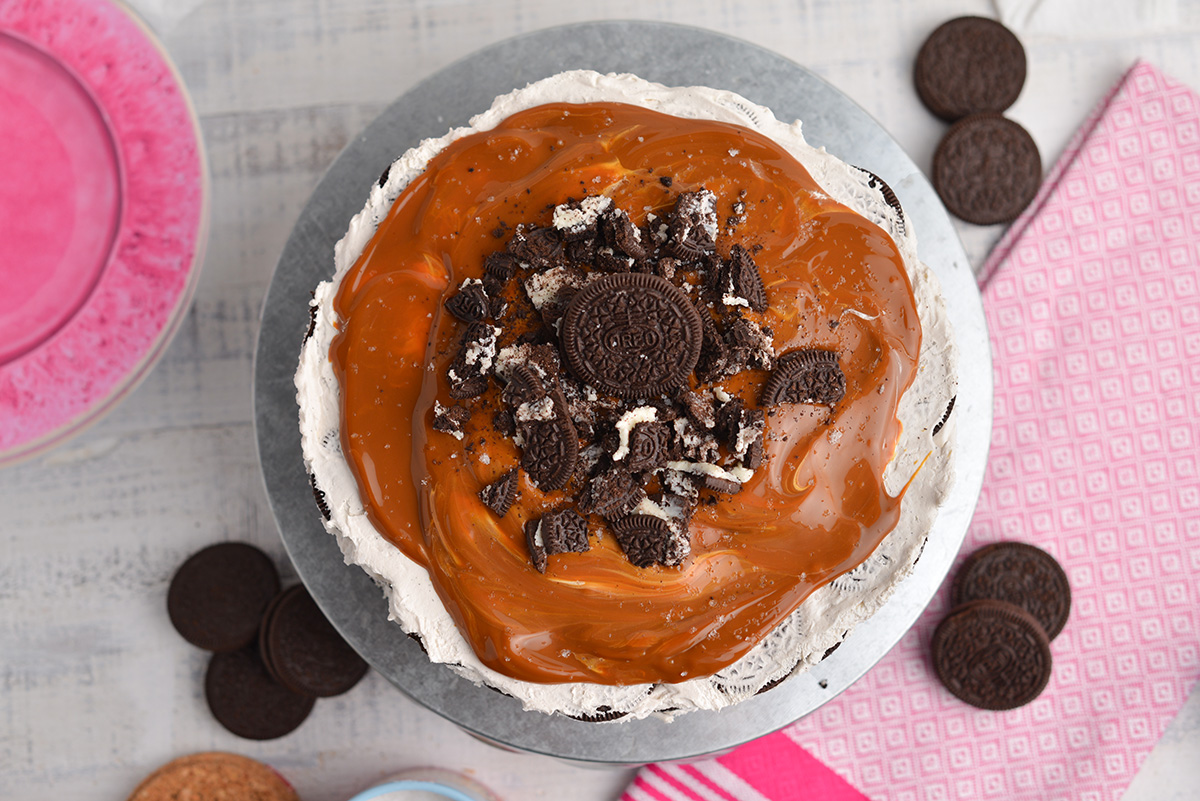
You only need five, yes FIVE, simple ingredients to make this delicious oreo ice box cake.
- Oreos Cookies– The base of the whole cake, you’ll use regular Oreos to make a crust, layers and also topping. I like to use the coarse bits right before serving so they are still crunchy while the other elements are cold and soft. Some of the cookies are also used to make the crust.
- Salted Butter– While I normally use unsalted butter in baking, this recipe is 100% sweet and can use the balance brought by salted butter.
- Cool Whip– One of my time saving hacks is to use Cool Whip and I use this specifically because it is stabilized and won’t fall or melt like some homemade whipped cream. You can make your own stabilized whipped cream if you wish, even try using chocolate whipped cream.
- Vanilla Bean Paste– Vanilla paste is a mixture of vanilla powder and vanilla extract ground together with vanilla beans, also known as the caviar. It is suspended in a syrupy liquid and and provides an intense burst of vanilla flavor with those lovely flecks. It can be found in many grocery stores and craft stores or ordered line.
- Dulce de leche– This a sweetened condensed milk caramel and can be made easily from scratch or bought jarred from the grocery store.
How to Make an Oreo Icebox Cake
You are going to love how easy it is to make this traditional icebox cake- no extra steps involved.
- Prepare pan. Line a springform pan with saran wrap in a criss-cross manner so it acts like a sling. This helps with sticking the sides, transferring the cake and helping it keep its shape.
- Crush Oreos. In a large food processor, pulse Oreos into crumbs. Alternately, you can grab a box of the Oreo crumbs at the store. Add the melted butter and pulse until a paste forms.
- Add crumbs to pan. Press the crumb mixture into the bottom of the springform pan, pressing it down. It doesn’t need to be perfectly even. Set this aside while you prepare the creamy filling.
- Make creamy filling. Fold together the Cool Whip and vanilla bean paste until combined. Cool Whip is a stabilized form of whipped cream, making it ideal for desserts like this.
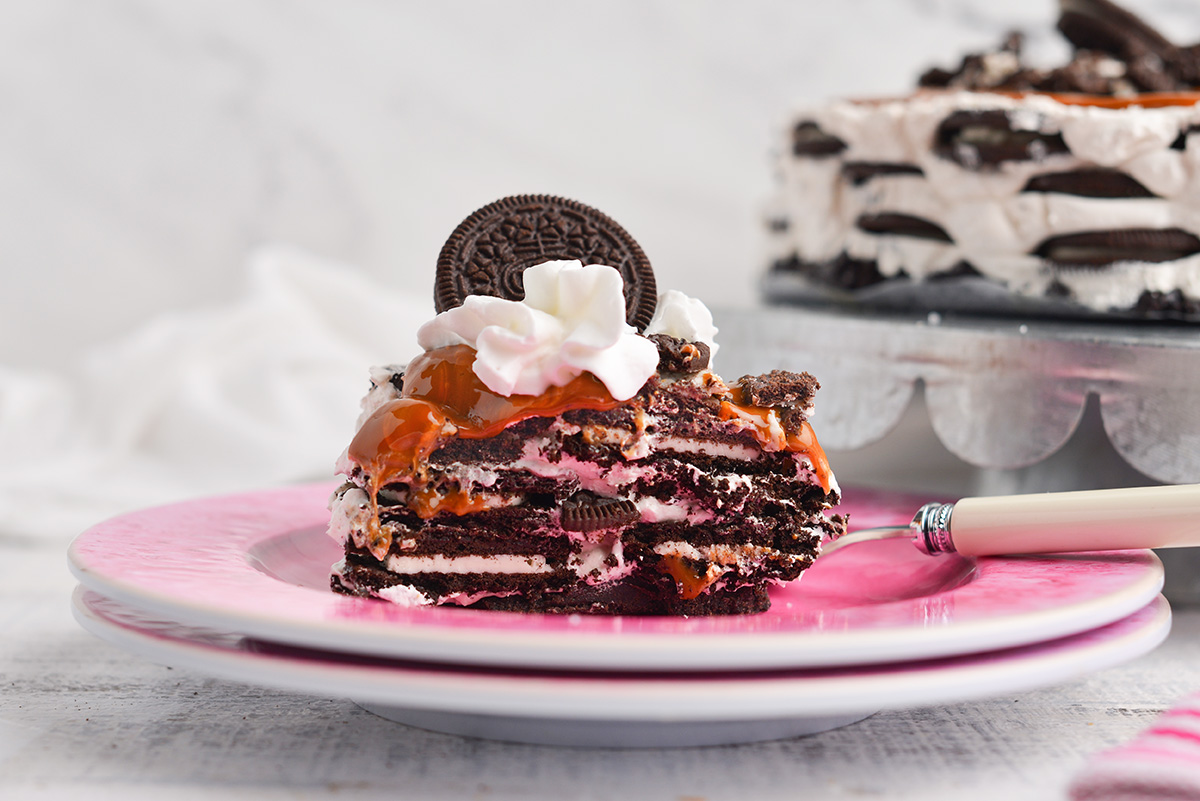
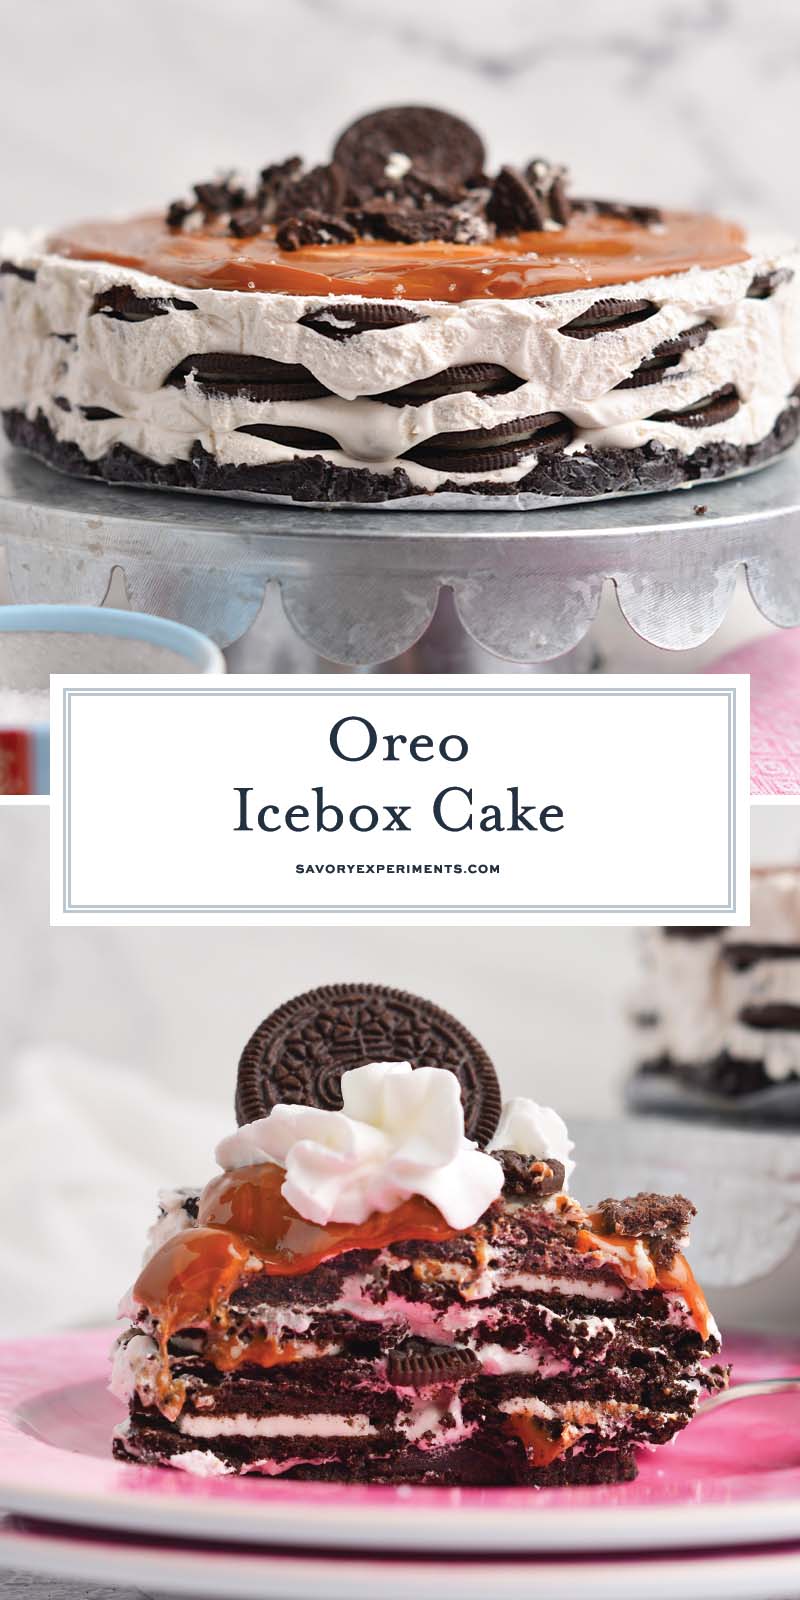
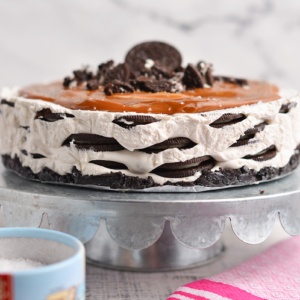
- Layer. Spread one third of the mixture over the Oreo crumb base. Top with a single layer of oreo cookies. Repeat two more times, ending with a Cool Whip topping. The last layer of whipped cream doesn’t need to be super thick, just enough to make the top cookies soften.
- Cover and chill. Cover loosely with plastic wrap and chill. Cake will get increasingly more spongy the longer it sits, so if you want it to have some texture, opt for less time.
- Remove from pan. When you are ready to serve, remove the cake from the springform pan using the plastic wrap as a sling. With the help of a large spatula, slide the cake with the parchment to a serving platter or plate.
- Add dulce de leche. Pour the dulce de leche sauce over the top of the cake. Using your hands, coarsely break apart the reserved Oreos and top. You can use more whipped cream dotted with whole Oreo cookies or sprinkles.

Variations
There are plenty of ways you can make this easy recipe your own. Experiment with different flavors to make your perfect dessert.
- Sprinkles– Sprinkles make everything better, don’t they? Gently fold sprinkles into your whipped cream layers or simply sprinkle on top at the end for a rainbow effect.
- Chocolate Lovers– Use double chocolate Oreo cookies and chocolate whipped cream to make the ultimate chocolate icebox cake.
- Flavored Oreos– There are SO many flavors of Oreos out there and any one of them can be used to make an icebox cake. Some of my other favorites are golden oreos, double stuf, mint oreos, peanut butter, birthday cake and lemon cream.
- Cookies – Instead of using layers of oreo, you could swap them out for any type of cookie. Graham crackers, chocolate wafers, chocolate chip cookies or any type of chocolate cookies would work well.
- Layers of Flavor– Use all of these flavors to create an even more unique cake. Maybe chocolate and caramel or even java chip?
- Sweet and salty– I’m a sucker for anything sweet and salty, so a light dusting of fleur de sel over the dulce de leche is the perfect ending in my book.
- Cherry on top- There aren’t many desserts that can’t be made even more glorious with a maraschino cherry cherry on top, so turn this into a cherry oreo icebox cake.
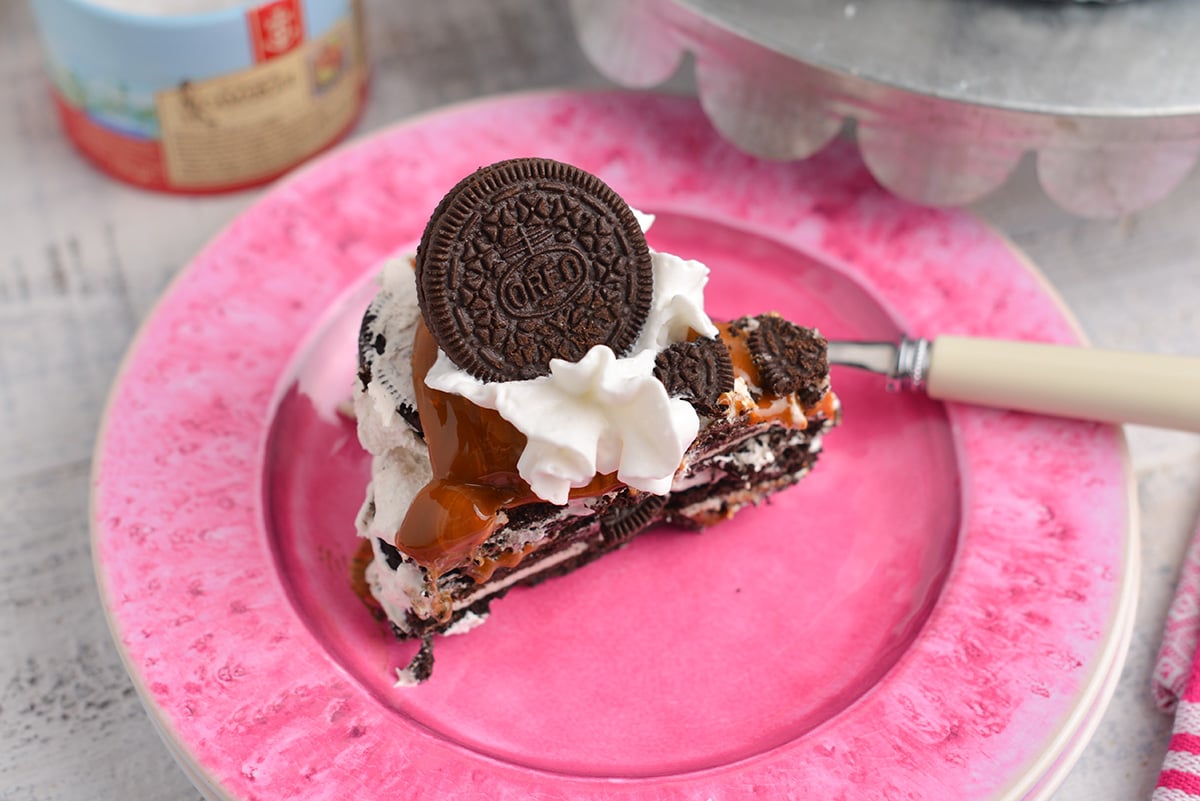
How to Serve Oreo Icebox Cake
As with any delicious desserts, we like to serve this after dinner. Or for good measure, serve before dinner to make sure you have enough room, wink wink.
This easy dessert tastes great served alongside fresh fruit or even a warm cup of coffee. Whatever your heart desires!
Storage & Freezing
Storage: Icebox cakes can be stored in refrigerator in an airtight container or covered with plastic wrap for up to 5 days. Keep in mind that the longer they sit, the soggier they get, but will still taste great.
Freezing: You can freeze portions of the cake, or the whole cake, but then plan to serve it cold and frozen. They do not thaw well.
More No Bake Desserts
No Bake Peanut Butter Pie Recipe
Classic No Bake Cookies
Pistachio Icebox Cake
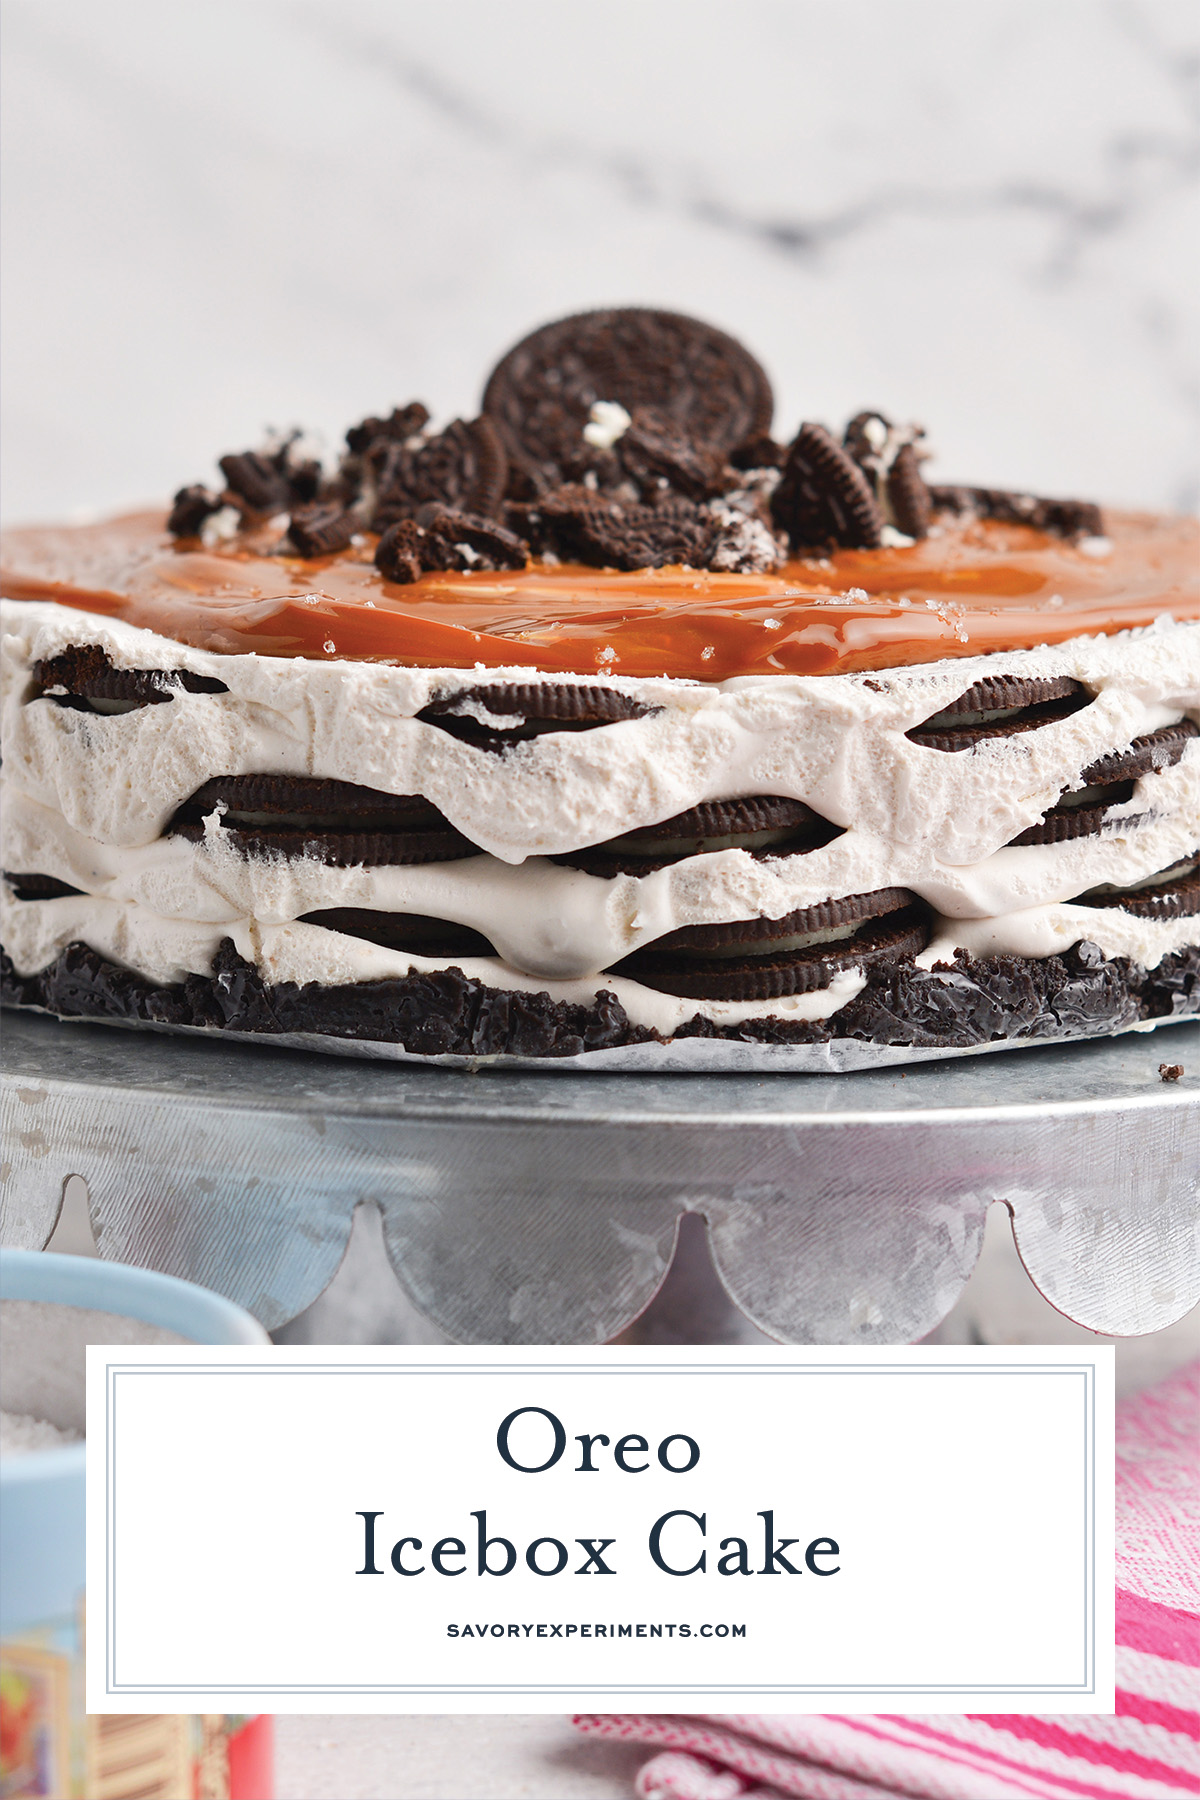
Oreo Icebox Cake Recipe
Ingredients
- 2 14.3 ounce packages Oreos divided
- 1/2 cup salted butter melted
- 16 ounces Cool Whip approximately 6 cups
- 2 tablespoons vanilla bean paste
- 1 cup dulce de leche spread
Instructions
- Line a 9-inch springform pan with saran wrap in a criss-cross manner so it acts like a sling. Line the bottom of the pan with parchment paper fitted to the circle. Set aside.
- In a large food processor, pulse 18 of the Oreos into crumbs. Add the melted butter and process until a paste forms.
- Press the crumb mixture into the bottom of the springform pan, pressing own evenly. Set aside.
- In a large mixing bowl, fold together the Cool Whip and vanilla bean paste.
- Spread 1/3 of the Cool mixture over the Oreo crumb base. Top with a single layer of oreo cookies. Repeat two more times, ending with a Cool Whip topping. Reserve 3-4 whole Oreo cookies.
- Cover loosely with plastic wrap and chill for a minimum of 6 hours but up to 2 days. Cake will get increasingly more spongy the longer it sits, so if you want it to have some texture, opt for less time. If you want a smooth cake, aim for 24 hours.
- Meanwhile, coarsely chop or break apart the remaining Oreos into large pieces and set aside.
- Carefully remove the springform sides and using the plastic wrap as a sling, slide the whole cake, parchment and all, to a serving platter.
- Pour the dulce de leche sauce over the top of the cake and then sprinkle with coarsely chopped Oreos.
- Slice using a serrated knife and serve immediately.
- If you’ve tried this recipe, come back and let us know in the comments or star ratings.
Nutrition







Thanks for so much of detailing to this recipe. Looks delicious and tempting and sounds super easy to make too. Best cake and dessert option for a party.
Love this Oreo Icebox Cakes recipe, we love Oreo’s, look delicious and fluffy. Will make it with the kiddos soon. Thanks for sharing 🙂
What a wonderful treat this is, this was great for my friends party! Thanks for the recipe
I usually just eat oreos in their neat form so I’m super excited to make your recipe with them instead.
This was so good! Incredibly easy to make – the hardest part was waiting for it to be ready to eat! So worth it, though.