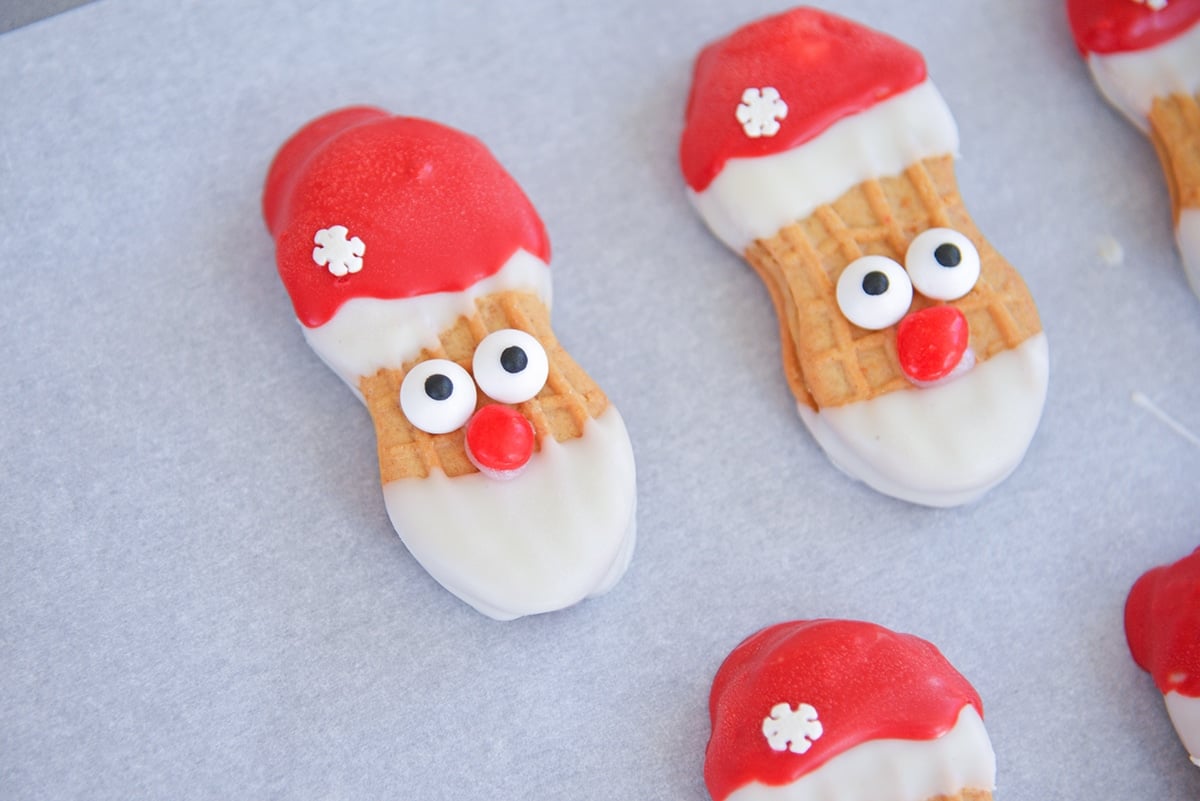
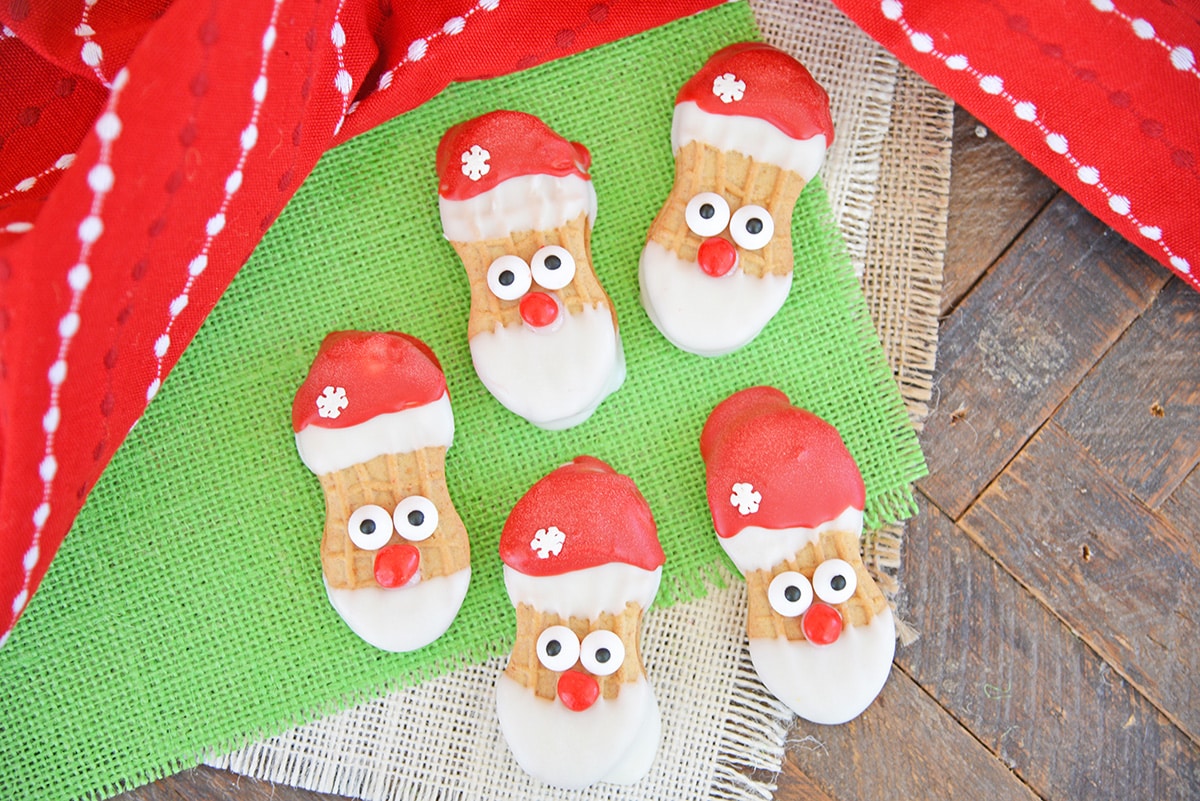
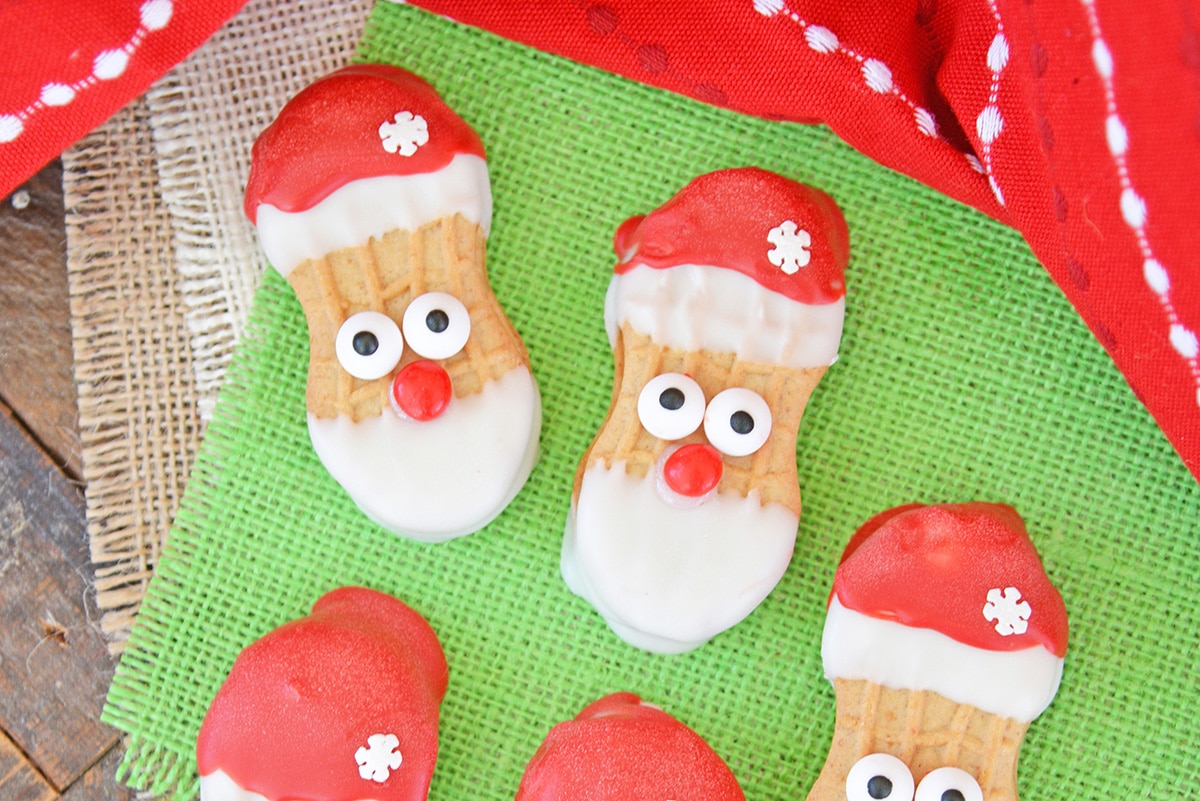
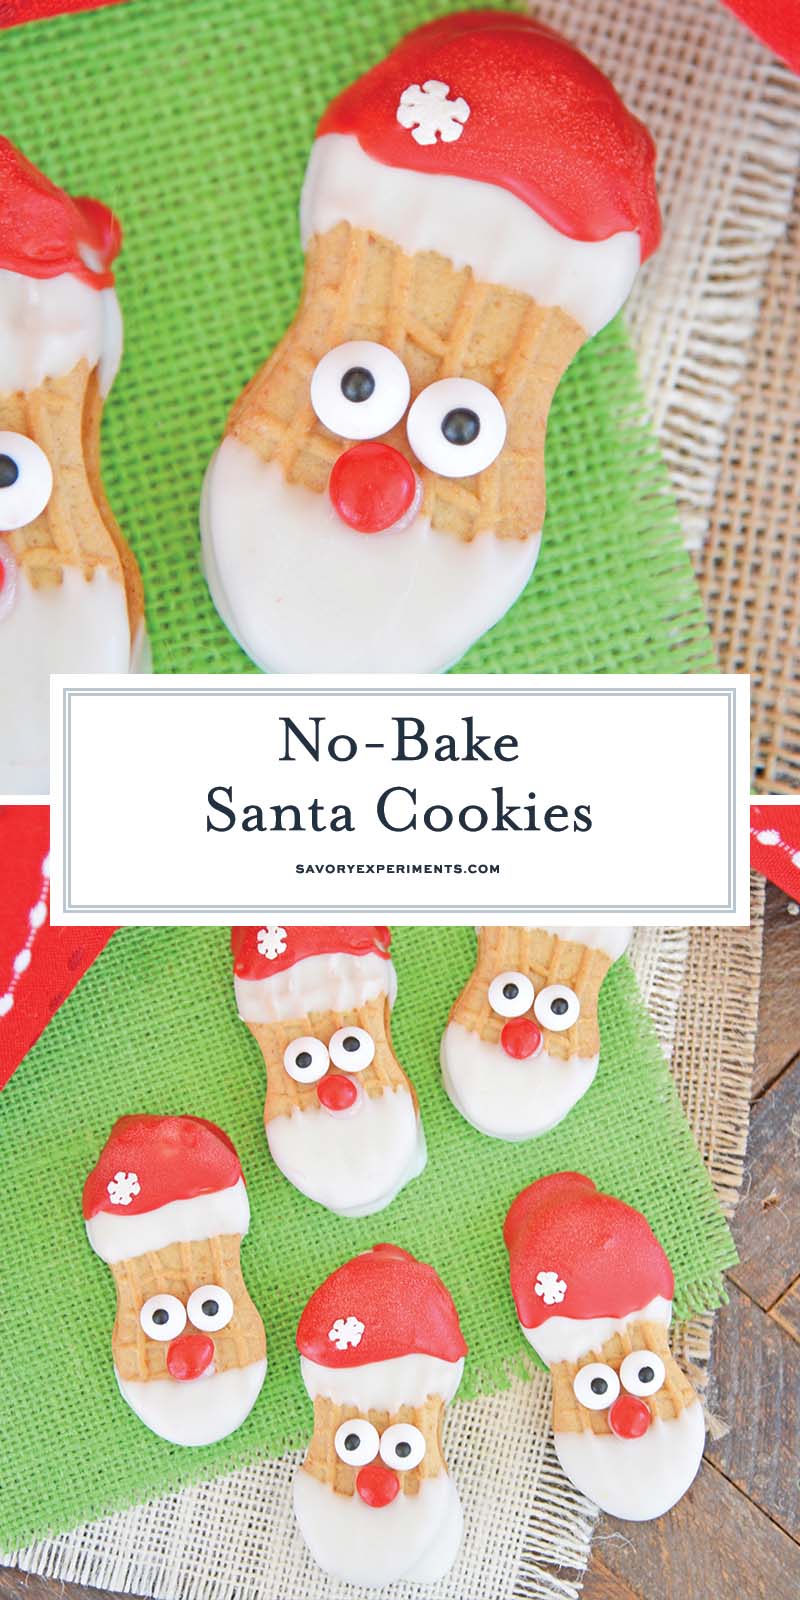
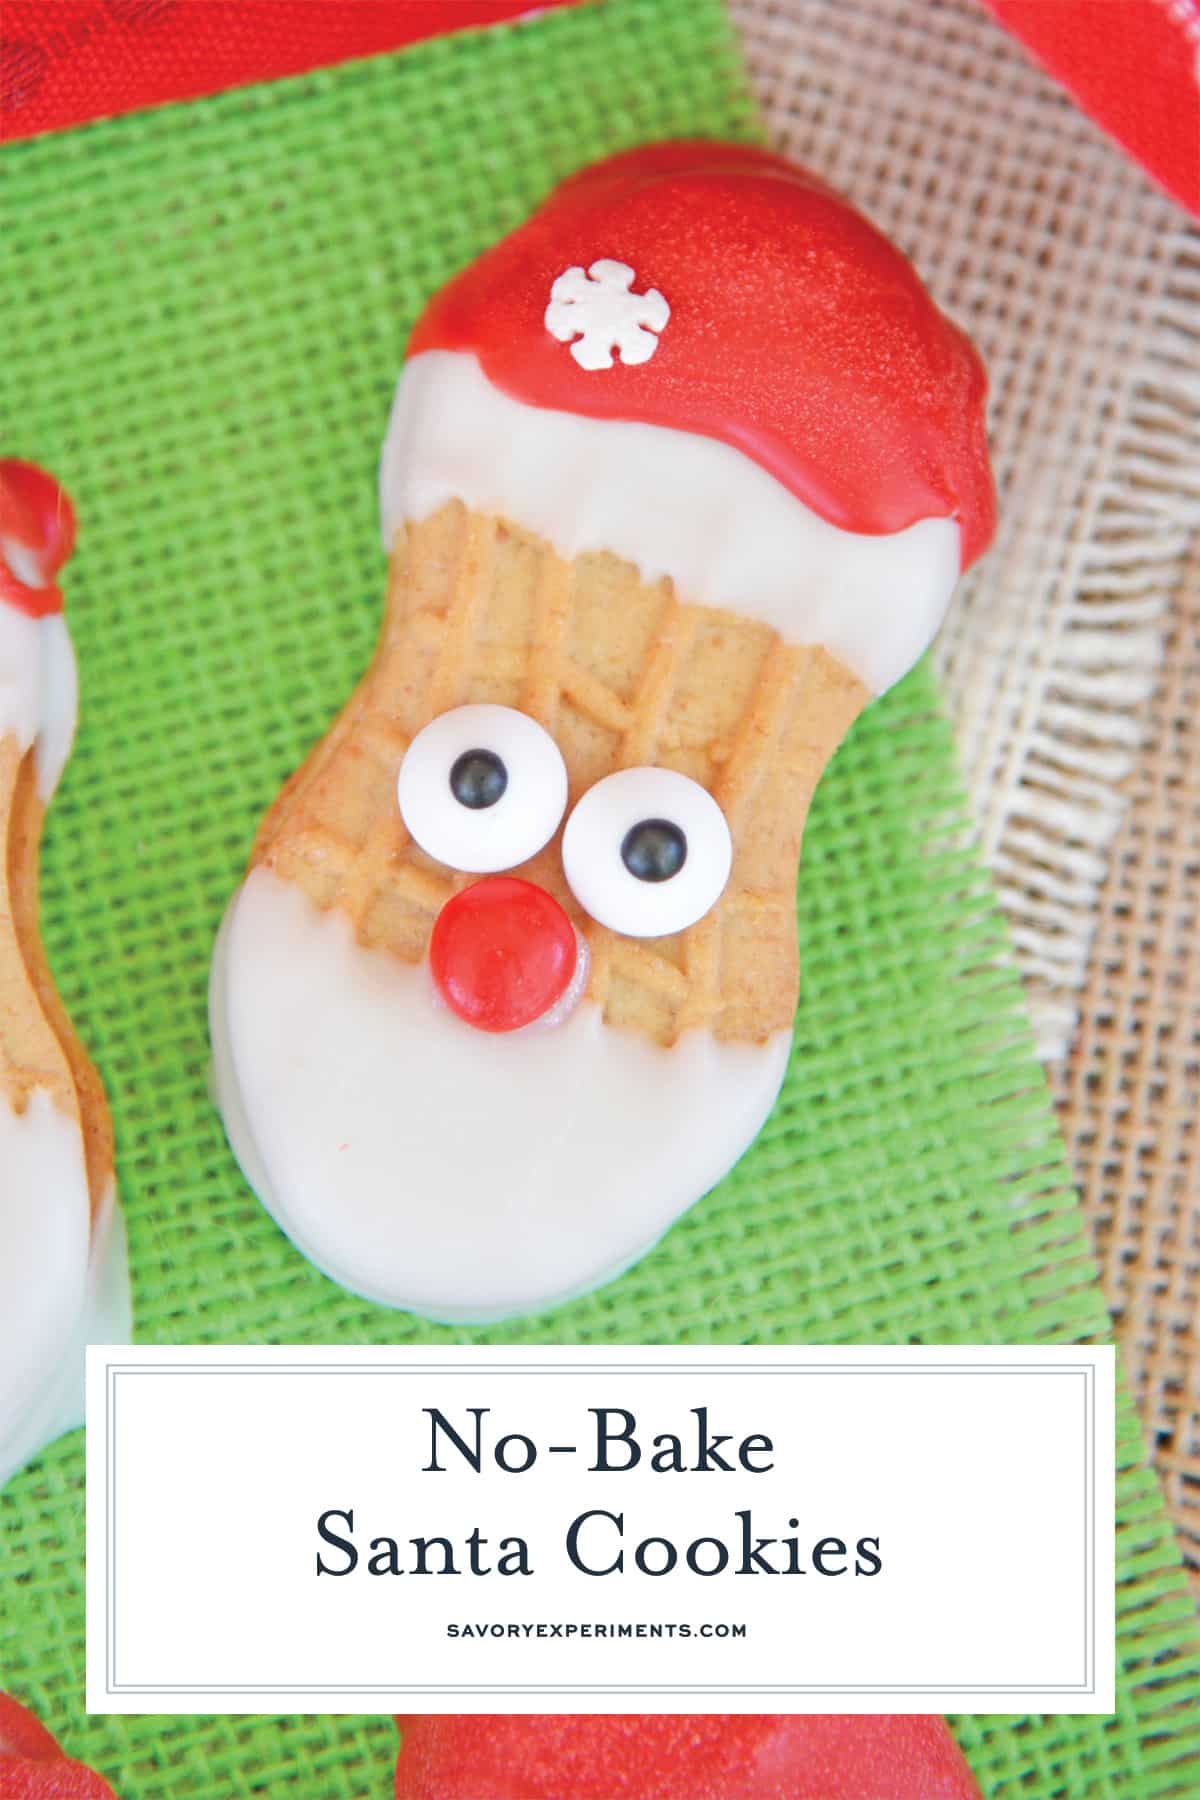
It’s time for Christmas cookies to start flooding the internet. None will be cuter than these Nutter Butter Santa Cookies!
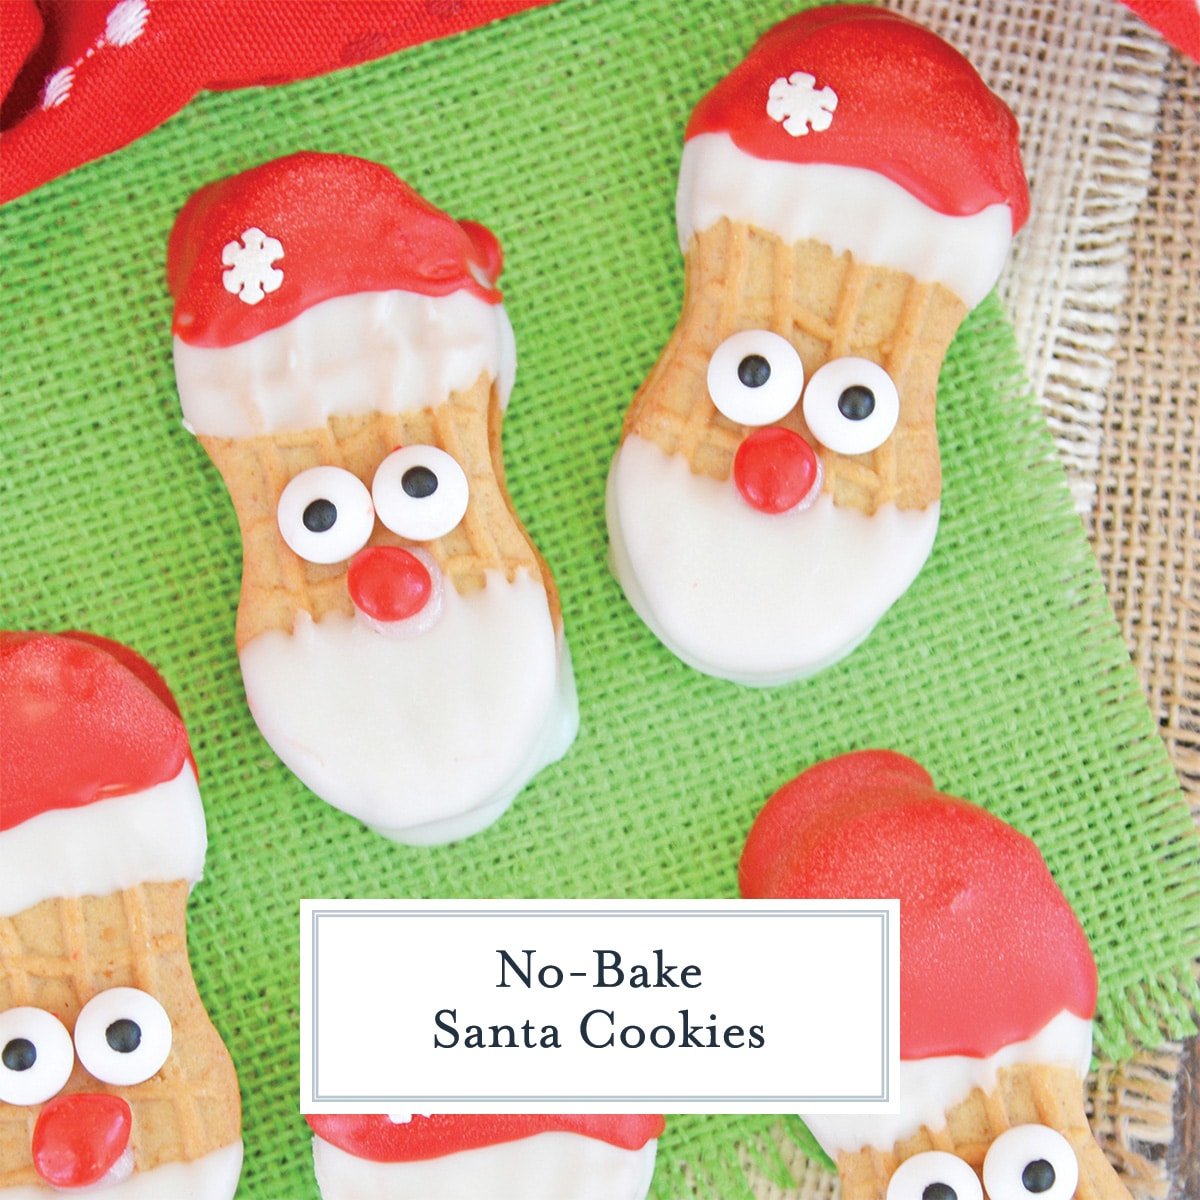
It is public knowledge that I am terrible at decorating cakes, cookies and cupcakes so I am on a never ending hunt for ways to create professional looking baked goods that can be prepared by a shakey 2-year-old.
Because when someone comments about my lack of decor ability, I DO blame it on my 2-year-old. I have zero shame. I needed something as simple as my famous Horse Cookies. Which could probably be made into reindeer.
What You’ll Need
Gather these easy ingredients at the store to get started.
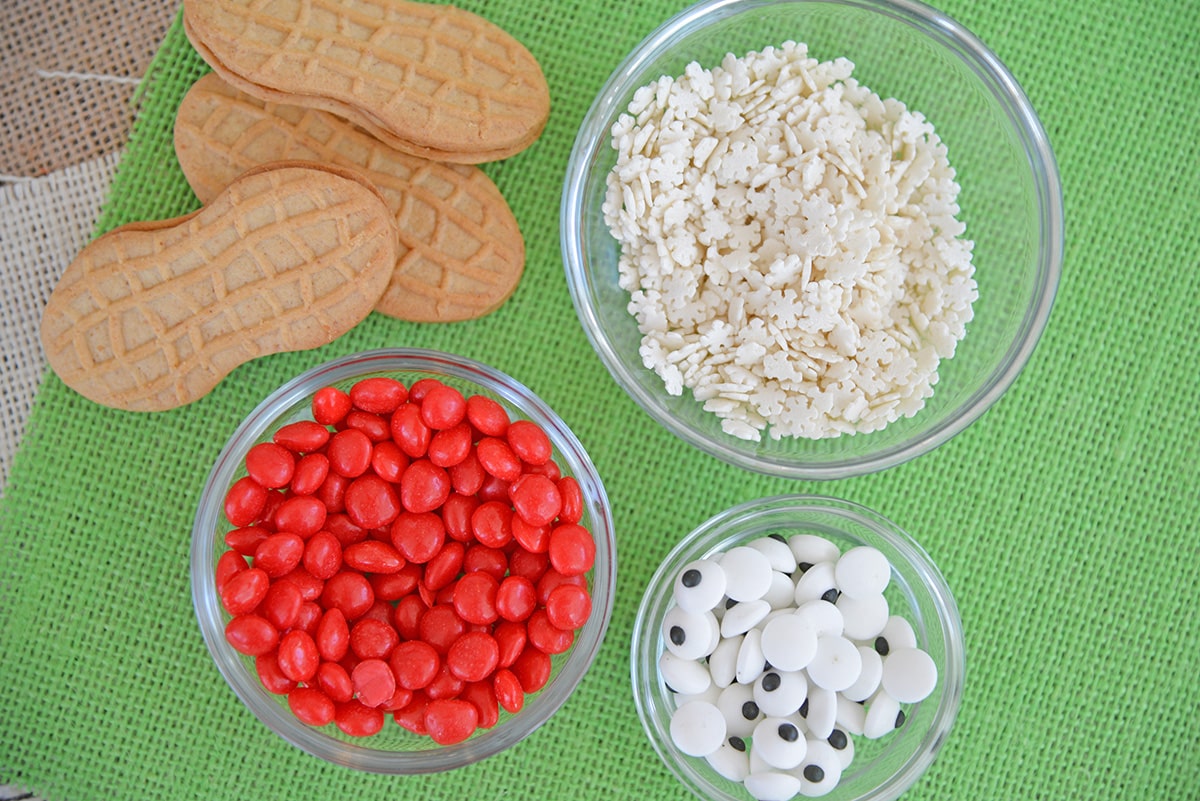
- Nutter Butter Cookies – If someone doesn’t care of peanut butter or has an allergy, opt for Milano Cookies.
- White Melting Chocolate- Almond bark or white melting chocolate are best. Straight chocolate chips won’t be smooth. If you are using plain white chocolate, add 1 teaspoon of vegetable shortening or butter to smooth it out for dipping.
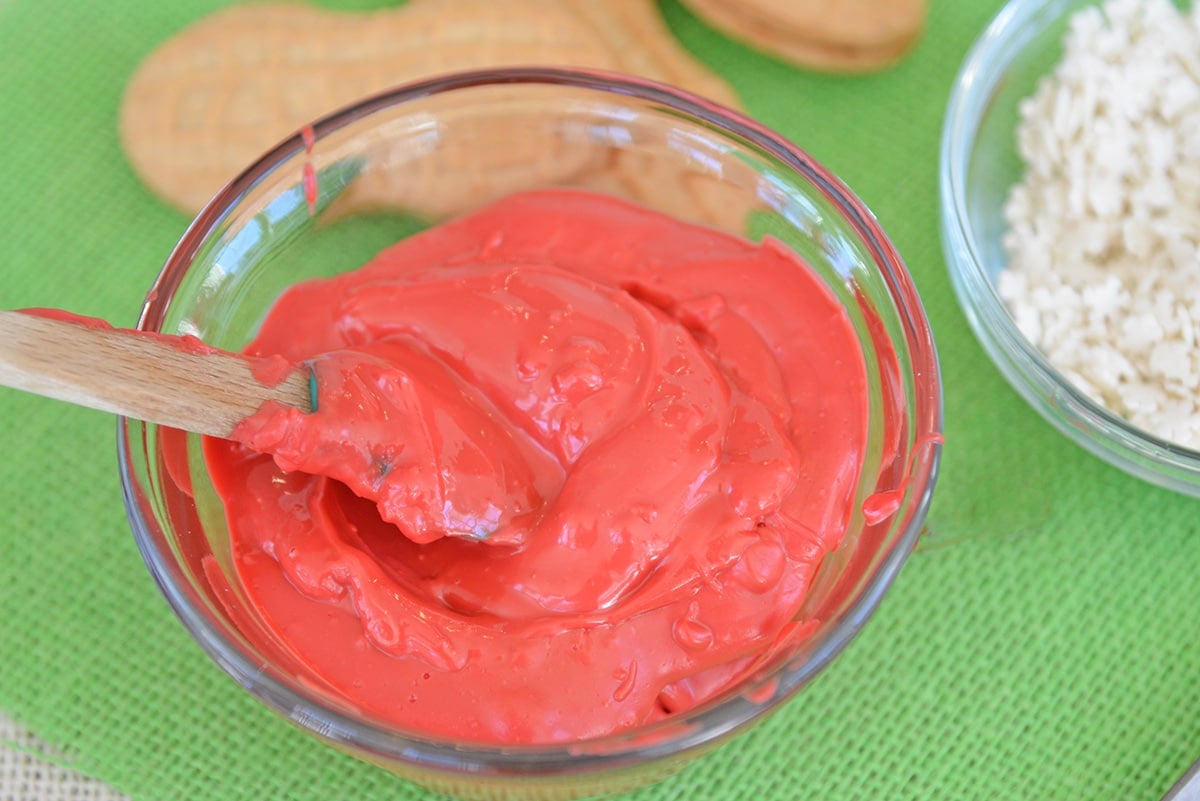
- Red chocolate melting wafers – These are ready to be melted, so they are perfect! You can use white chocolate, add the fat and then food coloring, but that takes a little more time.
- Cinnamon candy imperials – I like the proportion of cinnamon candies versus red M&Ms or another red circle candy.
- Candy eyes – Grab these online or at the store. They are fairly standard in the cooking/baking aisle.
- Snowflake sprinkles – You don’t have to use these, but I think they are cute! Any festive sprinkle will do!
How to Make Santa Cookies
- Melt white chocolate in a double boiler according to package directions.
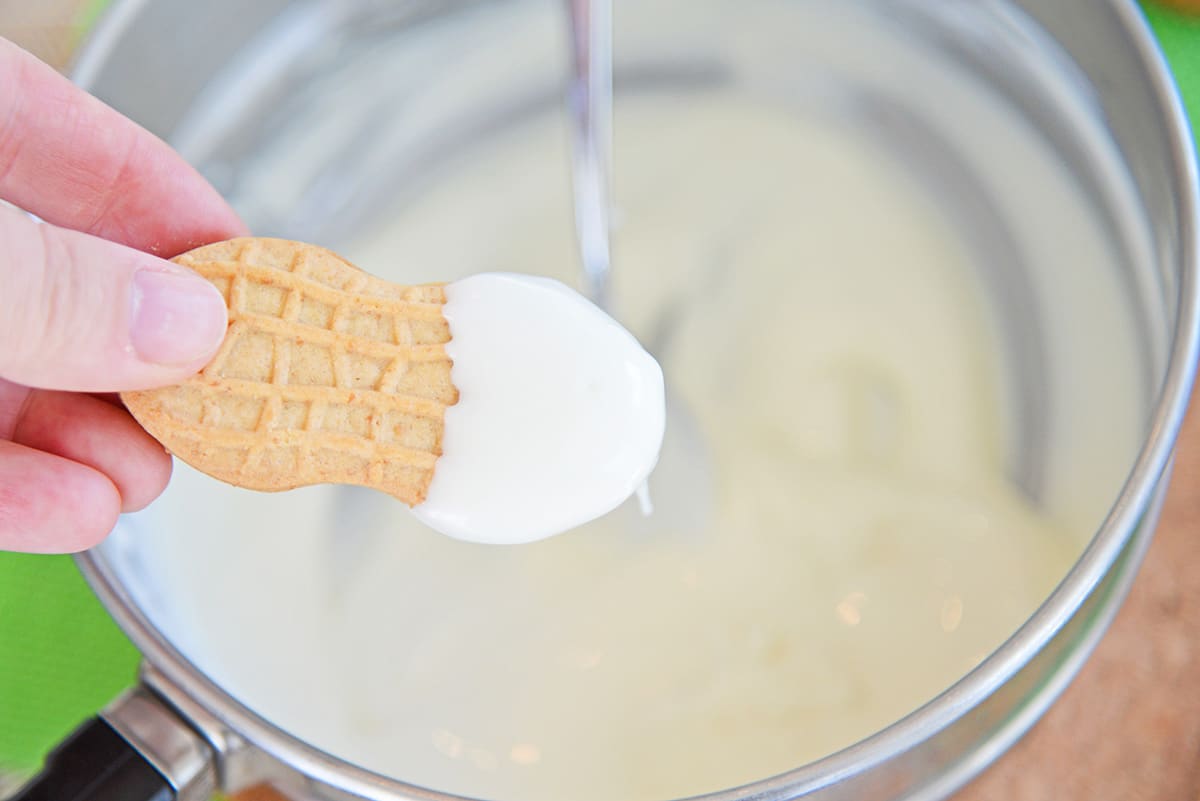
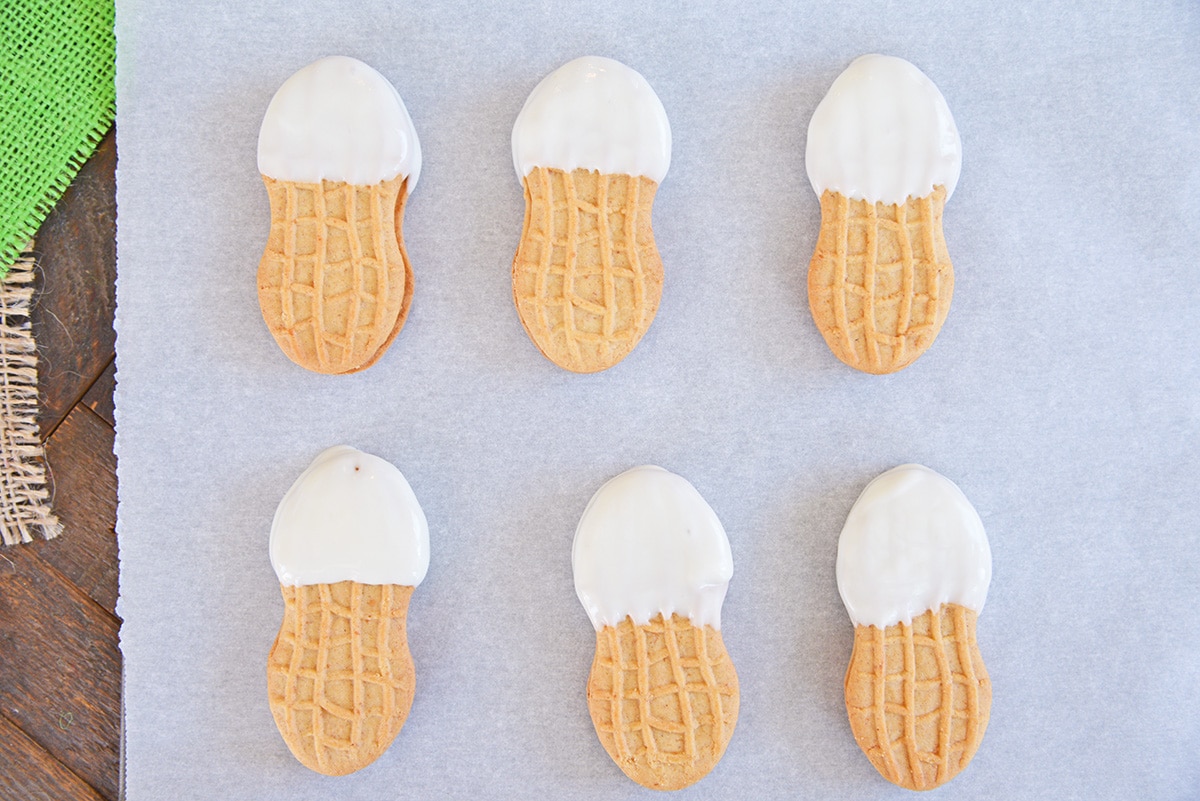
- Dip both ends of each Nutter Butter cookies in white chocolate, leaving some candy showing in the center (for Santa’s face).
- Place on a parchment lined baking sheet. Allow chocolate to set and harden by air drying or placing in the refrigerator for a few minutes.
- Next, melt red chocolate. Dip just the top in, leaving a little white strip for the brim of Santa’s hat.
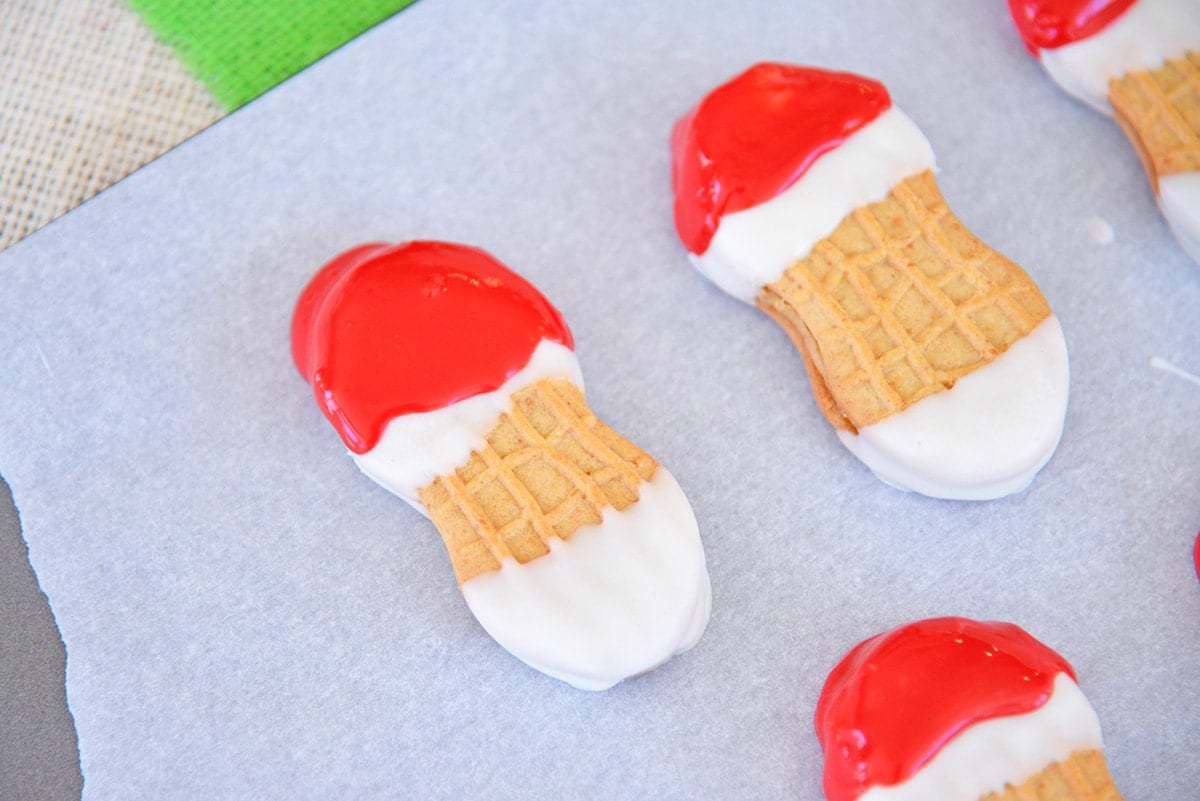
- Using tweezers, place a white snowflake on the side of the hat for embellishment.
- Next, attach candy eyes and the cinnamon imperial as the nose with a small dab of frosting or melted white chocolate.

Tips for Melting Chocolate
- Skip the microwave and use a double boiler. The microwave just heats it too fast and too hot.
- If you do need to use the microwave, use it at 50% power or defrost mode.
- Don’t fully boil the water in your double boiler. Get it hot enough to melt the chocolate, but not to a rolling boil.
- Put the top pot on with chocolate after the water has come to temperature.
- Stir constantly while melting. It should only take a minute or so.
- Use immediately and while shiny.
- If chocolate gets too hot, it gets clumpy and matte.
- You can try to revive it by adding 2 teaspoons of vegetable shortening, but sometimes you are better off just starting over.
And if you have someone on your naughty list, you can make this vanilla flavored Black Fudge- the perfect Christmas Coal!
Storage & Freezing
Storage: If that is the case and I don’t own a special chocolate covered items refrigerator, then where do I put them? Listen- they are fine in the fridge, just know that they might potentially sweat a little. They will still taste perfectly fine. But they can also be stored in an airtight container for up to a week. They will last longer, but everyday, will be a tad more stale.
Freezing: These cookies can be frozen ahead of time, but the chocolate has the tendency to crack while thawing.
Commonly Asked Questions
Can I use cookie icing instead of melted chocolate? You can! It takes a little longer to set between coats, but it is surely easier to work with than melted chocolate.
Why does chocolate sweat? Chocolate sweats when the temperature changes too rapidly, the moisture release. Chocolate covered anything is best kept somewhere between refrigerated and room temperature.
Can I use milk chocolate? Sure! Use milk chocolate, dark chocolate or even semi-sweet chocolate. But obviously, you’ll lose the blue tint.
More Christmas Treats
- Christmas Coal Fudge
- Peppermint Mocha Cupcakes
- Christmas Lasagna
- Oreo Cookie Balls
- Snowflake Chocolate Covered Pretzel Rods
- Grinch Cookies
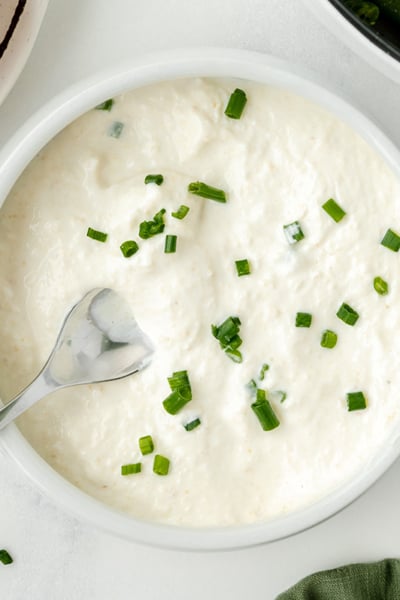
Christmas Dunkaroo Dip
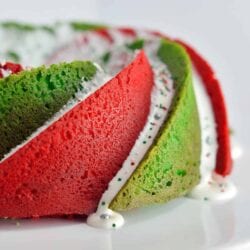
Christmas Swirl Bundt Cake
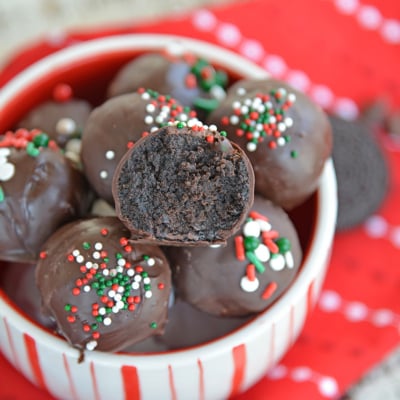
Holiday Cookie Balls
Santa Cookies
Ingredients
- 20 Nutter Butter Cookies
- 8 ounces white chocolate
- 3 ounces red chocolate melting wafers
- 20 cinnamon candy imperials
- 40 candy eyes
- 20 snowflake sprinkles
Instructions
- Melt the white chocolate in a double boiler according to package directions.
- Dip both ends of each Nutter Butter cookies in white chocolate, leaving some candy showing in the center (for Santa’s face).
- Place on a parchment lined baking sheet. Allow the chocolate to set and harden by air drying or placing in the refrigerator for a few minutes.
- Next, melt the red chocolate. Dip just the top in, leaving a little white strip for the brim of Santa's hat.
- Using tweezers, place a white snowflake on the side of the hat for embellishment.
- Next, attach candy eyes and the cinnamon imperial as the nose with a small dab of frosting or melted white chocolate.
- Allow to fully set before stacking or packaging.
- If you've tried these cookies, come back and let us know how they were in the comments or star ratings!






Great recipe! I have been making these cookies for 2 years now!
Woohoo! Thanks, Gus!
So cute! These were so much fun to make with my nephews and look so cute on our cookie plates!
Oh my goodness these are adorable! My grandkids are going to love making these with me.
I am so not a baker so during the holiday season, I dread bringing something sweet (because it’s usually baked!). Not anymore! These are exactly what I was looking for! So cute and festive!
Baking and decorating holiday cookies is usually so labor intensive that I dread it, but these cookies look so easy and fun! Can’t wait to make them with my kids.
Nutter Butter’s are my favorite store bought cookies. These are fantastic and adorable!
Great recipe for this time of year! Especially for children 🙂
Love your great idea of making these cute Christmas cookies! Kids will adore them, no doubt:) Thanks for sharing. Pinning!
So simple and cute! The kids will love these for Christmas!
SUCH a cute idea! It would be perfect for a Cookie Decorating Party or a Christmas cookie swap!