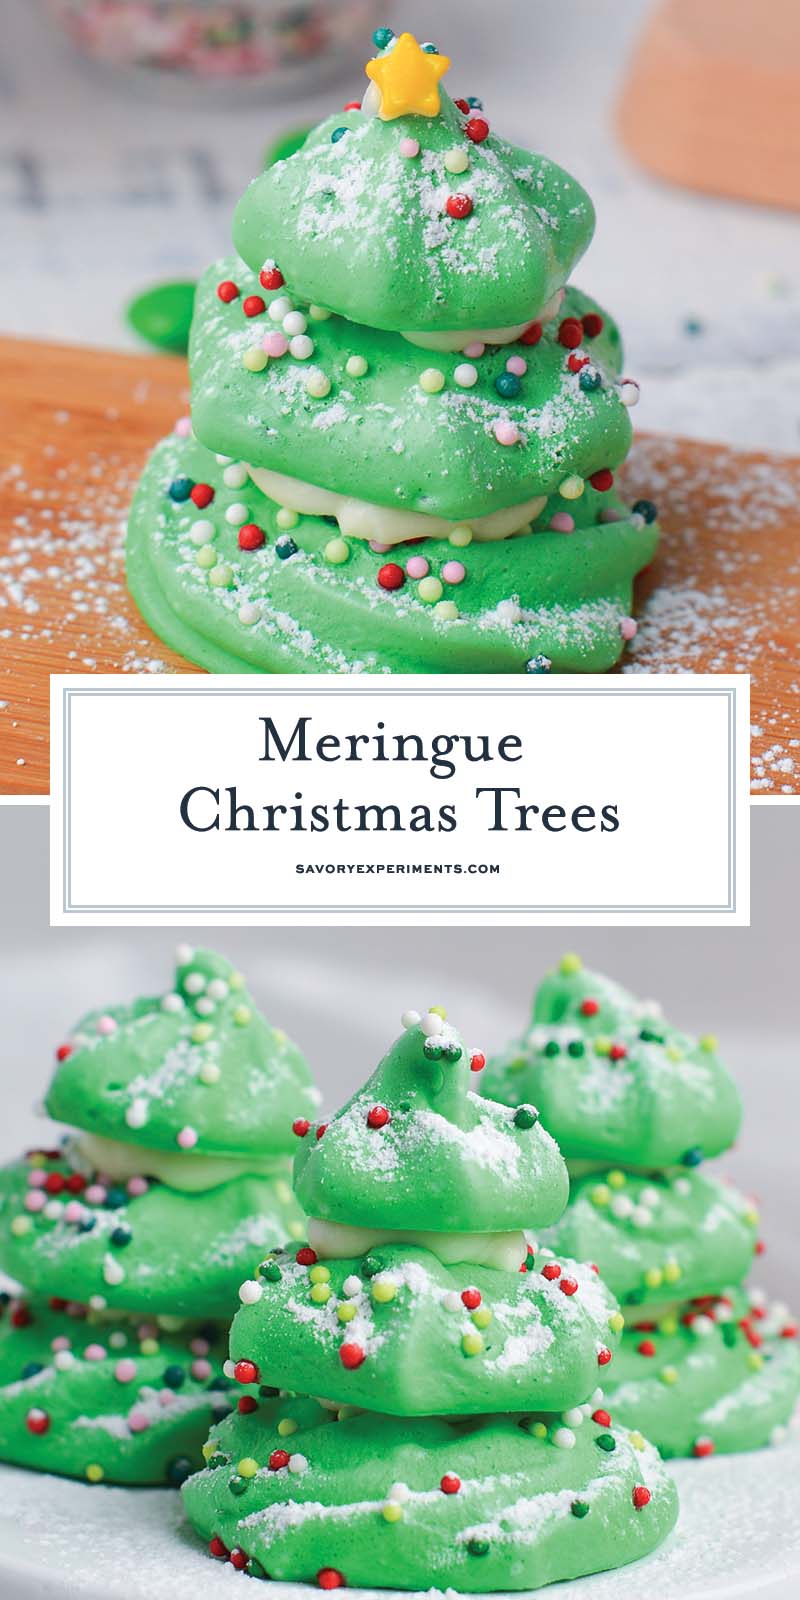
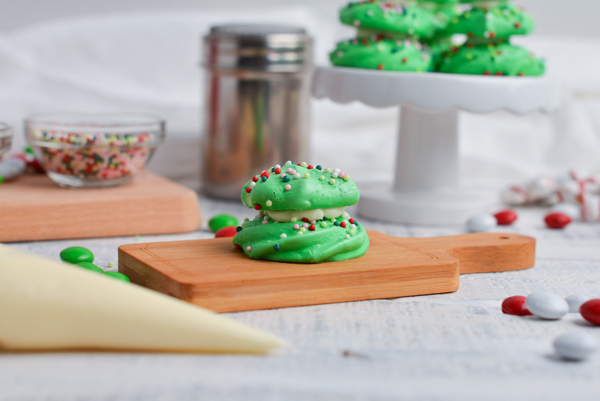
Melt in your mouth Meringue Christmas Trees that are so easy to make and look amazing on the Christmas table. Like traditional meringue cookies, but in the shape of a tree.
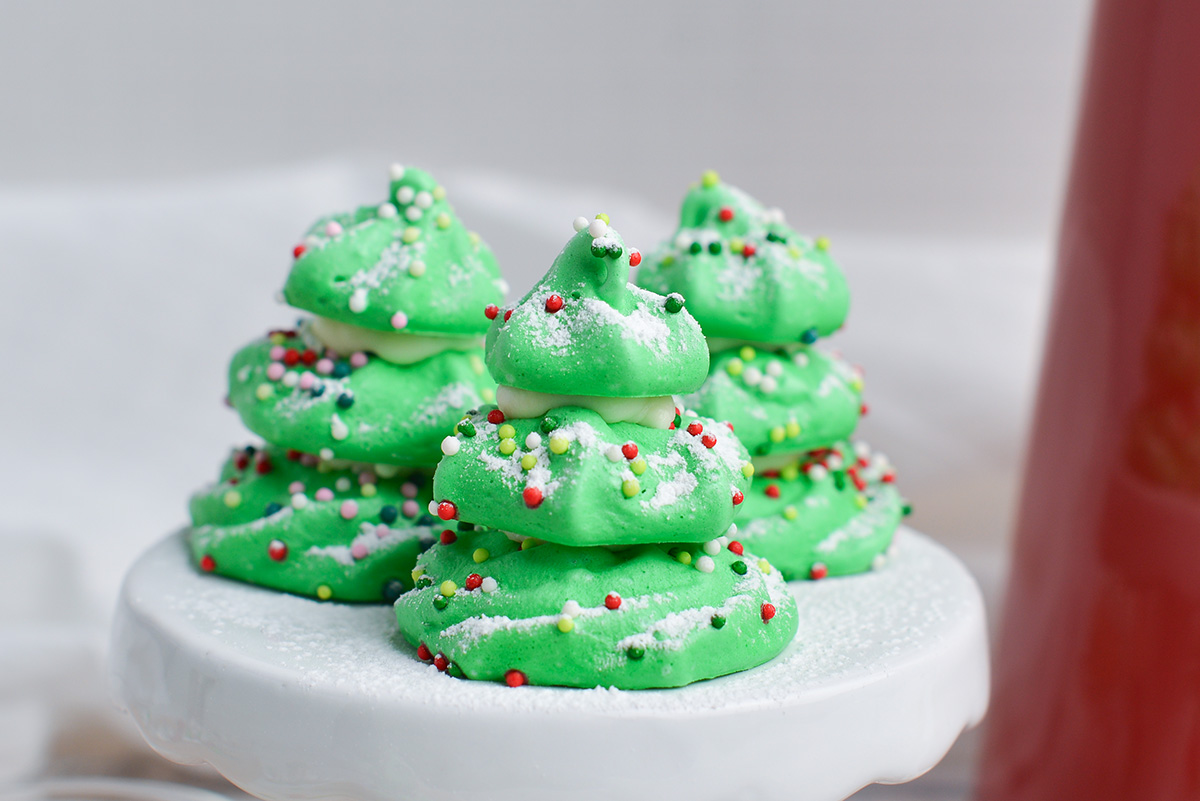
We all love going over the top on Christmas Day and preparing delicious treats for everyone to enjoy. These meringue Christmas tree cookies are easy to make and can be a fun activity for the kids. Are you ready to kick the festive spirit up a notch?
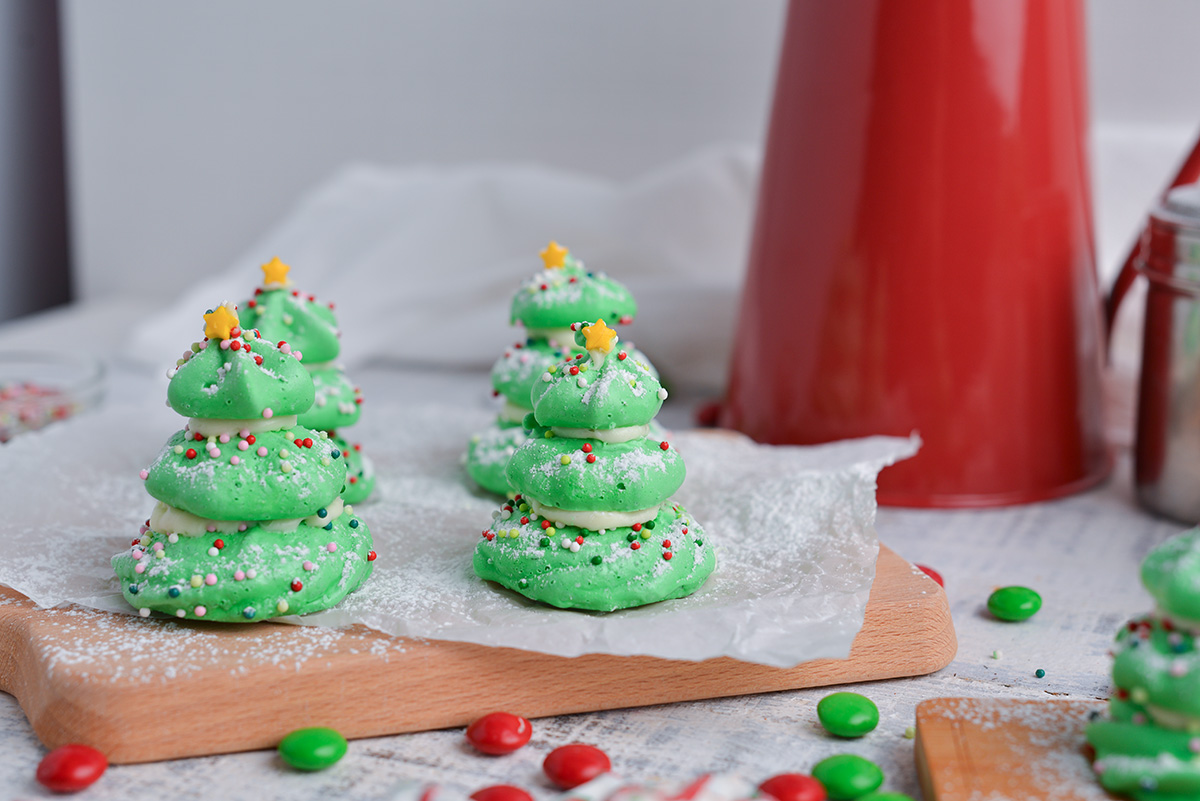
How to Use Meringue Christmas Trees
I love using these edible Christmas trees all over my holiday table. These meringue cookies can be a decoration by themselves, or you can add them to your baked goods. Here’s how I like to use them:
- Tablescape decoration
- Sweet snack
- On top of the Christmas cake
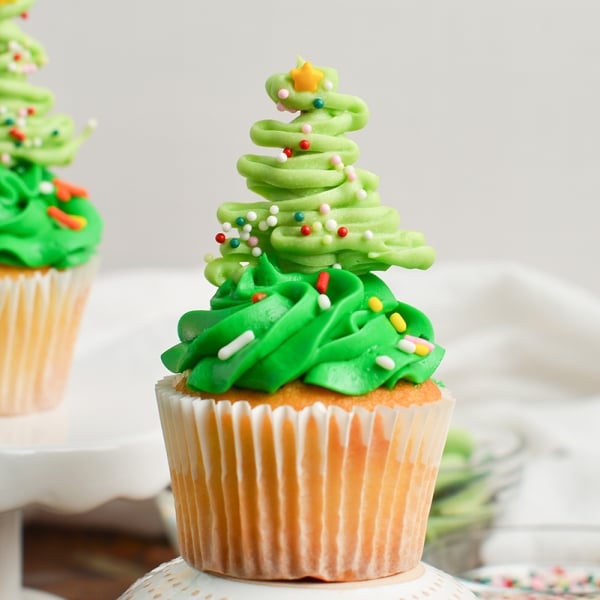
- Cupcake toppers
- On top of hot chocolate
- On top of whipped hot chocolate
- DIY Christmas gift in a jar
- Cookie trays
Ingredients
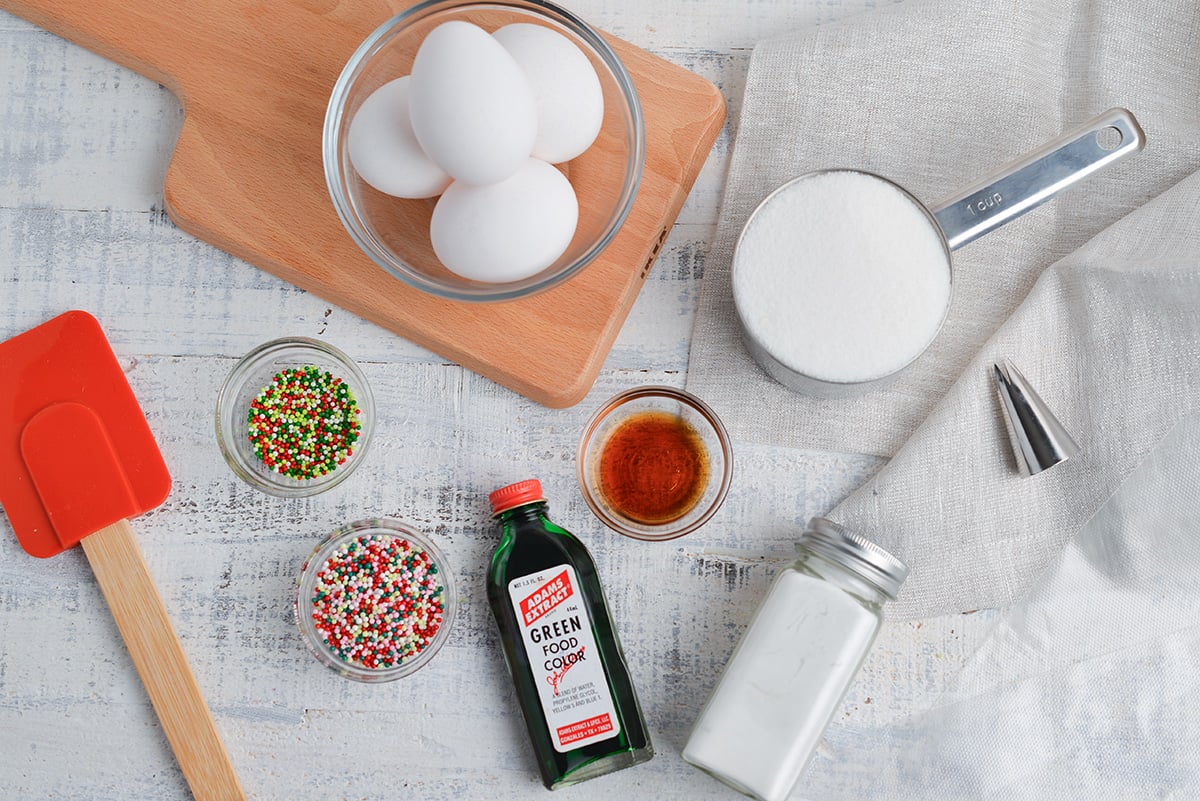
The best part about making these meringue Christmas trees is that you only need ingredients from your pantry. Let’s have a look:
- Egg whites: I recommend using fresh, large eggs for an extra fluffy meringue. As we are only using the egg whites, you can also use egg whites in a carton. As the meringue cookies will be baked, there is no need to use pasteurised eggs. Whichever one you use, make sure they are at room temperature.
- Sugar: it’s important to use white sugar for this recipe, to maintain the brilliant white color of the meringue.
- Cream of tartar: although this ingredient is optional, I strongly recommend using it. Cream of tartar helps make a fluffy meringue, that holds it shape well and makes for a crispy meringue cookie. You can also substitute cream of tartar with 1 teaspoon of lemon juice.
- Flavoring: add extra flavor to your meringue cookies by using vanilla extract or a vanilla bean paste. You can also get creative with your flavours and try peppermint, strawberry, lemon or orange.
- Food coloring: I recommend using gel food colouring for a vibrant green hue This recipe only calls for green, but you can get creative and use any colors you like.
- Sprinkles (optional): Decorate your Meringue Christmas Trees with sprinkles and any other sugar decorations you like. I also used small gold stars on some of the trees, but these can be attached using buttercream and not baked. Do not use any chocolate decorations, as these will melt in the oven.
- Buttercream Frosting– You’ll only need a small amount, so grab a tub at the store or make a half batch of homemade vanilla buttercream.
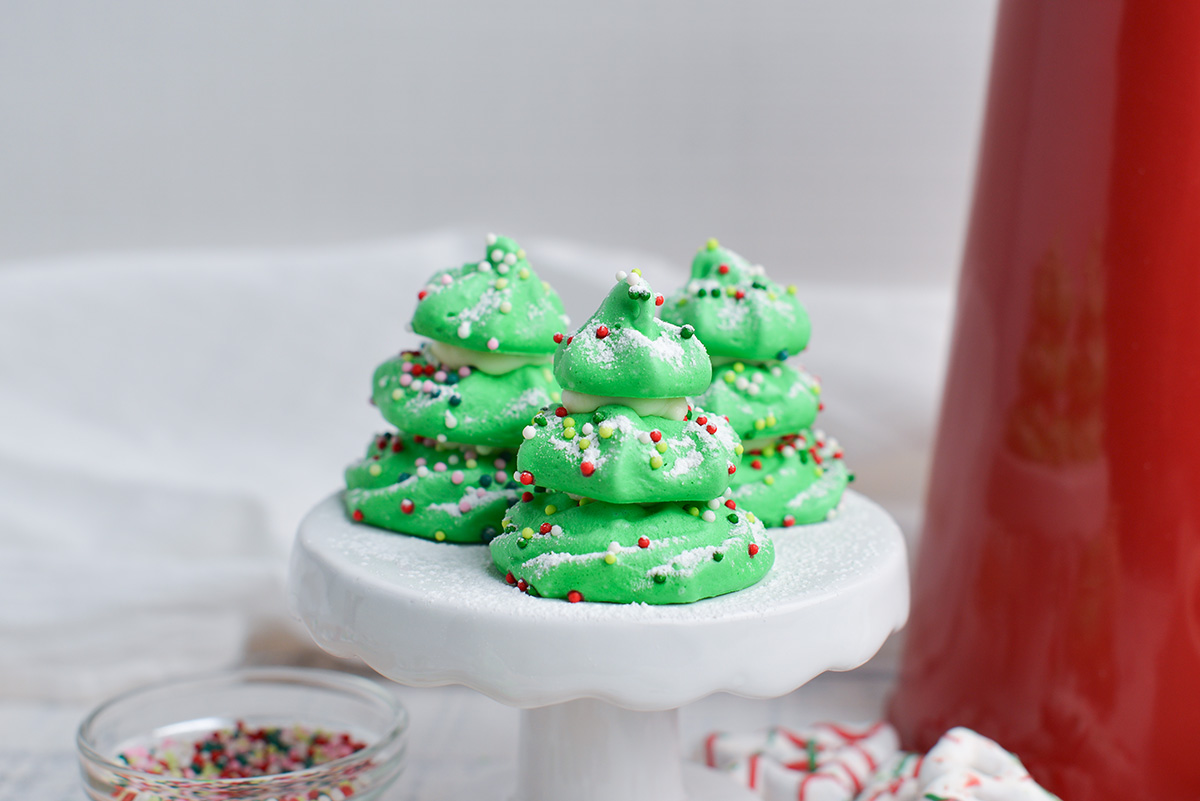
- Powdered Sugar (optional)– I used this on some of the trees for a mock “snow” dusting.
How to Make Meringue Christmas Trees
The first step in making the meringue Christmas trees is preparing the meringue batter.
- Whip Egg Whites. Add the egg whites and cream of tartar to a large, clean bowl. Whisk the eggs on medium speed using a hand mixer for about 2 minutes, or until frothy.
- Add Sugar. Once the egg whites look like a foam, add one quarter of the sugar. Whisk continuously for another 1-2 minutes until the meringue reaches soft peaks. Keep adding the remaining sugar gradually until fully incorporated. Take your time at this stage, whilst mixing on medium speed.
- Add Vanilla. Add the vanilla extract and mix on high speed until just blended or until the meringue reaches stiff peaks.
- Add Color. Finally, add the gel food coloring and combine until uniform. Be careful to not overmix the meringue.
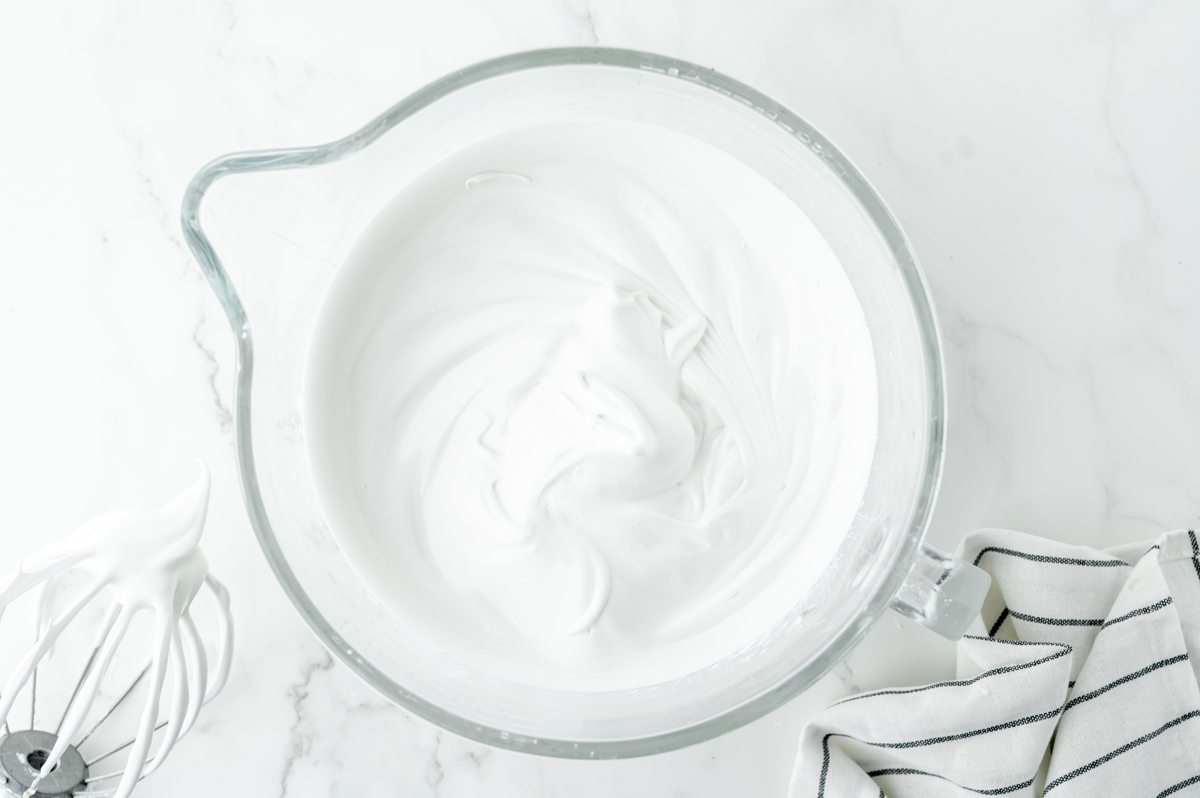
Pro Tip
To check if the sugar has dissolved properly, pinch a bit of batter and rub it between your fingers. If the batter feels grainy, you need to keep whisking. Once it feels smooth, it’s ready to go.
Once the meringue is ready, we can begin piping the meringue Christmas Trees:
- Prep. Place a piece of parchment pepper on a large baking sheet.
- Bag Meringue. Place the meringue in a large piping bag fitted with a ½ inch star nozzle. If you don’t have a piping bag, use a plastic zip top bag with the corner cut off just enough to fit a star tip.
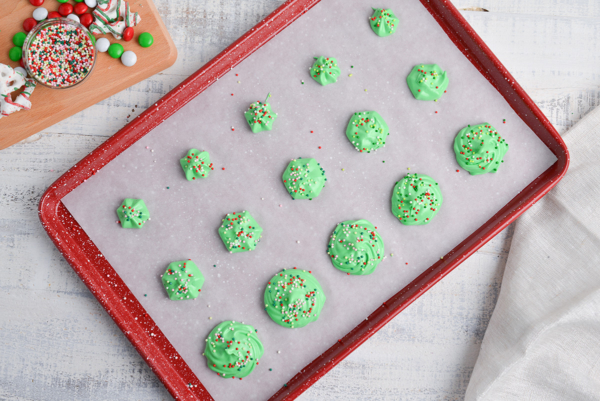
- Pipe. Pipe one row of large star tip rosettes. Pipe a second row slightly smaller. Pipe a third row being the smallest. These will be the bottom, middle and top pieces of the tree.
- Decorate. Decorate with sprinkles, if desired, and other edible decorations to make Christmas lights and ornaments.
- Bake. Bake low and slow until meringues have set.
- Cool. Open the oven door to cool it down fast, then shut the door and allow the cookies to cool with the oven. This decreases the risk of them being chewy or falling.
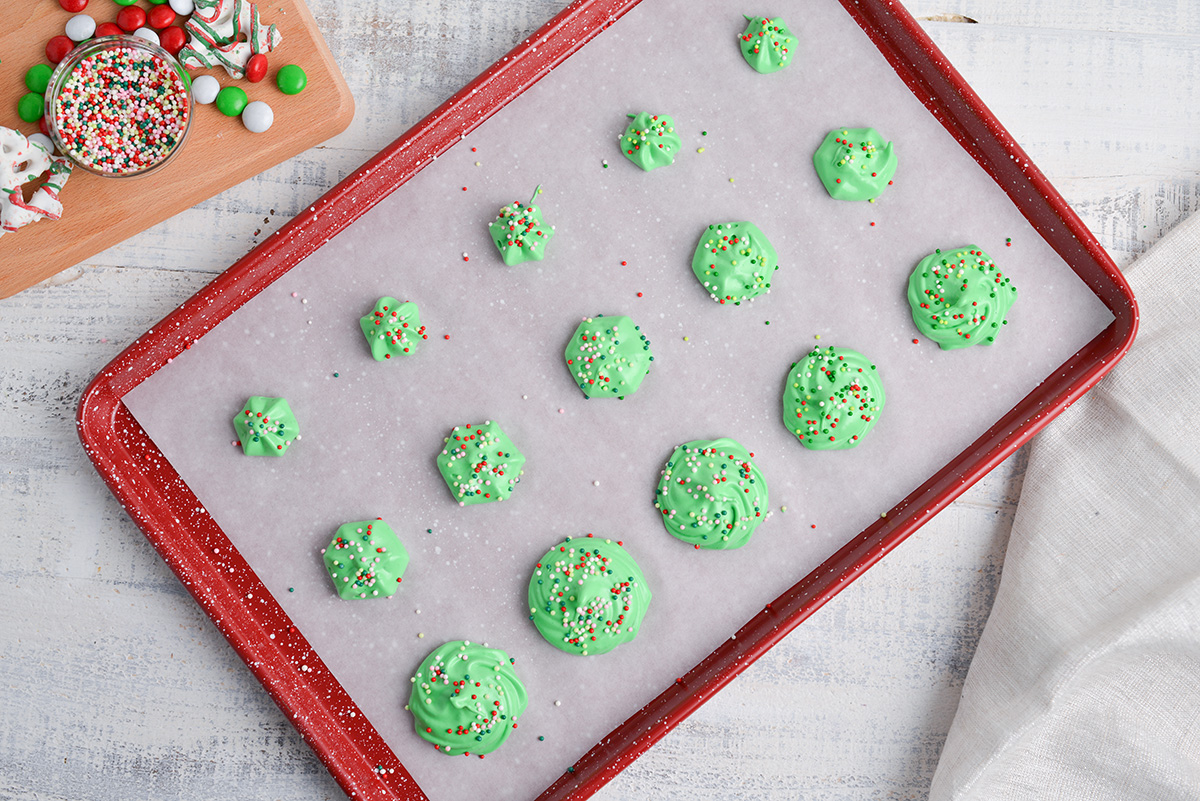
Now it’s time to assemble the cookies.
- Release. The pieces of meringue should easily pop off of the parchment paper.
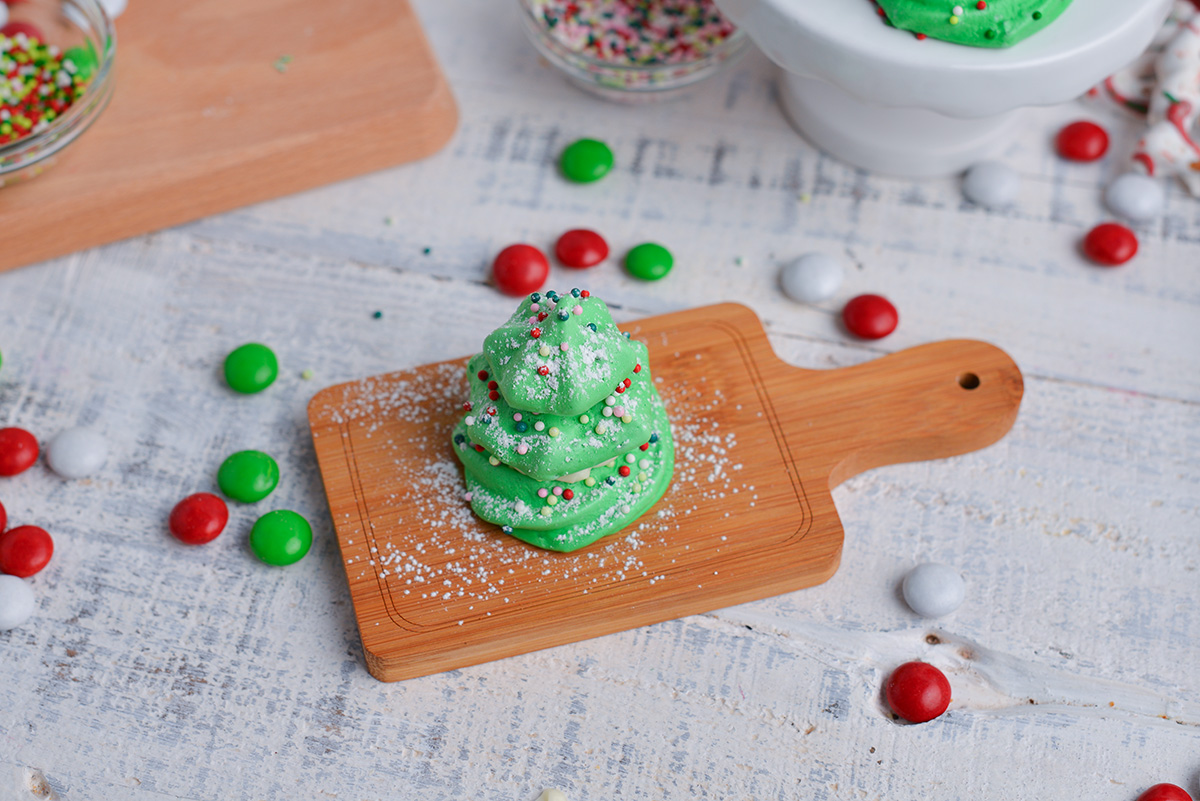
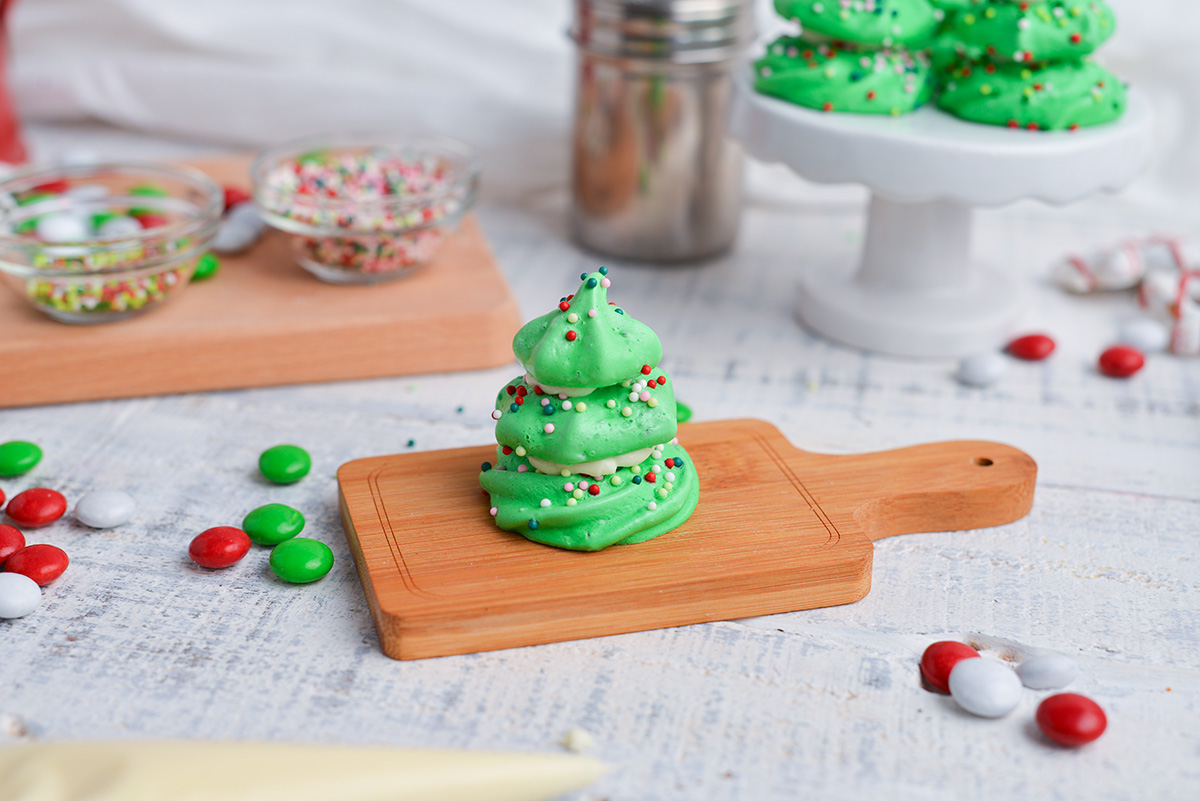
- Stack. Place one of the largest rosettes on a workspace. Place a small dollop of vanilla buttercream in the center and top lightly with a medium rosette. Give it another small dollop and then finish with the smallest rosette.
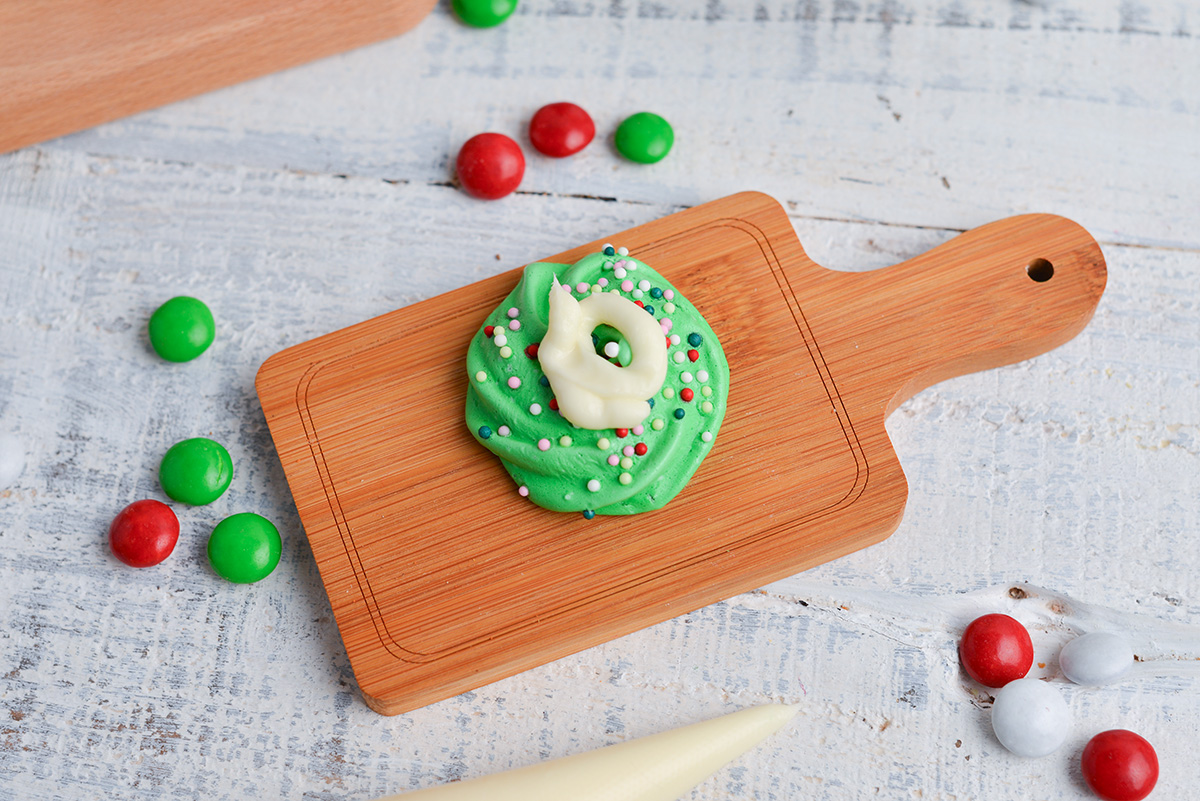
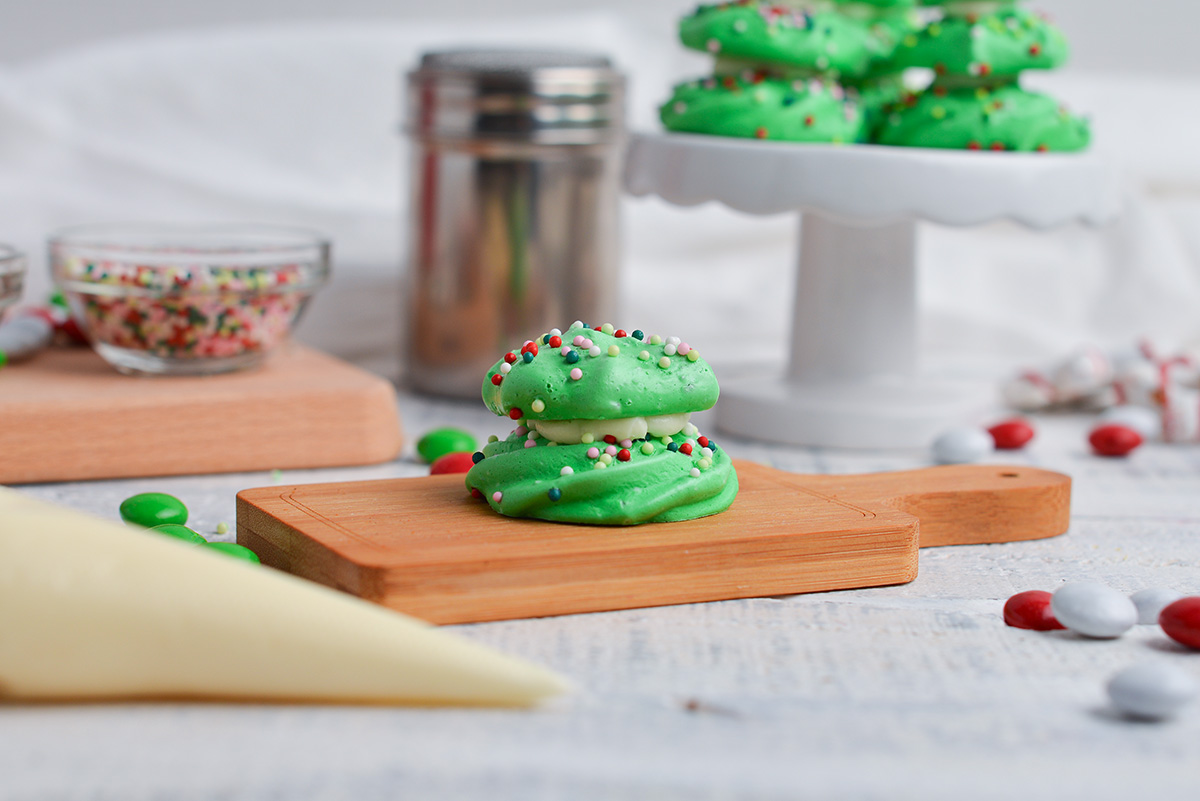
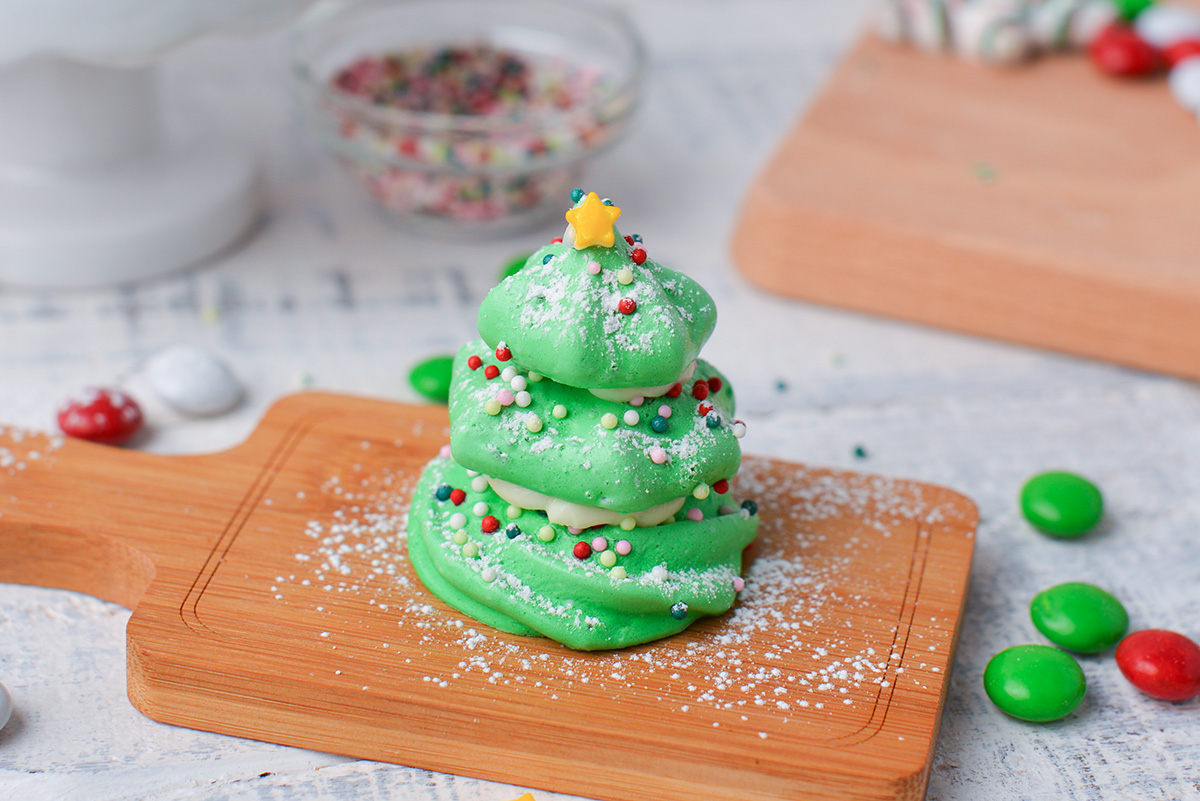
- Decorate More. This step is optional, but if you want to attach a small gold star to the top, do this with a small amount of buttercream. I used a toothpick to give it just a little “glue”. Another favorite is a small dusting of powdered sugar for a freshly fallen snow look.
Tips for the perfect meringue
Making meringue can often be tricky and this is why it is so intimidating to home bakers. Here are a few tips to hopefully make the process go smoothly.
- Outside Weather Conditions- Meringue is tempermental and works best when it is NOT humid. Try to plan your baking for a day without rain or high humidity.
- Clean Bowls– Ensure the bowl is completely grease-free and dry. Even the smallest amount of grease will prevent the egg whites from whisking up properly.
- Egg Whites Only– Be careful when you crack the eggs as to not puncture the egg yolk. Egg yolks contain fat, which will prevent the egg whites from whisking up nicely. I recommend cracking the eggs in a separate bowl, as to not have any egg yolk in the egg whites.
- Temperature is Important– Egg whites need to be at room temperature, so take them out of the fridge at least 30 minutes before whisking.
- Froth– Make sure the egg whites are already frothy before you add any sugar. Once the egg whites are foamy, start adding the sugar gradually. Adding all the sugar at once can cause the egg whites to deflate and you will need to start again.
- Look for Peaks– Be patient when whisking the egg whites and do not stop until you reach stiff peaks. The meringue should be able to hold its shape perfectly, without any folds. This can take up to 8-10 minutes when using a hand mixer.
- Don’t Overmix– Don’t go overboard. Once the meringue has reached stiff peaks, stop mixing. This can have the opposite effect.
- Patience is a Virtue– Be patient when baking. These meringue Christmas trees are fairly large, so they need a long time in the oven. If they still seem soft after 2 hours, bake for extra 10-20 minutes. Always keep an eye on the meringue cookies so they don’t start to brown!
- Cool Slowly- Don’t Shock -After baking, leave the meringue cookies inside the closed oven for a minimum of 1 hour. The remaining heat will allow the cookies to cool down slowly and give them an extra crispy shell.
Storage
Meringue Christmas Tree cookies need to be stored away from any kind of moisture. Once fully cooled, place them in a hard-sided airtight container, they are fragile, so I recommend storing them in a single layer. The meringue cookies will stay fresh up to 2 weeks if stored immediately. Unfortunately, these do not freeze well, so enjoy them freshly baked.
Do not store the meringue cookies in the fridge, as the moisture will make them go gooey and soft.
More Christmas Treats
Tis the season and everyone, even us lazy bakers, are making Christmas treats. Here are a few more of my favorites.
Meringue Christmas Trees
Equipment
Ingredients
- 4 egg whites , room temperature
- ¾ cups sugar , divided
- ¼ teaspoon cream of tartar*
- 1 teaspoon vanilla extract*
- 2-3 drops green gel food coloring
- 1/2 cup vanilla buttercream frosting
- Decorations , sugar sprinkles, gold stars, powdered sugar
Instructions
- Preheat the oven to 225°F and line a large baking sheet with parchment paper.
- Pour the egg whites into a large, grease-free, dry bowl. Add in the cream of tartar, then start whisking. Mix at medium speed until frothy, approximately 2 minutes.
- Add ¼ cup of the sugar, whilst mixing continuously for another 2 minutes or until the meringue reaches soft peaks.
- Start adding in the remaining sugar gradually, whilst mixing over the course of 1-2 minutes. Once the sugar has been fully incorporated, add the vanilla.
- Mix on high speed until the meringue reaches stiff peaks, around 2-3 minutes. Stop mixing once the meringue holds its shape well. Do not overmix.
- Stir in the green gel food coloring, adjusting the color as desired.
- Spoon the meringue into a large piping bag fitted with a ½ inch star tip.
- On the prepared baking sheet, pipe one row of large star tip rosettes. Pipe a second row slightly smaller. Pipe a third row being the smallest. These will be the bottom, middle and top pieces of the tree.
- Decorate with festive sprinkles, if using, then bake for 2 hours. Once baked, turn off the oven and open the door for 1 minutes. Shut the door and let the meringues cool down inside the closed oven for 1-2 hours.
- Pop the rosettes off of the parchment paper. Place one of the largest rosettes on a workspace. Place a small dollop of vanilla buttercream in the center and top lightly with a medium rosette. Give it another small dollop and then finish with the smallest rosette.
- This step is optional, but if you want to attach a small gold star to the top, do this with a small amount of buttercream. I used a toothpick to give it just a little "glue". Another favorite is a small dusting of powdered sugar for a freshly fallen snow look.
- If you've tried this recipe, come back and let us know in the comments or ratings.
Nutrition







These are the cutest! How fun that they double as decoration AND dessert!
These meringue Christmas trees are so fun and festive! Will make these for the holidays!
These little Christmas trees are DARLING! Love it, thanks for sharing.
These are the cutest things I have ever seen. I love meringue cookies and I can’t wait to make them. In fact, I’m going to do a trial run this weekend. (Read: so I can eat them earlier than the holiday.) 🙂 Thanks for the recipe.
How cute are these!! I am definitely going to make these at Christmas time.