This is a festive and fun Christmas cookie idea that also happens to be easy! These Melted Snowman Cookies come alive in under 20 minutes or less; an activity the whole family will enjoy!
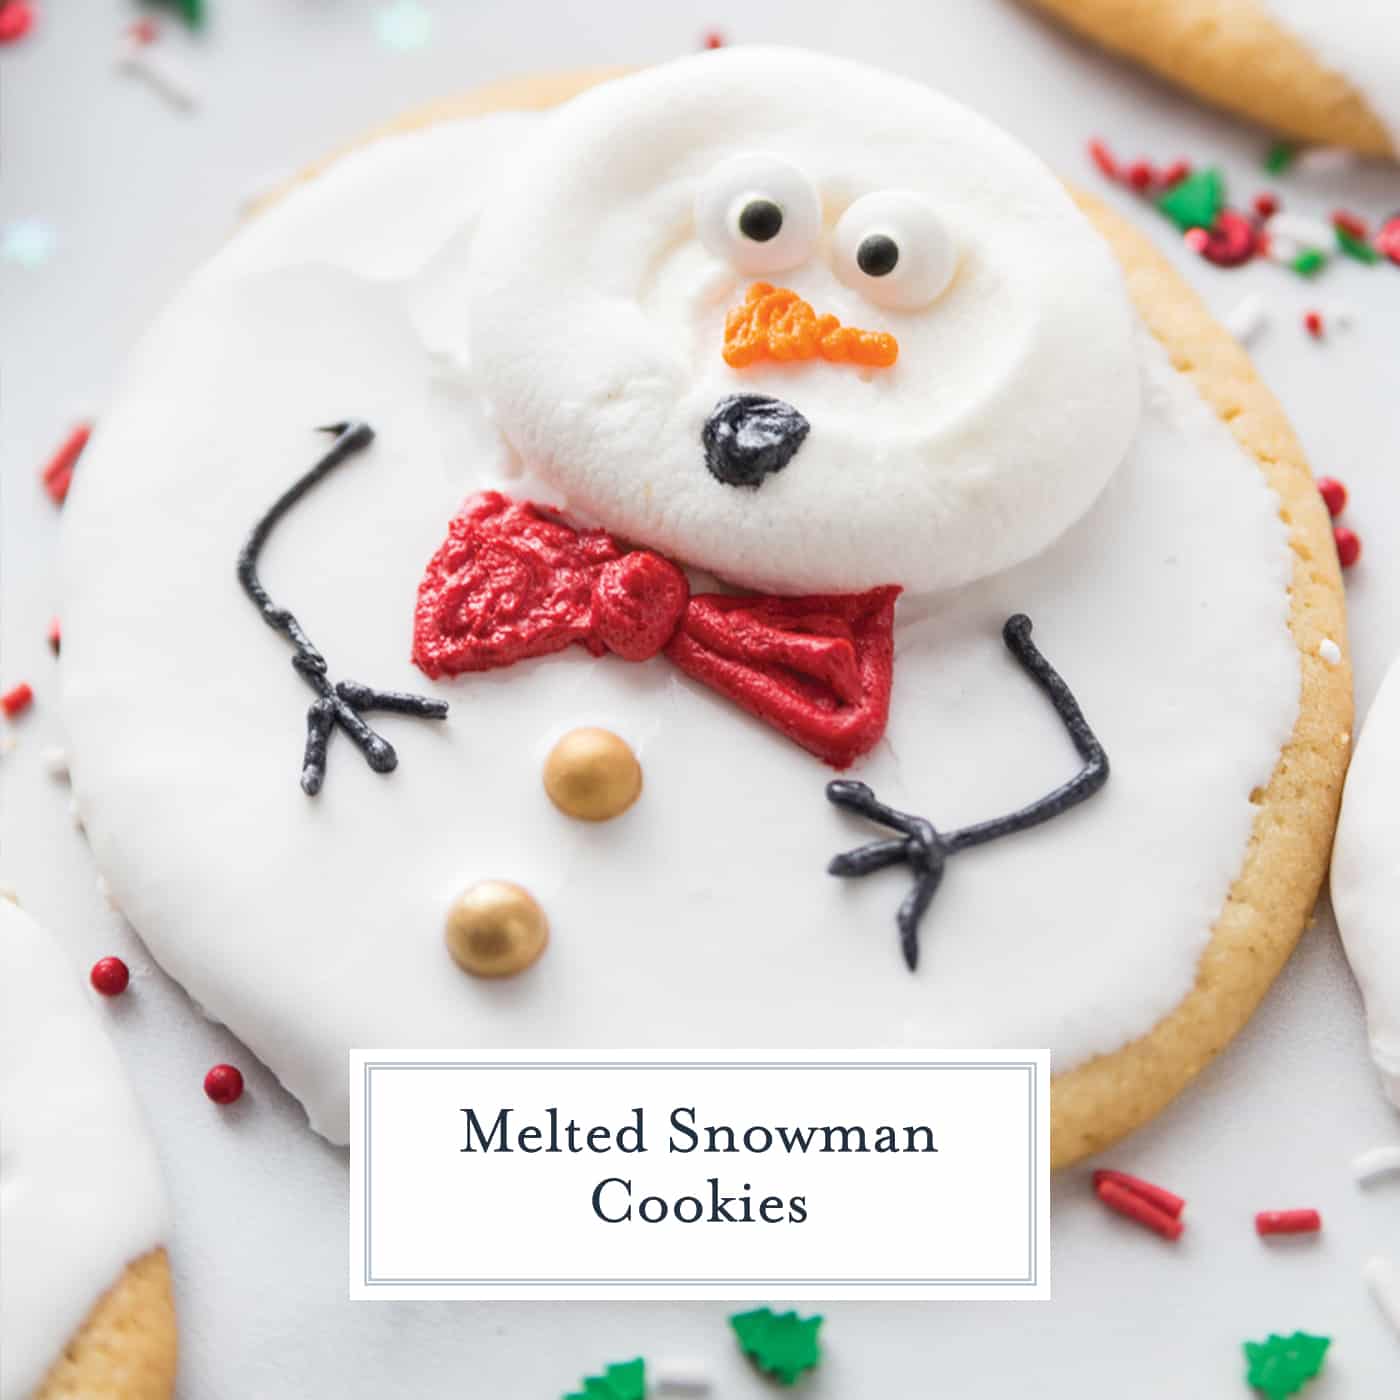
“Oh no, I’m melting!!! Please don’t eat me!” I had such a fun time speaking for these little guys while making them.
Melted Snowman Cookies are so adorable, I almost didn’t want to eat them. I mean really, how cute are these??
Melted Snowman Cookies start with sugar cookie dough, either store bought or homemade. That’s beauty of these cute holiday cookies is that they are perfect in their imperfection.
No rolling or cookie cutters, just haphazardly make a few circles or ball up some dough and press it out with your palm. If you are using a roll of cookie dough, cut it off the roll.
Bake and allow to cool. Melt cookie icing over the cookies, allow it to spread over the sides like it was melting. You can make a glaze from scratch out of powdered sugar and water, but why when buying a bottle of cookie icing is so easy?
Cookie icing will harden and then you can move onto to melting marshmallows for the heads.
No need to be “the best” cookie decorator or have type A details. In fact, I give mine a few thumb prints and jagged edges because nothing really melts in a perfect circle, right?
Any type of candy, hard sugar cake embellishment or sprinkles can be added. If you have a steady hand, like my friend Katie who helped me decorate these, you can even pipe out that frosting like a pro!

Melted Snowman Cookies Ingredients
You only need a handful of ingredients to make these melted snowman sugar cookies.
- Sugar cookie dough – I’m all about making desserts easy, so I prefer to use a tube of pre-made, store bought dough. If you have a homemade recipe you like, feel free to use that!
- White cookie icing – You can either buy a tube at the store to make thing super easy, or you can make your own royal icing. It’s up to you and the time that you have!
- Marshmallows – I like to use large marshmallows here. but you could use a variety of sizes to make a whole melted snowman family.
- Decorating frosting – I like to use a little bit of orange frosting to make the carrot nose, but you could also use an orange sprinkle like orange jimmies too.
- Candy eyeballs – For my adorable melted snowman cookies, I used candy eyes. However, they would look just as cute with black icing for eyes, so this ingredient is optional.
- Other decorating items such as sprinkles or candy – If you want your snowman to have a hat, a peanut butter cup is a great option. Get creative and add as many decorations as you want!
How to Make Melted Snowman Cookies
- Prepare oven and dough. Preheat oven according to sugar cookie dough package. Cut dough evenly into 12 slices.
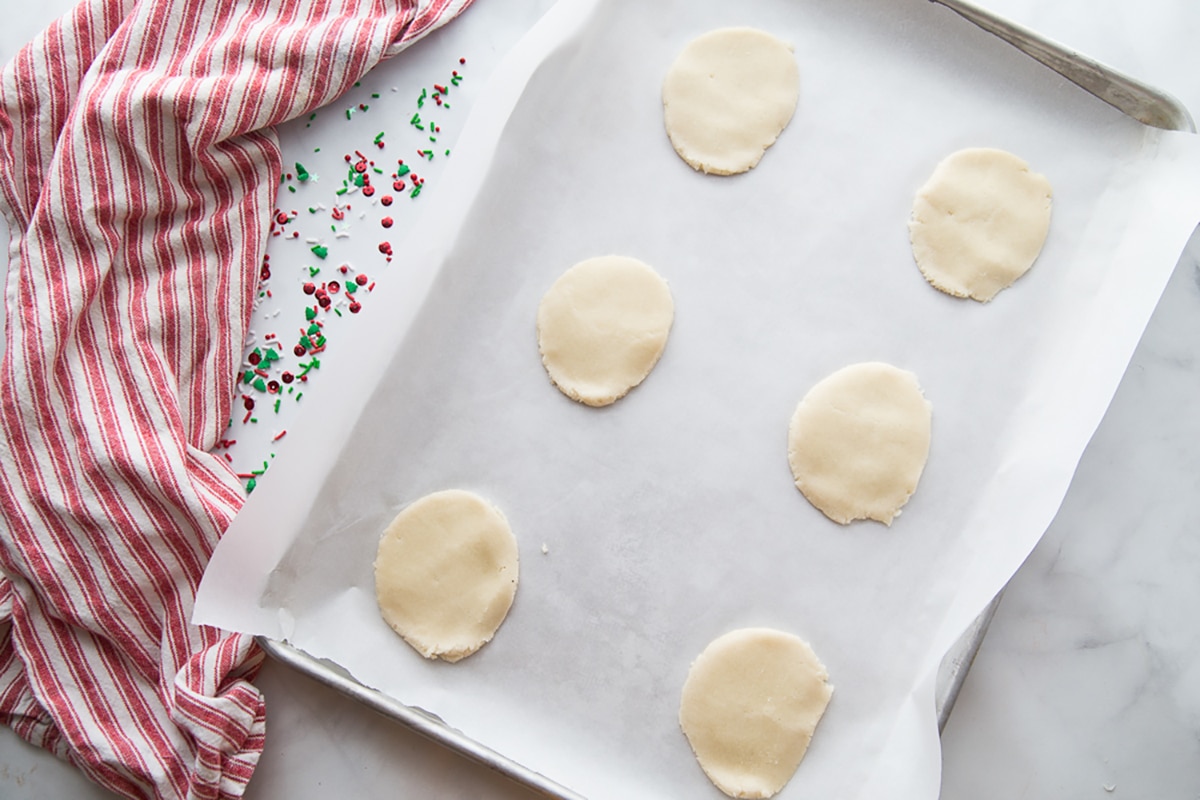
- Flatten cookies and bake. Place cookie slices directly onto the baking sheet and press down with the palm of your hand. The objective is for them to be uneven, like a pool of water. This type of dough spreads and melts slightly, so don’t fret over a uniform thickness. Bake according to package directions.
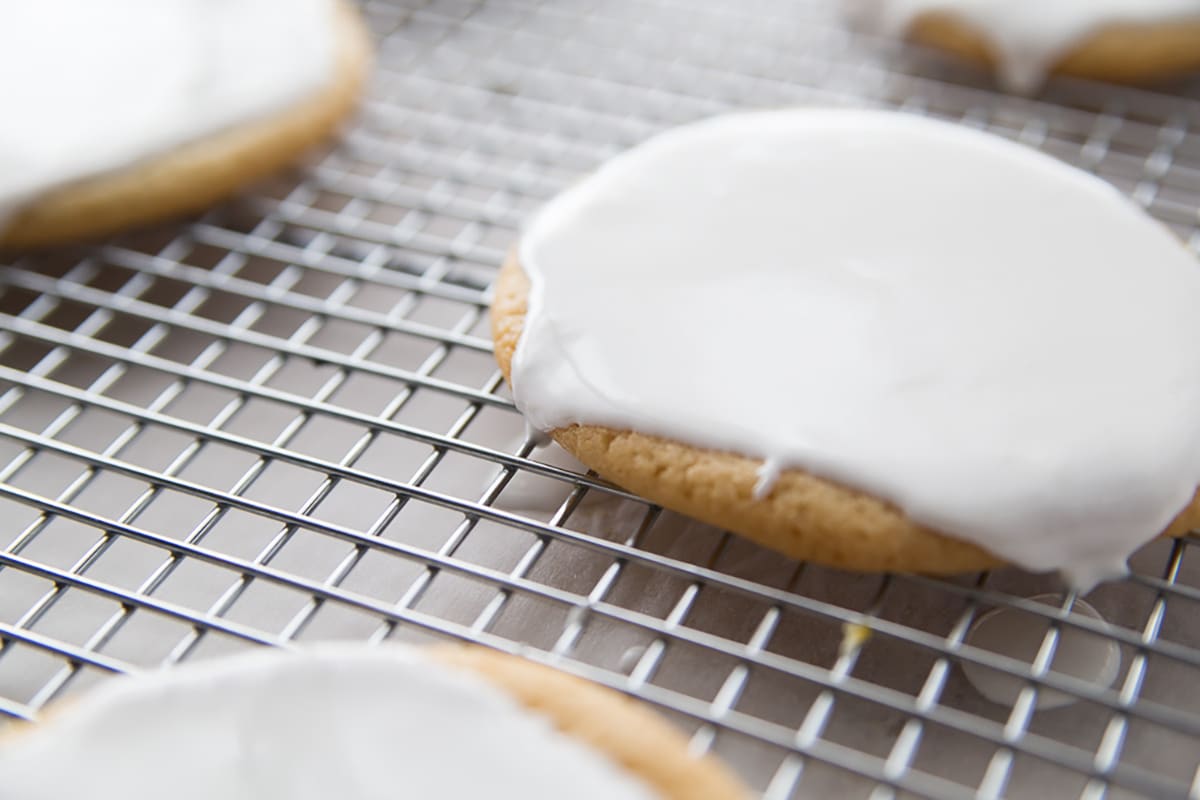
- Add icing. When cookies are fully cooled, allow them to remain on the cooling rack, but place a large baking sheet underneath. Pour icing over the top of each cookie, allowing it to flow off the edges.
- Add buttons. If you are adding candy for buttons, directly to the icing, now is the time to apply it. Cookie icing will harden and then if you want to add embellishments later you will need to adhere with another dab of icing.
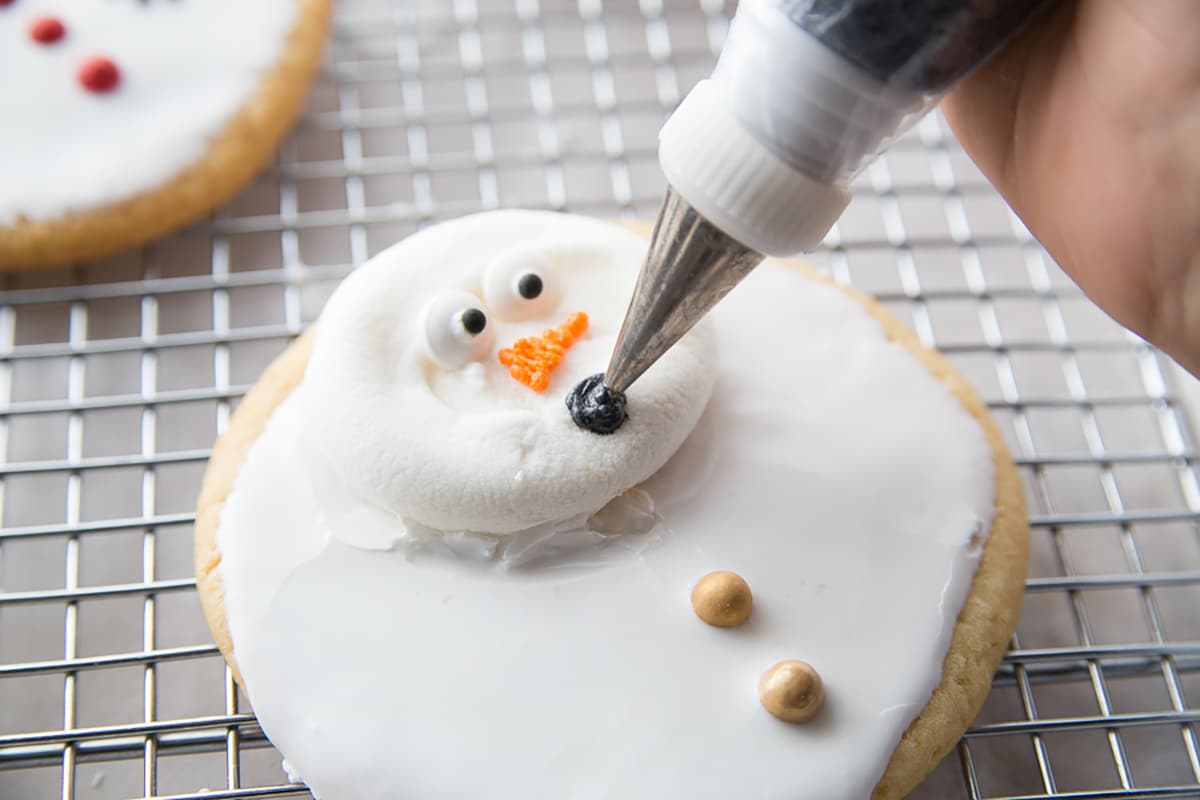
- Place marshmallow. Generously cover a microwave safe plate with cooking spray. Microwave marshmallow, watching them closely and wait until they start to inflate in size. Immediately dimple the tops with your thumb. Place a small dab of tubed cake frosting (preferably white) to the spot where you want the head and then gently remove the marshmallow and place in the desired spot.
- Decorate. Now here is the fun part- the rest of the decorating! Use your creative freedom to create whatever you would like on your snowman.
Variations
There are many great ideas to turn these into your own sugar cookies. They’re the perfect thing for little hands to help with in the kitchen, so here are a few ideas to make these cute cookies even cuter:
- Buttons – I just used black icing for my buttons, but mini m&m or even miniature chocolate chips would work great for these melted snowman cookies too.
- Snowman faces – If you don’t have candy eyes, just use black icing or mini chocolate chips instead. They’ll be just as cute!
- Arms – Instead of using icing for the arms, you could use pretzel sticks.
- Cookies – I prefer buttery sugar cookies myself, but you could certainly use peanut butter cookies to make these adorable melting snowman cookies.
- Icing – Making your own icing? Try adding some almond extract, clear vanilla extract or even peppermint extract to really take these fun cookies up a notch.

Storage and Freezing
Storage: You can store these little snowmen in an airtight container at room temperature. The marshmallows will harden pretty quickly, so I suggest enjoying them within a couple of days.
Freezing: You can also freeze these cookies. Put in an airtight container with parchment paper between each layer of cookies. These will last for three to six months if stored properly.
More Christmas Recipes
- Christmas Bundt Cake
- Christmas Tree Cake Cones
- Eggnog Cookies
- Hot Chocolate Stir Sticks
- Gingerbread Puppy Chow
Santa Cookies
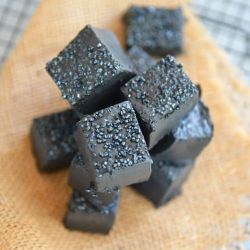
Christmas Coal Candy

Melted Snowman Cookie Recipe
Equipment
Ingredients
- 1 batch sugar cookie dough
- 2 white cookie Icing
- 12 large marshmallows
- decorating frosting
- candy eyeballs optional
- Other decorating items such as sprinkles or candy
Instructions
- Preheat oven according to sugar cookie dough package. Cut dough evenly into 12 slices (they will be approximately 1/2 inch thick).
- Since these are rather large, use a large cookie sheet and bake 6 at a time. Place cookie slices directly onto the baking sheet and press down with the palm of your hand. The objective is for them to be uneven, like a pool of water. This type of dough spreads and melts slightly, so don’t fret over a uniform thickness. Bake according to package directions. Remove to cooling rack and repeat.
- When cookies are fully cooled, allow them to remain on the cooling rack, but place a large baking sheet underneath. Take the top of the Wilton Cookie Icing and heat in the microwave for 30 seconds. Massage the bottle to spread the warmth evenly and then pour over the top of each cookie, allowing it to flow off the edges. You can use the nozzle they give you, but it takes forever.
- If you are adding candy for buttons, directly to the icing, now is the time to apply it. Cookie icing will harden and then if you want to add embellishments later you will need to adhere with another dab of icing.
- Generously cover a microwave safe plate with cooking spray. Place 6 large marshmallows onto the plate and set for 30 seconds. Watch them closely and wait until they start to inflate in size, wait 5 seconds longer and remove. Immediately dimple the tops with your thumb. Place a small dab of tubed cake frosting (preferably white) to the spot where you want the head and then gently remove the marshmallow and place in the desired spot. Heat a second batch fo 6 marshmallows, and repeat.
- Now here is the fun part- the rest of the decorating! Use your creative freedom to create whatever you would like on your snowman. I purchase the cheap plastic nozzles to use on the tubed frosting to create different shapes. I also piped smaller amounts of frosting into plastic baggies and then snipped a small hole in the corner to create more intricate pieces such as arms and bow ties.
- Store in a cool dry place. Enjoy!
- If you’ve tried this recipe, come back and let us know how they were!







Love them thank you for linking up!!!
Well done!! I love them!
I especially love the expressions you gave each snowman.
Happy Christmas, my friend!
xo
Janet
Thanks, Janet! They are so much fun… I admit, I talk to them or give them voices while I decorate. I’m sure your creative hand would have quite the funny faces too!
Merry Christmas!
SO cute and creative!!
Hey Cara~! I can not take credit for the creative idea- totally got this one off of Pinterest, but put my own spin on it.
These are cute! I can’t wait to make them!