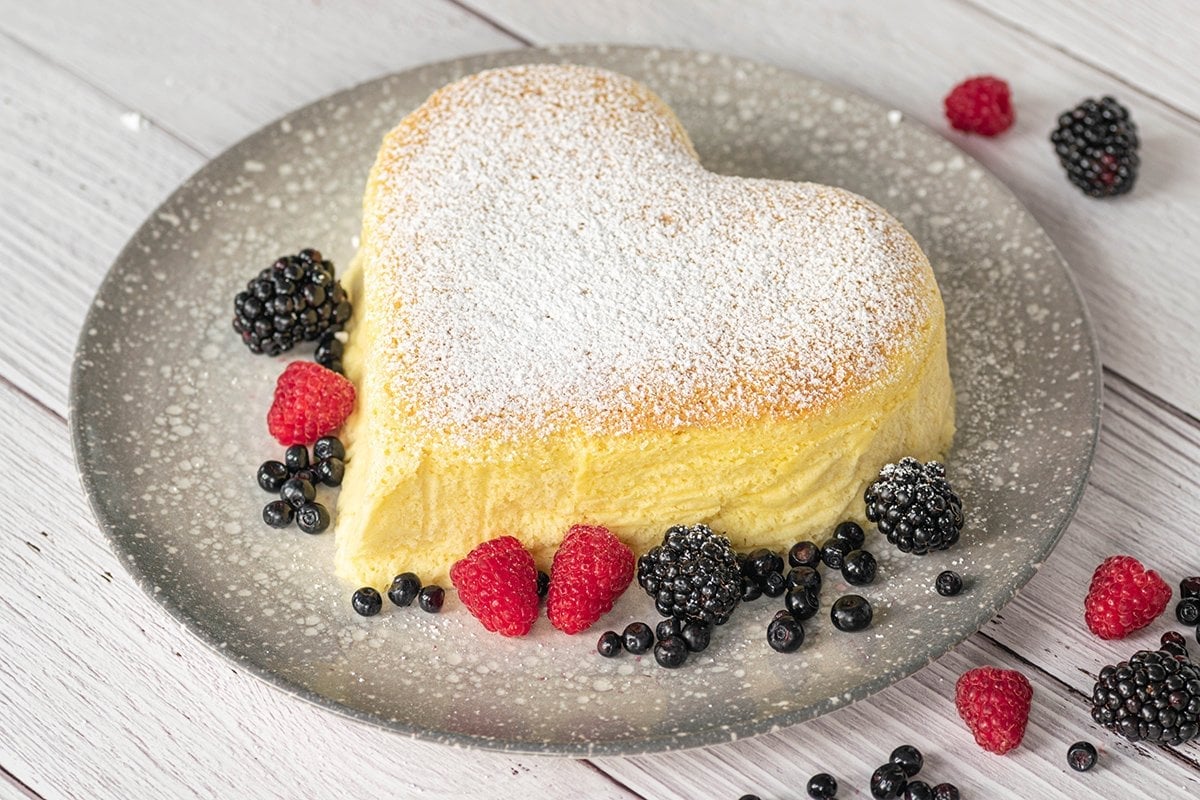
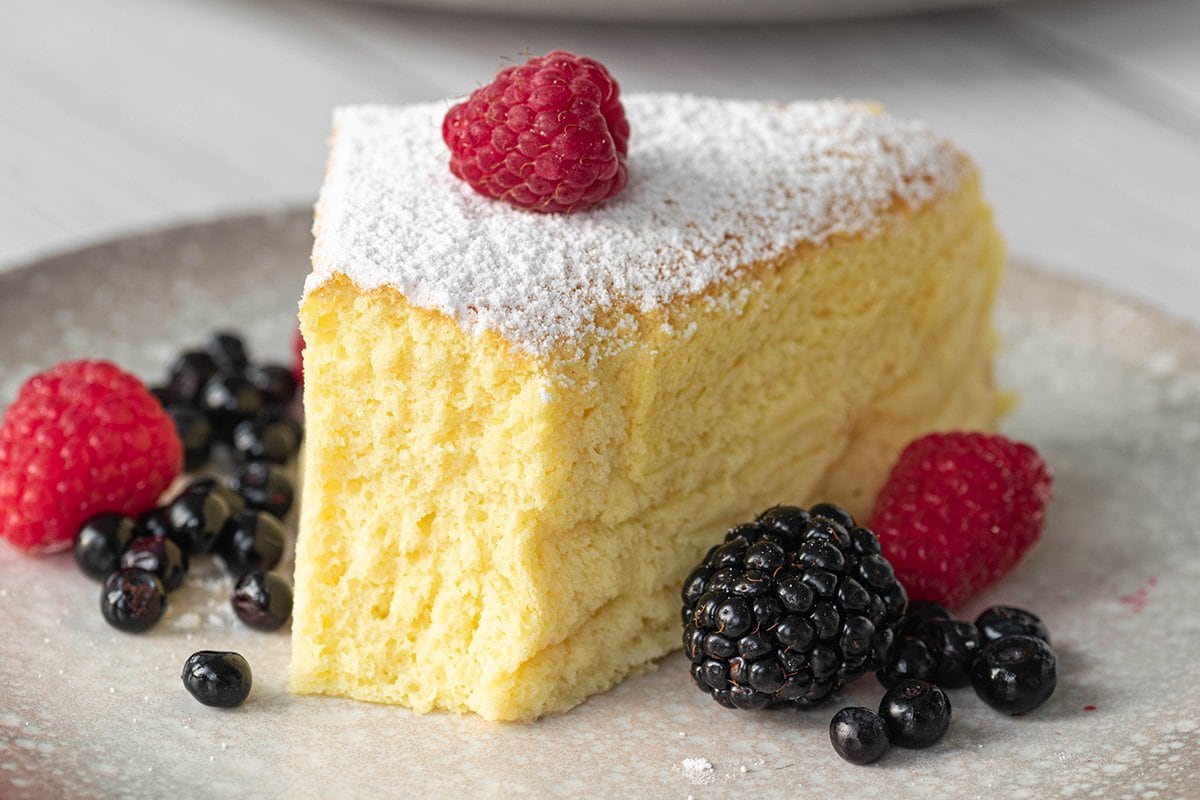
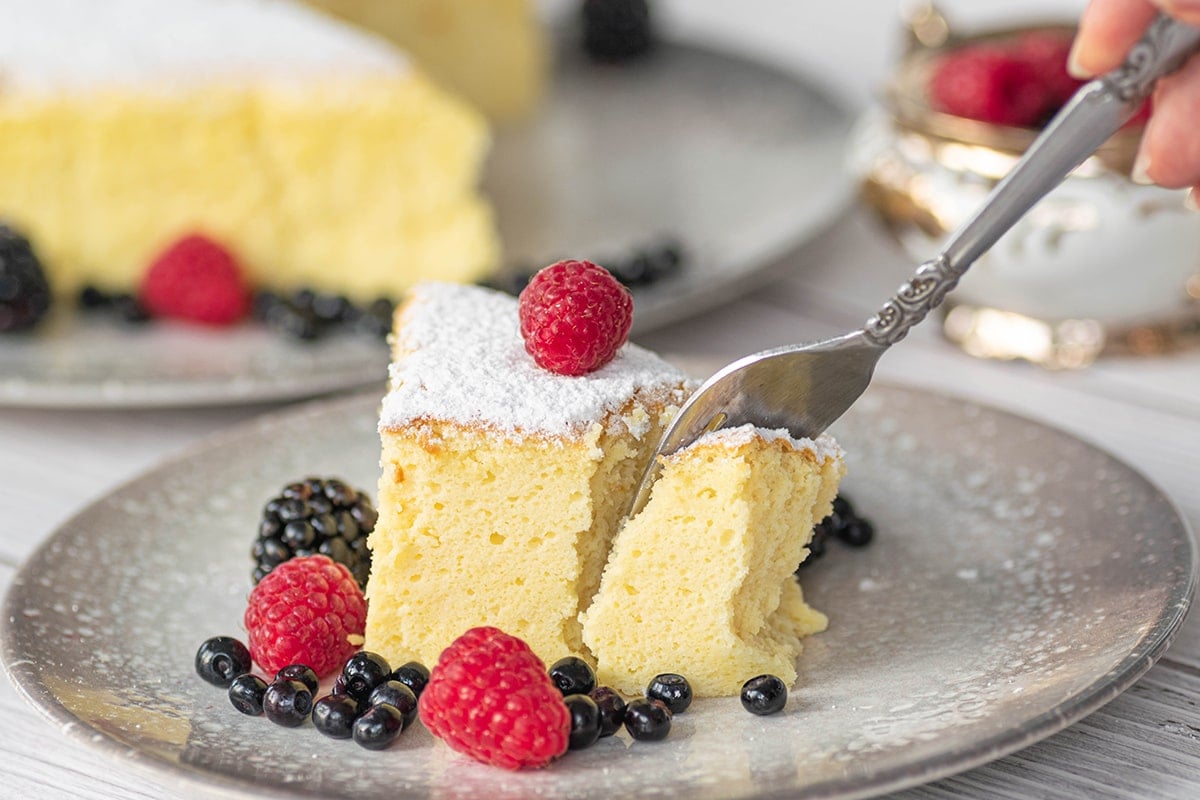
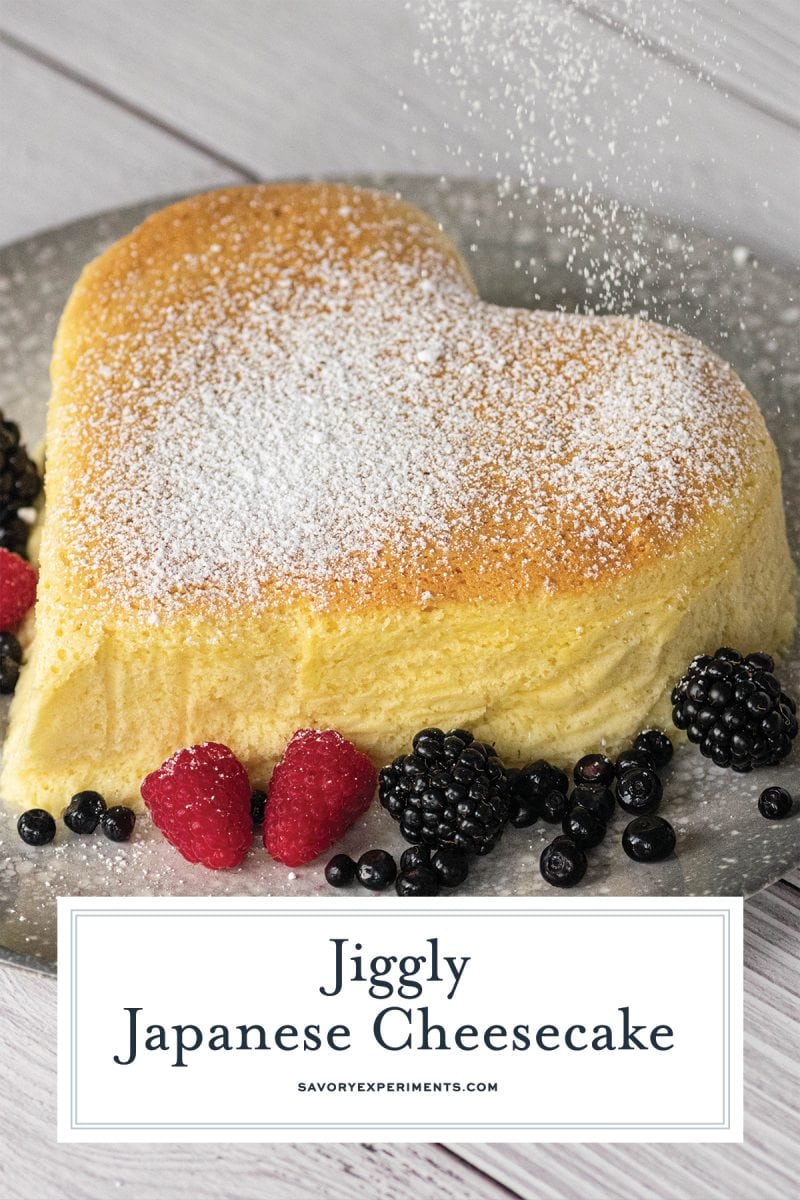
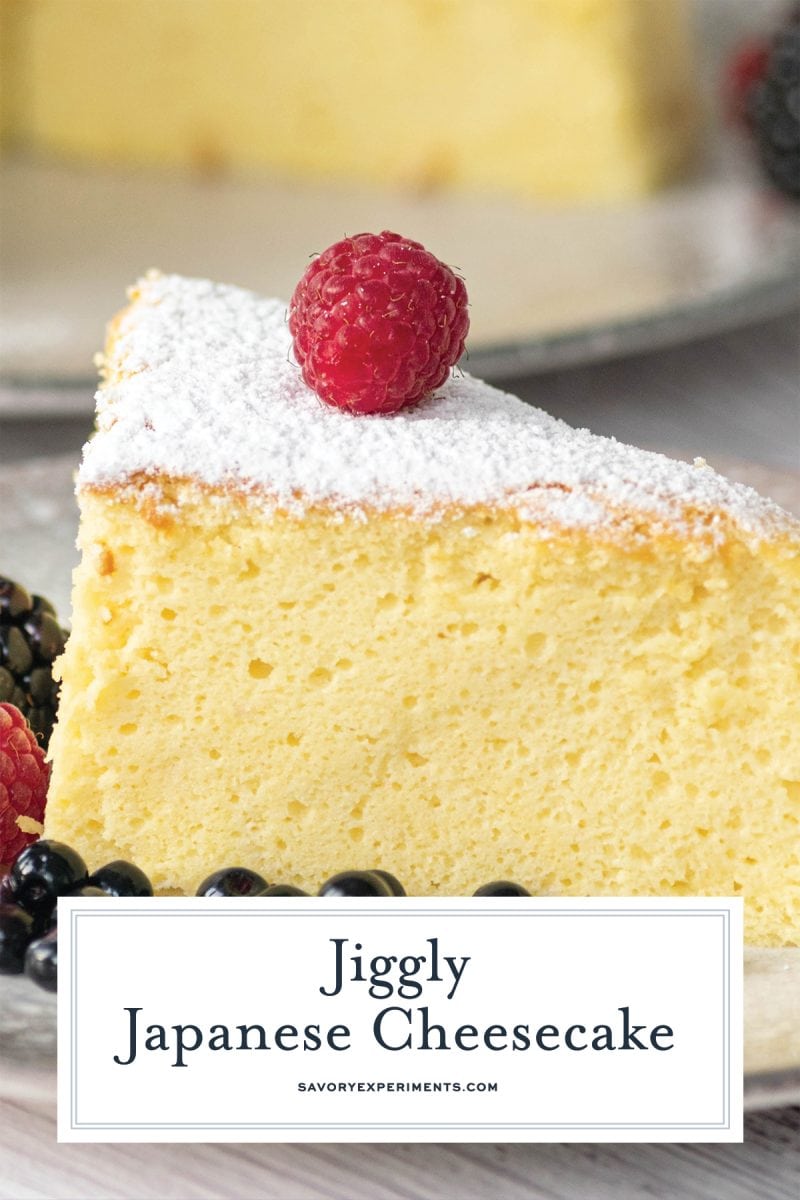
Incredibly light and fluffy, this Japanese cheesecake is so soft it melts in your mouth. Made with a soufflé base and baked in a water bath, this jiggly cheesecake is the fluffiest dessert ever!
Ingredients
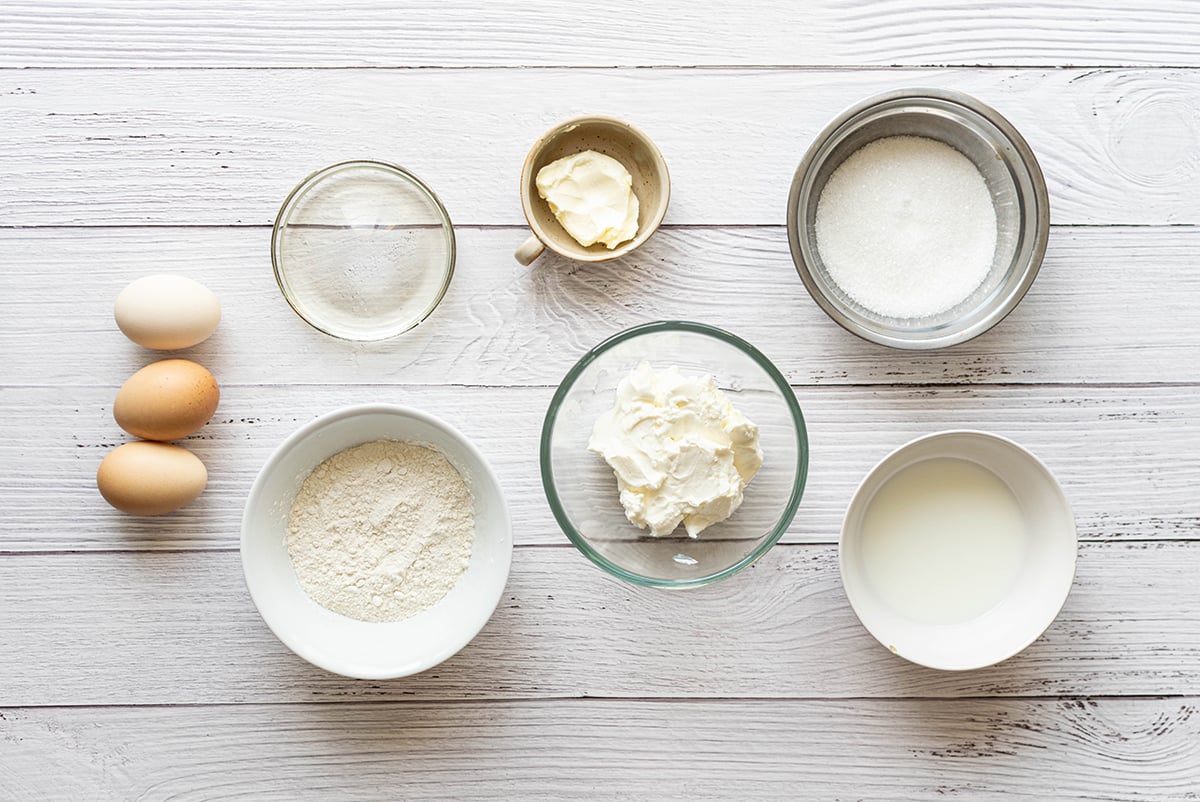
Let’s talk about ingredients. The main thing to remember about this Japanese cotton cheesecake is that it uses no leavening agent. All that impressive rise comes from the egg whites and the fluffy texture of this cheesecake comes from cream cheese.
- Cream cheese – The main ingredient of this recipe. Use full-fat cream cheese, with at least 30% fat (check the nutritional label). This is more of a cream cheese batter than anything.
- Lemon juice – Used to add a tangy flavor to the cheesecake. This can also be replaced with vanilla extract for a more subtle taste. Try adding lemon zest for even more flavor.
- Eggs – Really important for helping the soufflé cheesecake rise. I recommend using large eggs, free-range or organic. For a more stable meringue, use chilled eggs. This helps to ensure a fluffy cake.
- Cake flour – This is essential to yield an extra soft cake. As Japanese cheesecakes are so delicate, cake flour cannot be replaced with all-purpose flour or self-rising flour.
- Sugar – Used to add sweetness and help the meringue become more stable. This cake is not overly sweet, but the sugar can be adjusted slightly for a sweeter cheesecake. Alternatively, dust the cake with icing sugar.
Variations
You can’t go wrong with this recipe as-is, but there are a few ways to switch it up, too!
- Cheese – Swap out the cream cheese for mascarpone cheese for a milder flavor.
- Coconut Milk – Replace the milk with coconut milk to add a subtle tropical twist.
- Flour – Use almond flour for a gluten-free option, or replace it with all-purpose flour for a denser texture.
- Lemon Juice – Use yuzu juice for a uniquely Japanese citrus flavor, or orange juice for a softer citrus note.
- Sugar – Try using light brown sugar for a hint of molasses or powdered sugar for a finer texture.
How to Make Japanese Cheesecake
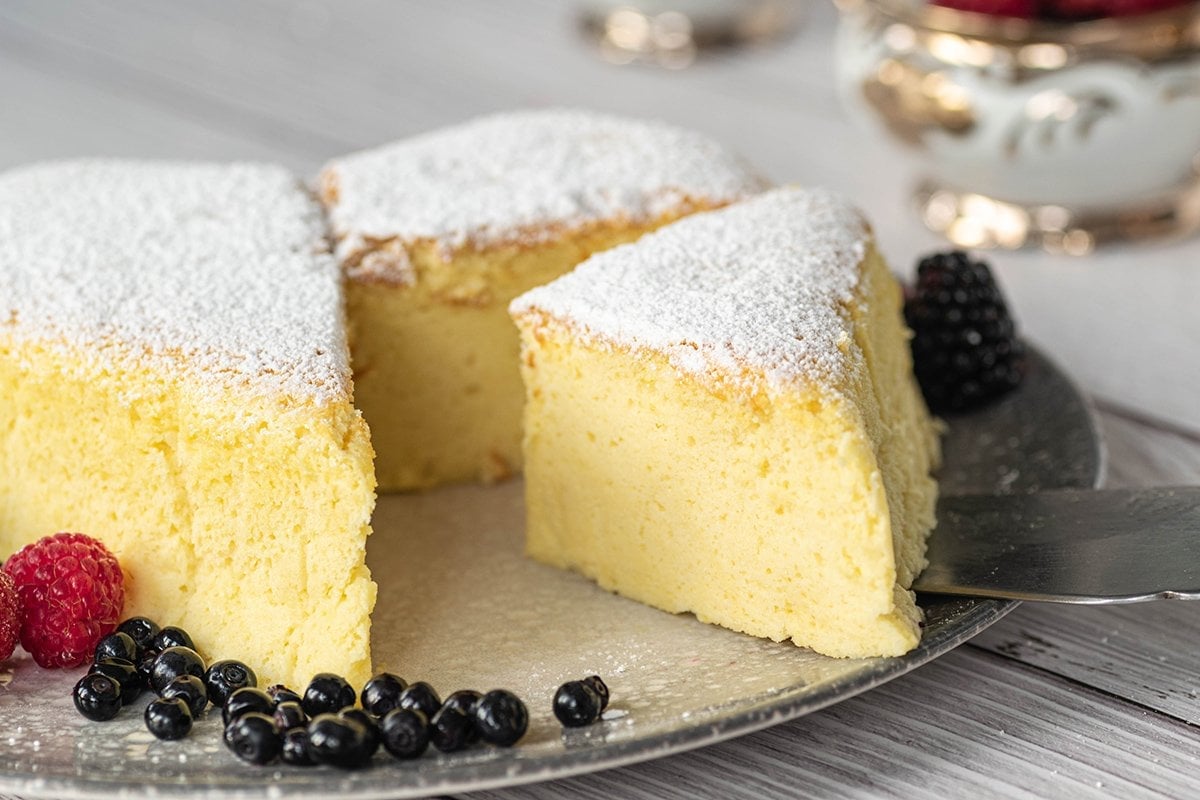
Making Japanese cheesecakes is simple, but it does require precision for best results. The ingredients need to be in exact quantities, which is why I recommend using a kitchen scale for this recipe.
To get the smoothest texture possible, the flour needs to be sieved before adding it to the batter. Similarly, if the mixture becomes lumpy, sieve it again to remove lumps.
- Make the cream cheese mixture. Combine the cream cheese, melted butter, and hot milk in a large bowl or stand mixer. Whisk well until the mixture becomes like a creamy paste. If the cream cheese is too lumpy, heat gently over a double boiler.
- Add yolks and flour. Mix in the egg yolks into the cream cheese mixture, then sieve in the flour. Combine everything with a whisk or spatula. Sieve the mixture again if there are any lumps of flour.
- Prep the egg whites. Whip the egg whites and pour in the lemon juice once the mixture becomes frothy.
- Add the sugar. Incorporate the sugar into the beaten egg whites slowly, in thirds. Continue mixing until the meringue reaches soft peaks, not stiff peaks.
- Combine. Fold in one-third of the meringue into the cake batter. Add in the remaining meringue without deflating too much air, using a spatula. To combine, use a sweeping motion to fold the batter in on itself. It’s important to not deflate too much air from the meringue.
- Transfer the batter. Pour batter into the bottom of the pan, then prepare to bake.
- Cover. The outside of the springform pan needs to be covered with aluminum foil to prevent water from seeping in. I recommend using two or three layers of foil.
- Prep the water bath. Place the cake pan into a deeper, larger pan. Pour boiling water into the larger pan, around 1 inch in height.
- Bake. Bake the cheesecake in a preheated oven for 30 minutes, then open the oven door to release some steam. Releasing some steam prevents the cheesecake from becoming too soft.
- Continue baking. Reduce the oven temperature and bake for an additional 30 minutes. As this cheesecake is so soft, the skewer test will not be as effective. The cheesecake will be ready when it has a slight wobble, but the top of the cake is golden brown.
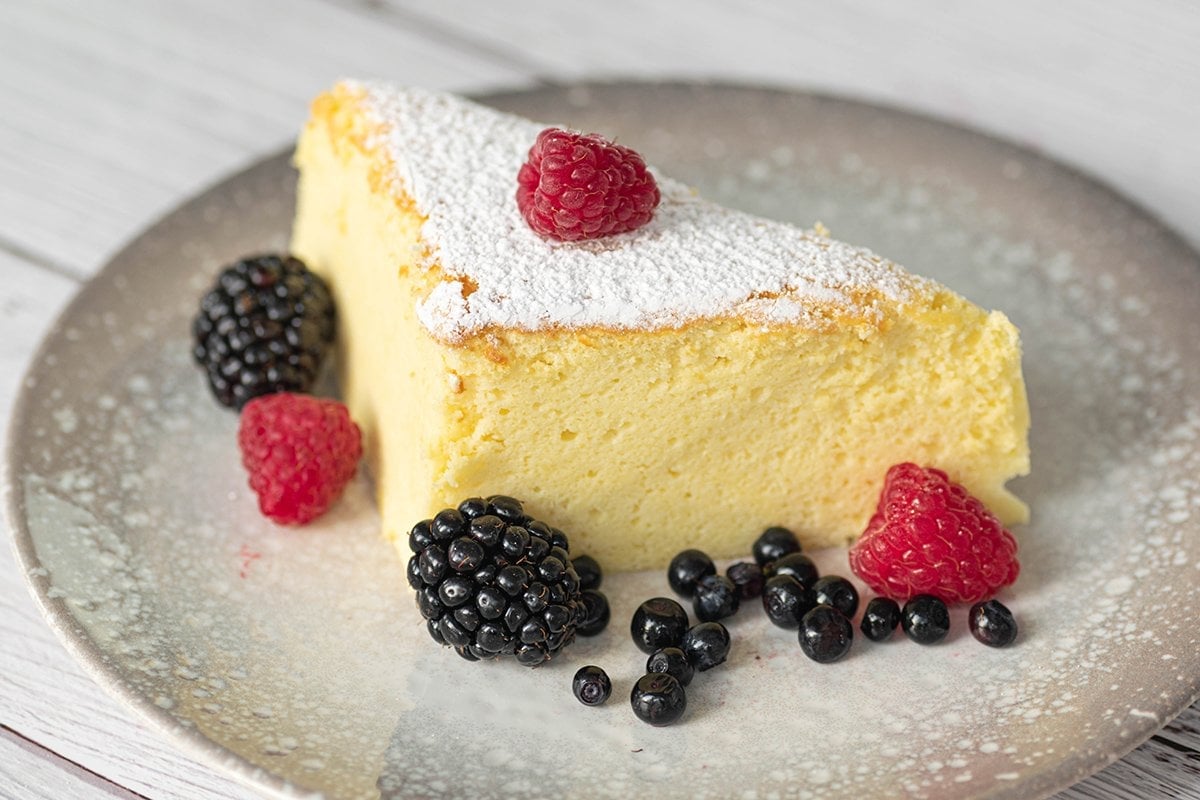
- Serve. To serve, slice into portion sizes, dust with icing sugar or brush with apricot jam or honey. I also recommend serving it with a side of fresh berries – strawberries, raspberries, blackberries, or blueberries.
Japanese Cheesecake Tips and Tricks
To get the best, most jiggy cheesecake, I’m sharing some of my favorite tips and tricks.
- Line the pan. Always line the cake pan for an easier release.
- Measure ingredients carefully and accurately. Please use our guide for how to measure flour if you aren’t sure you are doing it correctly.
- No lumps. Ensure the cheesecake mixture is lump-free before adding the egg yolks. If there are any lumps left, use a double boiler to warm the mixture. Mix until there are no lumps left.
- Sieve the cake flour to avoid lumps. If the batter is still lumpy after mixing, sieve again to remove lumps.
- Use chilled eggs for the meringue. Cold egg whites yield a more stable meringue.
- Do not add all the sugar at once. Pouring all the sugar in can deflate the meringue. Add the sugar in thirds every 30 seconds, whilst mixing.
- Medium peaks meringue is needed for best results. A soft meringue will not yield a good rise, whereas a stiff meringue can also affect the rise.
- Always use a water bath when baking. The steam helps the soufflé cheesecake have a fluffy texture and prevents burning.
- Do not open the oven unless indicated. Releasing any steam too early can deflate the cheesecake.
- Let the cheesecake cool in the oven with the door cracked ajar. This is particularly important in cold weather. The fluffy cheesecake can collapse if cooled too quickly.
Storage and Freezing
Japanese cheesecakes are best served after chilling in the fridge for a few hours so you can make it ahead of time and serve it when ready.
How to Store
Soufflé cheesecakes can be stored in the fridge for up to 3 days. I do not recommend leaving this cheesecake out at room temperature.
Can I Freeze Japanese Cheesecake?
If you happen to have leftovers, this cheesecake can be frozen for up to 3 months. For best results, cover the cheesecake in plastic wrap, then wrap it in aluminum foil to prevent freezer burn.
Common Questions about Japanese Cheesecake
Japanese cheesecake differs from other cheesecakes in that it is a little jiggly and has a milder flavor.
Yes, always keep this cheesecake, and other varieties, refrigerated.
Egg whites are what make this cheesecake so light and delicious!
More Cheesecake Recipes
No matter what kind of cheesecake you’re looking for, we have plenty of sweet and delicious recipes to share!
Japanese Cheesecake
Equipment
Ingredients
- ¾ cup cream cheese
- ¼ cup milk , hot
- 2 tablespoons unsalted butter , melted
- 3 egg yolks
- 1/3 cup cake flour
- 3 egg whites
- 2 tablespoons lemon juice
- 1/3 cup sugar , divided
Instructions
- Pre-heat the oven to 325°F. Grease and line a 8 or 9-inch springform pan with parchment paper on the sides and bottom. Set aside.
- Combine the cream cheese, melted butter and hot milk in a bowl, mixing well. The cream cheese mixture should be like a smooth paste. Heat over a double boiler if there are any lumps left.
- Combine the egg yolks into the cream cheese, mixing well to incorporate.
- Sieve in the cake flour, using a whisk to combine into the batter. If any flour lumps remain, sieve again.
- Whip the egg whites using an electric mixer, in a separate bowl. Pour in the lemon juice once the mixture becomes frothy.
- Incorporate one third of the sugar into the frothy eggs, then keep mixing for 30 seconds. Add one half of the remaining sugar into the meringue, mixing for 30 seconds. Pour in the remaining sugar, mixing until the meringue reaches medium peaks.
- Fold in one third of the meringue into the cake batter, using a spatula. Use a sweeping motion to fold the batter in on itself.
- Fold in the remaining meringue without deflating too much air, using a spatula. Stop once the meringue is incorporated and the batter is fluffy.
- Prepare a cake pan by lining it with parchment paper on the sides and bottom. Pour the cake batter into the pan, then run a spatula through the batter to remove large bubbles.
- Place the cake pan into a deeper, larger pan. Ensure the cake pan is well lined with aluminum foil.
- Pour boiling water into the larger pan, around 1-inch in height.
- Bake the cheesecake in a pre-heated oven to 325°F for 30 minutes.
- After 30 minutes, open the oven door for 10 seconds to release some steam. Releasing some steam prevents the cheesecake from becoming too soft.
- Reduce the oven temperature to 225°F and bake for an additional 30-40 minutes. The cheesecake will be ready when it has a slight wobble, but it golden-brown on top.
- Let the cheesecake cool for 30 minutes inside the oven, with the oven door slightly ajar. Afterwards, cool down and chill for 4 hours before serving.
- To serve, either dust with icing sugar or brush with apricot jam or honey.
- If you've tried this recipe, come back and let us know how it was in the comments or ratings!
Nutrition





hi, are there metric measurements for this recipe please?
Hi Tony, we do not provide metric measurements since we are based in the US.
I’ve tried this recipe 2x now and both times water managed to deep into the aluminum foil barrier around the pan and subsequently into the bottom of the cake, even after switching to 18in wide sheets. Is there something I’m missing to keep water out of the bottom of the pan. Unfortunately both times this kept the cheesecake from rising and made it very soggy and dense. Any input would help, thanks in advance.
Hi Andrew, sorry for the delay, this recipe is from one of our contributors and I had to reach out to get an answer. Here you go:
“Make sure the entire bottom of the pan is fully covered with aluminum foil, and use 2-3 or layers of strong foil. Also, you only need to add about 1 inch of water in the larger pan, to prevent it from seeping into the top of the cake pan. These methods always work for me.
If you want to be extra sure, you can also use a cake pan with fixed bottom instead of a springform pan. Then there’s no aluminum foil needed.”
Excellent recipe. Thank you.
Never rose. Think I needed stiffer peaks- I started losing the meringue instantly, even with the gentlest folding. Medium peaks my foot
Hmmm… I’m thinking maybe you needed to beat it longer— you and your foot?
you state a few times to measure the ingredients in grams but when you list the measurements, you list them as 1/4 cup or 3 egg yolks, 2 teaspoons, etc. Since you make that comment, could you also list the measurements in grams? I do want to make this but will wait until I see the recommended measurements.
Hi Ronda, sorry for the confusion, we will go back and update. We only post in US cups/teaspoons. The original creator of this recipe is UK based and uses metric system. It has been converted.
This beautiful cheesecake was a joy to make. Just like the images here, it turned out soft and fluffy with a heavenly texture. This recipe’s a keeper!
Oh my goodness! This cheesecake looks amazing and perfect to make this weekend with my daughter! Everyone is bound to love this especially since we LOVE cheesecake, so excited to give this a try!
I’ve never heard of Japanese cheesecake and now I want to make this asap! The combo of cheesecake and soufflé sounds divine.
I absolutely LOVE Japanese cheesecake, but for some reason I have never thought of trying to make it at home. This needs to happen in my kitchen soon!!
Looks perfect for an afternoon treat. Thank you for this beautiful recipe!