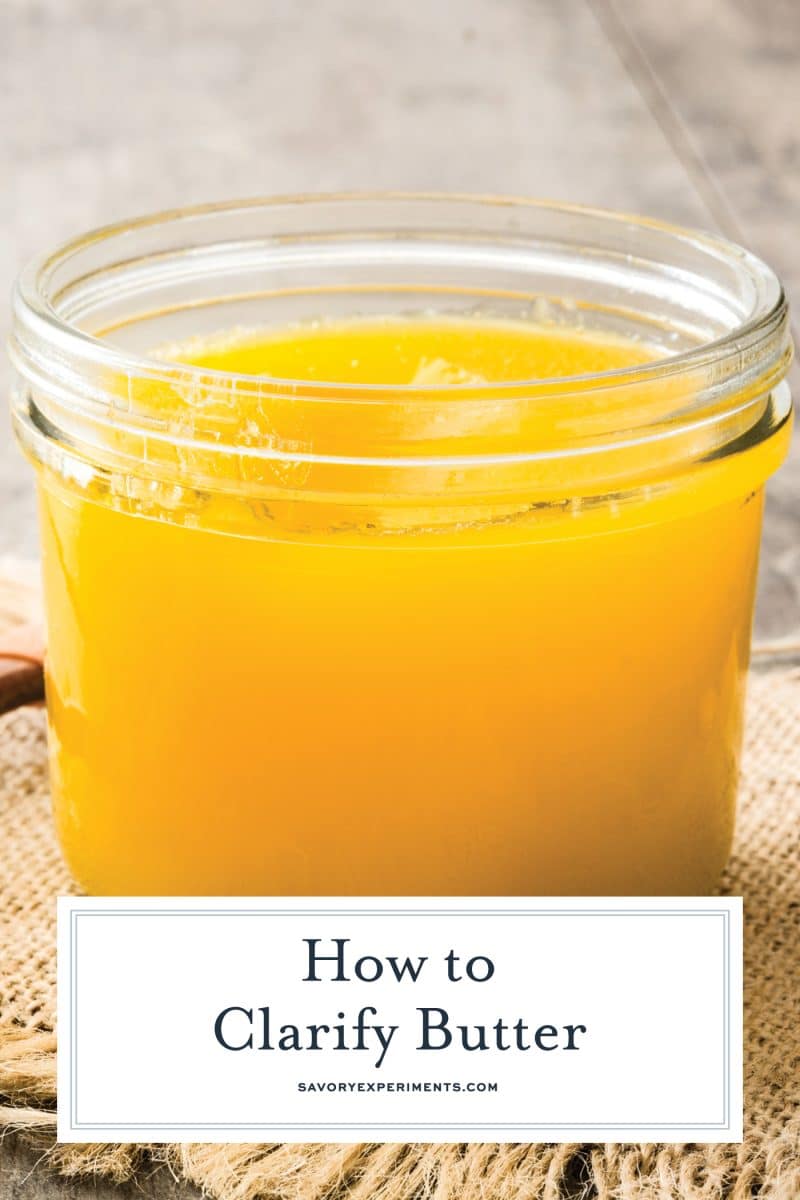
Have you ever wondered how to clarify butter, also known as liquid gold? We’ve laid out why you should be using it and how to make it.
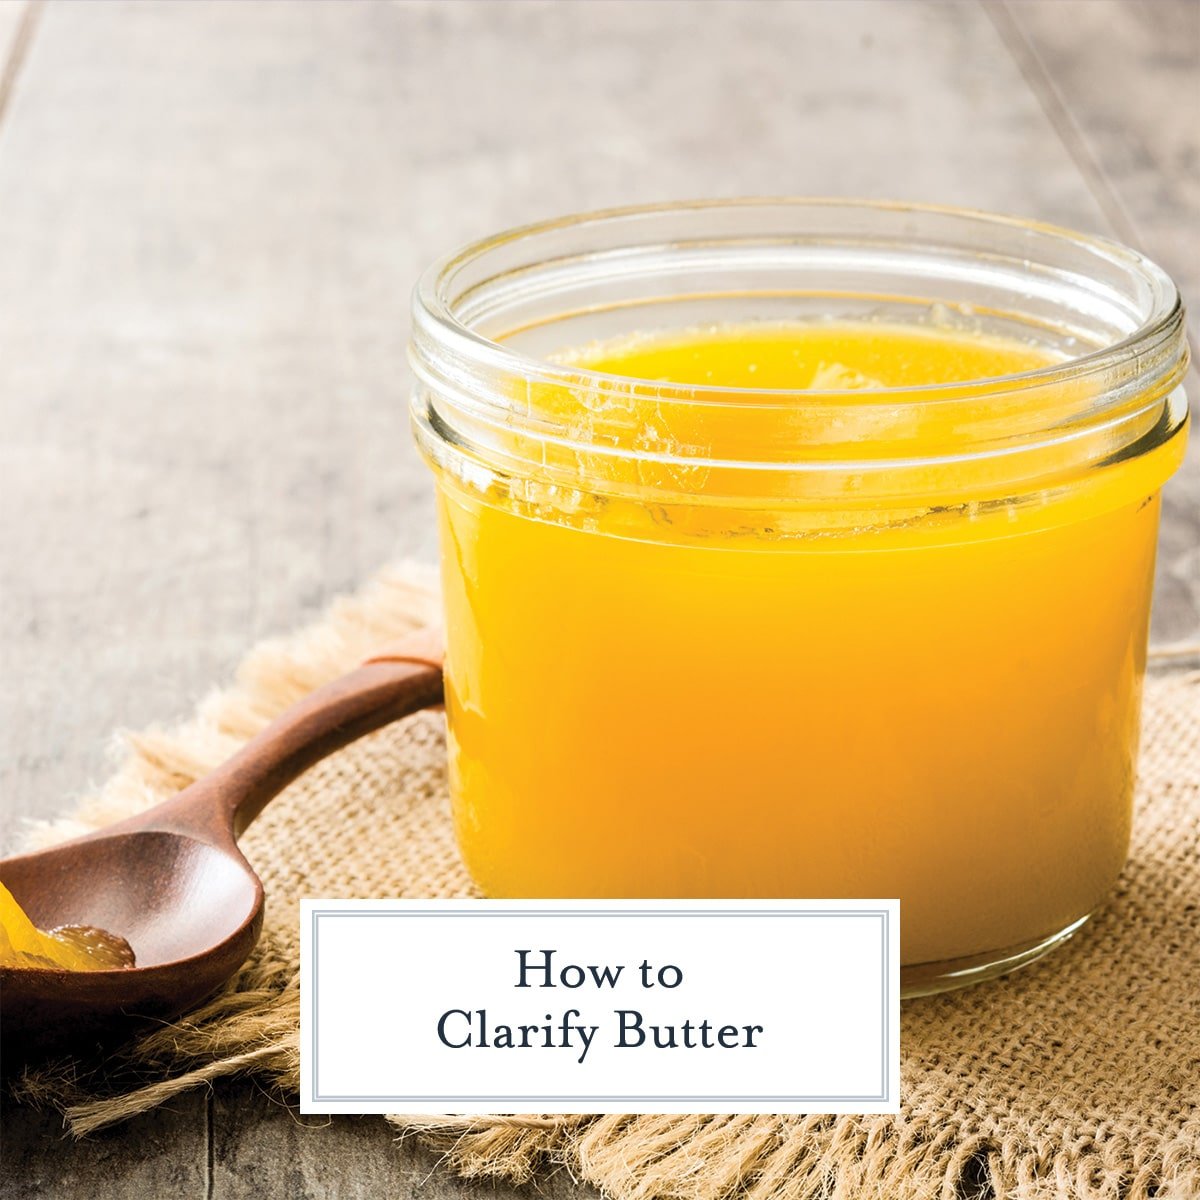
The process is relatively easy and perfect for making sauces and gravies, on seafood, for hollandaise sauce or for dipping lobster. It is the melted butter you see when you get “drawn butter”.
What is Clarified Butter?
First thing is first… what is clarified butter?
Put simply, clarified butter is pure butterfat (whole butter) separated from the milk solids (milk proteins) and whey proteins. The most common method of getting the desired result is heating butter over low heat, before browning, and skimming off the whey proteins and pouring off the butter fat, leaving just the milk solids behind. It is pure fat and it is delicious.
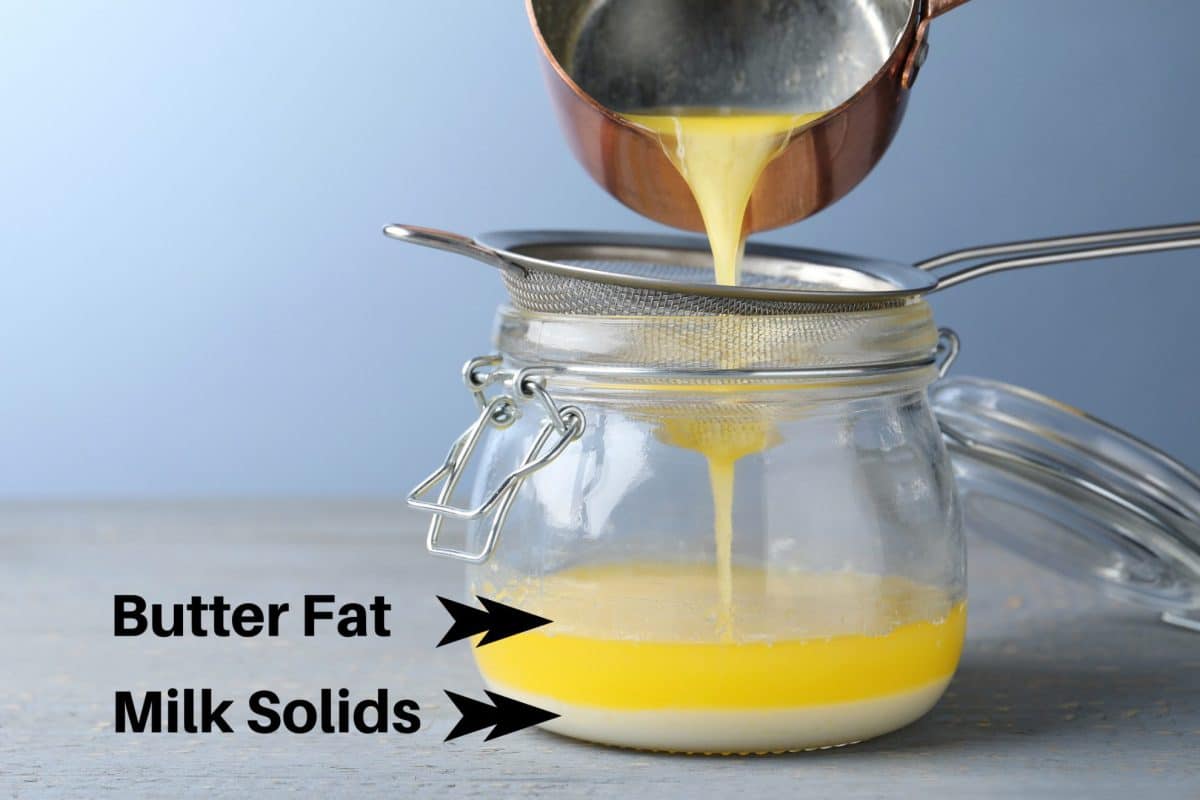
The components will separate based on density into three layers, making it easy to remove the milk solids and why proteins. The water evaporates, the whey floats to the surface and are skimmed off, and the remainder of the milk solids sink to the bottom, allowing you to easily pour off the liquid gold in the middle.
Why Clarify Butter?
One of the benefits of clarified butter is that it has a high smoke point (won’t burn at high temperatures) (485 °F or 252 °C). Regular butter has a smoke point of 325–375 °F, making it ideal for pan frying and sautéing.
Clarified Butter also has a longer shelf life than fresh butter and has much lower levels of lactose (because the milk has been removed) making it more tolerable for those with a milk allergy.
Ghee vs Clarified Butter
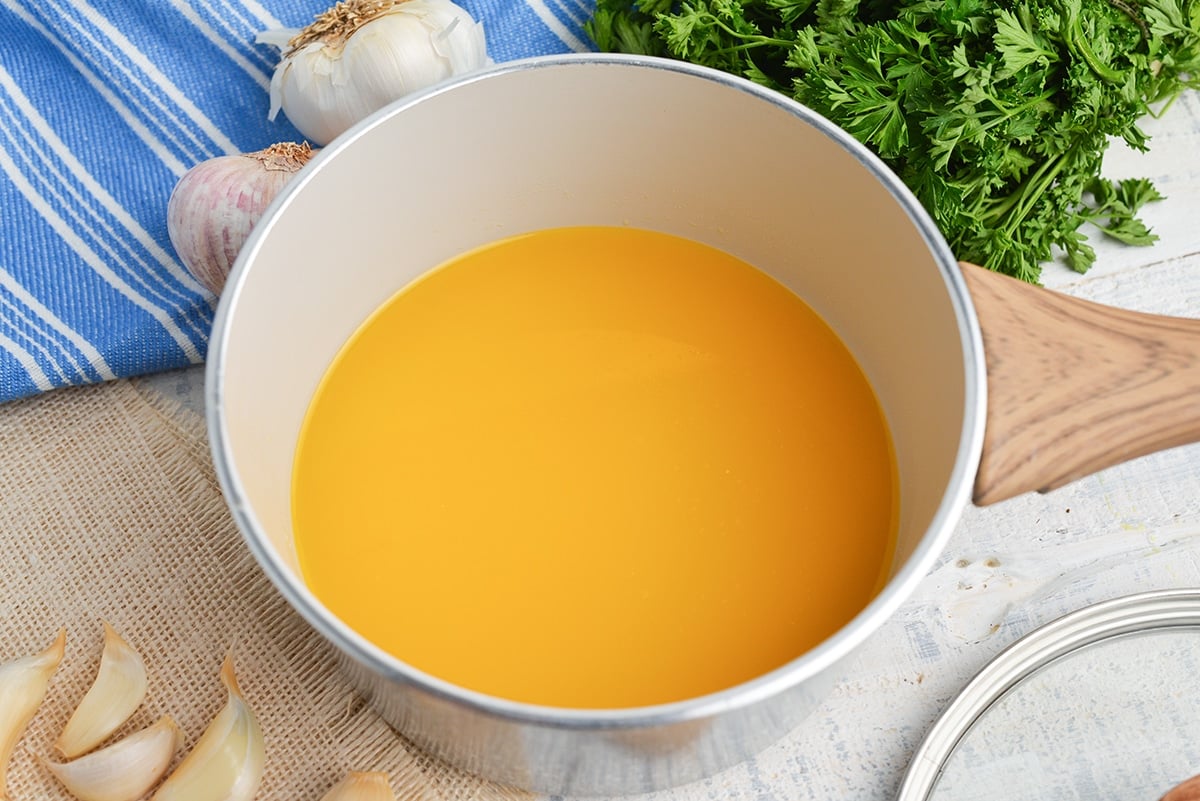
If you’ve heard of ghee before and you’re wondering the difference between ghee vs clarified butter, ghee is a type of clarified butter that is cooked longer until all the moisture has evaporated and the milk solids have turned brown and caramelized. They pretty much the same thing.
Then the milk solids, whey proteins and impurities are strained out and you’re just left with butterfat. When it comes to clarified butter, it’s cooked until all the water has dissolved and the milk solids melt and just get mixed in. Ghee is common in Indian cooking and can be bought at the grocery store.
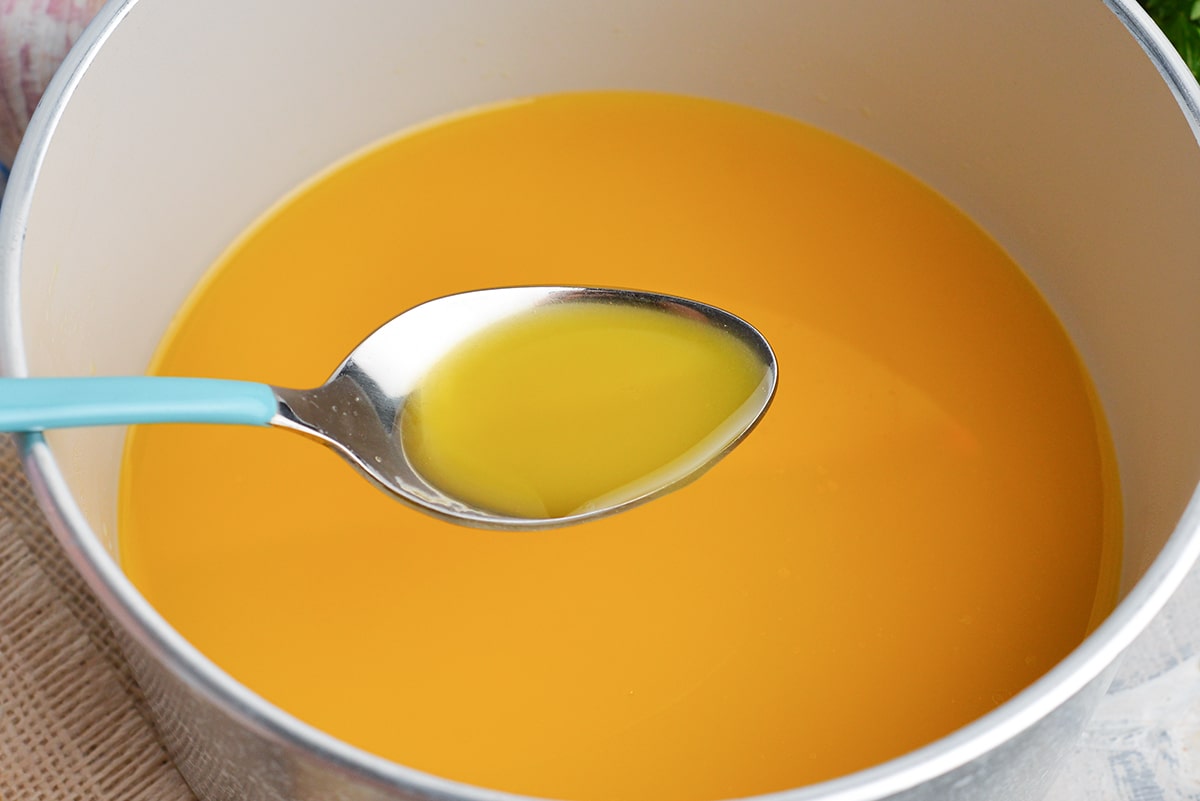
It does have a higher smoke point so it doesn’t go bad quickly like regular butter and can be used for higher heat cooking. They both have a longer shelf life and can be kept at room temperature or refrigerated.
Butter Grades
Butter is required to have an 80% butterfat, but cheaper butters might also have more water. For clarified butter, use the best butter you can find for a pure, nutty flavor. To do this, try making your own butter!
American butter typically doesn’t have as much flavor either. Grades, ranging from the best grade AA to grade B, are based on flavor, body, color and salt and water content.
For just bread and butter, or something where the dish is butter-forward with uncooked butter, splurge for the AA grade. If you plan to mix it, clarify it or use it minimally, opt for a lower grade, ordinary butter. I keep 3 types of butter in my house.
The good stuff for bread, toast and bagels. It is typically already salted. A middle grade for basic cooking, also usually salted. And unsalted middle grade for baking.
Generally speaking, it is served in restaurants, making it one of the small ways you can serve restaurant quality food in your home. Many sauces that start with butter will use clarified butter to take out the cloudy milk solids and allow the butter to seamlessly blend with other ingredients.
How to Make Clarified Butter
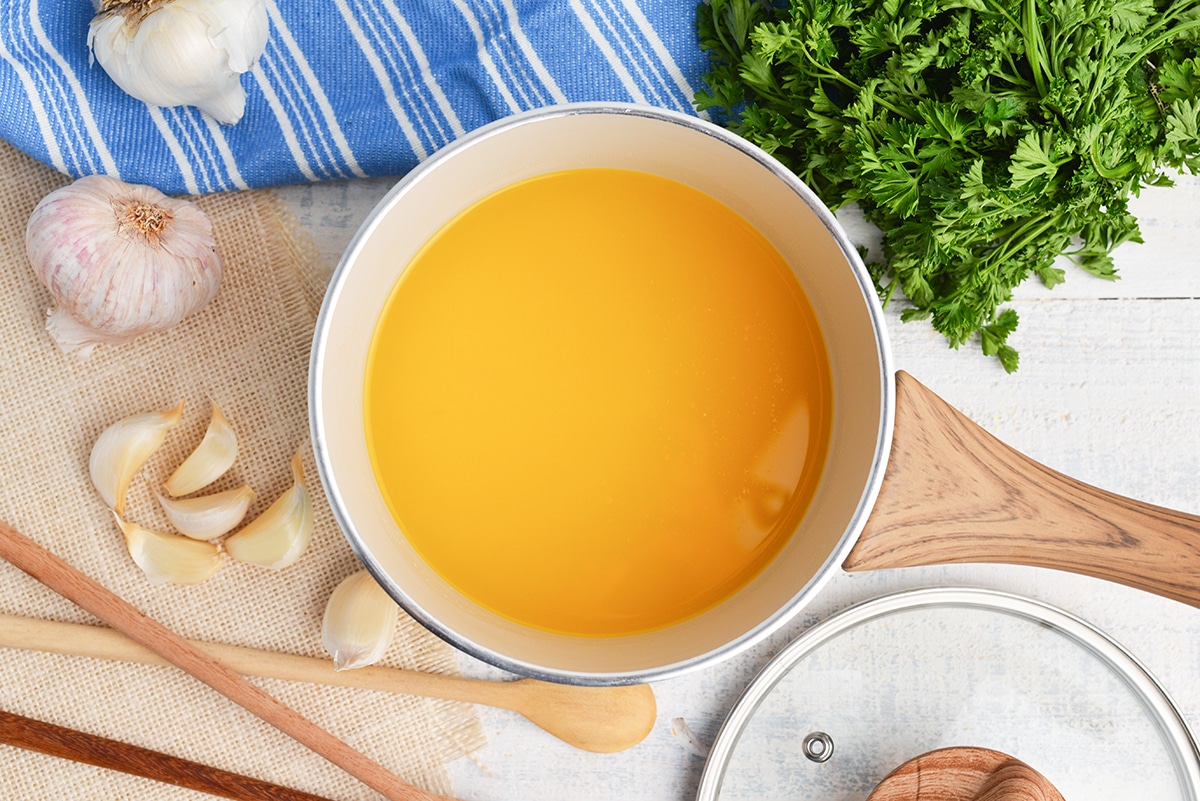
And the last reason you need to know how to make clarified butter: it is delicious! The taste of pure butter is pure heaven. The clarifying process if actually quite simple.
- The first step is to place two sticks of butter in a medium saucepan or a small saucepan. Heat over medium-high heat. Do not stir.
- Allow the butter to melt, moving to low heat if it starts to brown or smell nutty (we aren’t making browned butter). Soon a white foam will develop on the top (whey proteins). Tilt the saucepan to the side and carefully spoon the foamy white milk solids off the top layer and discard. You might have to repeat this process several times until you get it all removed.
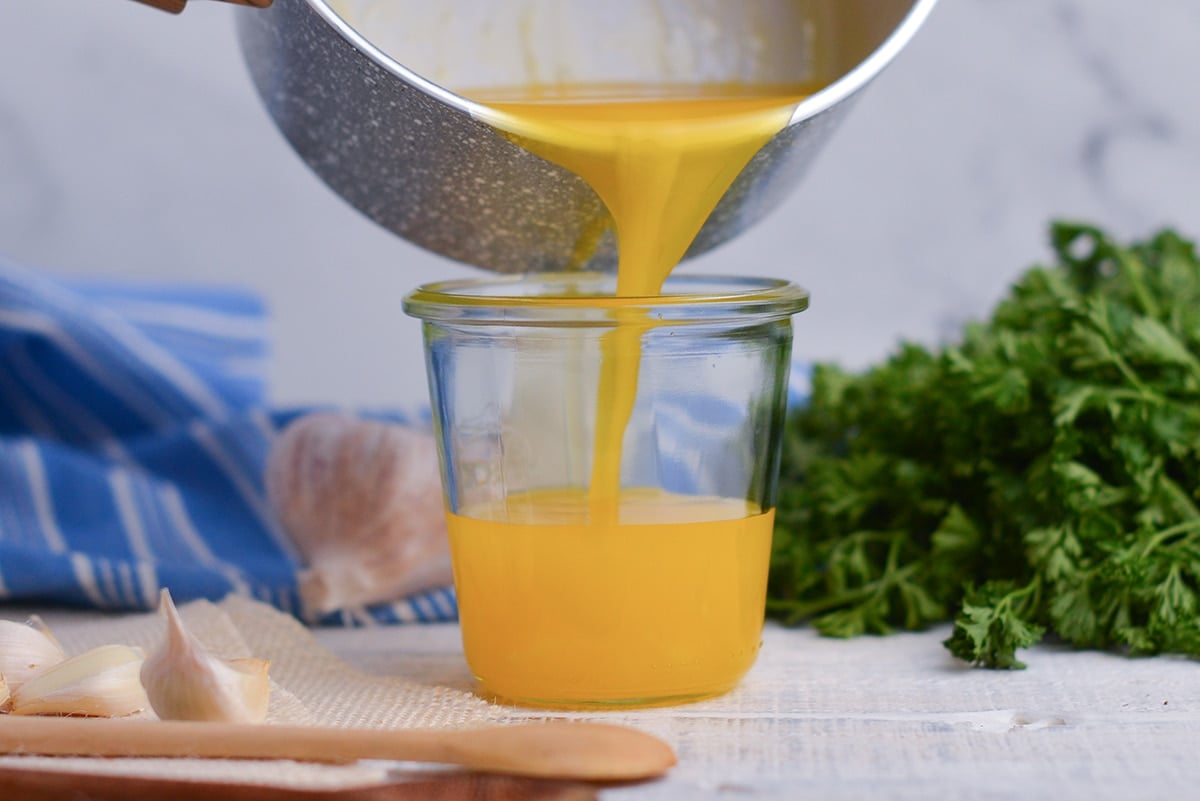
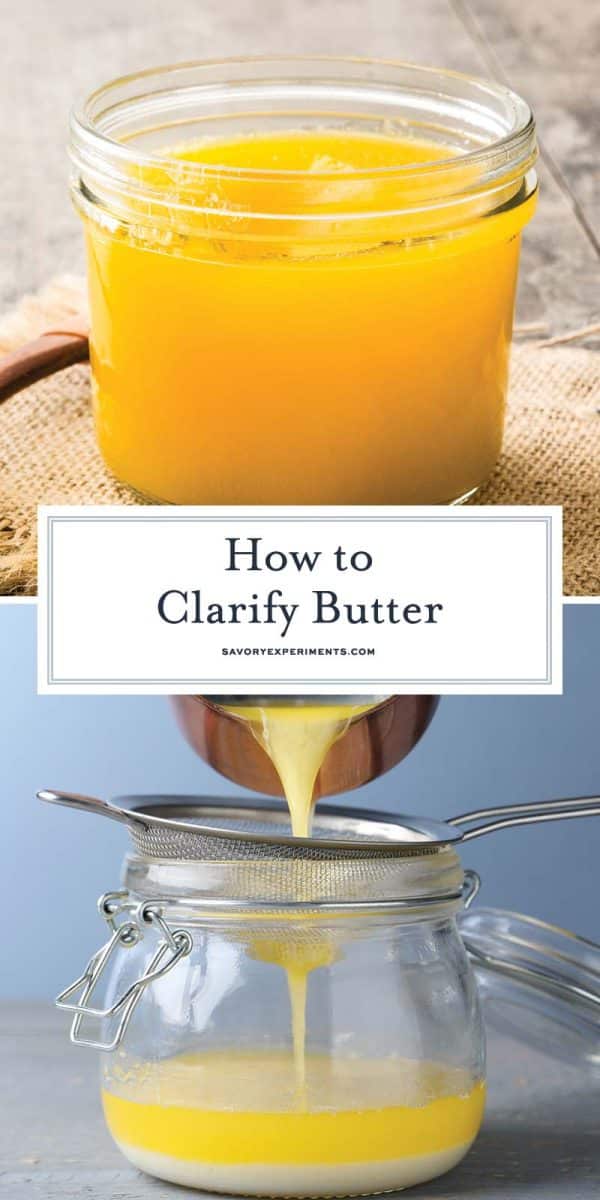
- Gently pour just the clear yellow liquid from the pan into a container, leaving behind any of the murky white layer at the bottom of the pot(milk solids). You can also transfer everything to a heat safe fat separator and pour out the milk solid layer from the bottom.
- For most, this is good, but if you want to get really serious, run your clarified butter through a cheesecloth, coffee filter, paper towel or fine mesh strainer to get rid of any undesirable things. Discard any browned bits at the bottom of the pan.
- Use in a recipe or store for later. The butter melts easily and smoothly.
When to Use It
You can even use clarified butter in recipes that don’t call for it like gravy, dipping sauces and more. Most butter based recipes like my garlic butter sauce, garlic sauce for pizza or crab butter use it. The flavor of butter is good with almost anything.
What are some recipes you can use clarified butter in? How about for dipping Broiled Lobster Tails, Grilled Lobster tails, Bechamel Baked Scallops, Snow Crab Legs or even my authentic New Orleans Gumbo!
It can also be used in compound butter recipes or any other recipe that calls for melted butter. The next time you want butter with an intense flavor, this recipe is for you.

Storage & Freezing
Liquid butter will resolidify in the fridge or if left at room temperature. Store in an airtight container or covered tightly with a piece of plastic wrap in the refrigerator. Remember that butter is like a sponge and will take on any of the flavors around it, so make sure it is protected to have all of its buttery goodness preserved.
It will be good in the fridge for a few days but also has a long shelf life at room temperature. Clarified butter can also be frozen for up to a year. Package well to prevent freezer burn.
More Easy Sauce Recipes
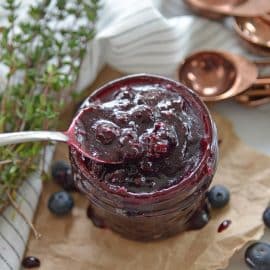
Savory Blueberry Sauce
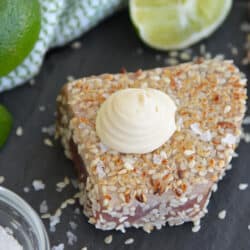
Wasabi Aioli Sauce
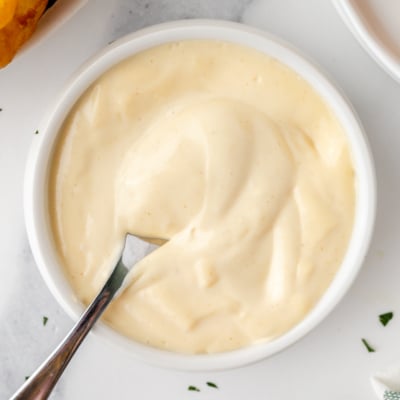
Mustard Aioli Sauce
How to Make Clarified Butter
Equipment
Ingredients
- 1 cup unsalted butter
Instructions
- Place the butter in a medium saucepan. Heat over medium heat. Do not stir.
- Allow the butter to melt, moving to low heat if it starts to brown or smell nutty. Soon a white foam will develop on the top (whey proteins). Tilt the saucepan to the side and carefully spoon the white foam off the top and discard. You might have to repeat this process several times until you get it all removed.
- Gently pour just the yellow, golden liquid from the pan into a container, leaving behind any of the murky white layer at the bottom (milk solids). You can also transfer everything to a heat safe fat separator and pour out the milk solid layer from the bottom.
- For most, this is good, but if you want to get really serious, run your clarified butter through a cheesecloth to get rid of any undesirable things. Discard any browned bits at the bottom of the pan.
- Use in a recipe or store for later.
- If you've tried this recipe, come back and let us know how it was in the comments or star ratings.






Thank you for such detailed instructions!!
These are great tips! Thank you so much for the info.
Thanks I had a recipe asking for clarify butter. This post was helpful
Definitely helpful and informative. Need to save it in my useful tips. Thanks.
What a useful post, Loved all the tips shared here on making clarified butter. Thanks.
This is such an informative post as I didn’t know all the reasons behind clarifying. Bookmarking this page for future reference.
Thanks for this simple guide to clarify butter
This is such a useful post. Thank you! Very easy to follow.
I’m no expert on making butter, but this helped me a lot!
I’m so happy to have a homemade recipe for clarified butter. I used to buy it and it can get expensive! Thank you.