In previous years we’ve grabbed a box of Easter Egg dye at the grocery store and called it a day. In 2020, there will be loads of us wondering how to dye Easter Eggs with food coloring.
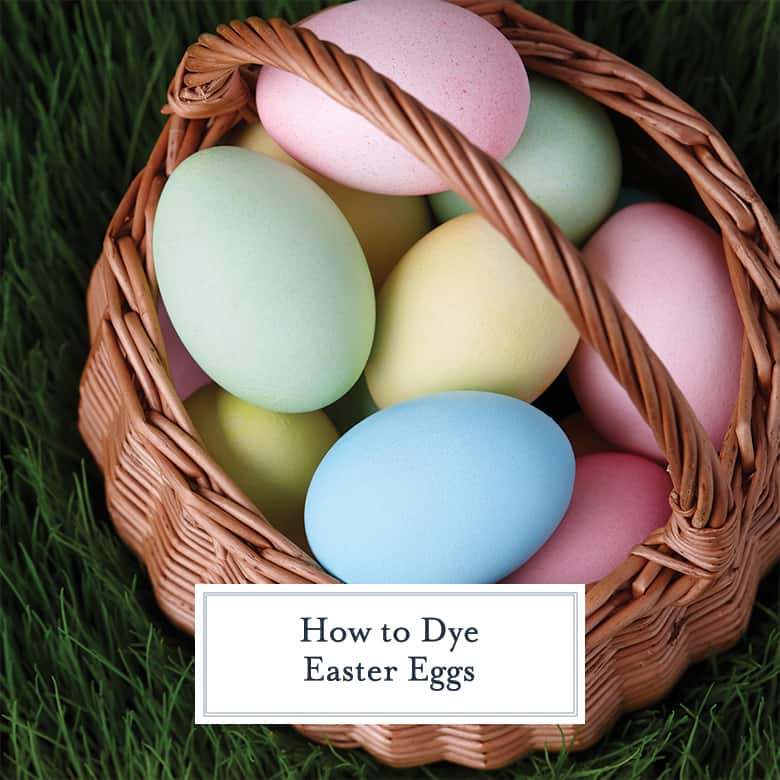
Some of my fondest memories of the holiday were smelling vinegar and watching those little tablets sizzle. Turns out those little tabs were nothing but super condensed food coloring and it is just as easy to homemade easter egg dye as it is to buy the box.
You can even use a few household tools to MacGyver those little custom egg tools like the cardboard drying rack or metal dipping wand.
How to Make Homemade Easter Egg Dye
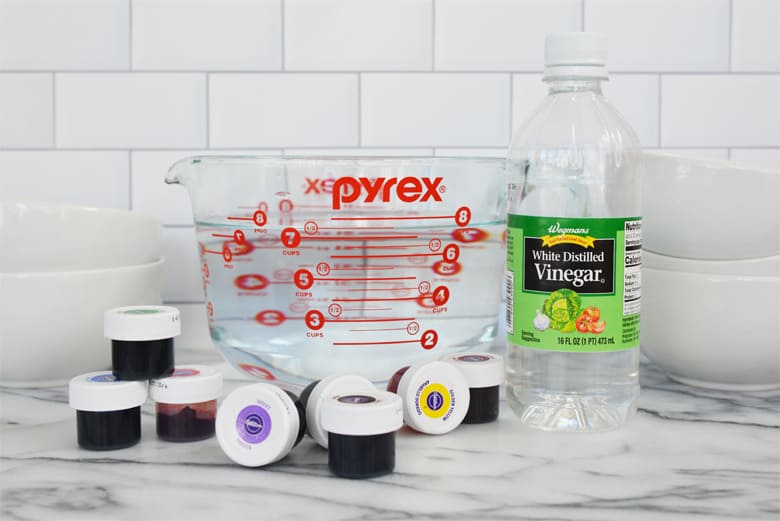
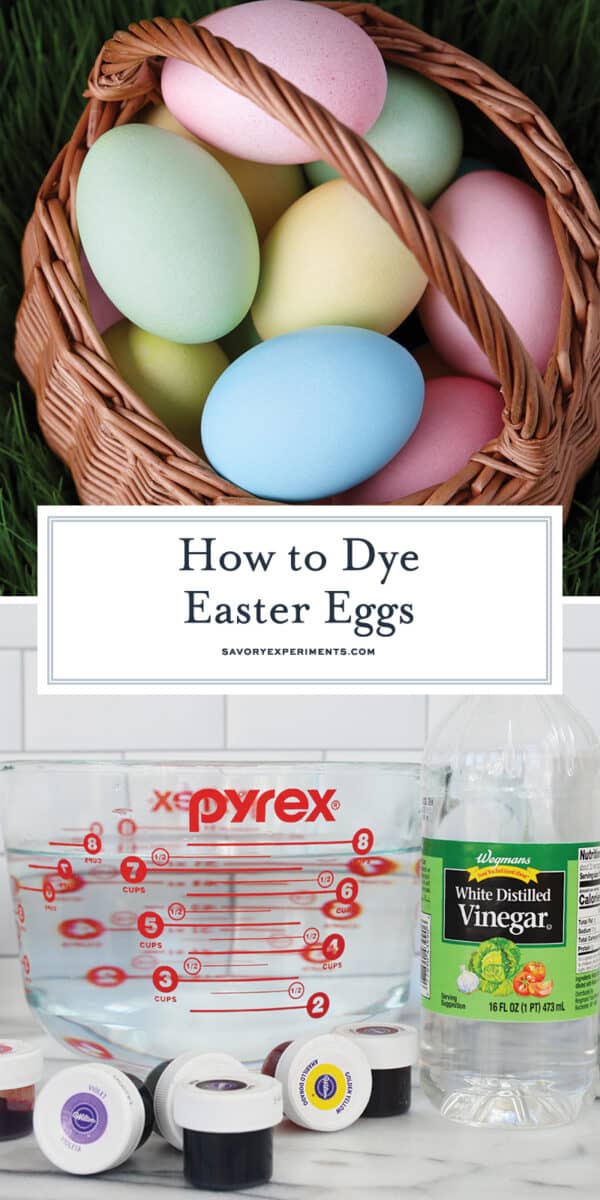
The equipment list is pretty short and likely items you already have in your pantry.
- Food coloring (gel works best)– If you only have liquid, it’s fine. It isn’t as concentrated so you might want to use a bit more or just let the eggs sit longer to really soak up all of the beautiful hues.
- White vinegar– Vinegar creates a chemical reaction that helps the coloring stick to the eggshell. Without it, it won’t dye at all or be very dull. White vinegar is clear and won’t alter the colors.
- Hot water– Hot water just expedites the chemical process and helps the food dye dilute. It doesn’t need to be boiling, just warm to hot tap water will do.
- Hard boiled eggs – The main star of the show!
- Several bowls (one for each color)– I like to use disposable bowls for easy clean up. If using reusable, aim for glass or ceramic- plastic will stain. However if it does, everything here is edible, so not a big deal.
- Paper towels or hand towels for clean up– Have them close by!
- Spoons or Tongs– For lifting and turning the eggs.
- Wire Cooling Rack– Well, not for cooling, for drying. You can also just place them back in the eggshells they came in.
- Plastic Table Cover and Smocks– These items are optional, but the colors will stain. Have your kids wear old clothes or wear a smock and line the table with a plastic tablecloth to prevent dye from seeping through. This is also easy clean up! I buy these in large packs and use them for everything from carving pumpkins to random glitter art activities.
ONE. Hard Boiled Eggs
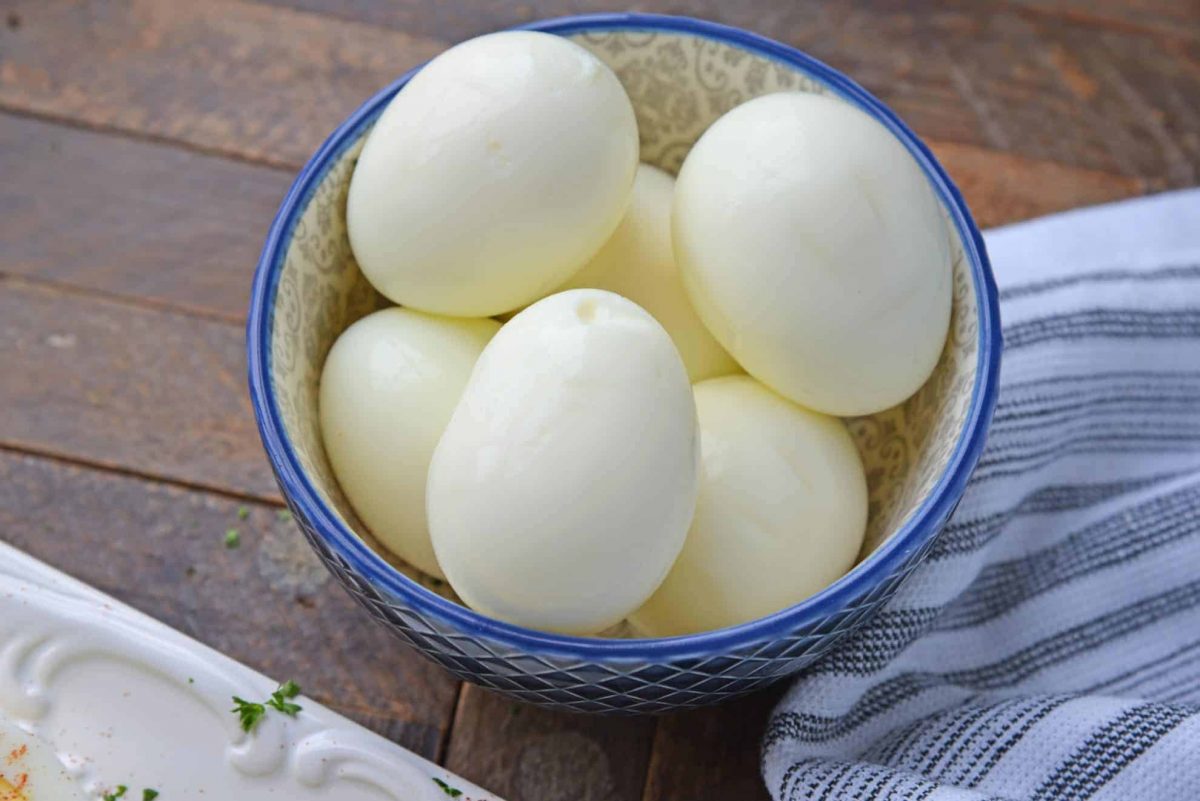
You’ll need to start with hard boiled eggs. You can boil eggs on the stovetop or make eggs in the Instant Pot. They work best when they are cold, so cook them the night before and let them sit for a few hours to cool.
TWO. Prepare Your Colors
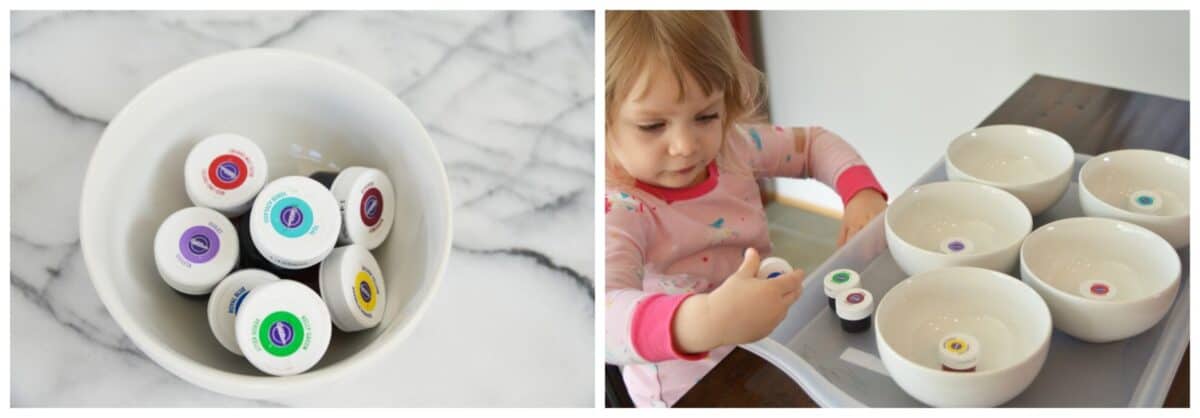
Choose the colors you would like to use. In general, a thick gel food color works better than the liquid kind. The more you use, the deeper the color.
Place a small amount of each desired color in a separate bowls.
THREE. Add Vinegar
Add 1 tablespoon of white vinegar to each bowl. Whisk or stir to try and dissolve as much food coloring as possible in the vinegar.
Any large pieces or flecks will produce a speckled effect on your eggs, which is fine, bay may not be the desired effect.
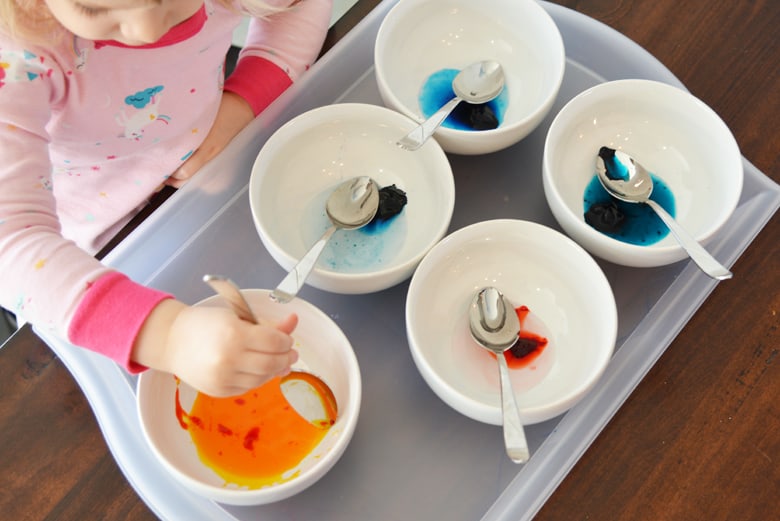
FOUR. Add Hot Water
The hotter the water, the better the food coloring (if gel) will dissolve. The best way to do it is to add boiling water, but I skipped that step and just microwaved it.
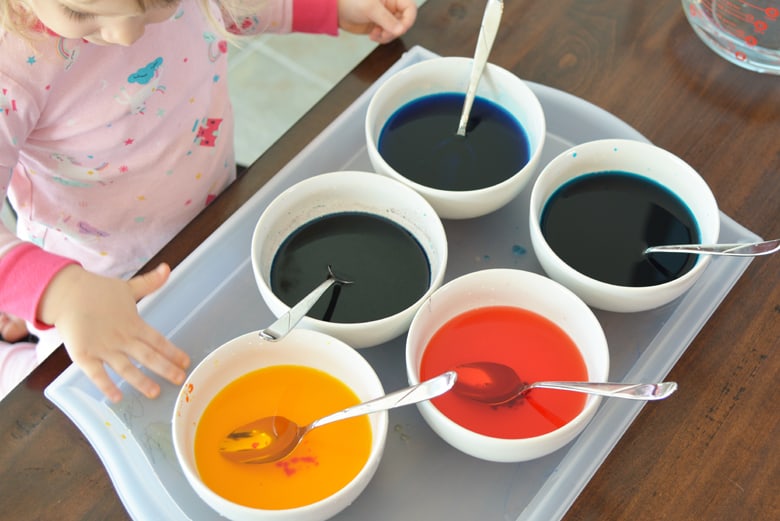
I heated 5 cups of water (1 cup per bowl) for 5 minutes in a glass microwave safe bowl. Be careful removing it and use an oven glove, it will be hot!
Pour 1 or more cups of water into each bowl. Stir or whisk again.
FIVE. Dye the Eggs
Place one or two eggs in each bowl, turning with a spoon to evenly dye each egg. The longer they sit, the more intense the color.
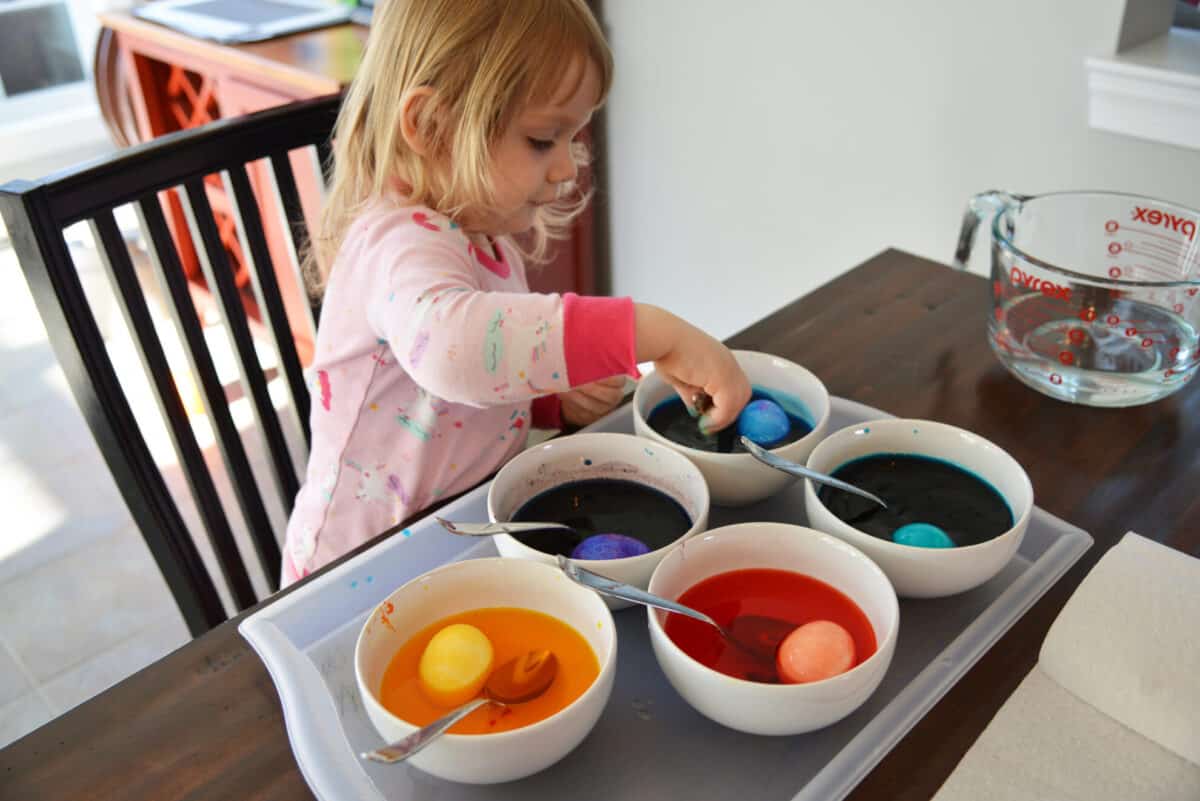
SIX. Let Dry
Remove using a spoon or tongs. If you really want the whole coloring experience, you can use a piece of metal from a hanger and fashion it into the little dipper contraption that comes with the dying kits.
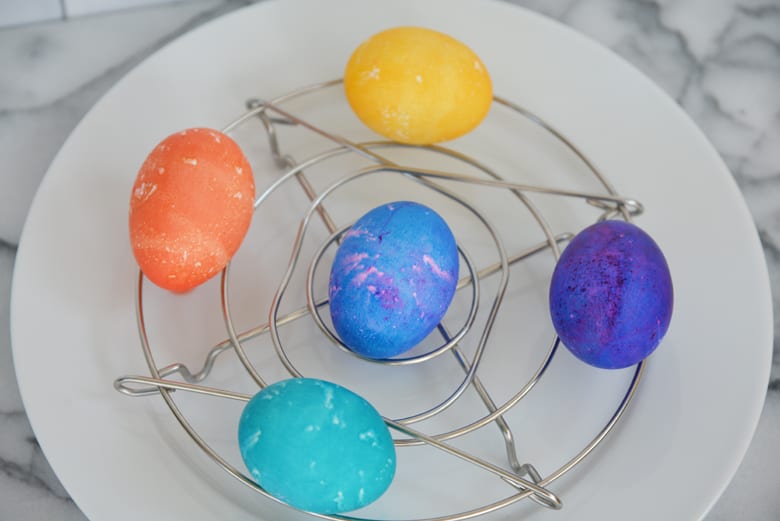
Dyed eggs can dry on a paper towel lined plate or baking sheet, a cooling rack (like for cookies) or if you used the Instant Pot, the trivet that comes with it.
Allow eggs to dry fully before handling.
How to Make Designs on Easter Eggs
Crayon/Wax: If you are an artist, draw pictures, colors or names on the egg with a crayon or wax pencil. White works best because you don’t have to worry about removing the wax. After drawing, place egg in the dye and allow to dry, you should see your design shine through.
Stripes and lines: Use small rubber bands, placing around the eggs in desired patterns before placing them in the dye. Allow to dry fully before removing rubber bands.
Stickers: Place desired stickers on eggs before dying. You can keep the stickers on after they are dyed and dried or remove to leave a silhouette look.
Two toned eggs: Dye your egg in the desired color and allow to dry fully. Add rubber bands, stickers or wax and then dye again in the same color or a different color.
How do I get food coloring off my hands?
Use warm water and scrub your hands with white vinegar and baking soda. You might even need a nail brush.
The good news is that food coloring safe and non-toxic, so having it on your hands and allowing it to naturally wash off is perfectly fine too.
Can I eat dyed Easter Eggs?
Yes! You can eat them as basic hard boiled eggs or make them into one of the recipes above. Most food coloring is safe to eat. You can even make these pastel deviled eggs.
If you do use markers, glitter or other adornments to decorate your eggs, please be mindful that these substances may not be safe to eat. Check the labels.
How long can Easter eggs stay out?
The CDC recommends that cooked eggs be left at room temperature no longer than 2 hours.
So the Easter bunny should hide them right before the hunt and then get them back to the fridge just to be safe.
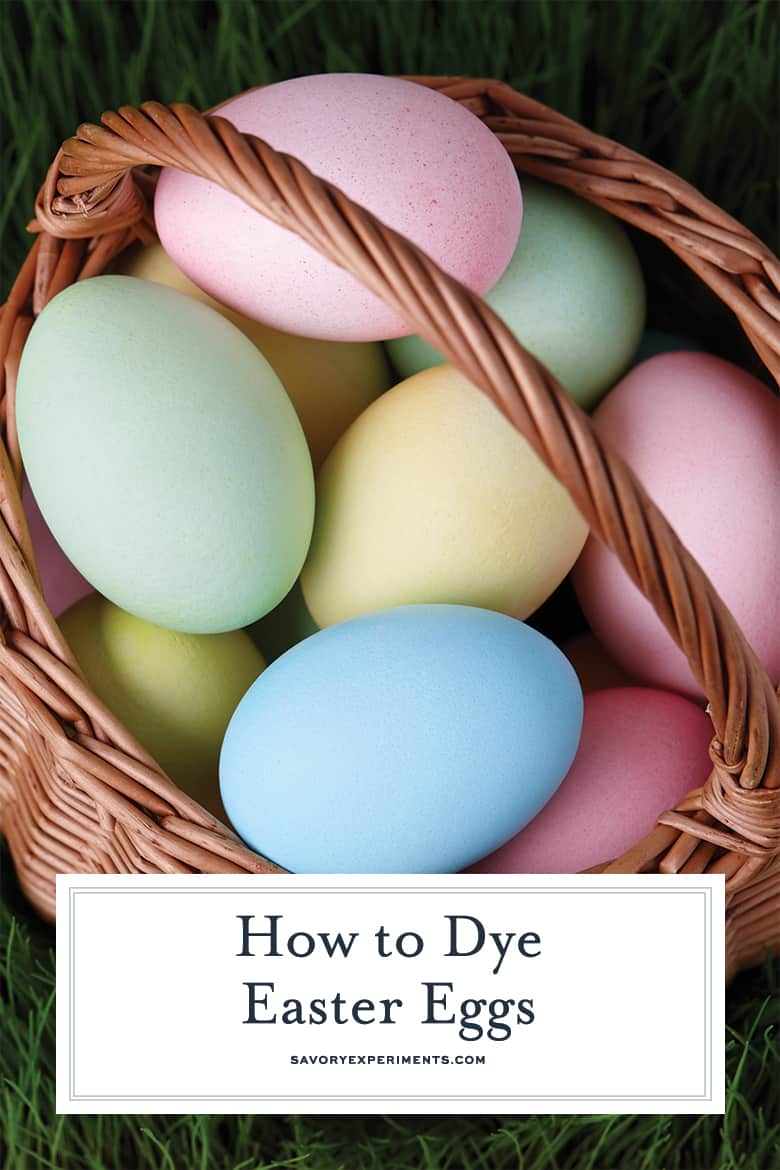
How to Dye Easter Eggs
Ingredients
- 6 colors Food coloring (gel works best)
- 6 tablespoons White vinegar
- Boiling water
- 12 Hard boiled eggs , cooked and cooled
- Several bowls (one for each color)
- Paper towels or hand towels for clean up
- Spoons
Instructions
- Choose the colors you would like to use. In general, a thick gel food color works better than the liquid kind. The more you use, the deeper the color.
- Place 1/4 – 1/2 teaspoon of each desired color in 6 separate bowls.
- Add 1 tablespoon of white vinegar to each bowl. Whisk or stir to try and dissolve as much food coloring as possible in the vinegar.
- Add 1 cup hot water to each bowl. Either boil water on the stove or microwave 6 cups for 5 minutes in a microwave safe measuring cup. Be careful removing it and use an oven glove, it will be hot!
- Stir or whisk again to remove clumps.
- Place one or two eggs in each bowl, turning with a spoon to evenly dye each egg. The longer they sit, the more intense the color.
- Remove using a spoon or tongs. If you really want the whole coloring experience, you can use a piece of metal from a hanger and fashion it into the little dipper contraption that comes with the dying kits.
- Dyed eggs can dry on a paper towel lined plate or baking sheet, a cooling rack (like for cookies) or if you used the Instant Pot, the trivet that comes with it.
- Allow eggs to dry fully before handling.
- If you’ve tried this technique, come back and let us know how it went!
Nutrition









Thanks so much for sharing all of your tips! I especially love the recipes at the end because I’m always overflowing with boiled eggs at Easter!