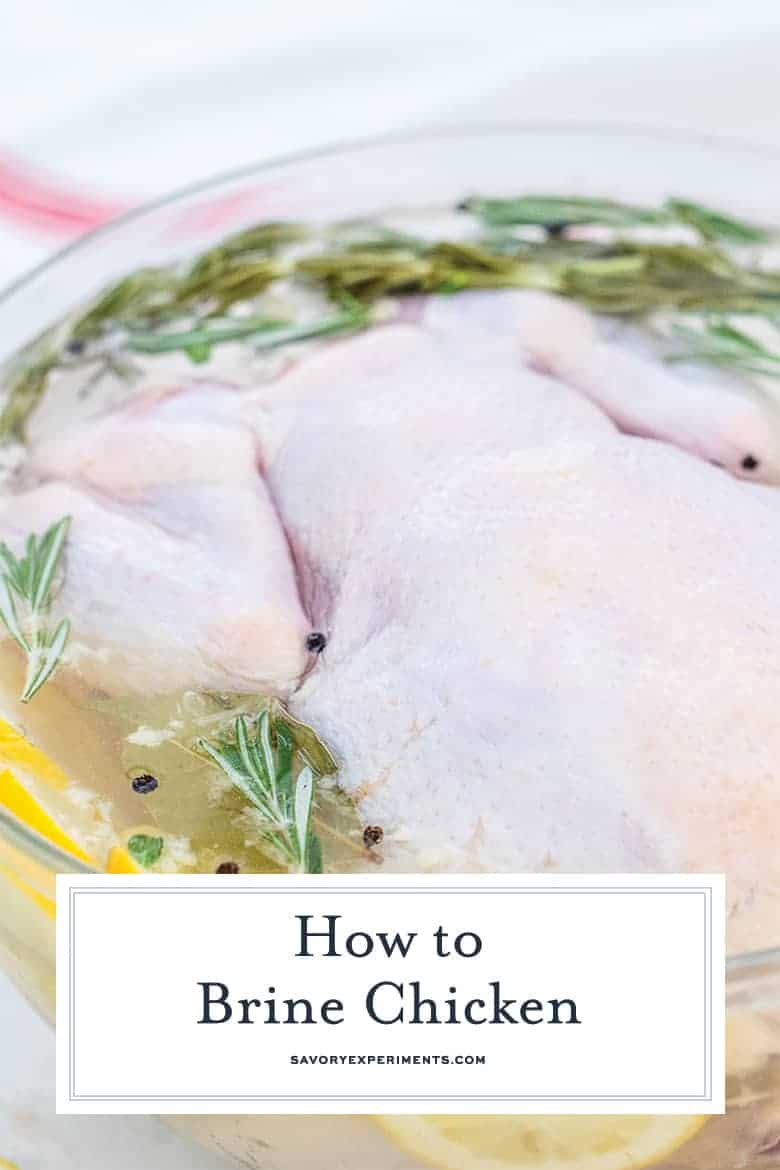
Simple brine for chicken can be as easy as dissolving salt in water or as complicated as a two-day process of an herb infused brine and then allowing for an air dry for the perfect, crispy chicken skin. We like to think we’ve mastered the art of something in between.
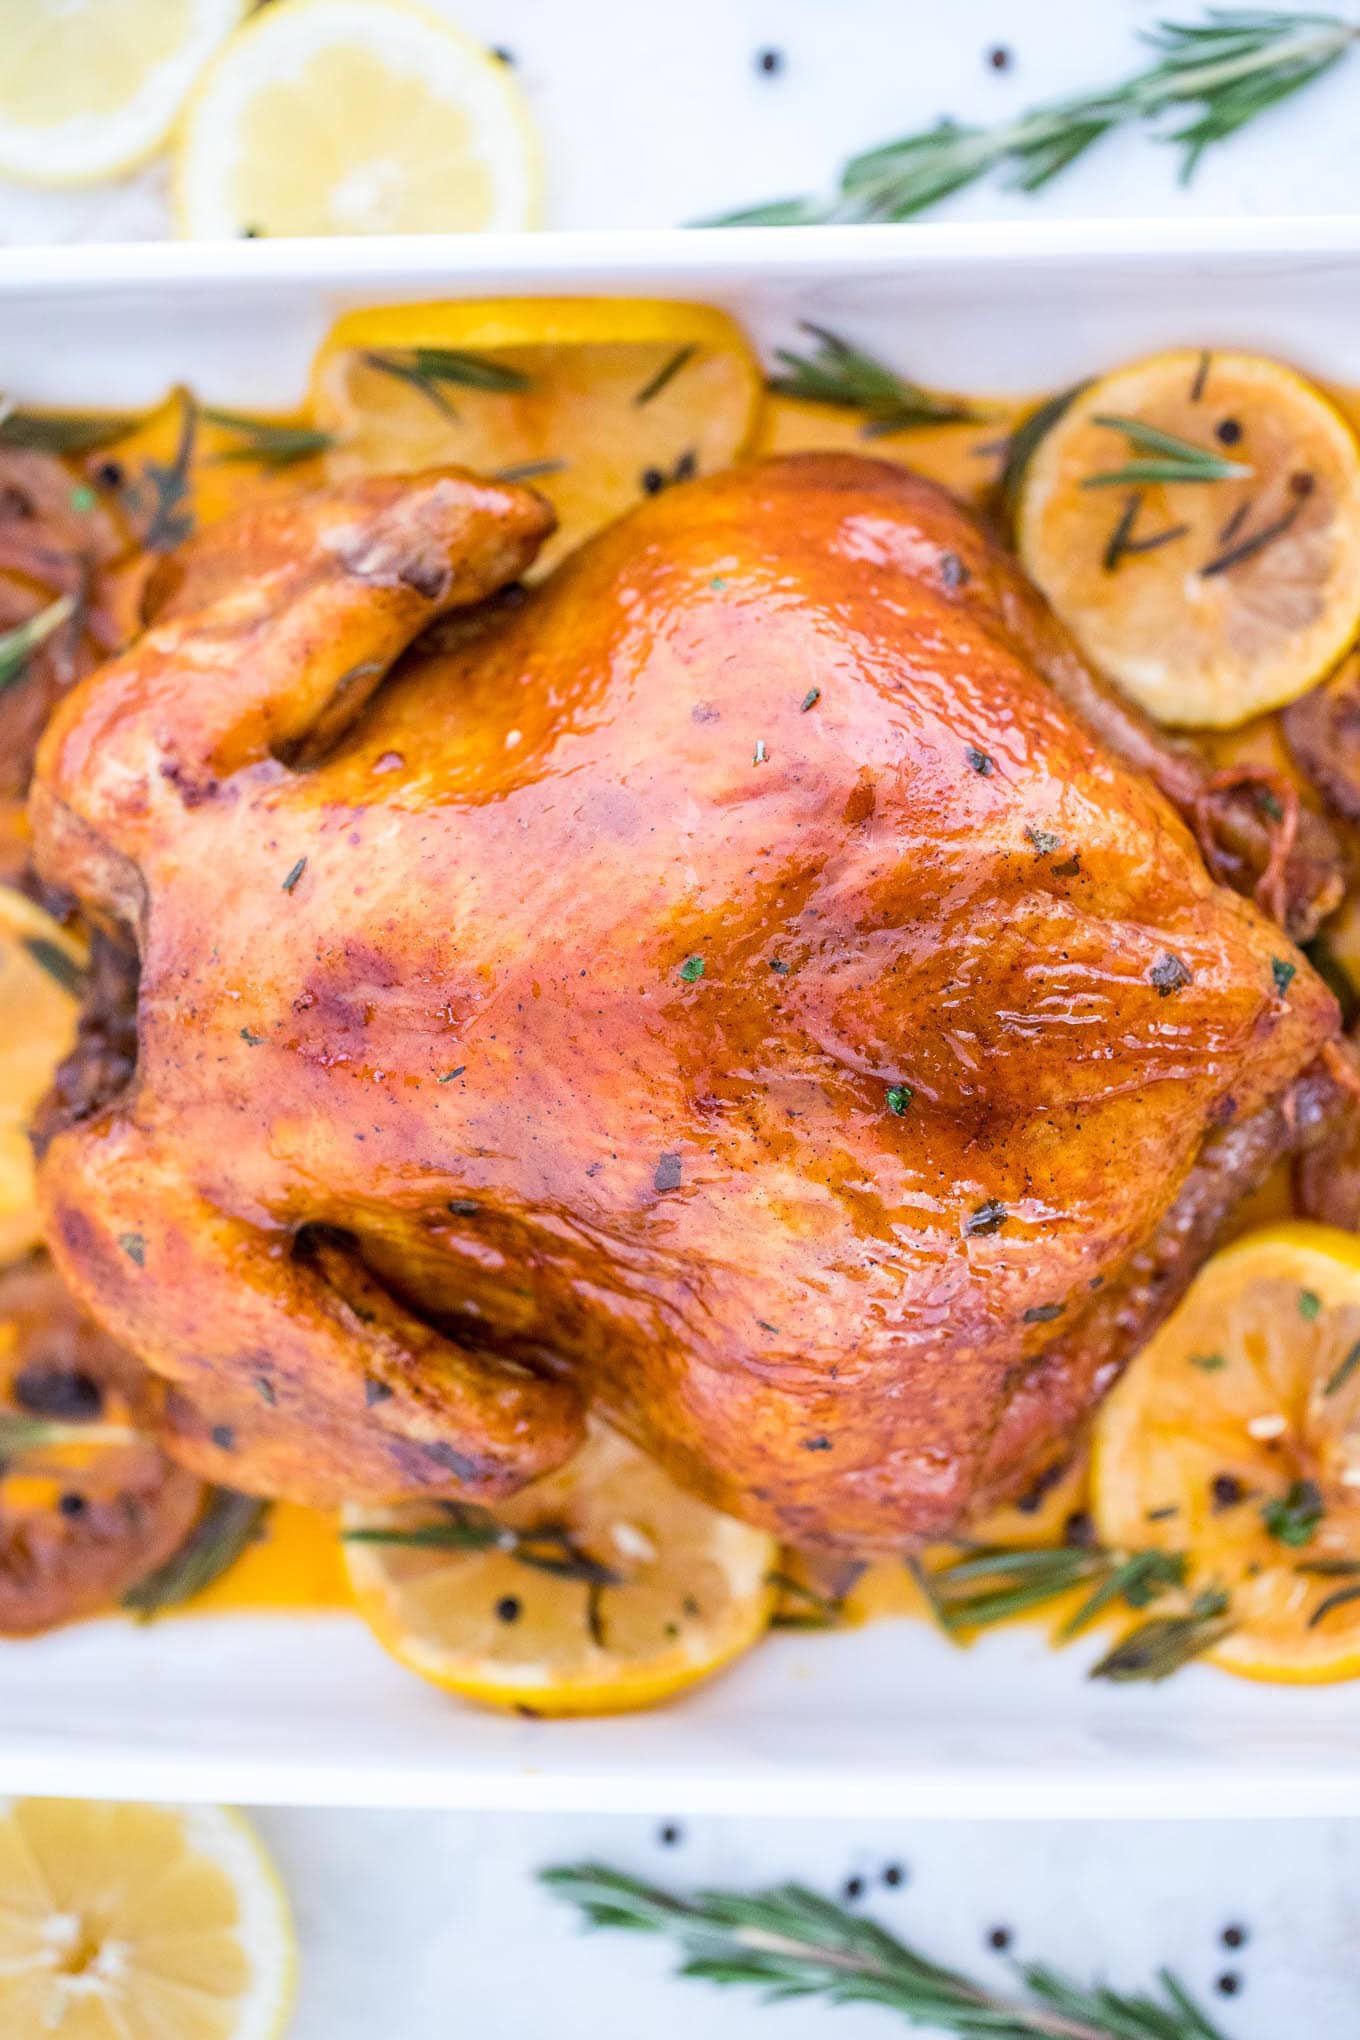
Is it just me, or did brining not become a “thing” until a few years ago? It started with brining turkey for Thanksgiving and has since become trendy for other meats like chicken and pork.
Brining has been a chef’s trick for years and for good reason. It adds so much flavor to the lean meat, and makes for a juicy tender chicken. The brining process does take while, so it’s great for special occasions when you want to impress.
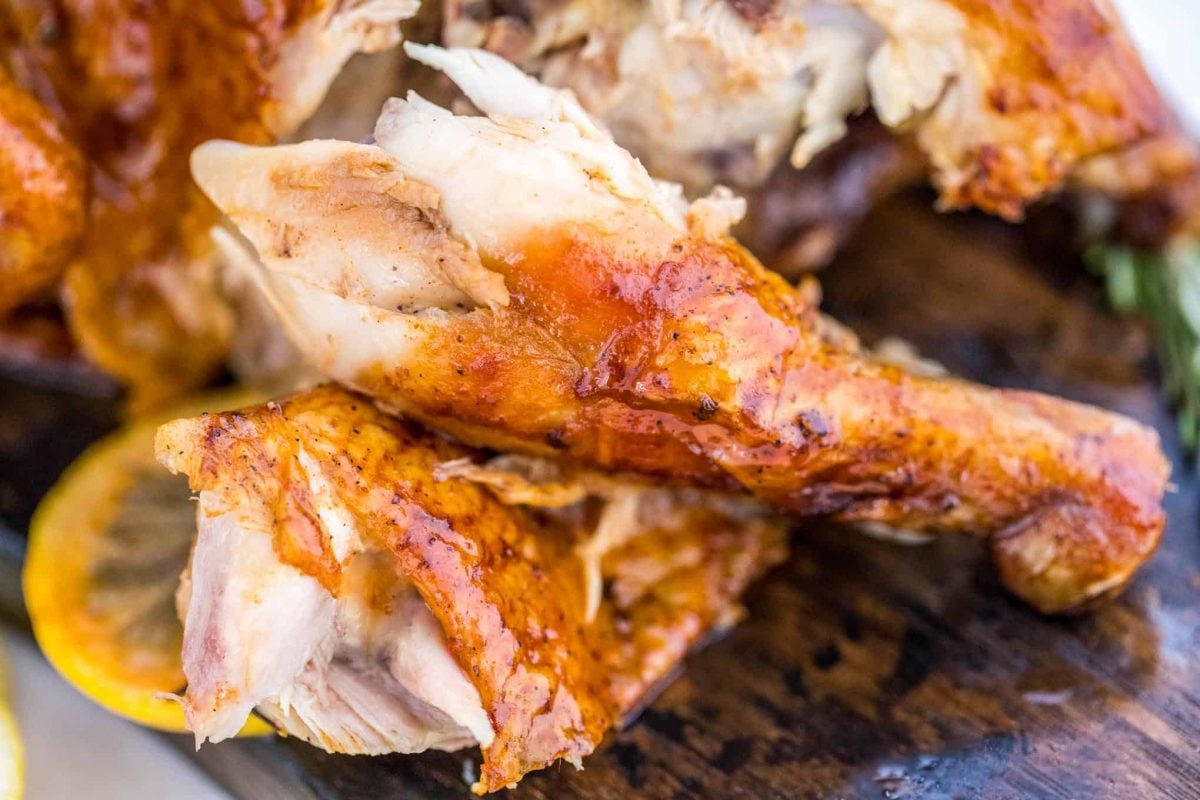
Why Brine Chicken?
- Brining adds moisture– While the protein is sitting in the brining mixture, it’s slowly absorbing the water, a process called osmosis.
Now it will have more moisture available when the heat starts to draw it out. More moisture from the start = more moisture after cooking. - Denatured Proteins – Um, what did you say? That sounds way too much like science. Well, it is!
The brining mixture helps to swell and unwind muscle fibers, assist them in binding with water and prevents them from rebonding, which can create chewy meat. - Flavor– All of that brining liquid is chalk full of flavors. Even if you just use a basic salt and water combination, salt helps to bring out natural flavors.
Add aromatics, citrus or other flavors and all of those will also infuse into the fibers of your protein. Sugar helps to caramelize and get that lovely browned skin.
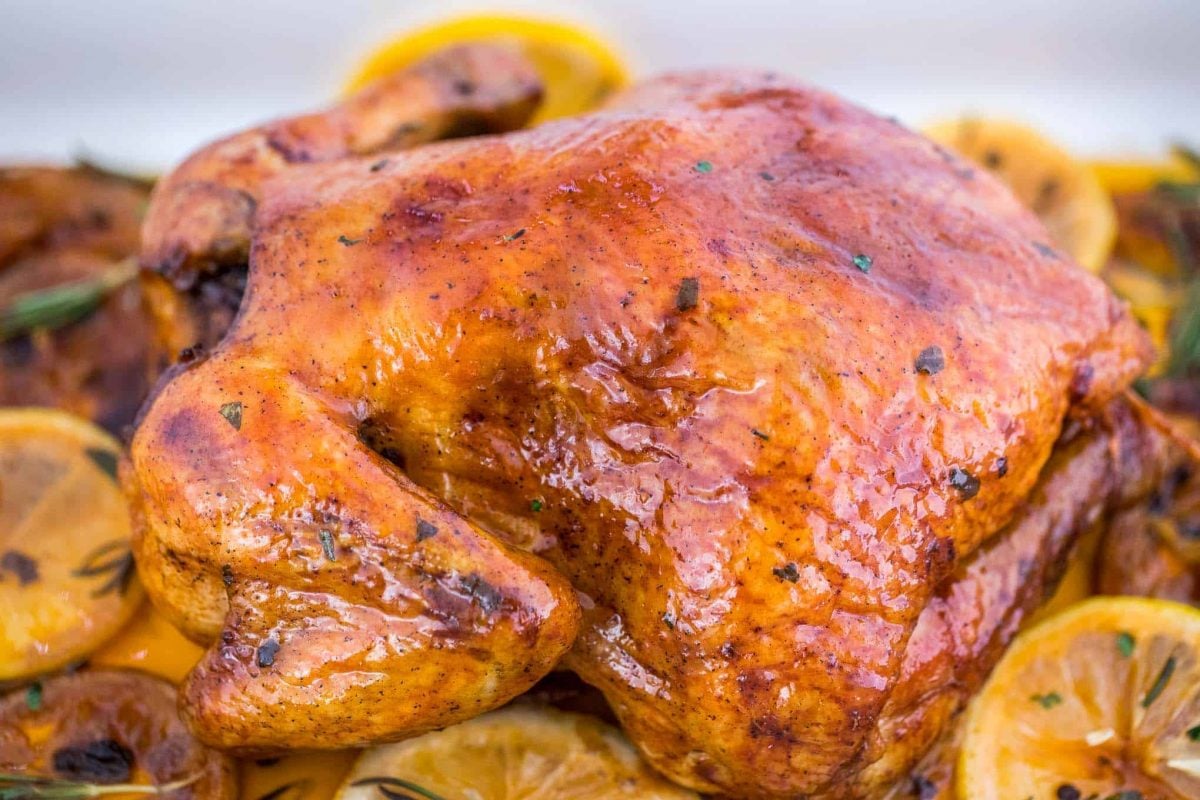
You can use this simple brine recipe for turkey, chicken or pork and can be used before any other full recipe to add moisture. It works as a brine on chicken breasts, a whole chicken, chicken wings or even thighs.
And after brining, you can roast, pressure cook, grill, fry or bake. It is truly all-purpose. They will all be tender and juicy!
Chicken Brine Recipe ingredients
The ingredients needed to brine a chicken are quite simple and the recipe is foolproof. Use more or less of your favorite flavors and don’t be scared to leave something out or add something else.
- Water– The base of any brine, osmosis is how the infused salt water will penetrate the meat. We use 1 gallon, which equals 16 cups.
- Coarse kosher salt- Quick to dissolve and the least salty of the bunch, coarse Kosher is the best way to go. If using a fine sea salt, reduce the volume by at least half.
- Sugar– Sugar helps to balance the savory flavors but will also settle on the skin and just under, helping it to brown and caramelize while cooking.
- Dried bay leaves– With an earthy and peppery flavor, these provide subtle herby notes.
- Garlic– Using lightly smashed cloves will provide some garlic flavor without being too garlicky. For intense garlic flavors, chop, mince, press or grate the cloves.
- Whole black peppercorns– We like whole here because they are easier to remove and won’t stay put on the chicken.
- Fresh Herbs- Rosemary and thyme are my usual picks, but any fresh herbs can be used like parsley, cilantro, sage or mint.
- Lemons- Citrus and poultry always play well together. For even more infused lemony brightness, also zest the lemons before adding.
- Whole Chicken– Sometimes labeled a “roaster chicken”, this just means a whole bird. As previously mentioned, you can also brine chicken parts.
How to Brine Chicken
Brining chicken is pretty easy – just follow these steps!
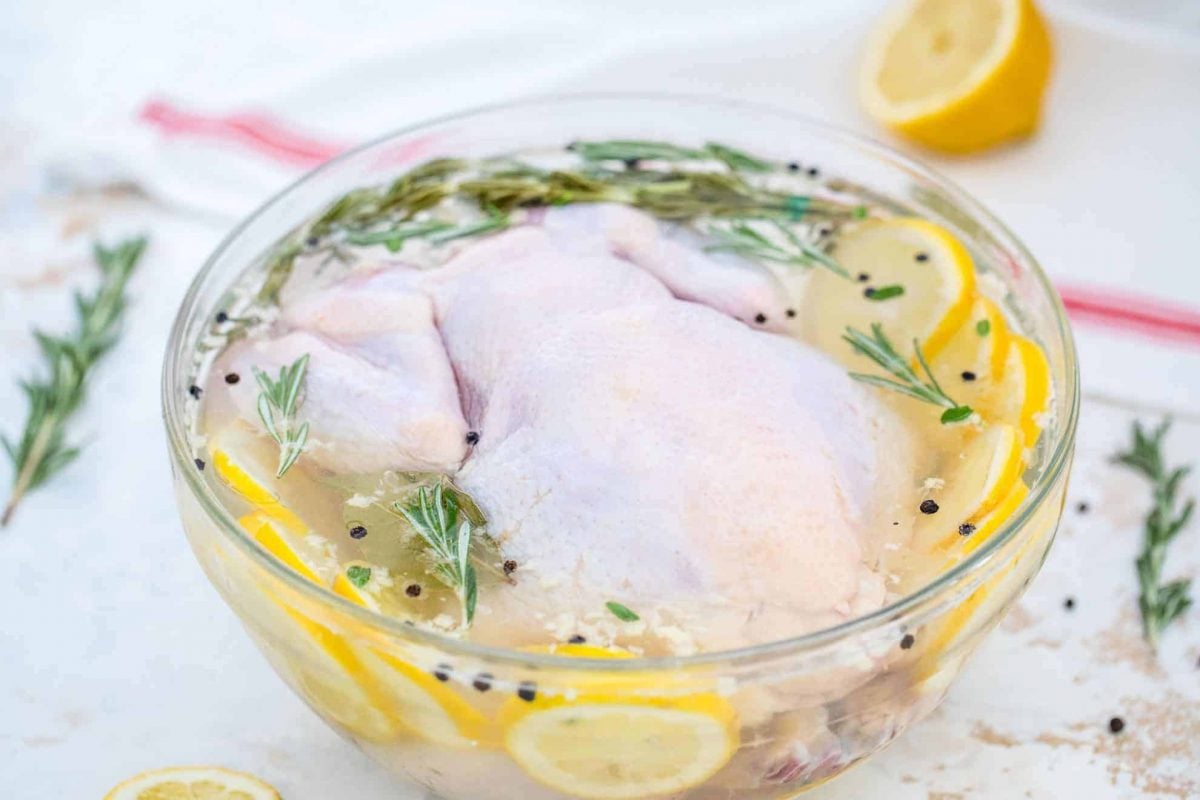
- In a large stock pot or Dutch oven, combine the water, Kosher salt, sugar, bay leaves, smashed garlic cloves, black peppercorns, rosemary, thyme and slices lemons and bring to a low simmer until the salt and sugar dissolve. This helps the flavors infuse the water and thus, infuse the chicken.
- Remove the brine from the heat and allow to cool fully. If you put the chicken into hot water, it will start to cook and you don’t want this to get the full effect.
- Add the thawed chicken to the cooled brine. If there is room, you can add to the stock pot, just make sure it is fully submerged in liquid. If you need to add 1-2 additional cups of water to make this happen, go for it! You can also use a brining bag or brining container.
- Cover, if you using a pot, and refrigerate for 8-24 hours. Do not over brine, as meat can start to turn rubbery if brined for too long.
- Remove the chicken from the brine and rinse with cold water. Continue with your favorite chicken recipe.
- Discard the brine, it can not be reused.
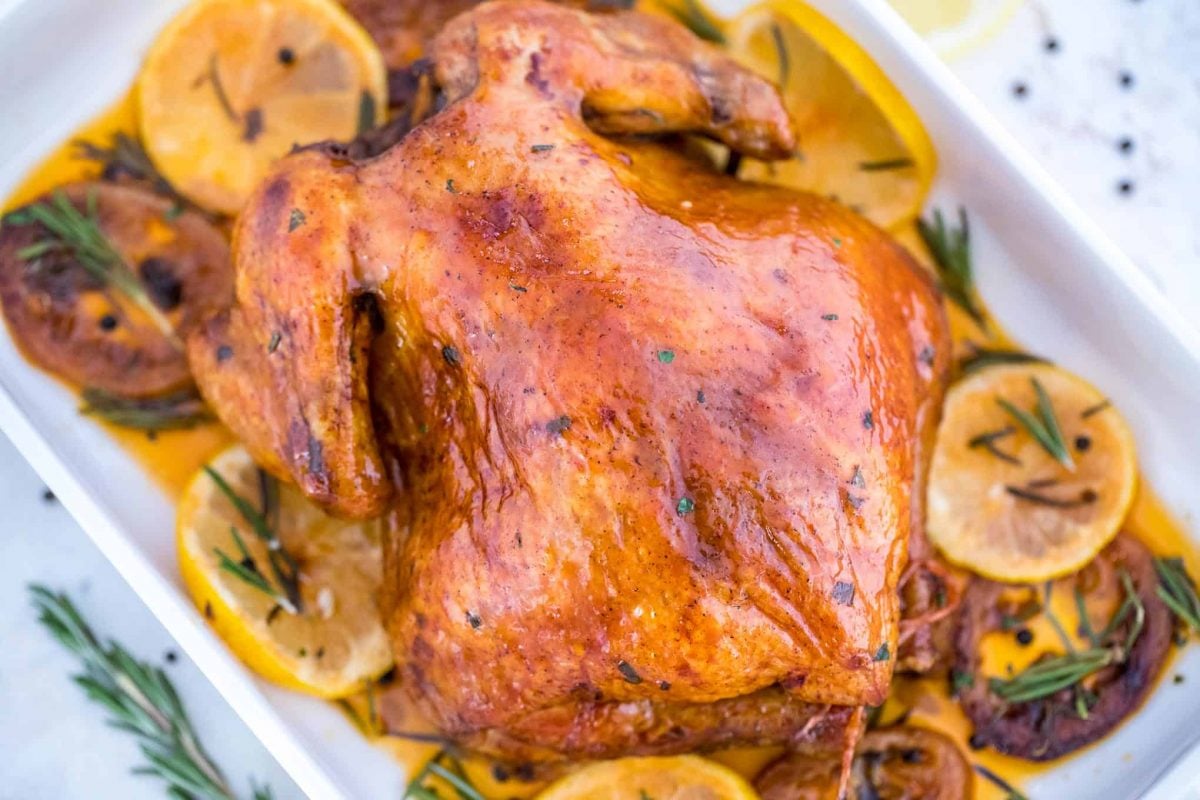
How Long to Brine Chicken
Ideally aim for 24 hours or at least overnight (12-24 hours) for a 4-5 pound bird, but past that the meat can start to get tough and rubbery. A larger bird (like turkey) will need even longer.
If you don’t plan to cook it right away, that is fine. Just take it out of the brine, rinse it to get extra salt off the surface, pat it dry and place it in the fridge until you are ready to finish preparing it.
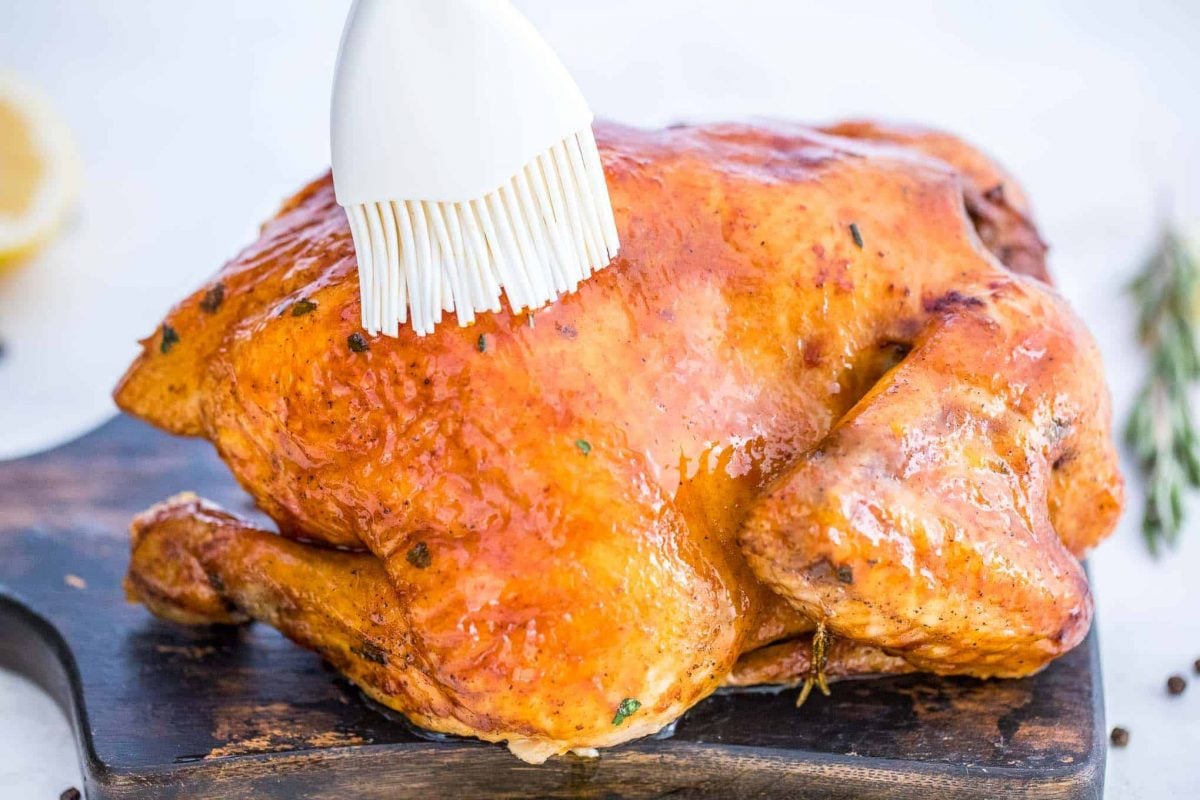
How to Cook Brined Chicken
For smoking a chicken, you brine the same way you would for roasting! Use this same recipe and then follow your smoked chicken recipe.
To fry, follow the brine instructions. Just make sure you pat the excess liquid off really well. Wet skin causes problems in a fryer. The flavor and juiciness is locked deep within.
You can brine any chicken pieces including wings, boneless skinless chicken breasts, thighs and even drumsticks. If you are only using a small amount, you can cut the recipe in half. However you choose to cook the chicken, make sure to get the right chicken temperature for safety!
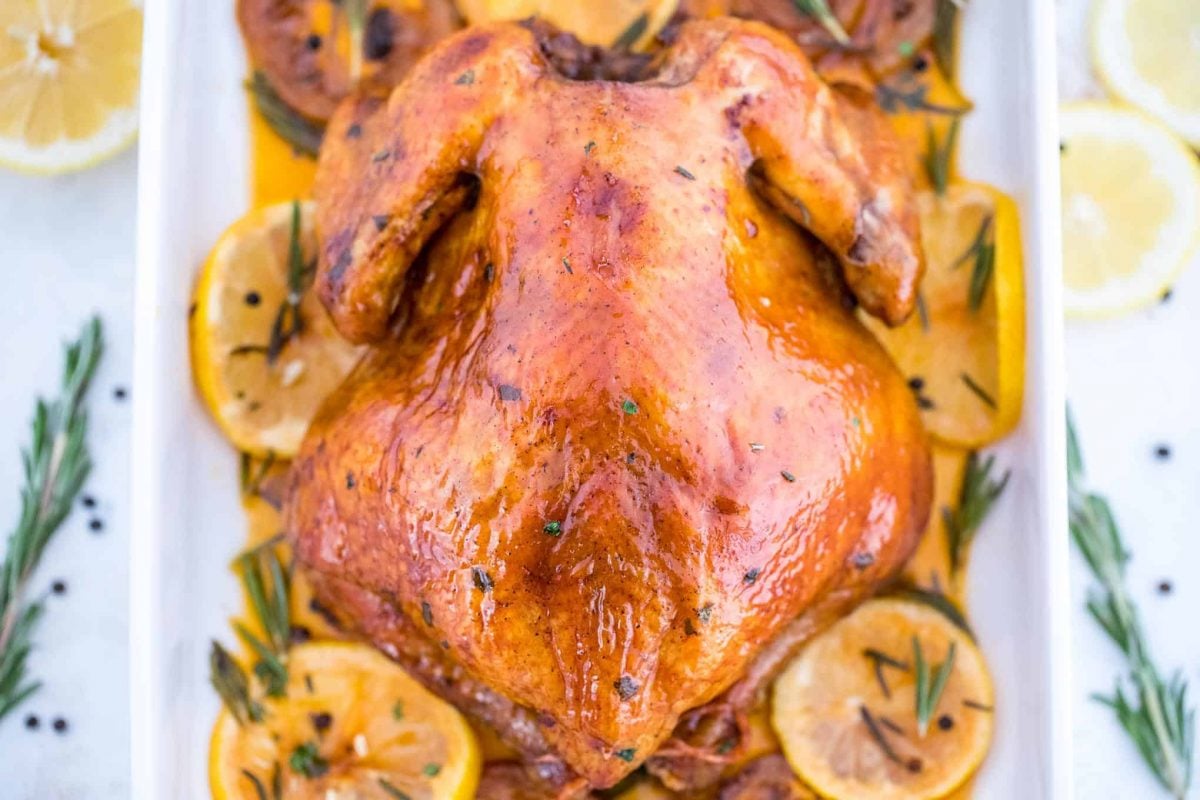
Chicken Brine FAQs
Brining infuses chicken with flavor, but also keeps the meat moist and juicy while cooking.
Do not brine a 4-5 pound chicken for longer than 24 hours. It starts to have the opposite effect and become rubbery and tough.
While not ideal, you can put a frozen chicken into brine and thaw while brining, but reduce the amount of water by 2 cups because it will release water as it thaws. The process of osmosis can only take place if the chicken meat is thawed so you might not get the full impact.
The chicken might not be fully defrosted after 24 hours, so account for an additional 6-12 hours in the fridge after being removed from the brine to finish defrosting.
The general ratio of water to salt is 4 tablespoons of coarse kosher salt to every 4 cups of water, although this isn’t a hard rule and can be adjusted based on personal preference. Some salt is needed for the magic of brining to be effective.
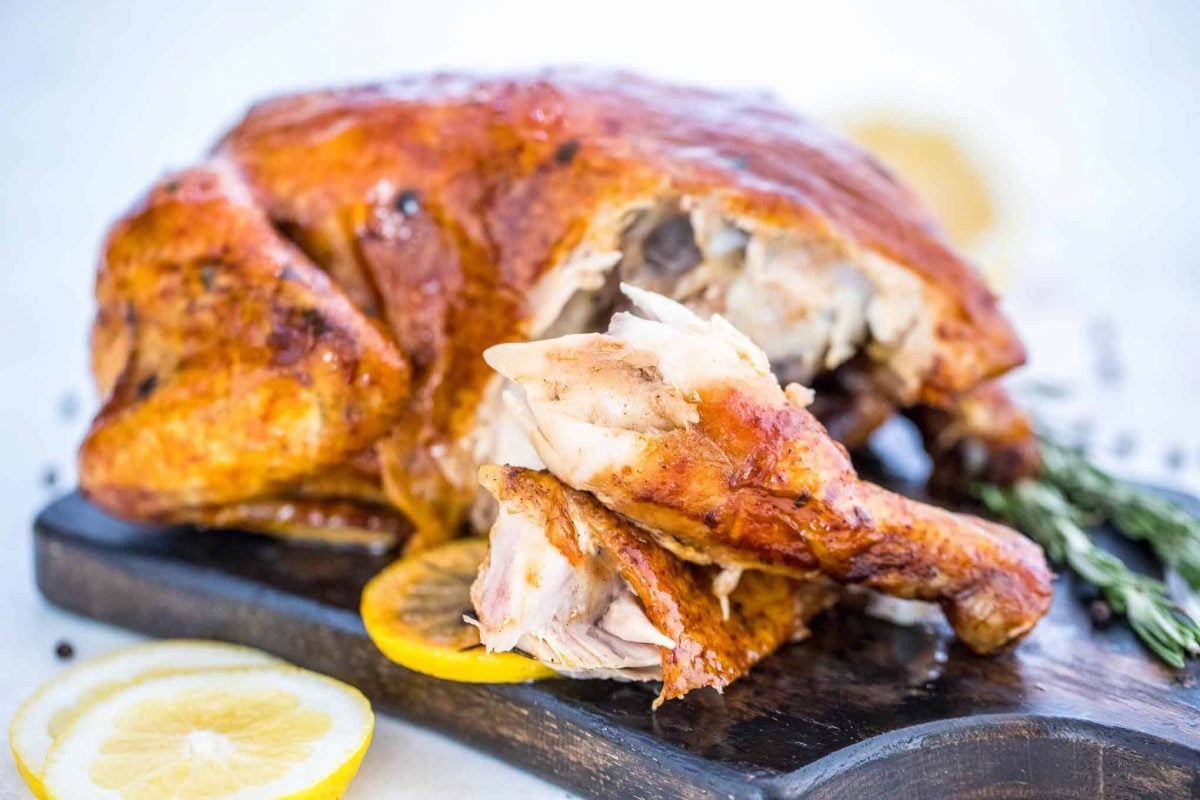
More Chicken Recipes
No more boring chicken recipes! Try a few of these to switch up your weeknight meals.
Chicken Brine Recipe
Ingredients
Chicken Brine:
- 1 gallon water
- 3/4 cup coarse kosher salt*
- 2/3 cup sugar
- 3 dried bay leaves
- 5 cloves garlic , peeled and smashed
- 1 tablespoon whole black peppercorns
- 3 sprigs fresh rosemary
- 3 sprigs fresh thyme
- 3 lemons , sliced
- 4-5 pound roaster chicken
Basic Roasted Chicken:
- ½ cup butter , room temperature
- 1 teaspoon fresh basil
- 1 teaspoon fresh oregano
- 1 teaspoon fresh parsley
- 1 teaspoon Kosher salt
- ½ teaspoon ground black pepper
Instructions
To Brine Chicken:
- In a large stock pot or Dutch oven, combine the water, Kosher salt, sugar, bay leaves, smashed garlic cloves, black peppercorns, rosemary, thyme and slices lemons.
- Bring the brine solution to a low simmer, stirring until salt and sugar have dissolved. Remove from heat and allow to cool fully.
- Add the chicken to the cooled brine. If there is room, you can add to the stock pot, just make sure it is fully submerged in liquid. If you need to add 1-2 additional cups of water to make this happen, go for it! You can also use a brining bag.
- Cover, if you using a pot, and refrigerate for 8-24 hours. Do not over brine, as meat can start to turn rubbery if brined for too long.
- Remove the chicken from the brine and rinse with cold water. Continue with your favorite chicken recipe.
- Discard the brine.
To Cook Brined Chicken:
- Preheat the oven to 400°F. In a small bowl, combine the butter, herbs, Kosher salt and ground black pepper.
- Loosen the skin from meat and rub butter under the skin evenly. Use your fingers to loosen skin from the meat and for hard to reach places, you can use the back of a spoon to get down in there with the butter. If there is extra butter, just place it in the cavity.
- Place the chicken breast side down. Truss the chicken by loosely tying the legs together using cooking twine.
- Roast the chicken for 30 minutes, remove from oven. Stick a pair of tongs inside the cavity of the chicken to flip the bird to breast side up.
- Continue roasting the chicken breast side up for another 30-40 minutes or until a digital thermometer registers at 165 degrees when inserted into the thigh.
- Remove the chicken from the oven. Allow to rest for 10 minutes before carving or serving.If you’ve tried this recipe, come back and let us know how it was!
Video
Notes
Nutrition











This is a great recipe. Will make again.