If making a Homemade Pie Crust scares you, let me help you! This pie crust recipe is really simple and you will have a beautiful, flaky pie crust to be proud of.
Homemade Pie Crust vs Premade
Trust me, I was just like you and not wanting to make a homemade crust. It was too hard, time consuming, and stressed me out. Well that is until I started making one- perfecting pie crust.
You will need to plan ahead because your it needs to “chill”. But you can keep the dough mixed up and frozen in your freezer for just the perfect occasion.
So take a deep breath and jump right in. You will look like a pro in no time!
Pie crusts can be made for traditional sweet pies as well as savory, think of the possibilities. Personally I love a good homemade crust on a pot pie or quiche, and making individual hand pies is so fun too.
I know, I know.. I have many recipes using a frozen pie crust. And I love and appreciate the ease they bring to a recipe. But trust me when I say that making a crust is not only delicious but it will bring you a new sense of self accomplishment too.
Homemade Pie Crust Ingredients:
- Flour
- Salt
- Sugar
- Vegetable shortening
- Butter
- Cold water
The ingredients are all simple. And most recipes are also very similar but I want to share with you why I choose to use both vegetable shortening AND butter. Because it does make a difference.
Why Fats are Important
To make a light and flaky homemade pie crust you need a balance of fats. So many people talk about an all-butter pie crust and while this is great for flavor, it isn’t for texture.
Ideally lard is the best ingredient to use but I have found that lard is difficult to find and not always available. Which is why I choose to use vegetable shortening and butter.
Fats provide texture to the final pastry product. Fats can also give flavor depending on what Fat is used. Primarily there are 3 types of fats used in pastries. Lard, butter and vegetable shortening.
I choose to use 2/3 cup vegetable shortening and 7 tablespoons butter. You will want a good level measurement or each and honestly, it’s best if it’s cold. So throw the shortening into the refrigerator for 30 minutes or more.
To measure shortening, I like to use a piece of plastic wrap inside my measuring cup. It also makes clean up so easy when measuring shortening and you just throw the plastic wrap away. Trust me, give it a try.
Butter should also be COLD. Typically most if not all cubes of butter have tablespoon measurements on the paper coating. Measure 7 tablespoons of good cold butter for your homemade pie crust.
Cold Fats are Important
Using cold fats is very important. Keeping the ingredients as cold as possible helps to prevent the fats from melting. When fats begin to melt into the recipe, you will lose the flaky texture you desire.
Ideally the fats will melt as the pastry bakes which releases steam into the mixture. This is how flaky layers are created.
Why I use Both Butter and Shortening
It comes down to flavor and I love the flavor that butter gives to recipes. Using all butter doesn’t yield as good of results as using all shortening or lard does.
The flaky texture is something we all desire but no one wants a crust that tastes flat. So a balance of shortening and butter gives the flaky texture I enjoy as well as flavor that we all desire. And it works for both sweet and savory pies too.
How to Make Homemade Pie Crust
And now onto the pie crust tutorial.
I like to get the water prepared by adding 3-4 ice cubes and filling a measuring cup with water. Let it sit so the water gets good and cold. Then In a large bowl add all purpose flour, salt and sugar and mix it together.
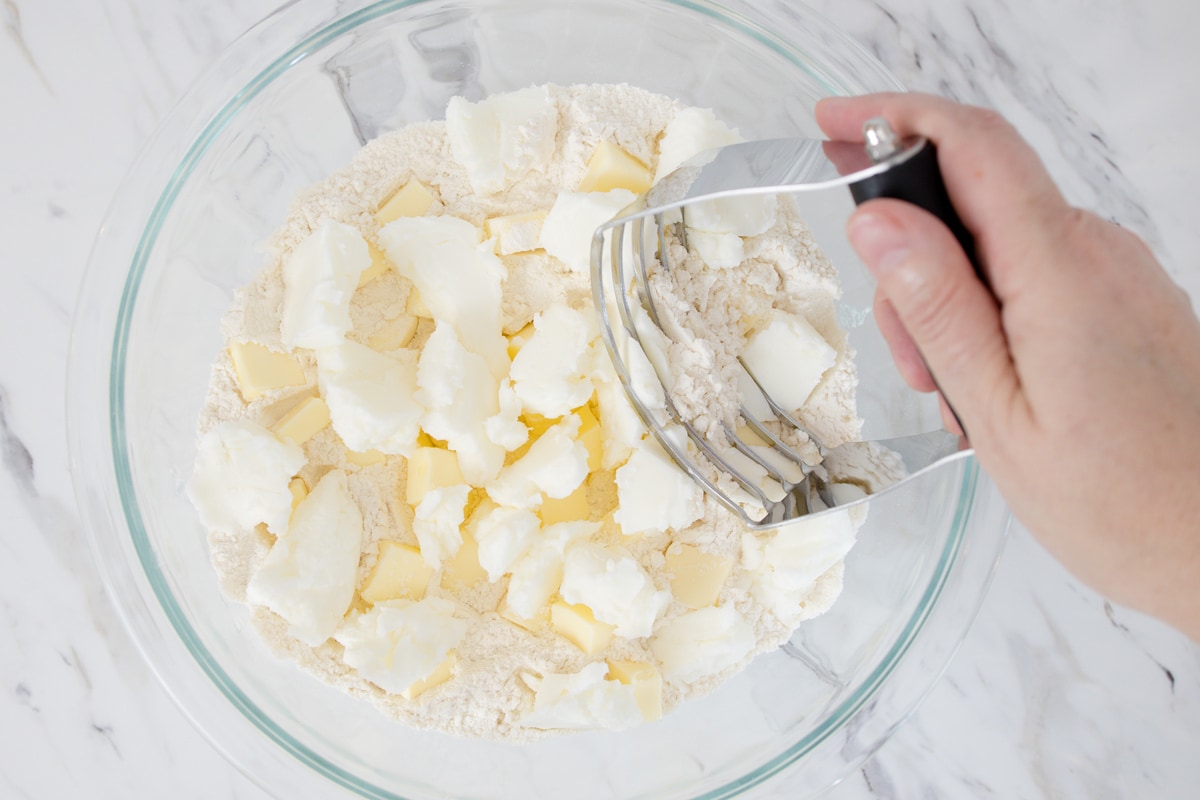
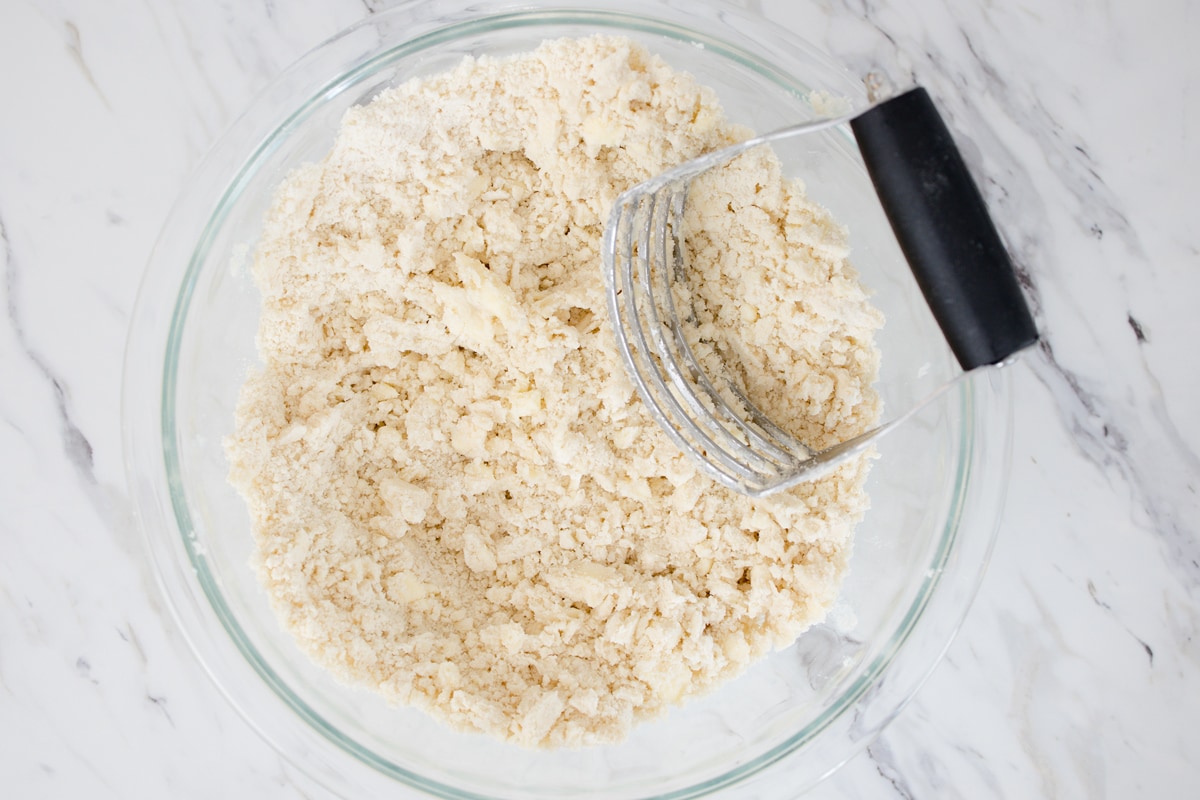
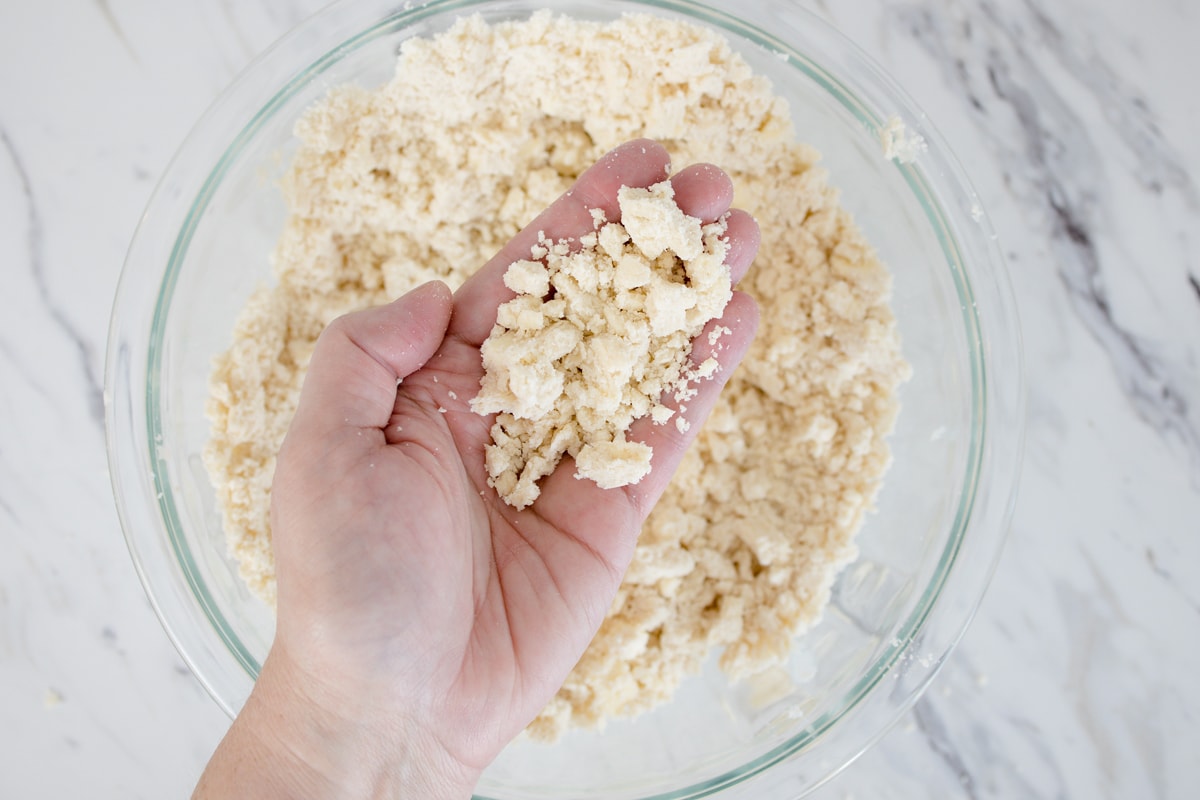
Cut shortening and butter into flour mixture. I find using a pastry cutter works best but using a fork will do the job too! You want the mixture to look coarse.
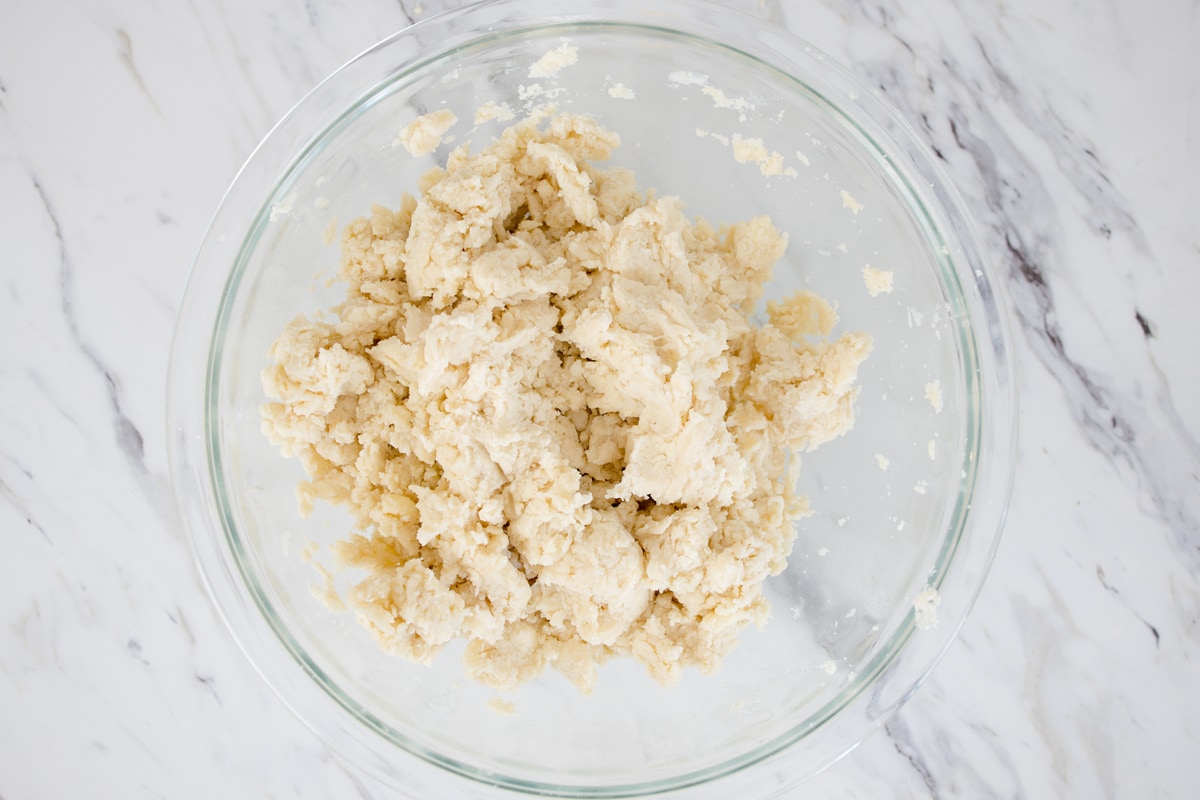
Next remove the ice from the cold water and measure ½ cup. Drizzle 1-2 Tablespoons at a time into the flour mixture and mix. I will use a large fork at this point to mix the water into the dough.
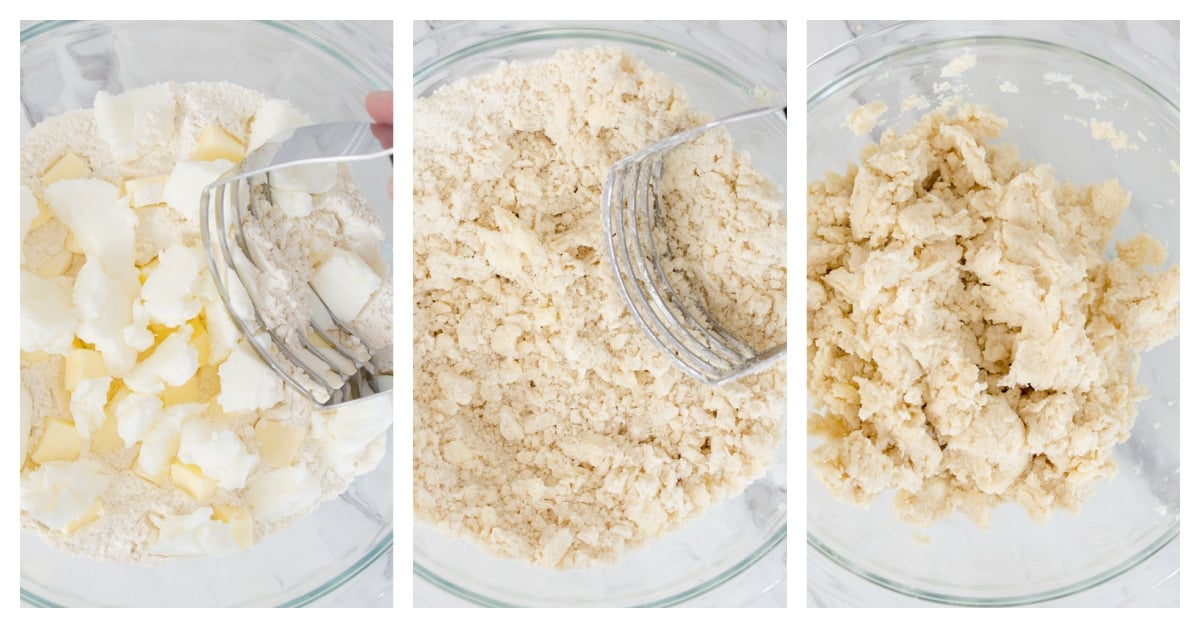
As more water is added, the dough will begin to take shape. You won’t want to over mix and the dough will come together quickly. Adding too much water will make a tough pie crust and adding not enough makes a crust dry and crumbly.
You can use a food processor, but only in short, pulses to combine.
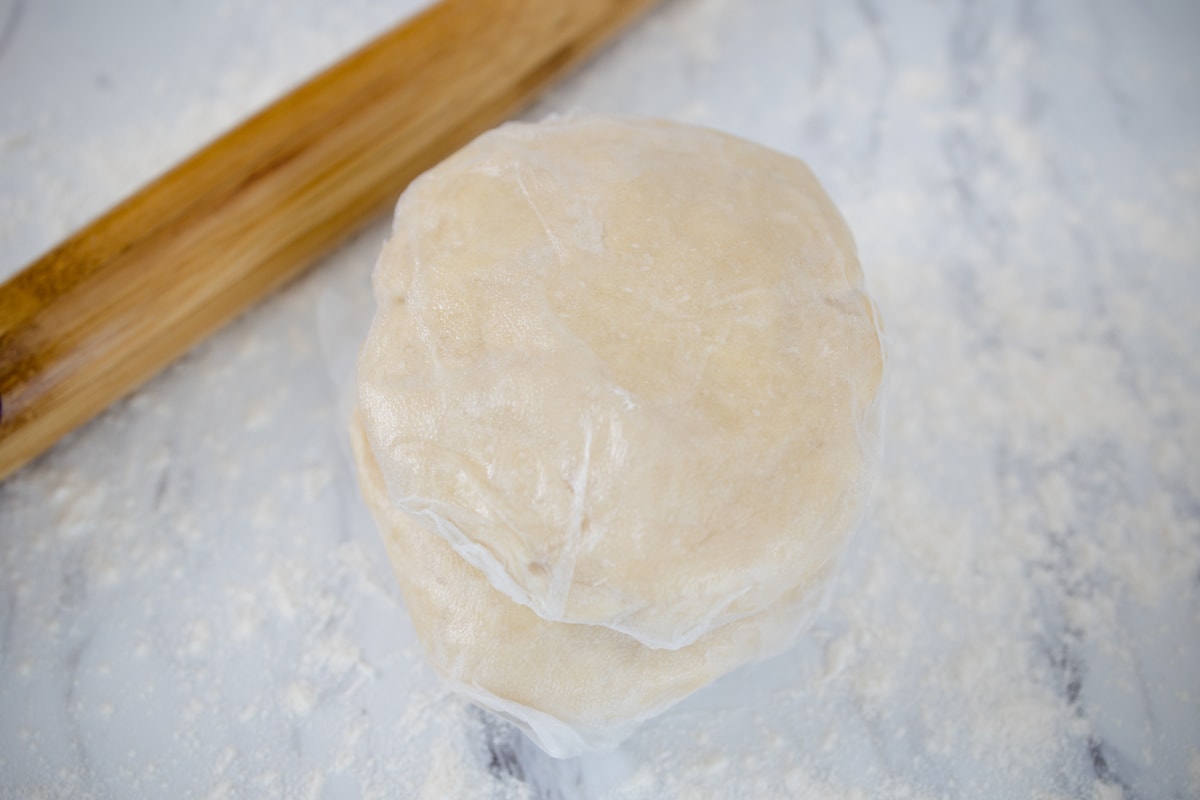
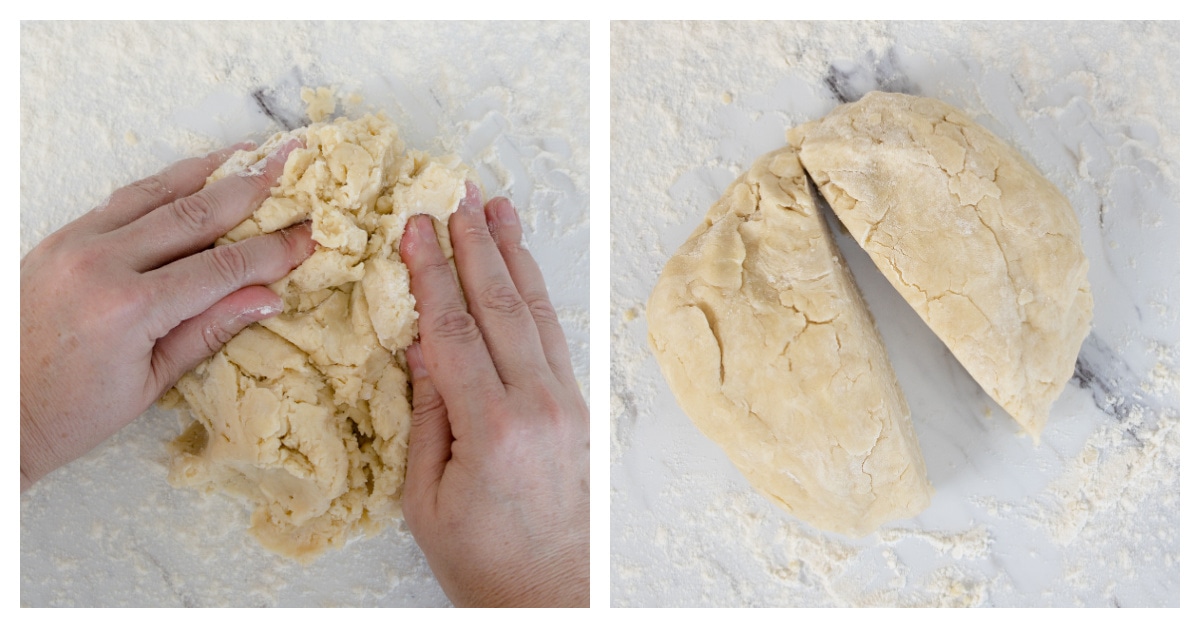
Once dough is formed, shape into a ball and cut in half. Wrap each half in plastic wrap and place in the refrigerator for at least 1 hour. Ideally overnight if possible. A pie crust ball can be kept up to 5 days in the refrigerator or up to 3 months when frozen.
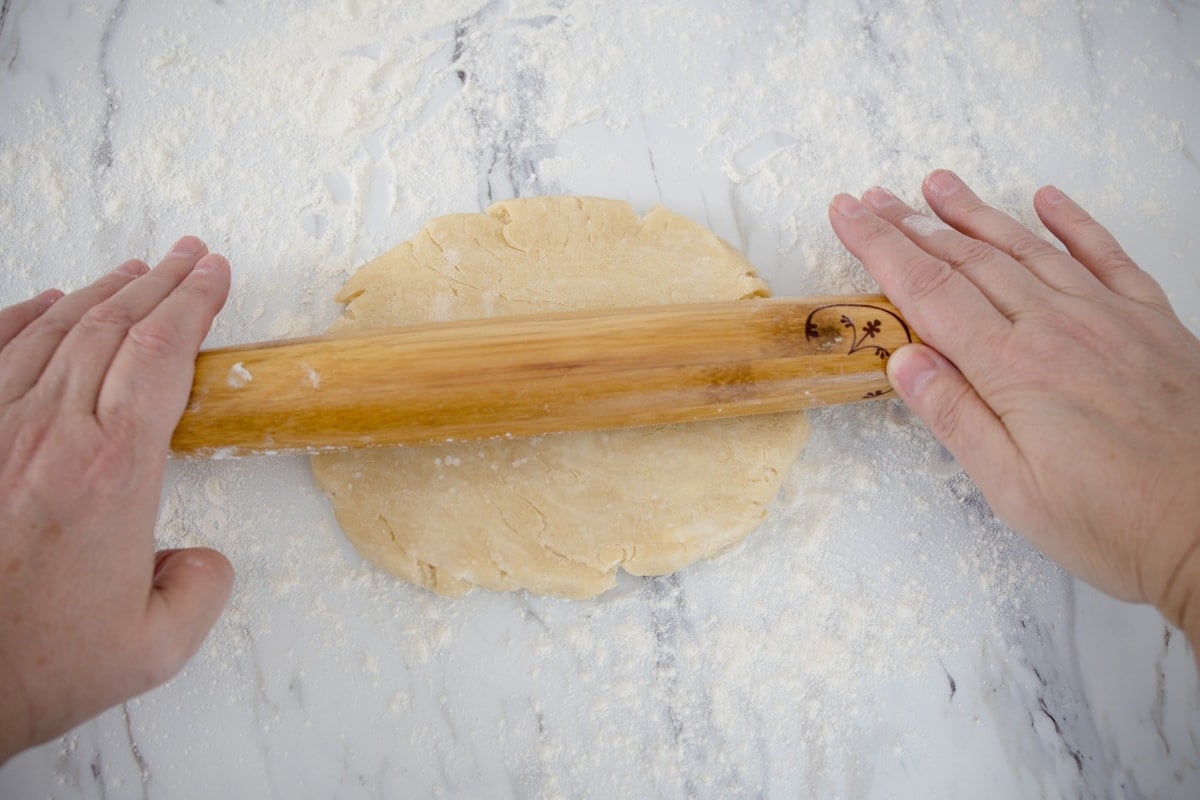
Prepare a lightly floured surface and begin to roll homemade pie crust dough from center in all directions to create a circle. Move dough on floured surface so it does not stick.
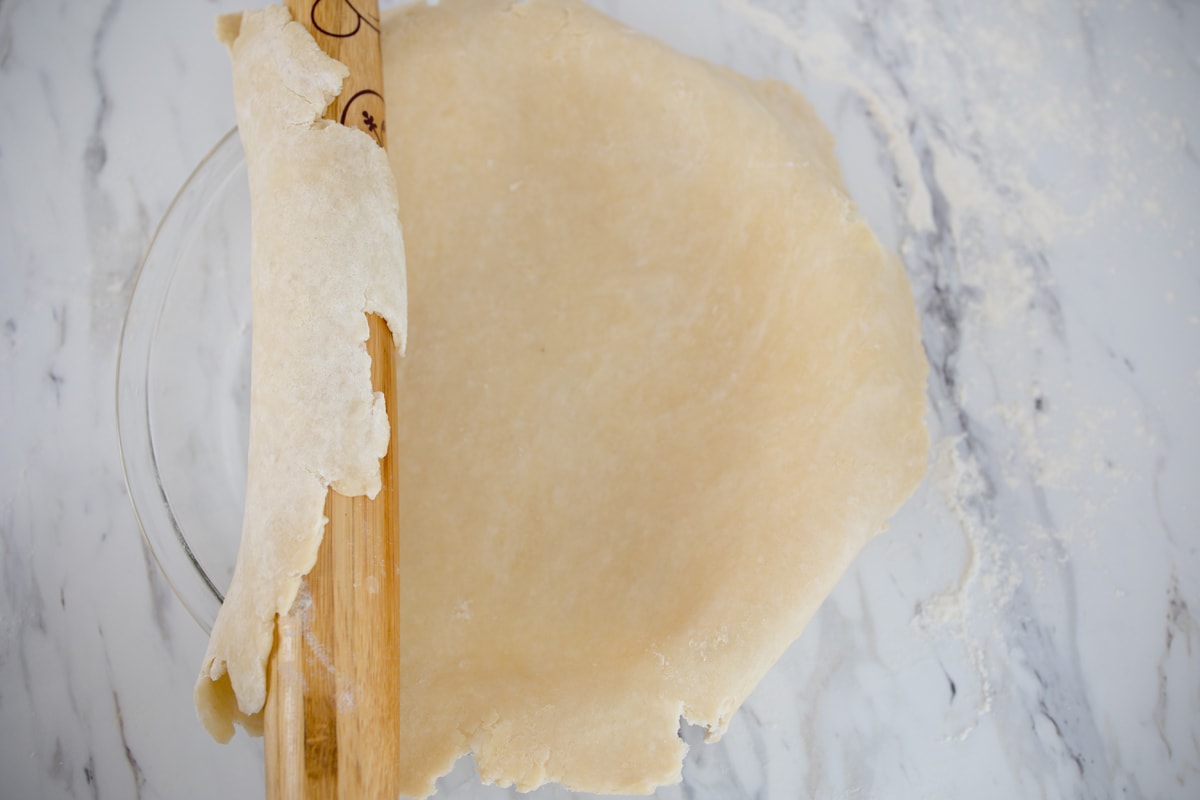
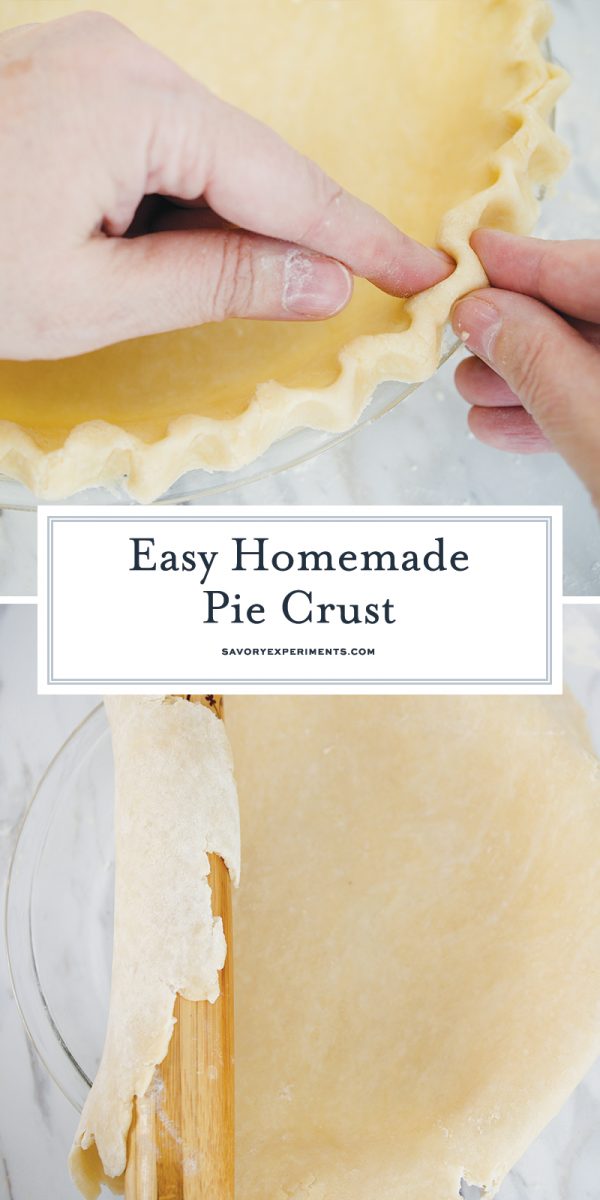
Using a rolling pin to roll dough onto is ideal when moving dough to pie pan for baking. Trust me. This dough is fragile and very difficult to move without supporting it completely.
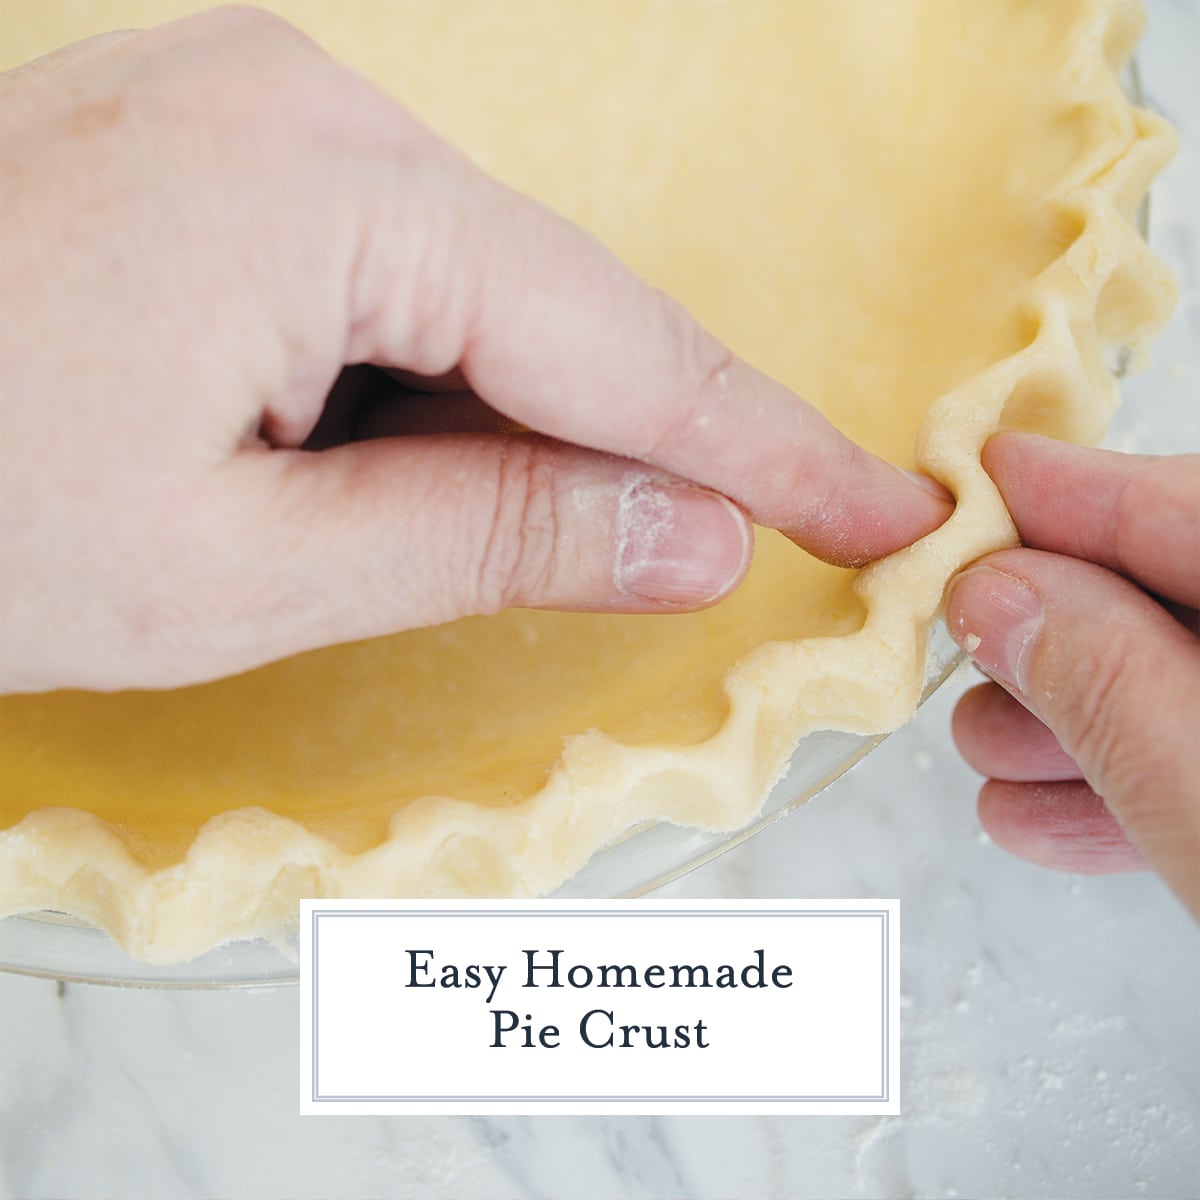
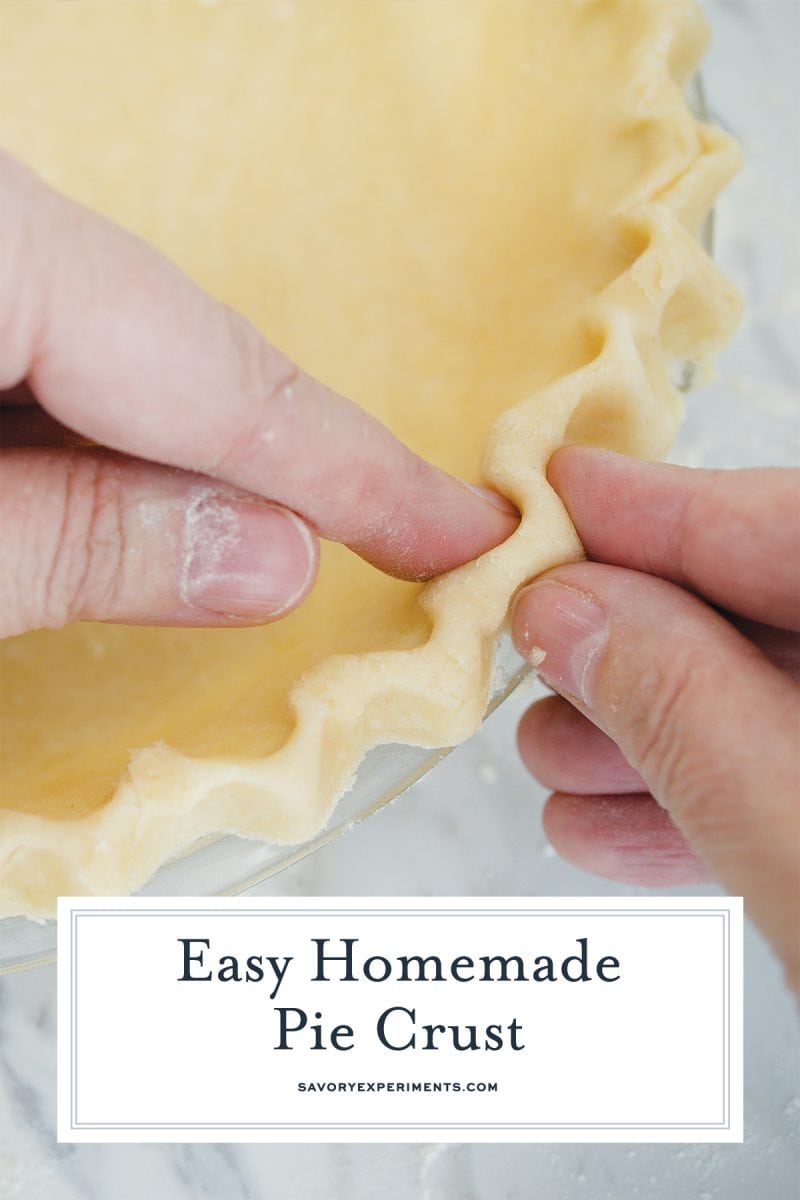
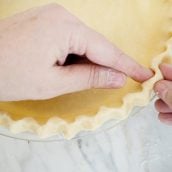
Lay dough on pie pan and with your hands gently make sure the dough fills the bottom and rests on the sides. Pinching dough with your fingers to create a nice ribbon on the top edge is always fun too.
That’s it! To bake make sure to follow the pies recipe. Some will call for pre-baked pie crust and others will bake once filled.
Blind Baking a Pie Crust
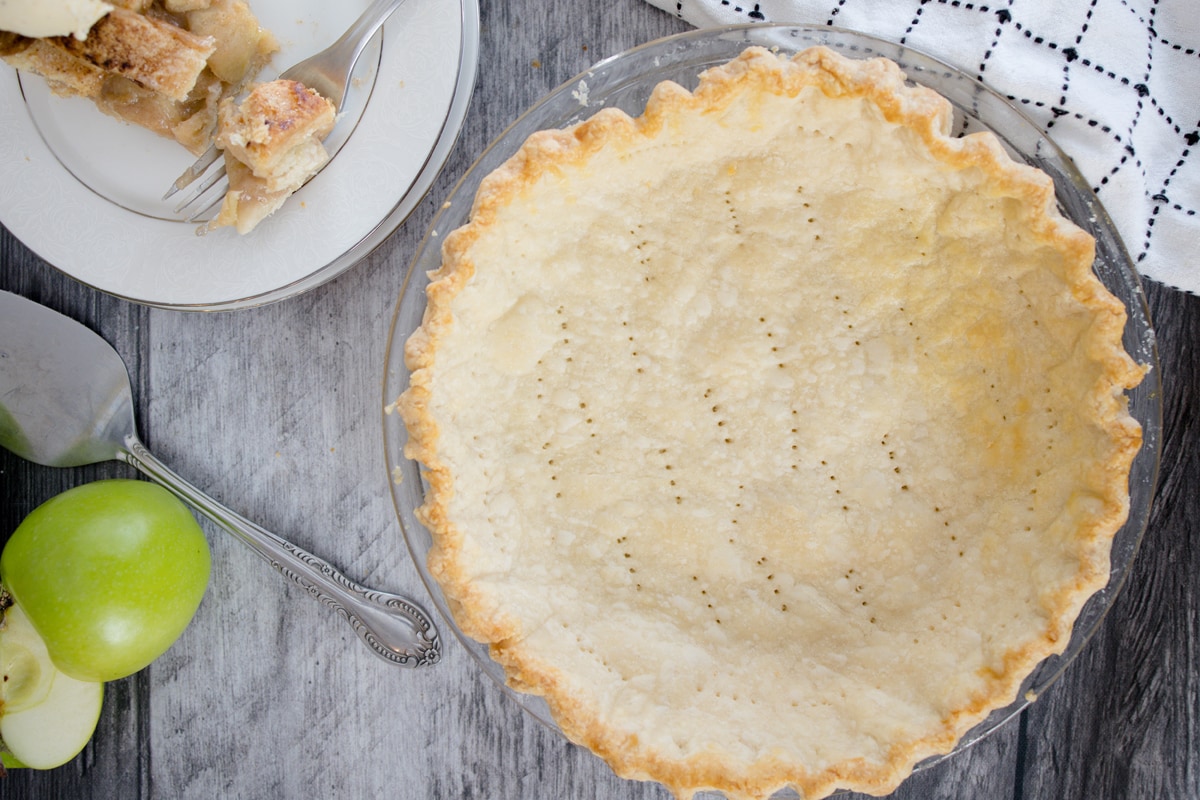
Not all crusts will require you to pre-bake them, but some will. In this case you either want to dock the pastry, also known as piercing it, or use pie weights. Sometimes it
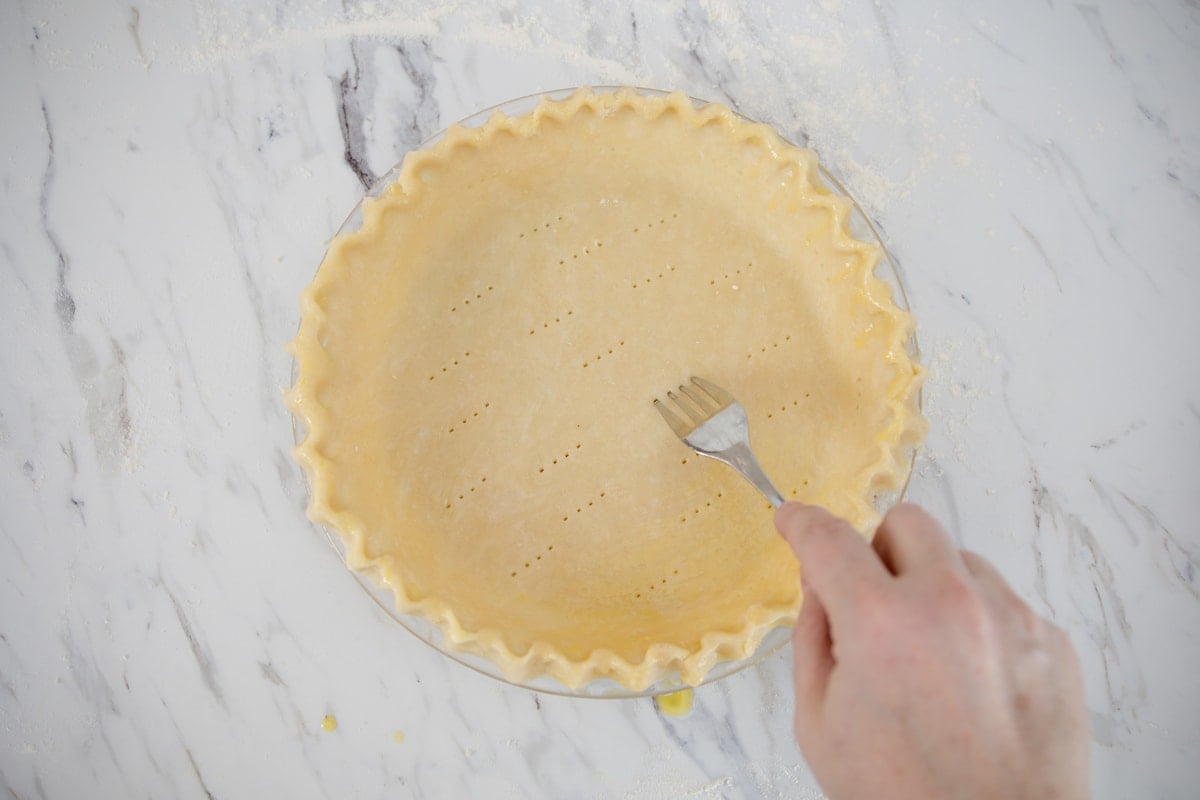
Docking allows steam to release so your pie doesn’t get soggy and also so it doesn’t bubble up in the center.
Pie weights will weight it down so it is too heavy for steam to develop in the first place. If you don’t have pie weights, raw, dry beans will also do the trick.
Recipes that Use Pie Crust
Chocolate Chip Pie
The Best Apple Pie
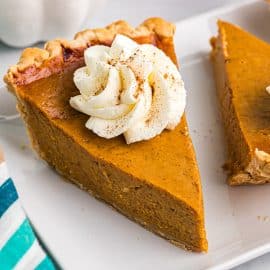
Easy Pumpkin Pie Recipe
Pie Crust Tutorial
Equipment
Ingredients
- 2 1/2 cups all-purpose flour
- 1 teaspoon fine salt salt
- 1 tablespoon sugar
- 2/3 cup vegetable shortening
- 7 tablespoon unsalted butter
- 1/2 cup cold water
Instructions
- Prep the water by adding 3-4 ice cubes and filling a measuring cup with water. Let it sit so the water gets good and cold. In a large bowl add the flour, salt and sugar and whisk together.
- Cut the butter and shortening into the flour mixture using a pastry cutter or fork. The mixture should look coarse.
- Remove the ice from the cold water and measure ½ cup. Add 1-2 tablespoons at a time into the flour mixture and mix with a large fork.
- Once dough is formed, shape into a ball and cut in half. Wrap each half in plastic wrap and place in the refrigerator for at least 1 hour. Ideally overnight if possible.
- Prepare a lightly floured surface and begin to roll dough from center in all directions to create a circle. Move dough on floured surface so it does not stick.
- Using a rolling pin to roll dough, move the dough to pie pan for baking.
- Lay dough on pie pan and with your hands gently make sure the dough fills the bottom and rests on the sides. Pinching dough with your fingers to create a nice ribbon on the top edge.
- Bake crust according to the pie recipe you are following.
- If you've tried this recipe, come back and let us know how it was in the comments or ratings.
Notes
A pie crust ball can be kept up to 5 days in the refrigerator or up to 3 months when frozen.
Nutrition






Is it ok to use coconut oil instead of vegetable shortening?
Hi Tracey- great question! You should be able to swap them 1:1 for no problem, but I have no personally tested it. If you do, come back and let us know how it worked out!
What an easy and delicious recipe! Looking forward to giving this a try with some key lime pie! Yum!
I never realised how easy to it was to make a pie crust! I’ll never buy storebought again after this 🙂
This looks so delicious and easy! I can’t wait to make a pie with this crust! So excited!
I always use store bought pastry, but this has made me want to try making my own.
I love that your recipe uses a combination of shortening and butter – it adds so much more flavor! Great recipe – it’s a keeper!