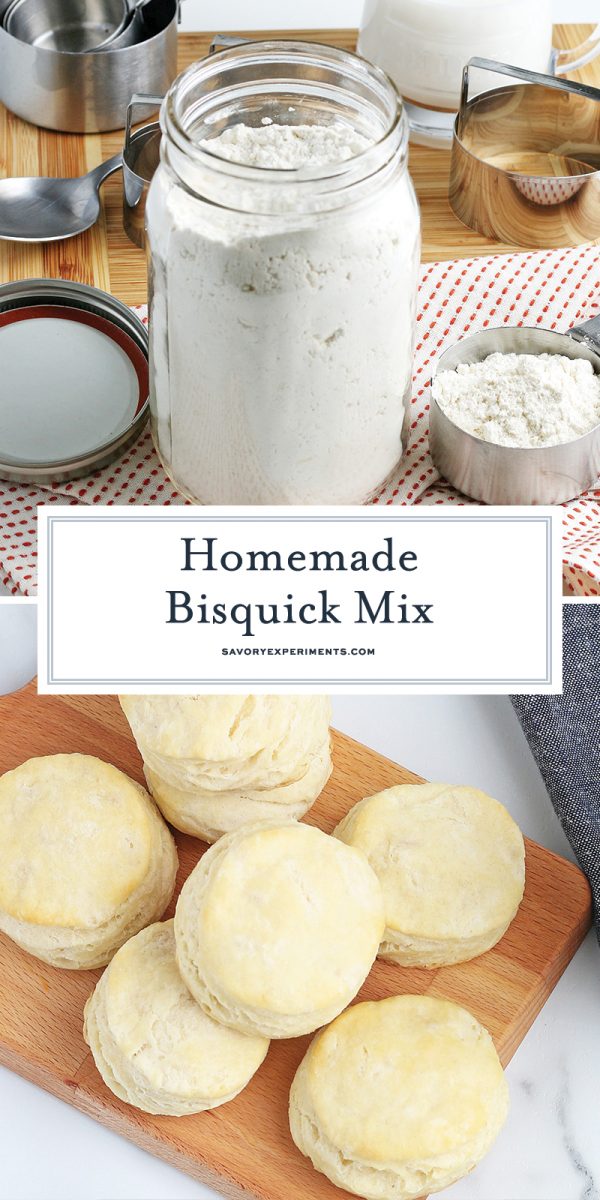
It’s Sunday morning, you want to make a nice breakfast for your family but realize you are all out of Bisquick. No worries, I bet you have all the pantry staples right in your cupboard for homemade biscuit mix in a jiffy.
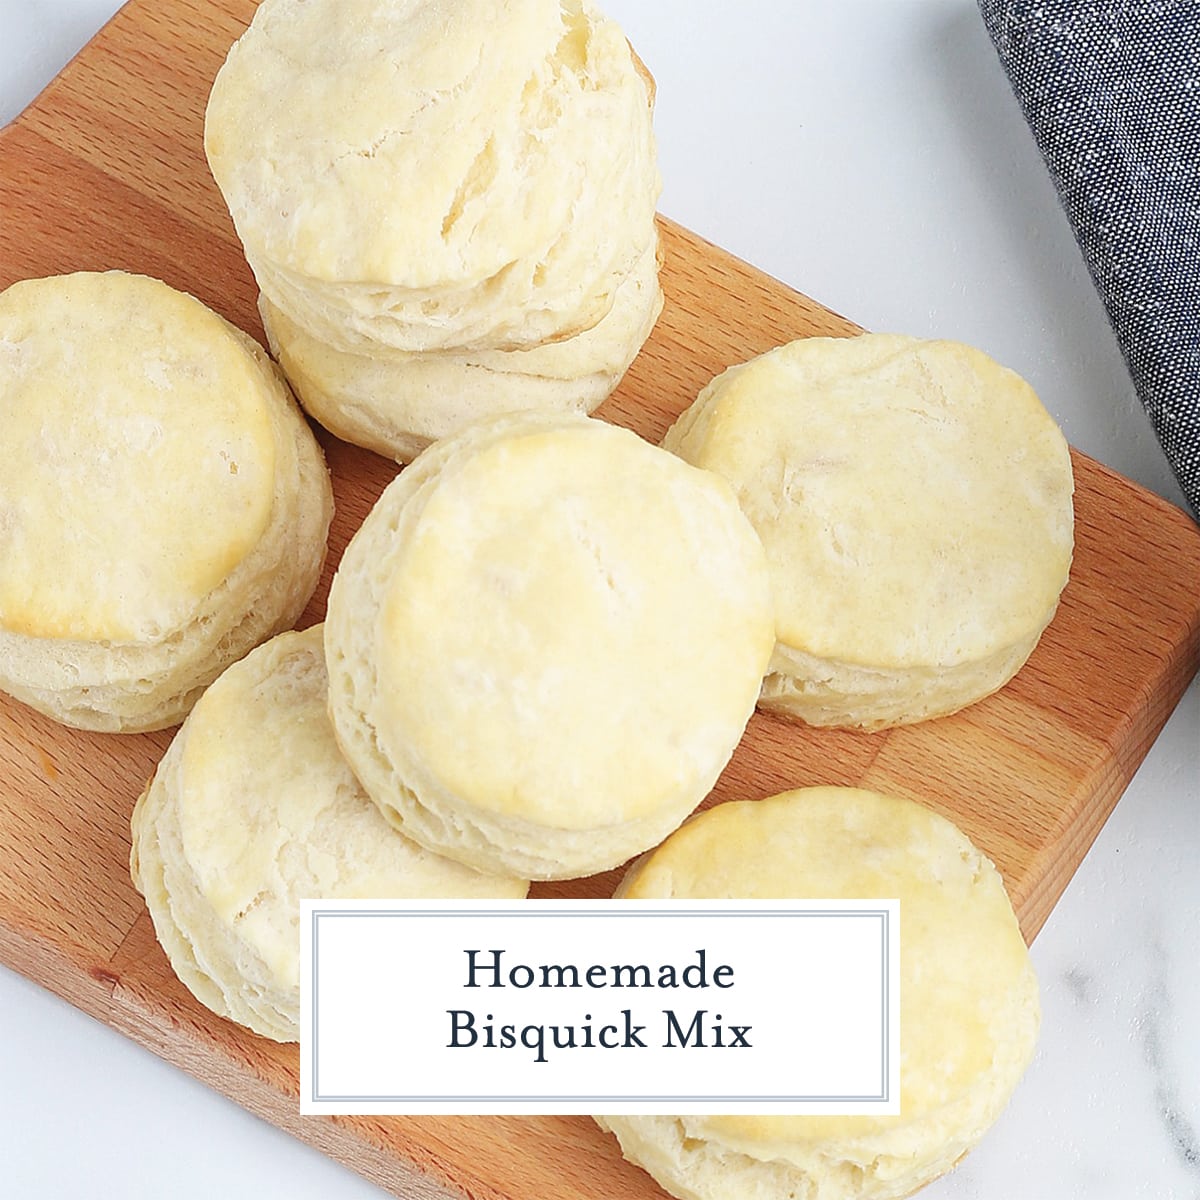
Biscuits- Magical and Wonderful
But biscuits aren’t just for breakfast. Oh no! They can be made into the breading bottom for a strawberry shortcake or ice cream sandwich bread for dessert.

Use them for topping casseroles likes my French Onion Chicken Casserole or simply serving alongside your favorite soup or salad.
And of course, for breakfast to make eggs Benedict, a breakfast sandwich or with creamed chipped beef. I always liked mine with just butter and honey, but hubby prefers his with jam like cherry or loquat.

Ingredients for Homemade Bisquick
- All-purpose flour– you can swap out for self rising flour and omit the baking powder and salt.
- Baking powder– a leavening agent.
- Fine salt- adds acidity and flavor.
- Shortening– the fat and glue that holds it all together.
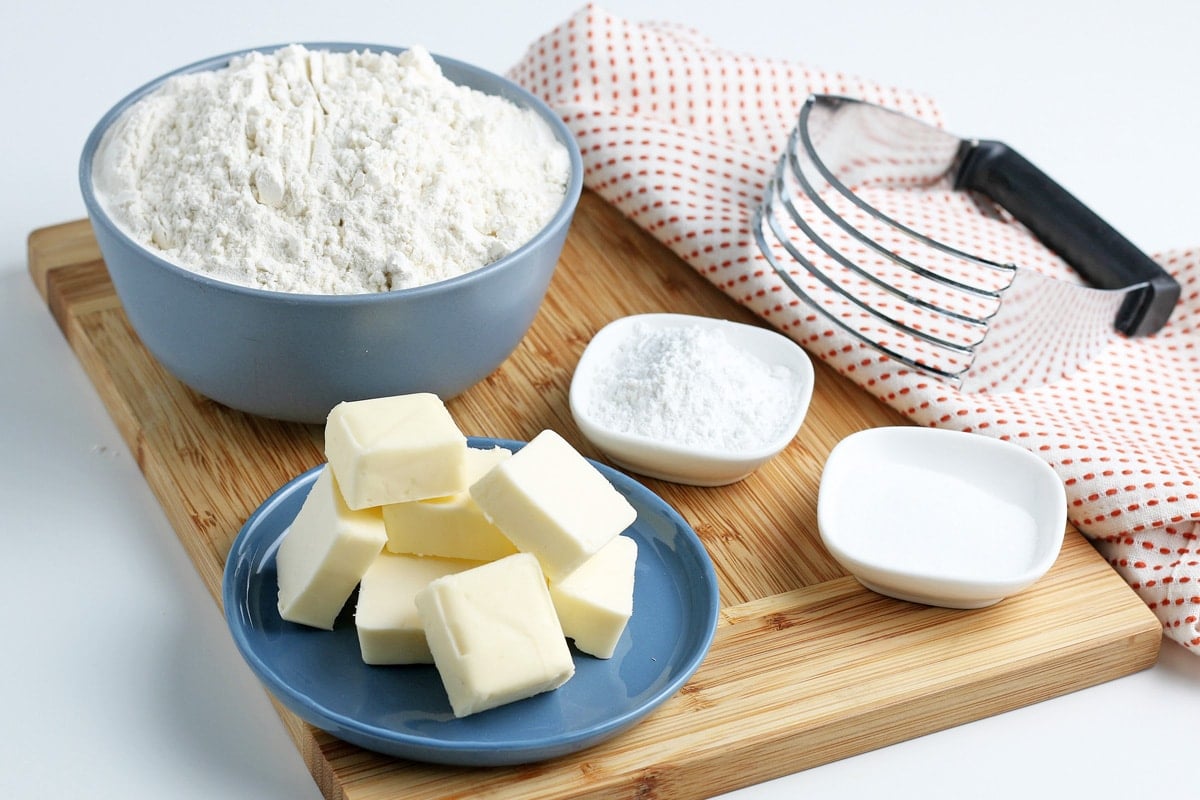
What is shortening? The term refers to any fat that can be stored at room temperature. Most people associate it with the blue tin of Crisco, which is the most popular brand. The biggest benefit is that it is shelf stable and doesn’t require refrigeration.
Can I use butter? You can swap out butter for shortening, however then the mix will need to be stored in the refrigerator instead of the pantry. Use really cold butter (cubed) to make the cutting process easier.
Can I use lard? Lard is also an acceptable substitute and can be located in the baking aisle of your grocery store. It is also shelf stable and can be stored in the pantry.
How to Make
Making the mix is super easy. Whisk together dry ingredients and then you have two options for cutting in the shortening (or butter/lard).
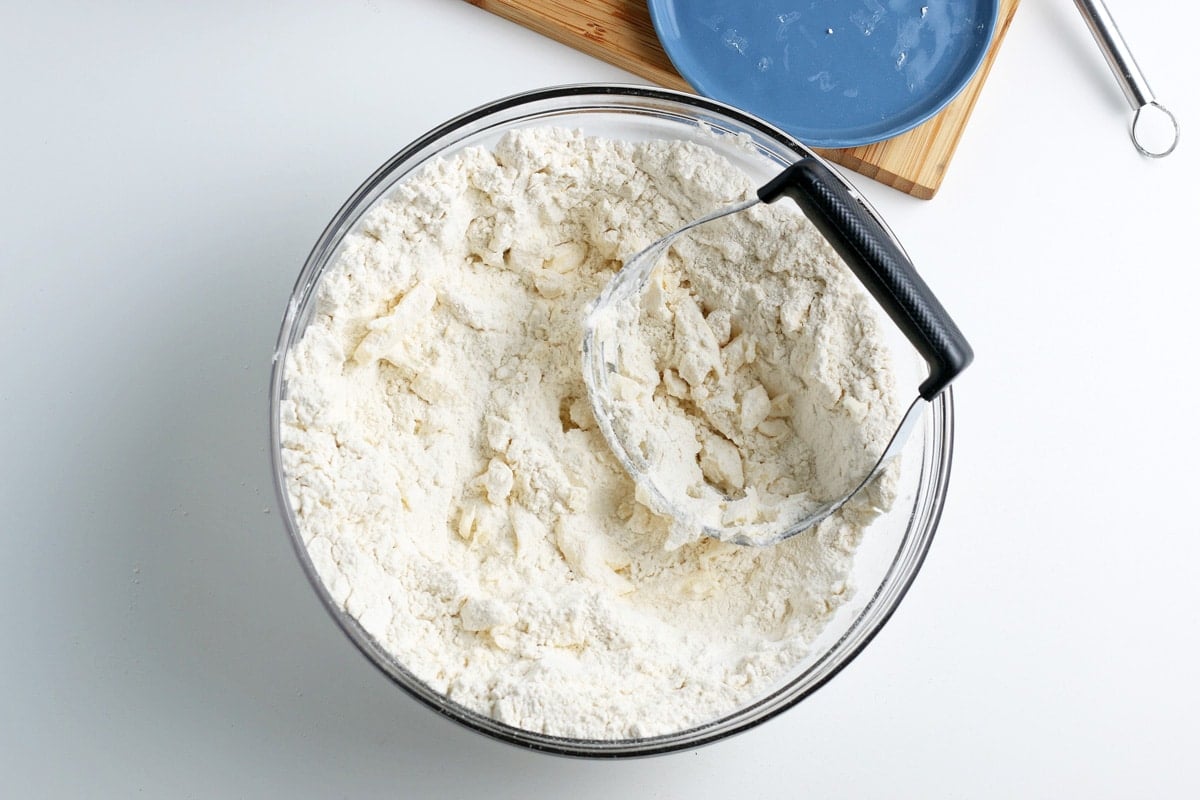
- Pastry Blender/Fork– Use a pastry cutter or fork to manually mix in the shortening until it resembles fine sand or cornmeal.
- Food Processor– Pulse the whole mixture several times until it resembles sand or cornmeal.
Storage & Shelf Life
While store bought Bisquick lasts for a whole lifetime, keep in mind we aren’t using preservatives or additives so yours will be good for 3-6 months, however I’ll be surprised if it lasts that long.
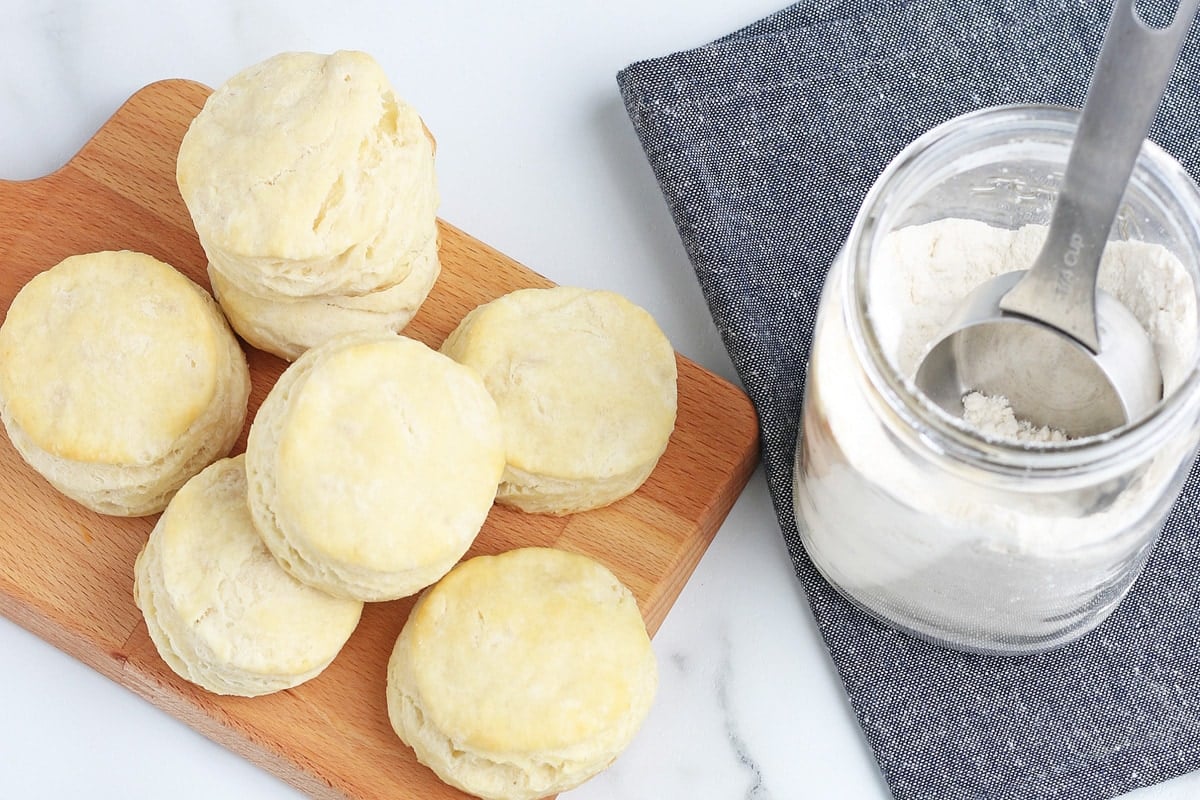
If using shortening or lard, store in a glass jar with a tight lid or an airtight plastic container in a cool, dry place. If you live in a warmer or more humid climate, the fridge might be a better home for your biscuit mix.
If using butter, it needs to be stored in the refrigerator regardless of where you live.
How to Make Biscuits
All you need in addition to your biscuit mix is milk and butter, which is actually optional.
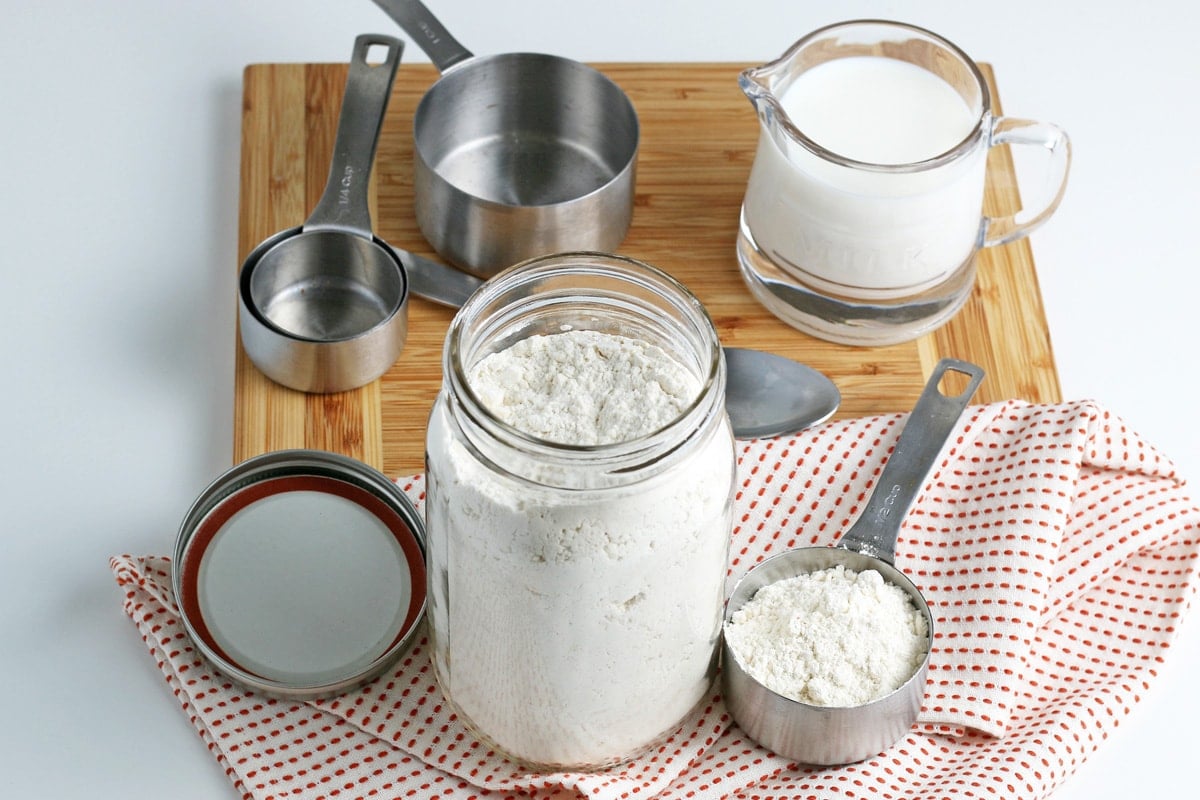
- Homemade Bisquick Mix – your homemade one!
- Milk – use skim, 2% or whole. Whole always makes the best and most flaky.
- Butter– this is just for basting when they come out of the oven. It can be omitted if you desire.
Mix together both ingredients until just combined. Don’t overwork the dough!
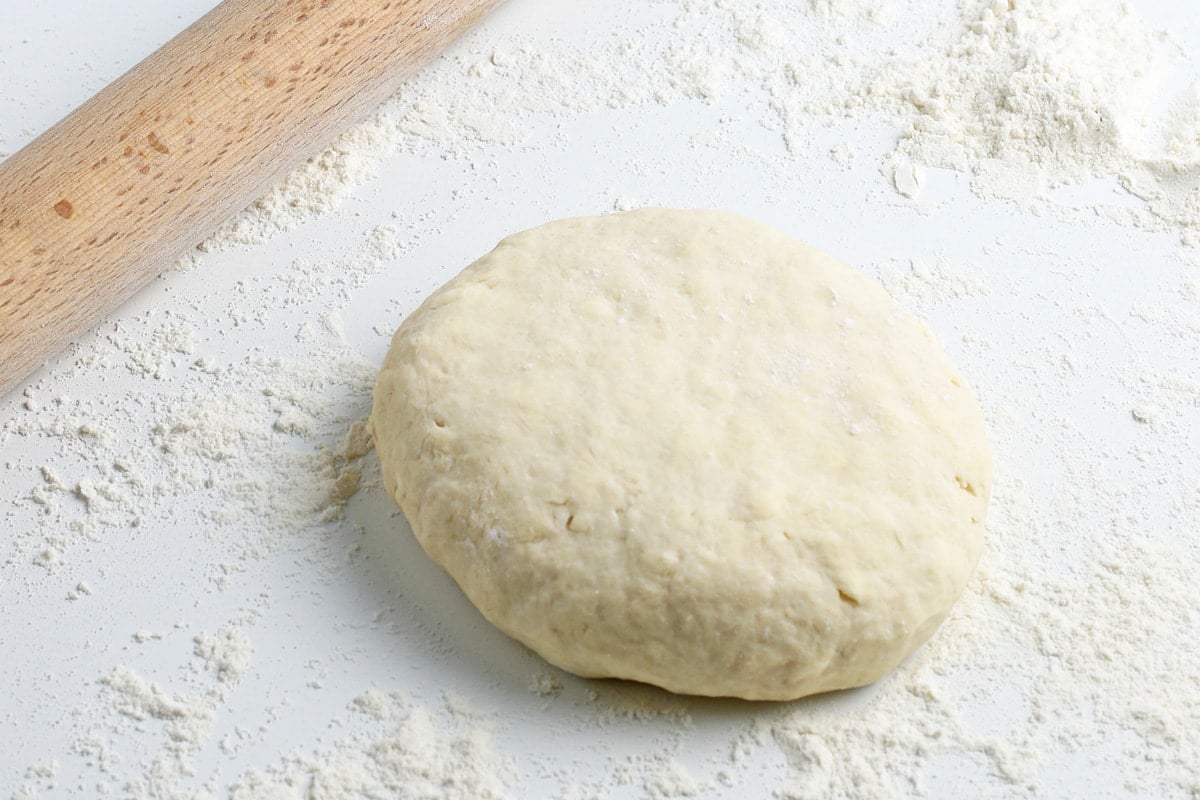
Roll on a lightly floured surface and then cut with a 2 1/2 inch cookie or biscuit cutter. Place onto a coated cookie sheet or one lined with parchment paper.
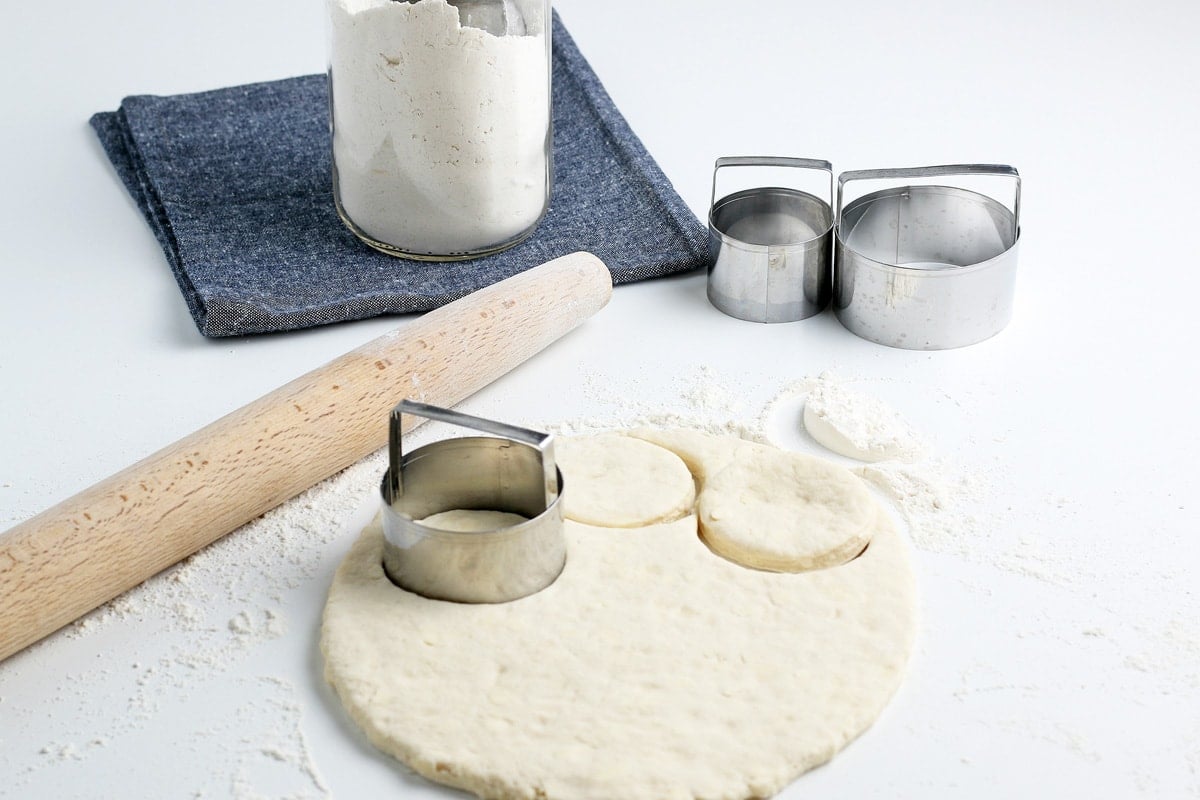
Bake until golden brown and then baste with butter.
You can also make these into drop biscuits, but evenly dividing the dough into 8 biscuits using just a spoon. Flatten slightly so they cook evenly.
Baked biscuits can be stored at room temperature for up to 3 days and warmed wrapped in a paper towel in the microwave for 15 second or in a warm oven.
Cooked biscuits are also great for freezing!
More quick breads:
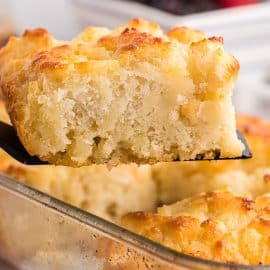
Butter Swim Biscuits
Copycat Cheddar Bay Red Lobster Biscuit Recipe
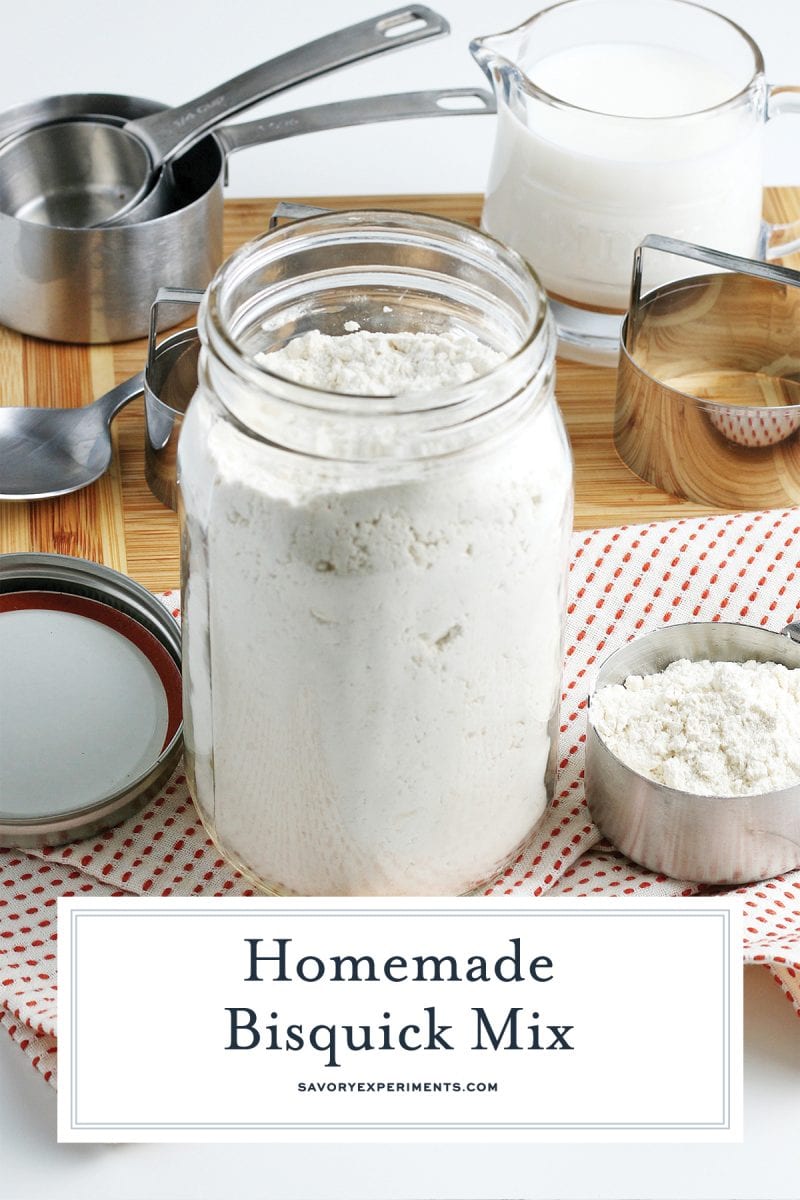
Homemade Bisquick Mix
Equipment
Ingredients
- 3 cups flour
- 1 1/2 tablespoons baking powder
- 1 1/2 teaspoons fine sea salt
- 1/2 cup shortening , cut into small pieces
Instructions
- Whisk together flour, baking powder and salt in a mixing bowl.
- Mix shortening into flour mixture using a pastry cutter or fork until it reaches a grainy and sandy texture. You can also place all ingredients into a food processor and pulse until combined.
- Transfer to airtight container. Store in a cool, dry place or in the refrigerator for up to 3 months.
Notes
Yields 8 2 1/2 inch biscuits
- 1 1⁄2 cups homemade bisquick mix
- 1⁄2 cup milk
- 2 tablespoons butter, melted
- Preheat oven to 400 degrees and spray cookie sheet with non-stick cooking spray or line with parchment paper to prevent sticking.
- Combine ingredients in a medium bowl until soft dough forms, do not over mix.
- Turn onto a lightly floured surface, roll dough out with a rolling pin to about 1⁄2 inch thick and cut with a 2 1/2 inch wide round cookie cutter (or a different shape with similar diameter).
- Alternately, drop into 8 equal size biscuits using a spoon, pat down a little so they aren’t too tall.
- Bake for 7-9 minutes until lightly browned.
- Remove from oven and baste with melted butter. Serve!
Nutrition









This was a great recipe- used it in a pinch when I thought I had more biscuit mix and was out. Thanks!
Very welcome, glad it could work for you!
I love knowing exactly what is going into the food I make! I much prefer this mix over the store bought mix! Thanks for sharing!
Just like the box! Used it to make biscuits and gravy. Thanks.