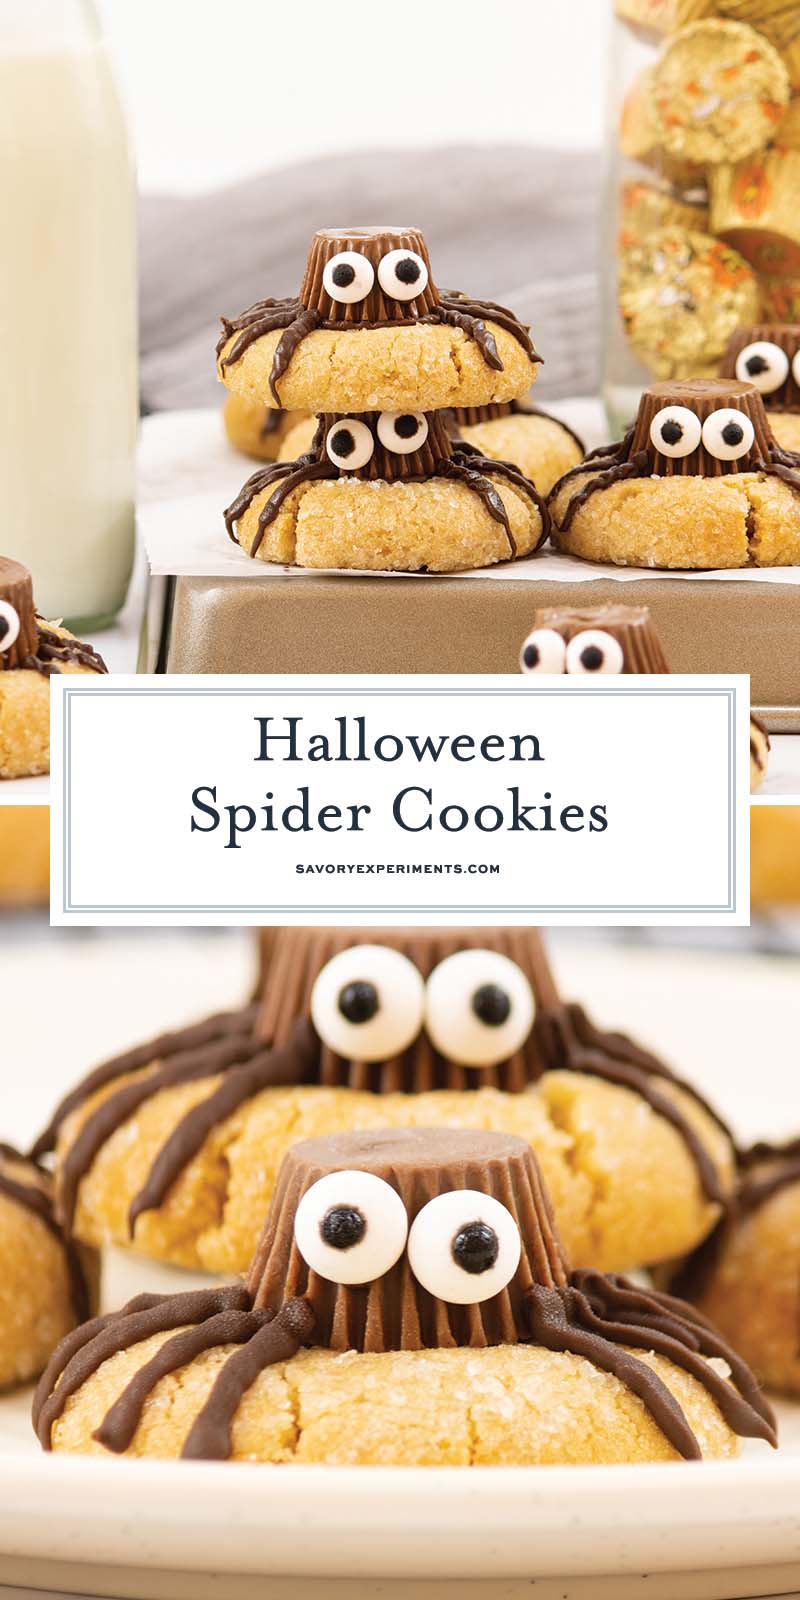
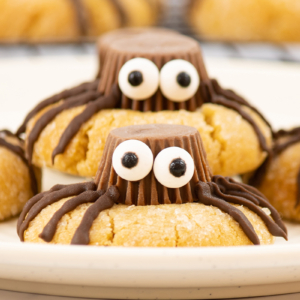
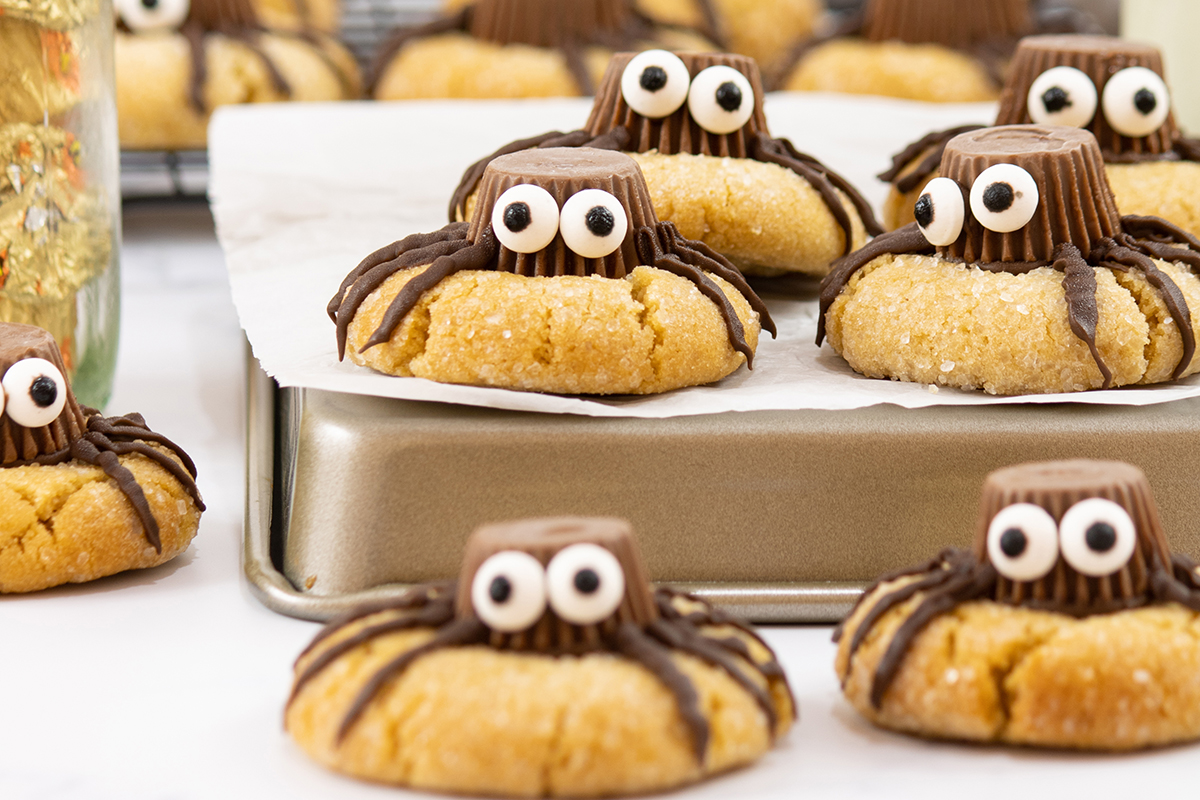
Once October hits I am ready to make all of the fall treats and Halloween is the kickoff to my autumnal baking adventures. These Halloween Spider Cookies are one of my favorite things to make as the season turns spooky.
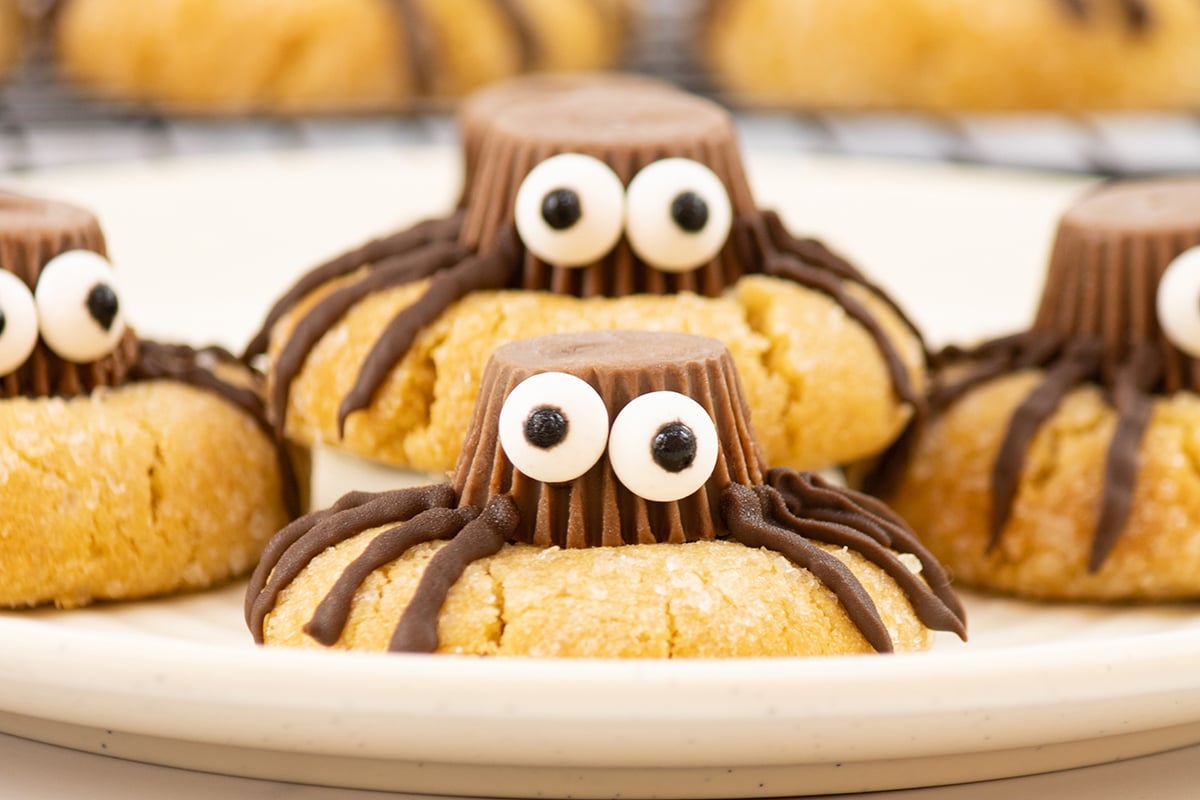
Why You’ll Love Halloween Spider Cookies
The next time you’re looking for Halloween recipes, consider these spooky spider cookies as a way to wow kiddos and grown-ups. This fun treat might be even more memorable than all of those crazy costumes!
- Fun and festive – Adults and children alike will love these fun cookies with a just the right touch of Halloween creepiness to your Halloween party.
- Easy to make – While there are a few steps to making these, it’s generally a simple recipe with ingredients you mostly have on hand already.
- Great for involving the kids – If you have kids that like getting in on baking they can easily participate in making these treats.
What You’ll Need
You can easily find all of these Halloween spider cookies ingredients if you don’t already have them on hand.
- Creamy peanut butter – For this recipe, make sure to use creamy instead of crunchy peanut butter to get that smooth consistency in the dough.
- Unsalted butter – Make sure your butter is at room temperature so that it’s easy to mix.
- Light brown sugar – If you have dark brown sugar on hand, it will work — it just lends more molasses style flavor to the cookies.
- Sugar – Before baking, divide the white sugar in half — some will be used in the batter and some will be used for the coating.
- Egg – Always assume a recipe is calling for a large egg.
- Vanilla extract or almond extract – Either of these will work well in this recipe. Use what you have on hand or whichever is your personal preference.
- Flour – All purpose flour will work best for this recipe.
- Baking soda – Make sure to get your measurements right for both the baking soda and the baking powder. While both are leavening agents, they do different jobs.
- Baking powder – Just a little of this ingredient will give the cookies just the right texture.
- Fine sea salt – Using a finer granule will help the salt to mix and dissolve more quickly.
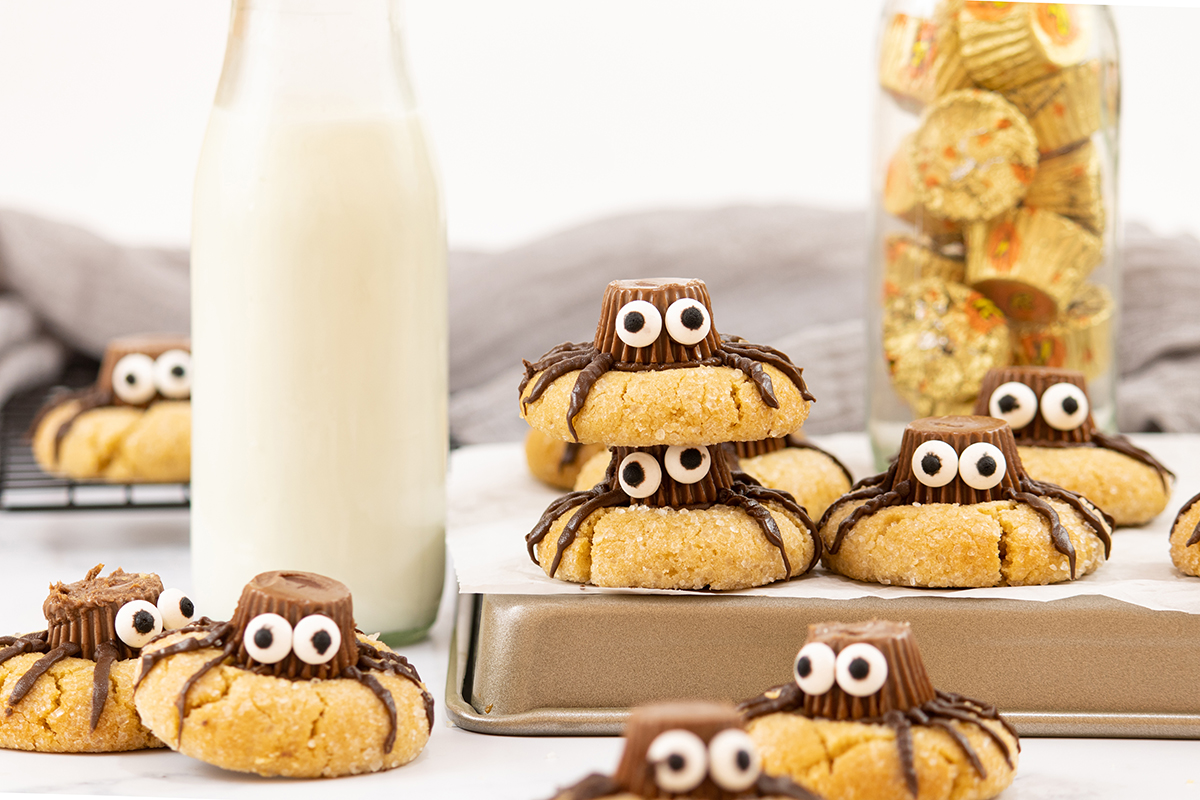
- Mini Reese’s Cups – Making sure these candies are frozen is the key to them staying intact when you press them into the cookies that are hot out of the oven.
- Chocolate chips – You can choose whichever variety you like though I prefer using semi-sweet when I’m baking for the kiddos.
- Salted butter – For baked goods it’s typically recommended to use unsalted butter but for this recipe the bit of salt that’s in the butter will work perfectly and save the extra step of adding salt, not that it is that hard… LOL.
- Candy eyeballs – If you can find edible googly eyes (they’re available readily online) those are best, but any candy eyes will make these fun.

Variations
There are plenty of ways you can make these Halloween spider cookies your own. Here are a few ideas.
- Black licorice – Instead of black frosting consider using black licorice strings to make the spider legs. You could also use food gel.
- Chocolate truffles – To make these a bit more fancy, try using small chocolate truffles instead of mini Reese’s peanut butter cups.
- Milk balls – Another alternative to the peanut butter cups is Whoppers – these will lend a crunchiness to the cookies.
- Flour – If you have allergies to wheat, try using almond flour or coconut flour instead.
- Sugar alternatives – To lower the amount of sugar in the spider cookies, try using alternatives to standard sugar. You can find alternatives that use monk fruit, erythritol, or other options at your grocery store or online.
- Chocolate – For the legs you can substitute dark chocolate or milk chocolate as you prefer.
- Chocolate frosting – Instead of melting the chocolate with the butter you can use a prepared frosting instead.
- Sugar cookies – If there are peanut allergies, you can use a sugar cookie recipe instead of peanut butter cookie dough for the spider bodies.
How To Make Halloween Spider Cookies
Making these fun cookies couldn’t be easier with minimal prep time!
- Cream butters and sugars. Beat peanut butter, unsalted butter, light brown sugar, and ½ of the granulated sugar with a mixer in a large bowl. Beat together until the mixture is completely smooth and creamy.
- Add egg and extract. Next, add the egg and the extract of your preference. Mix again.
- Dry ingredients. In a medium bowl, sift or whisk together the flour, baking soda, baking powder, and salt. Add the dry ingredients to the wet ingredients. Avoid overmixing.
- Chill dough. While the peanut butter cookie dough is chilling, preheat the oven and prepare a baking sheet with parchment paper.
- Scoop cookie dough balls. When the cookie dough is ready, use a cookie scoop to measure out approximately a heaping tablespoon of it.
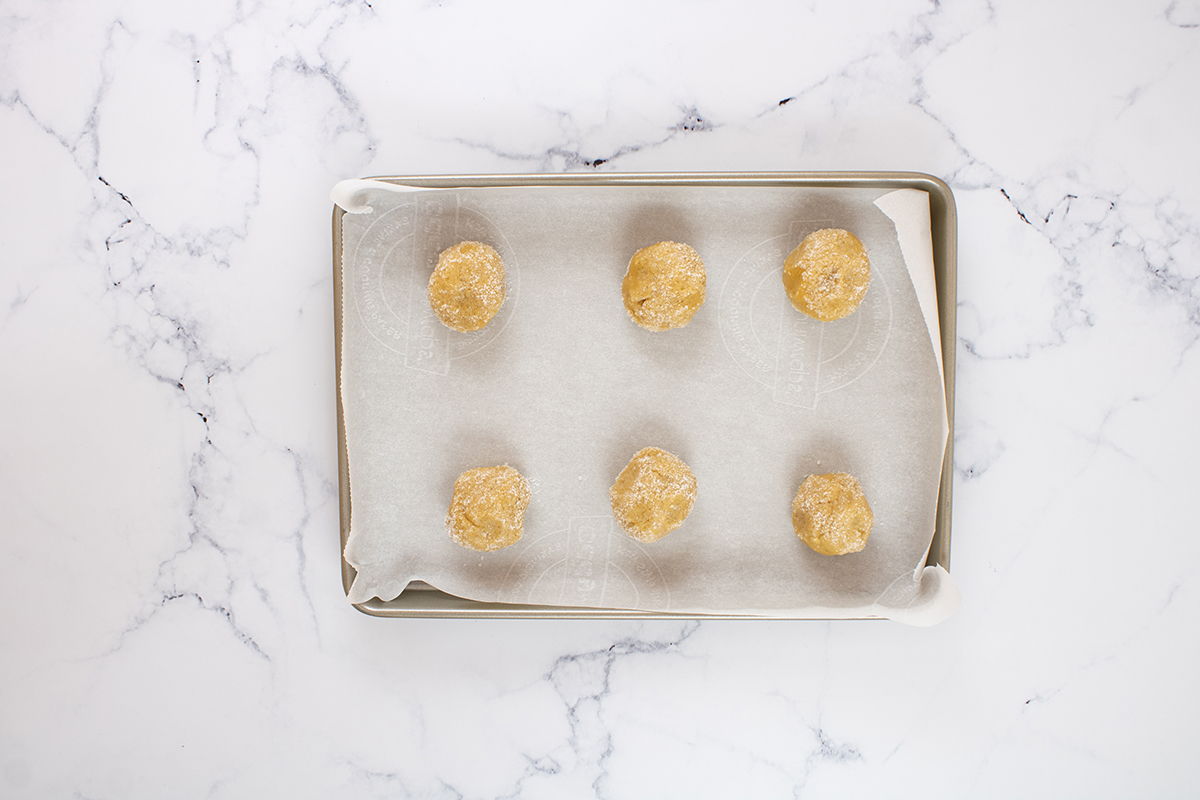
- Roll balls in sugar. Next, with clean hands, roll the dough into a ball. Then roll them in the sugar and place them onto the lined baking sheet.
- Bake until the bottom edges are very lightly browned.
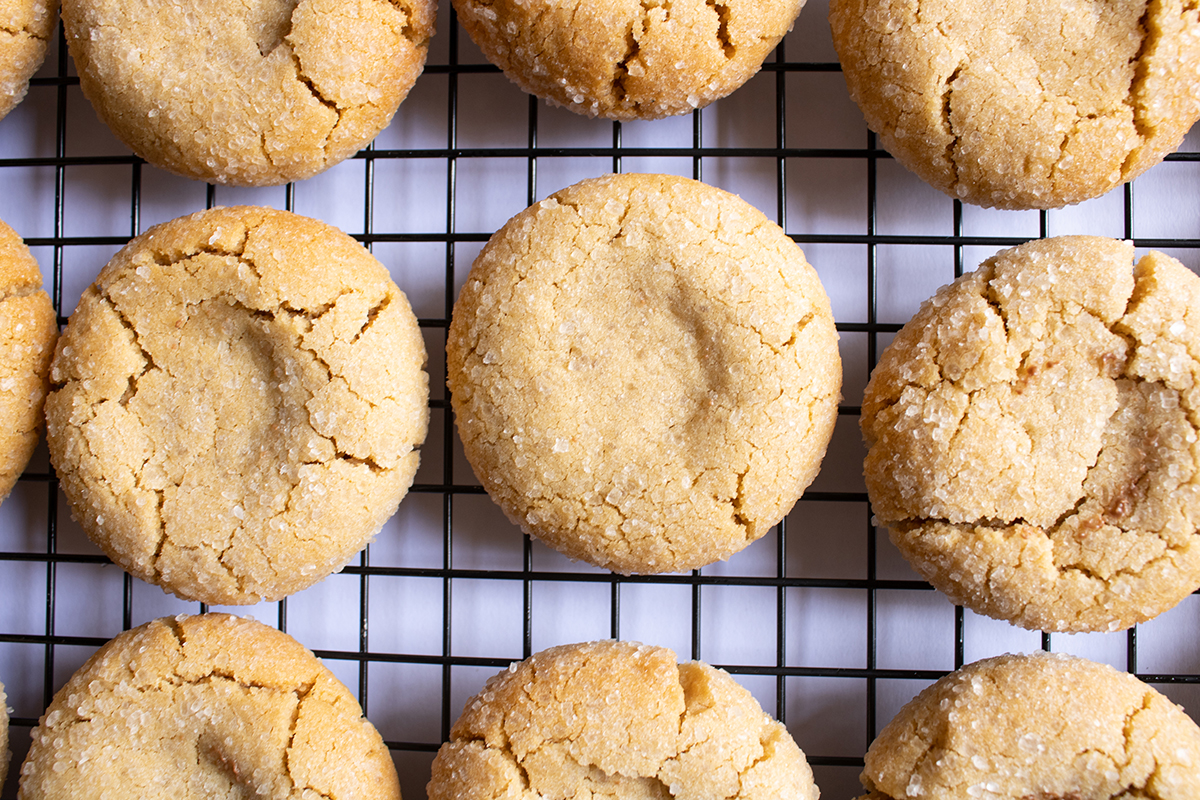
- Cool. When finished baking, remove the cookies from the oven and allow them to cool on the baking sheet.
- Add peanut butter cups. While the cookies fresh from the oven, gently press a miniature peanut butter cup into the top of each cookie.
- Move to wire rack. Once you have pressed the peanut butter cups into the center of each cookie, use a spatula to move them to a wire rack.
Decorating
Now time to decorate these fun Halloween spider cookies!
- Melt chocolate chips and butter. While the cookies are cooling, melt the chocolate chips with the salted butter. Though you could use a double boiler, you can also do this in the microwave at 20-second intervals.
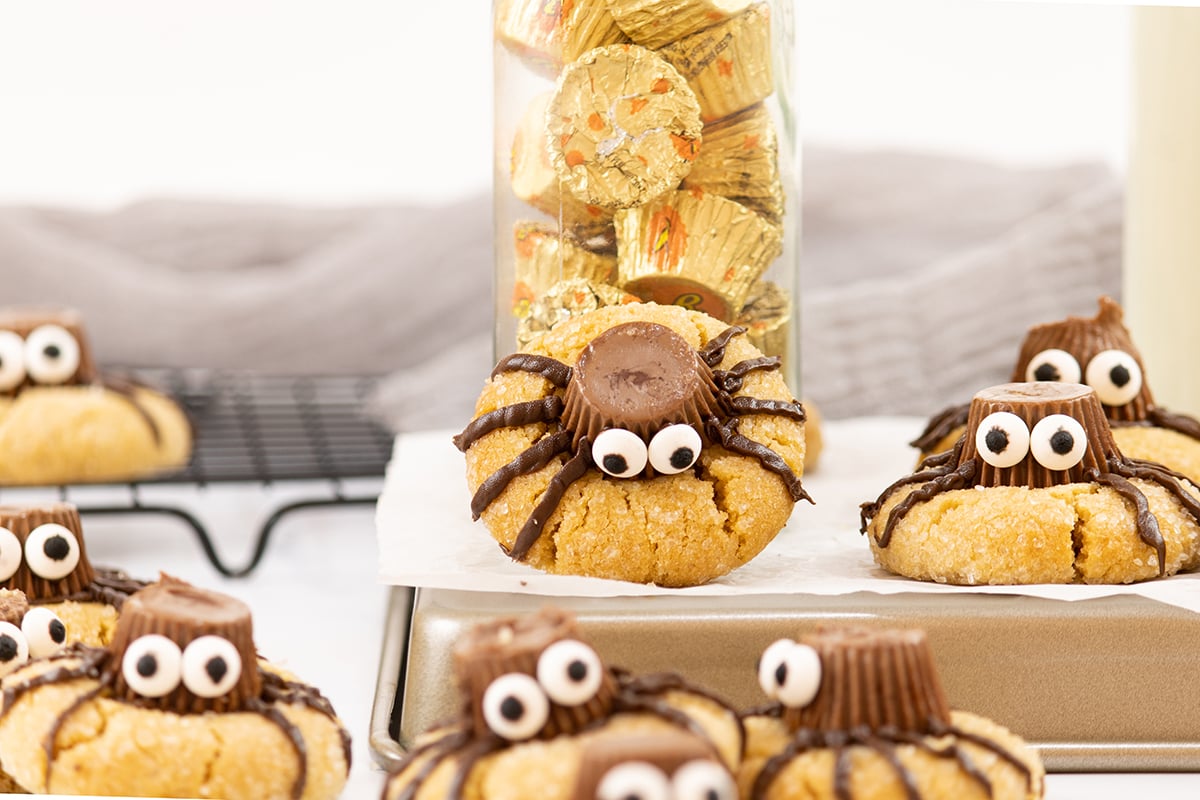
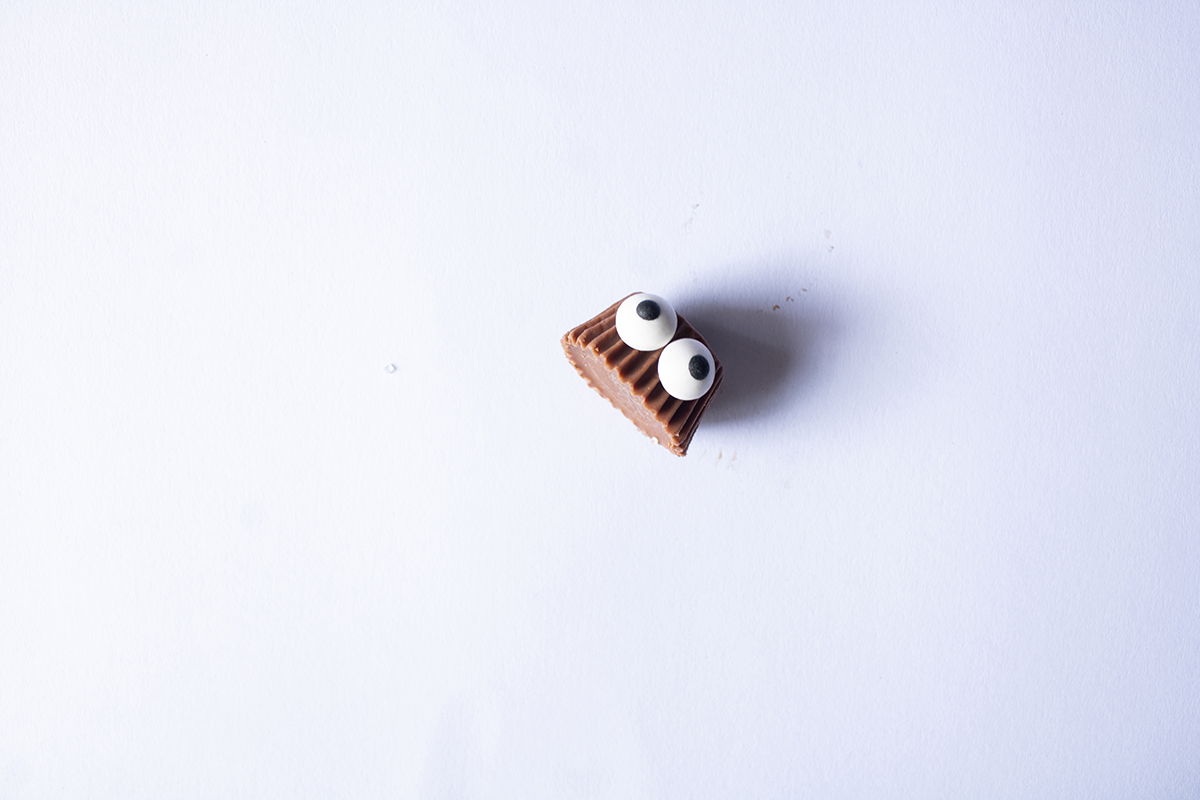
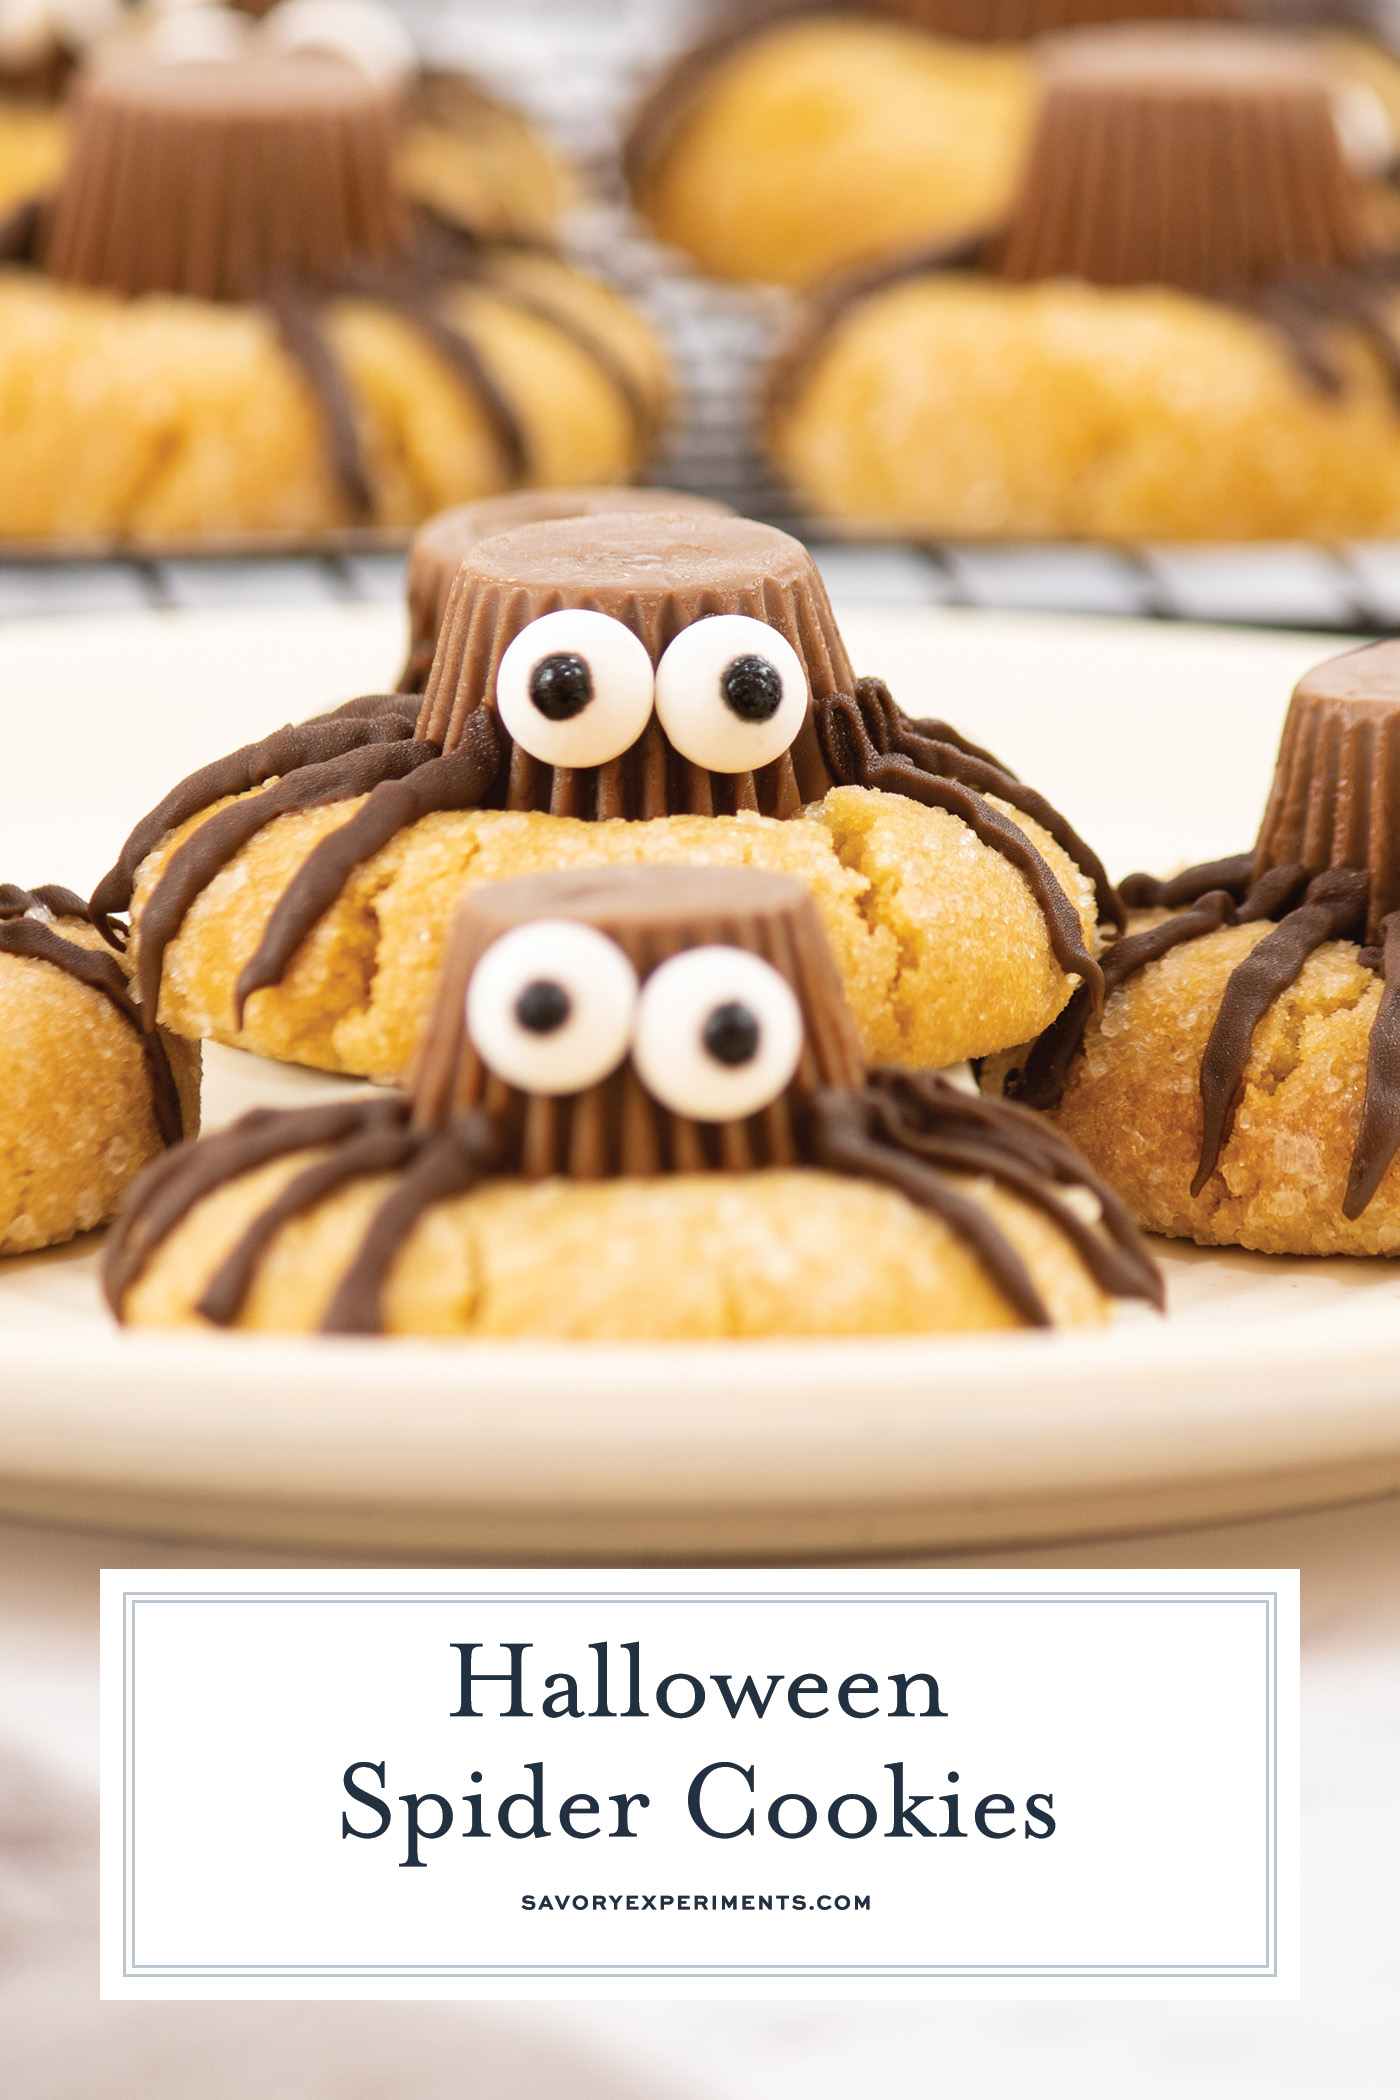
- Eyes. Dip a toothpick into the melted chocolate and butter mixture. Dab the chocolate onto the back of each candy eyeball. Then, stick two eyeballs to the outside wall of each peanut butter cup, doing two per cookie.
- Transfer chocolate to piping bag. While the chocolate is setting, transfer the remaining melted chocolate into the piping bag, pastry bag, or a ziploc bag with a tiny piece cut off of the corner. Fitting the bags with a fine tip will work best.
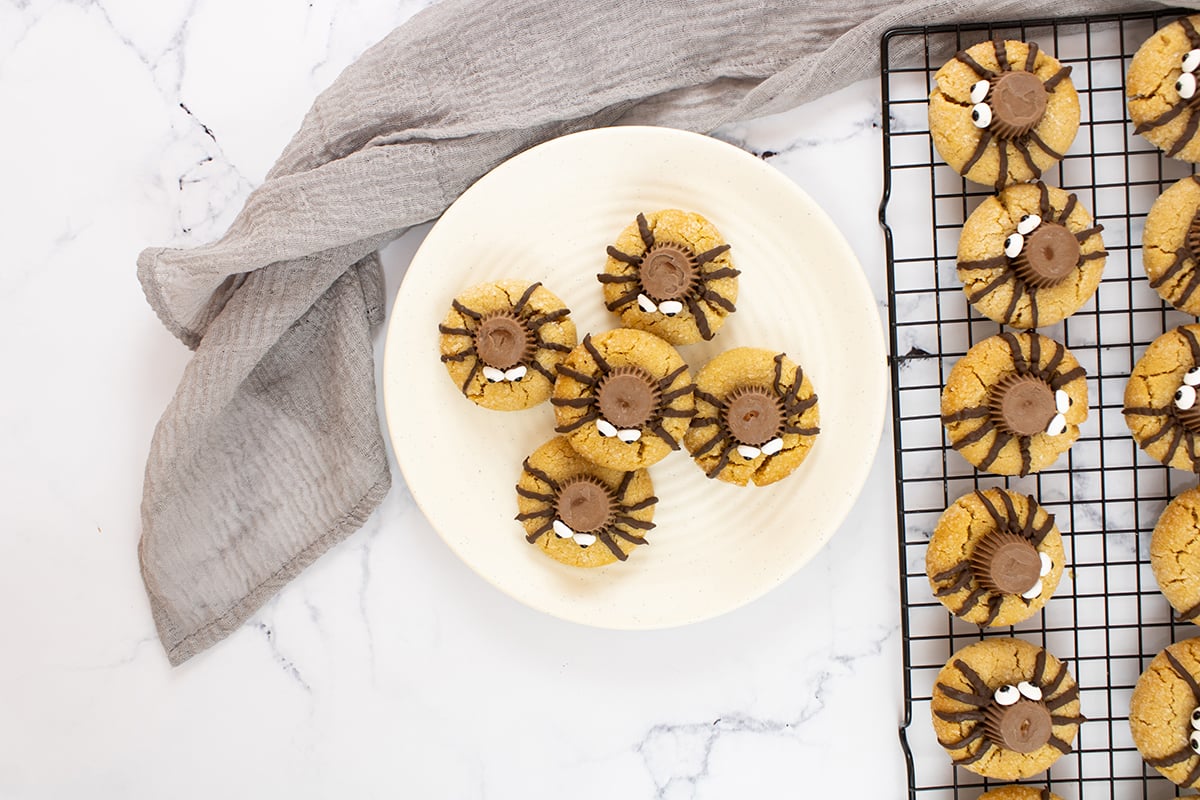
- Pipe on legs. Pipe four chocolate legs on each side to make eight legs total on each cookie.
Storage and Freezing
How to Store Spider Cookies
Store these peanut butter spider cookies in an airtight container in the refrigerator for up to five days.
Can I Freeze Halloween Spider Cookies?
Yes you can! Add them to a freezer bag or airtight container and you can freeze them for up to two months.
More Halloween Recipes
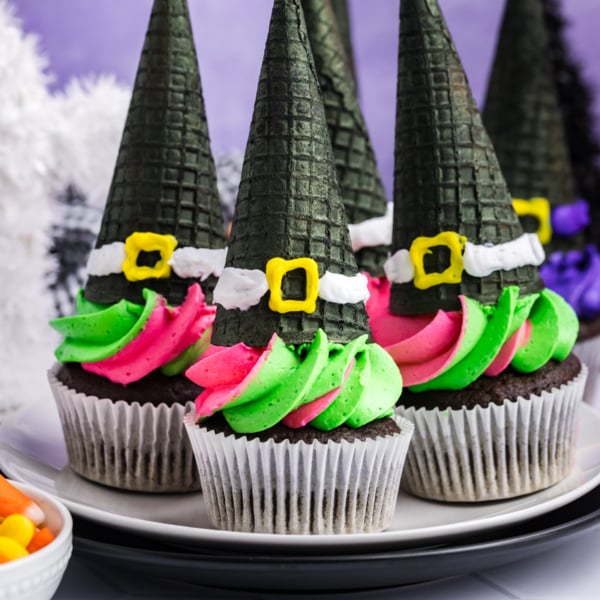
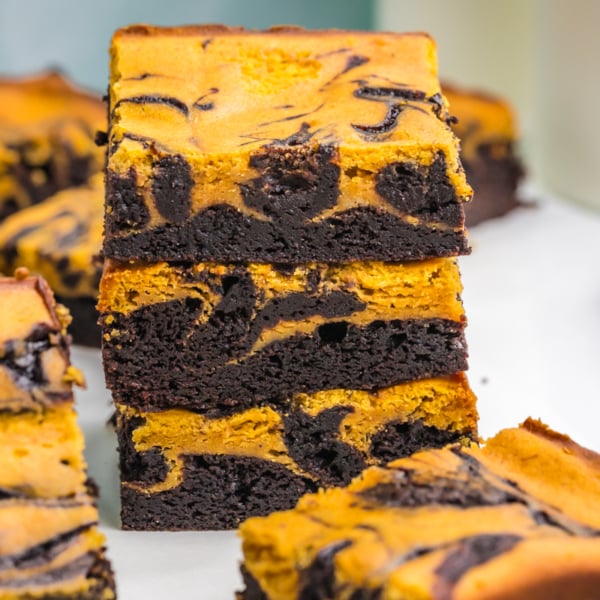
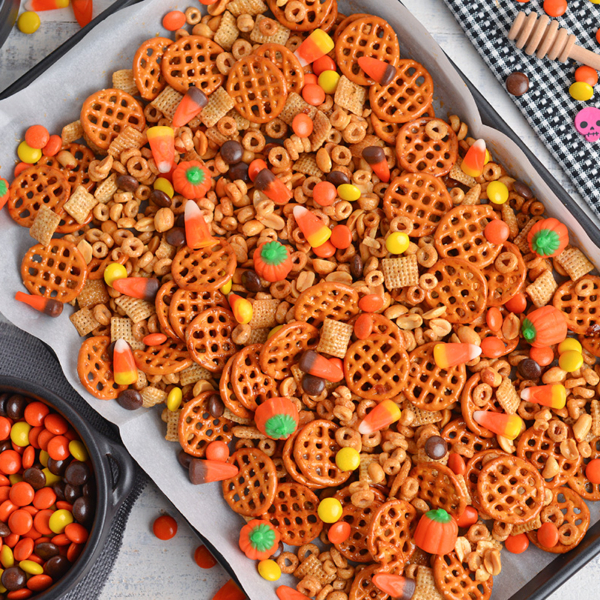
Making fun and festive Halloween treats is the best. Here are some of our favorite fun Halloween treat.
Halloween Spider Cookies
Ingredients
- ½ creamy peanut butter
- ½ cup unsalted butter room temperature
- ½ cup light brown sugar
- 1 cup sugar divided
- 1 large egg
- 1 teaspoon vanilla or almond extract
- 1 ¾ cup flour
- ½ teaspoon baking soda
- 1 teaspoon baking powder
- 1/3 teaspoon fine sea salt
- 16 Reese’s Miniature Cups frozen
- 1 cup chocolate chips
- 3 teaspoons salted butter
- 32 candy eyes
Instructions
- In the bowl of a stand mixer fitted with the paddle attachment or a large bowl using an electric hand mixer, beat together the peanut butter, unsalted butter, light brown sugar, and ½ cup of the sugar until creamy and smooth, approximately 3-4 minutes.
- Add the egg and extract of choice and mix until fully incorporated.
- In a separate medium mixing bowl, sift or whisk together the flour, baking soda, baking powder, and salt.
- Add the dry ingredients to the wet ingredients in two separate additions; mix after each addition until just incorporated. Do not overmix.
- Cover and chill the dough for 1 hour.
- Preheat your oven to 375°F. Line a rimmed baking sheet with parchment paper and set it aside. Set the remaining ½ of the sugar in a small bowl. Set aside.
- Scoop 1 heaping tablespoon of cookie dough and roll it into a ball using clean hands. Roll the dough balls in the sugar and place them in the prepared baking tray about 2 inches apart. Repeat with remaining dough. You should have 16 cookies. Depending on the size of your baking sheet, bake in two batches.
- Bake for 10-11 minutes or until the bottom edges are very lightly browned. Remove and cool for 2-3 minutes on the baking sheet. While fresh from the oven, gently press a wrapped mini PB cup into the center, top (wide end) down. Do not press too hard or the cookies could crumble.
- Gently move to a wire cooling rack using a spatula. Wait for cookies to cool completely before decorating.
- Melt the chocolate chips with salted butter in the microwave at 20-second intervals; stirring after each interval and reheating as necessary. Do not overcook chocolate.
- Using a toothpick, put a dab of chocolate onto the back of each candy eyeball and stick to the outside wall of the PB cup, doing two per cookie. Let the chocolate set.
- Transfer the remaining melted chocolate into the piping bag or a zipper bag and cut a tiny piece of the corner. Pipe 4 legs on each side to make 8 legs total on each cookie.
- Place them in the fridge for 15-20 minutes to allow the legs and head to set.
- If you've tried this recipe, come back and let us know how it was in the comments or star ratings.
Nutrition
