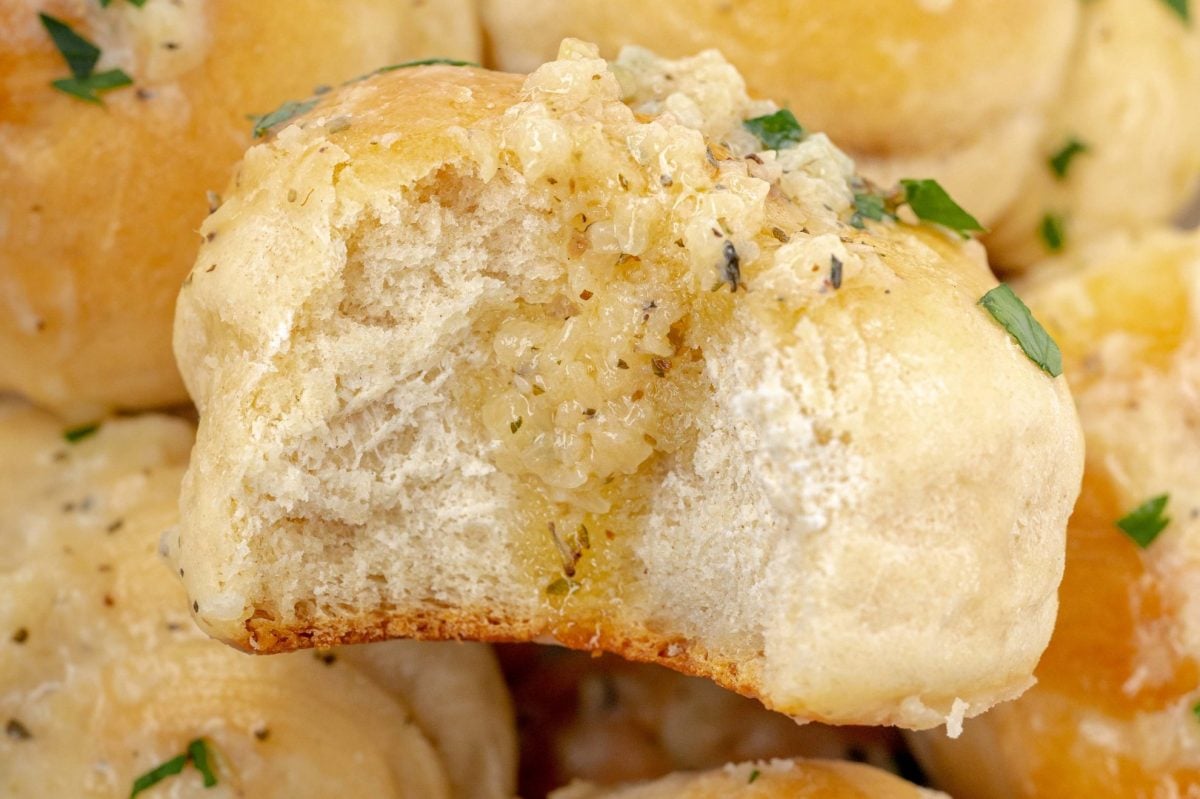
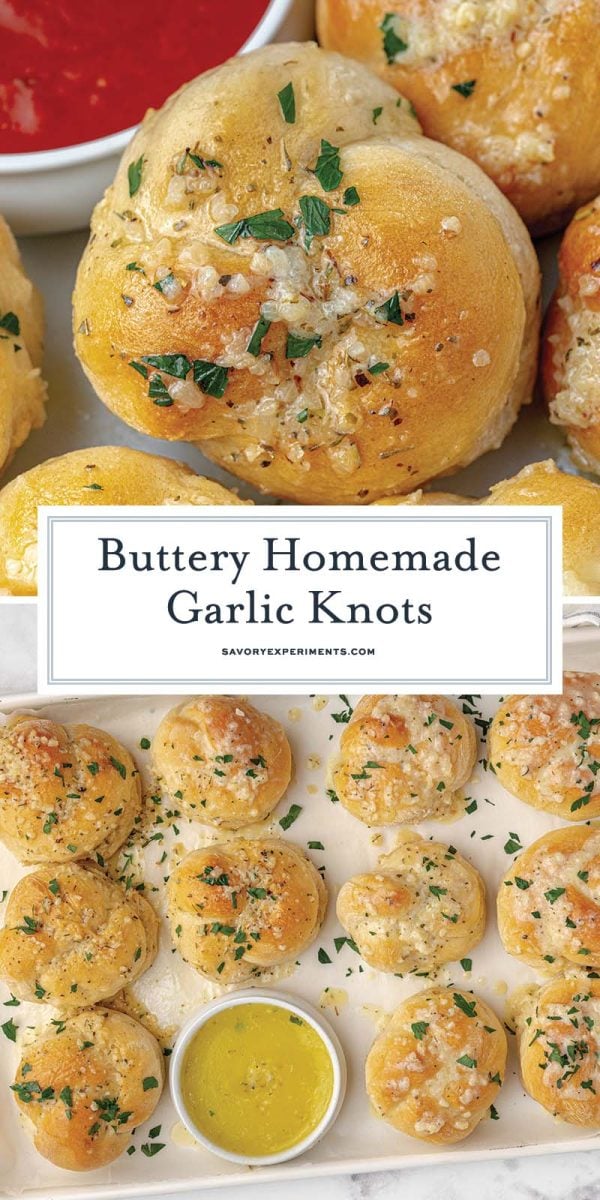
Homemade Garlic Knots are a delicious addition to any meal and so easy to make. Topped with a buttery garlic sauce spread that melts into the hot rolls, these are a favorite recipe that will make you come back for more.
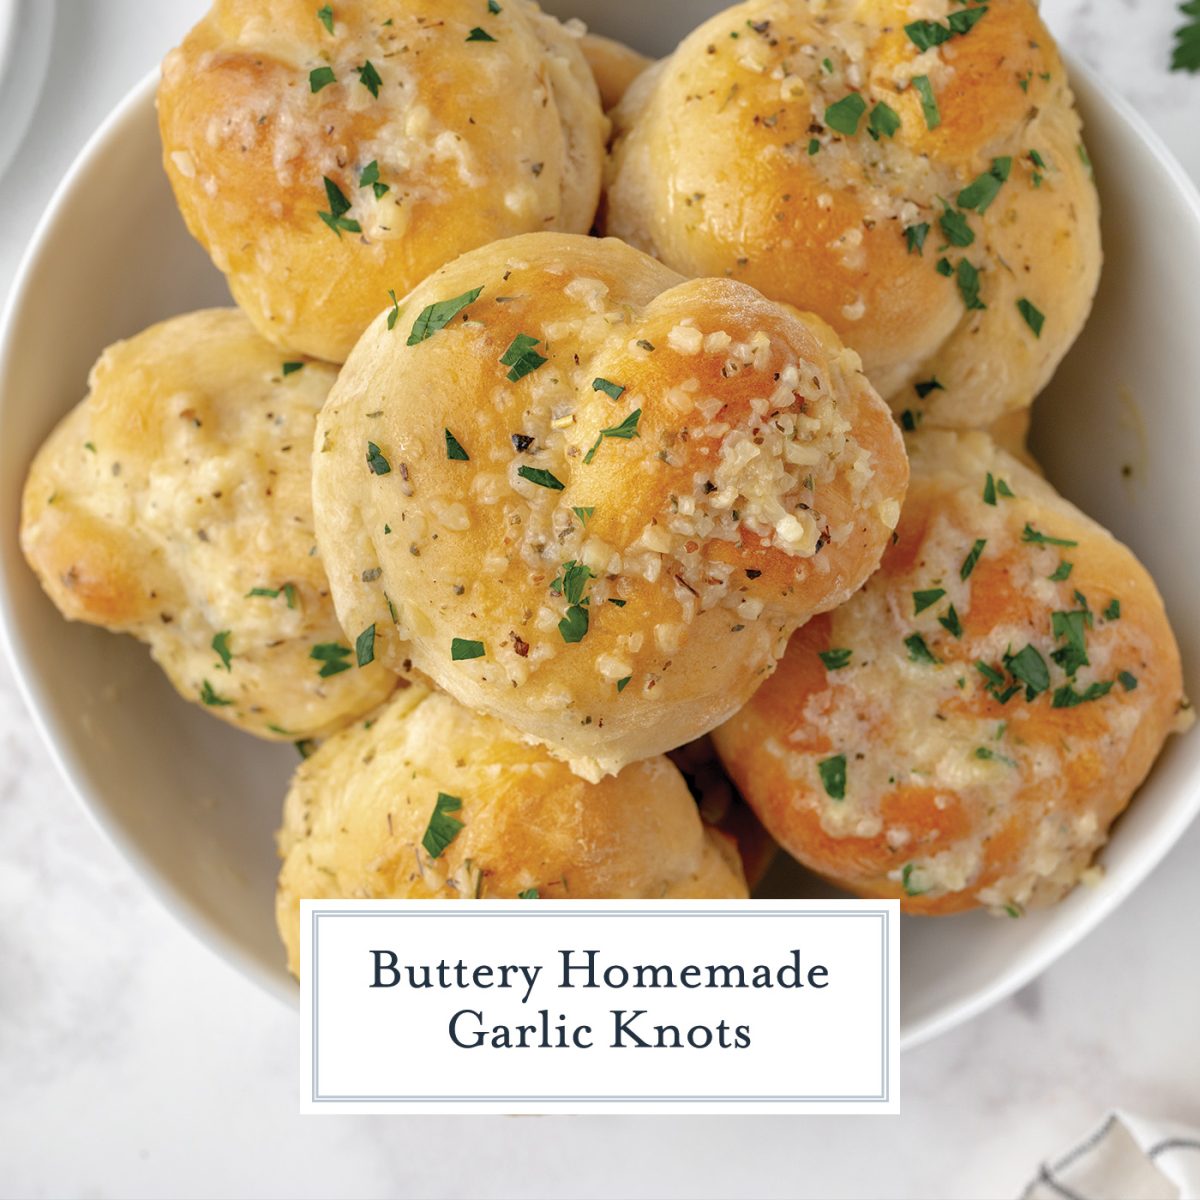
A delicious garlic knot is a classic bread snack at a typically found at a pizzeria and Italian restaurants. Made from pizza dough or bread dough and cut into strips and tied into a knot. I know it seems like homemade rolls is challenging and time consuming, but I promise you, you’ve got this!
They taste great with everything from homemade spaghetti and meatballs and broccoli pasta to a salisbury steak.
Ingredients
If you are new to making homemade bread, this is a great recipe to start with! The ingredients are fairly simple, and you probably already have most of them on hand.
- Warm water – Making sure the water is warm is key here. Room temperature water doesn’t allow the yeast to bloom as fully as warm water.
- Sugar – We only use a small amount of sugar to balance out the flavor of these easy garlic knots.
- Vegetable oil
- Coarse sea salt – we use this salt both in the homemade dough as well as the delicious garlic butter.
- Active Dry Yeast – The yeast is what allows this garlic knot recipe to rise into the perfectly fluffy rolls that they are.
- Egg– the binder and also helps gives it a rich flavor.
- All- Purpose Flour – The flour is what holds it all together! But make sure you have a little extra to make sure your work surface is well floured. We don’t want the dough sticking. Bread flour can also be used, it has high protein which can yield a tender crumb.
- Melted butter – You can’t have rolls without butter! Once mixed with the garlic and Italian seasoning, the butter mixture totally takes these rolls to the next level. Some folks prefer olive oil, but it’s butter all the way for me.
- Garlic – I prefer to use fresh garlic that has been finely minced, but if you don’t have any on hand, feel free to use garlic powder.
- Italian seasoning – Not only does this add some extra flavor to your warm knots, but it also adds some color! If you have fresh herbs, that’s even better!
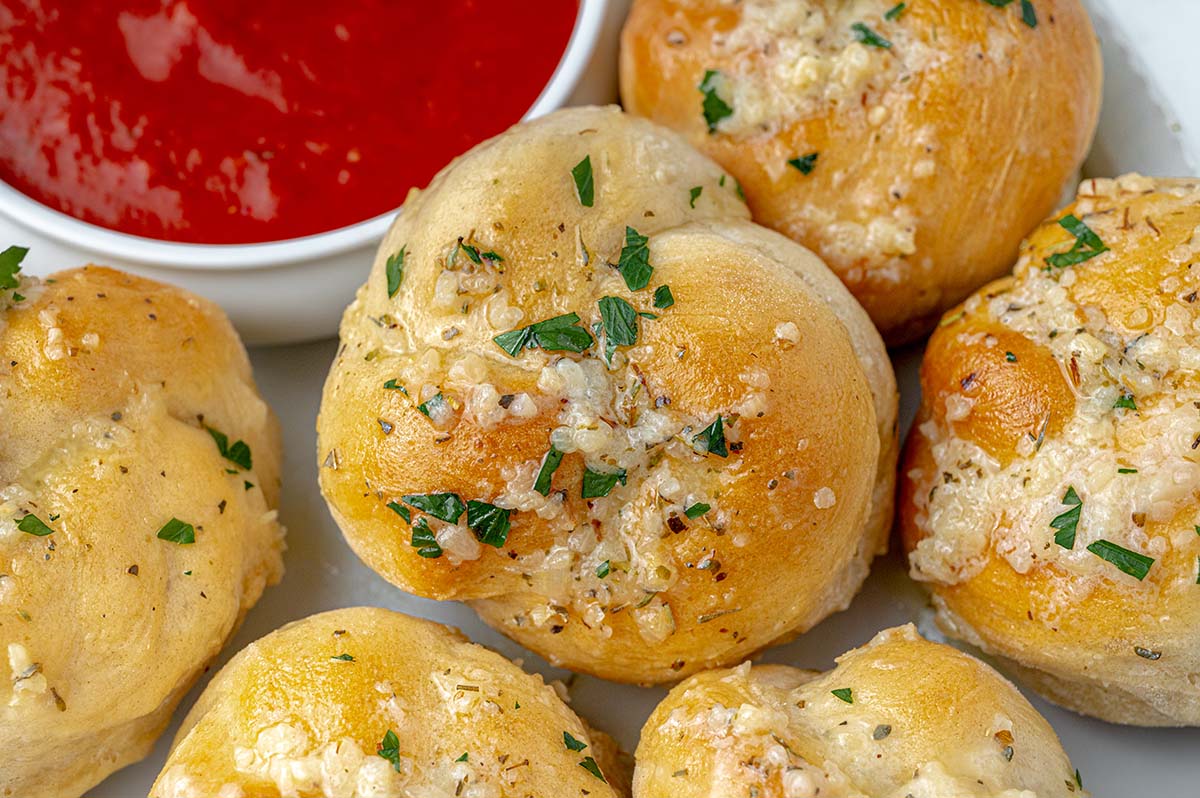
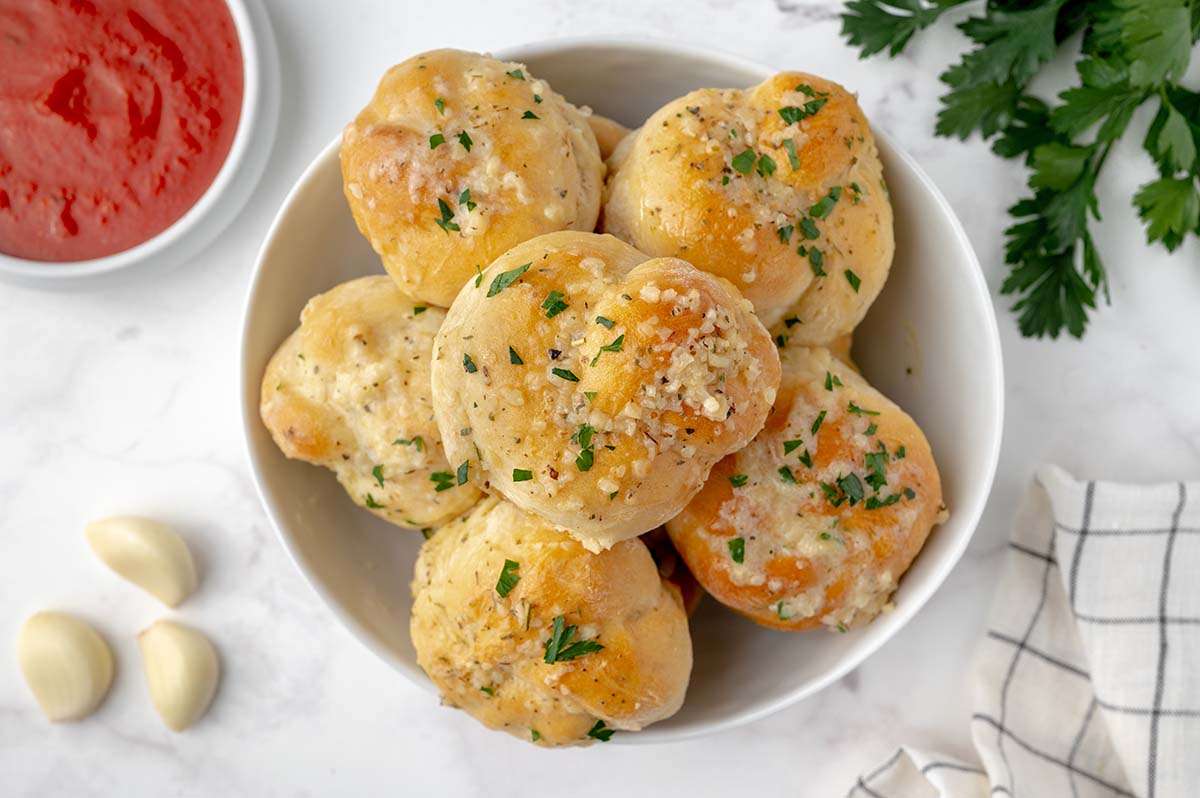
If you want to take this garlic bread up a notch, try sprinkling some parmesan cheese on top! Want to add a bit of a kick? Red pepper flakes would also be a nice touch. And I can’t have an appetizer or bread without a good dipping sauce- marinara sauce would be great for dipping.
How to Make Garlic Knots
This easy recipe can also be used to make homemade pizza dough and is pretty quick to make. Next time, try it for pizza night!
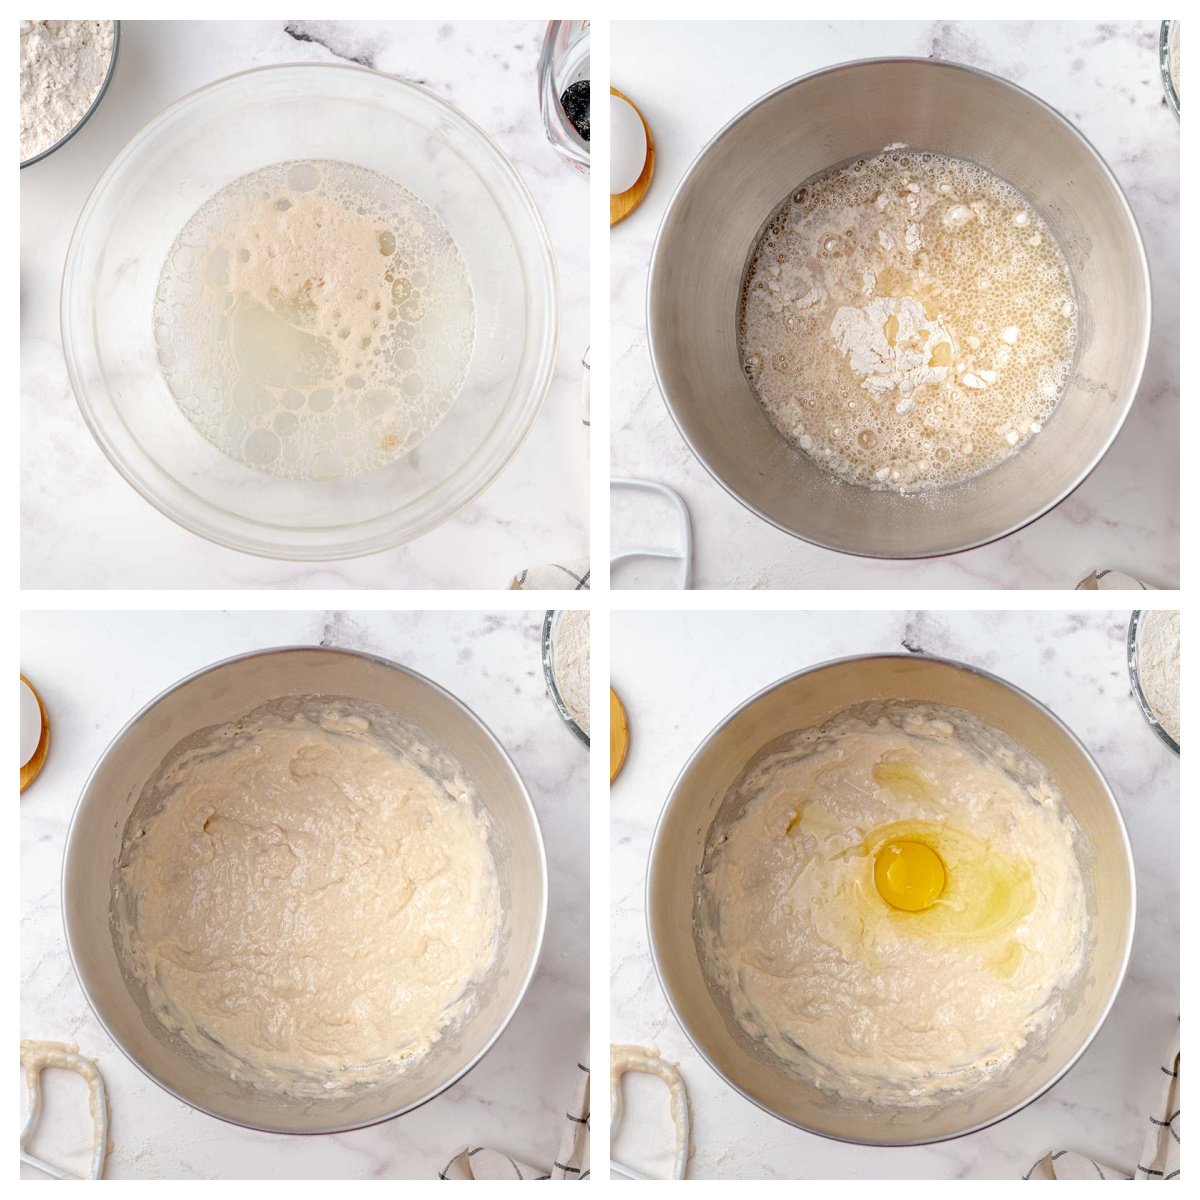
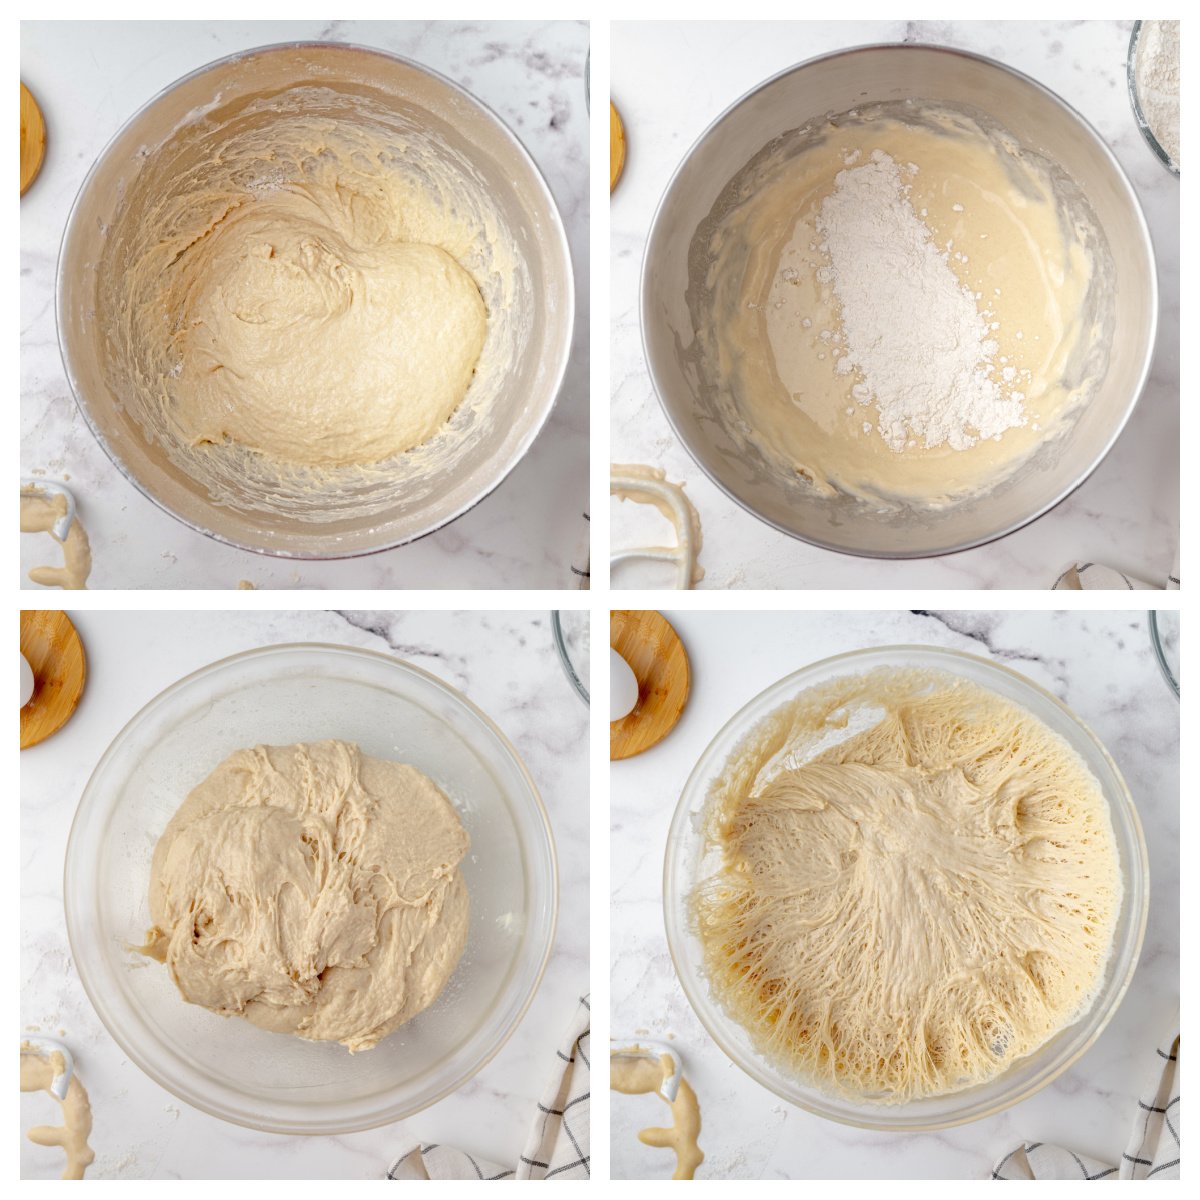
- Proof Dough. Using a stand mixer with a dough hook is best. I use warm tap water with oil, sugar, salt and of course yeast. Stir to mix the ingredients in a large bowl and place a clean, damp kitchen towel on top. The first rise will take about 10 minutes.
- Make Dough. Add proofed yeast to the flour using a stand mixer and combine. Mixture will be thin and runny. Add egg and continue to knead dough by slowly adding remaining flour until combined.
- Knead. Dough will pull away from sides of bowl and be a soft dough to the touch but not sticky. Place dough into a greased bowl, cover with a towel and set in a warm place. Allow the dough to rise until doubled in size. This time can vary depending on temperature of the surroundings.
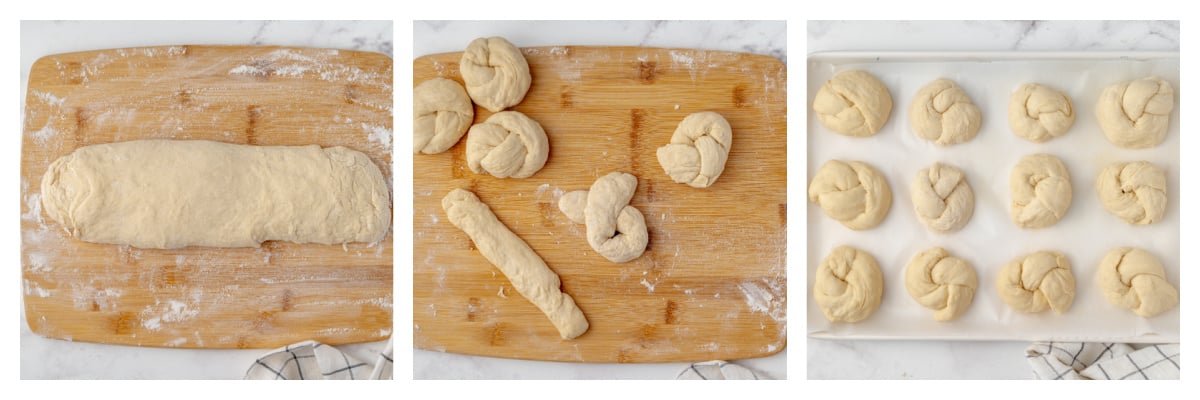
- Divide Dough. Once garlic knots dough has doubled in size, turn the dough onto a lightly floured surface. Gently roll the dough into a long rope about 12-14 inches long. Use a food scraper or sharp knife to cut dough into 12 equal portions.
- Make Knots. Gently roll each piece into a 10-inch snake. Take the rope of dough and tie it into a simple knot, just as you would tie a knot in a string. The dough should be loosely knotted to allow for expansion during baking. Ends of the knot can easily be tucked under. Place it on cookie sheet lined with parchment paper and allow to rest for 20 minutes (second rise) before baking. Place them on a parchment lined sheet pan.
- Bake. Bake for 18-22 minutes or until golden brown.
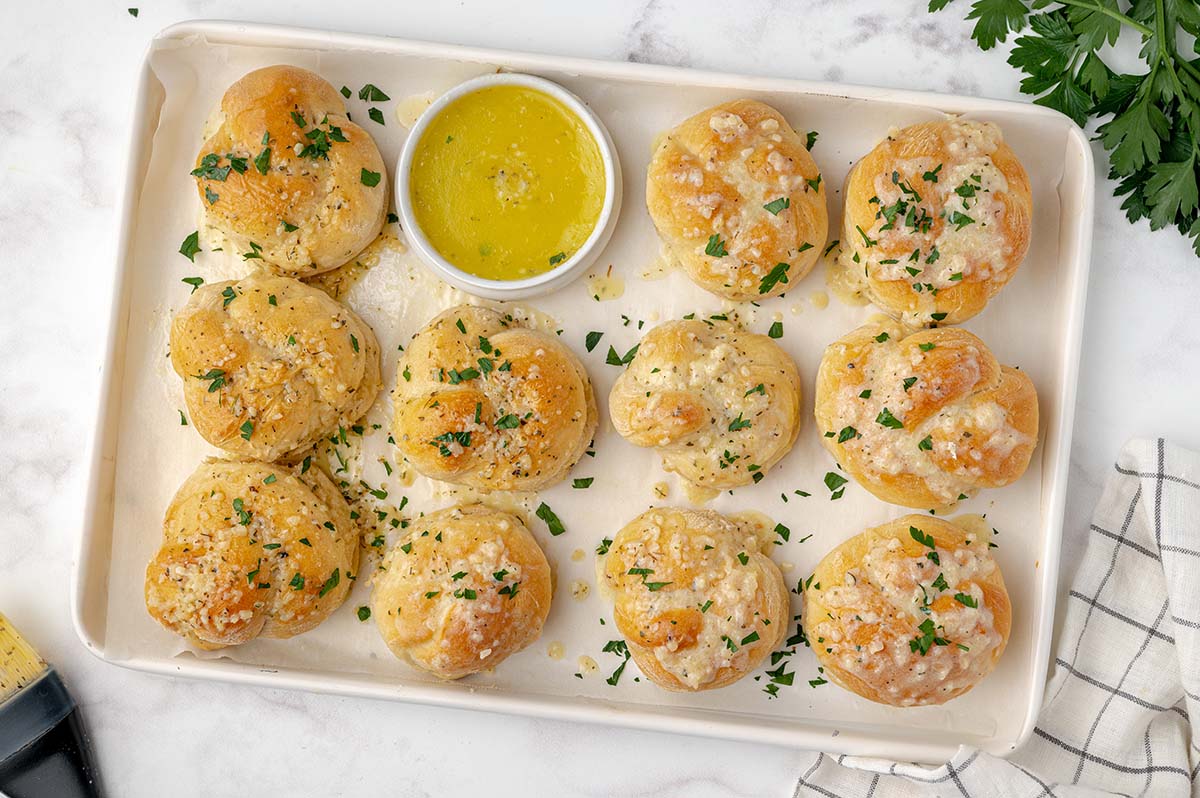
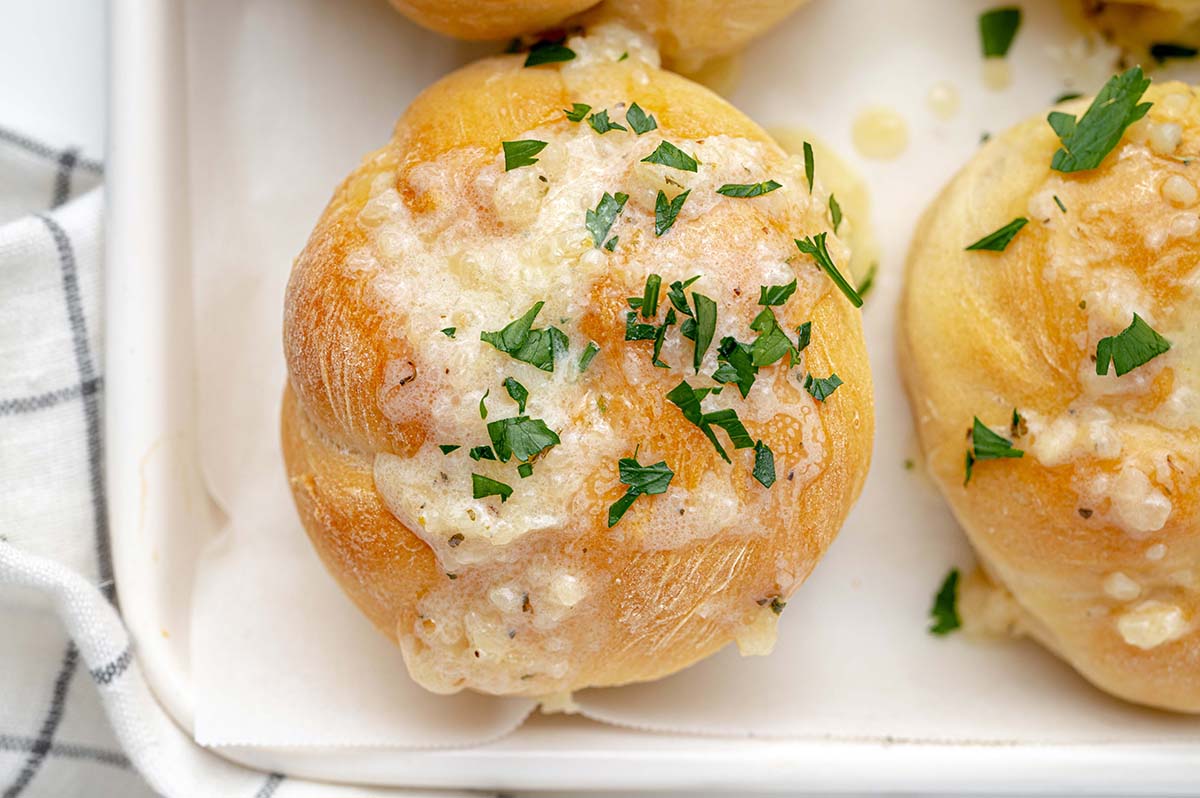
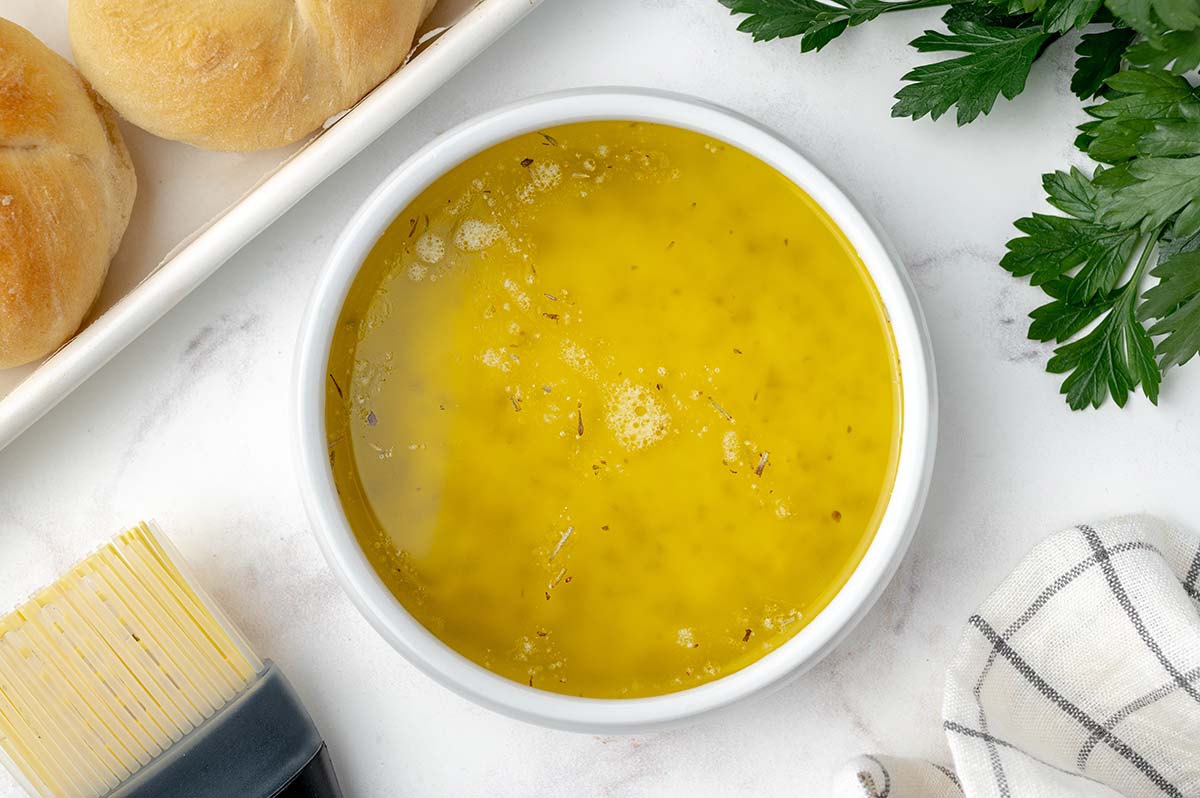
- Make Garlic Butter. In a separate small bowl or small saucepan combine the butter, garlic, salt, and Italian seasoning and mix to combine. Using a pastry brush, gently brush each roll with garlic mixture allowing butter to melt and drizzle down roll. I also like a little fresh parsley for color.
Garlic Knots Tips
Garlic Knots are very similar to making rolls with just a few added steps and are so easy to make, plus they look fantastic. My favorite is the garlic buttery topping that melts into the hot roll and into the crevices of the knot making it perfect to pop into your mouth.
Making these garlic rolls is easy, but let me help you with a few easy tricks so you can have beautiful rolls for your dinner table. I’ll explain in more detail below but my top tips will help you make beautiful rolls:
- Proof dough for allotted amount of time and use a food scraper for cutting dough into perfect size pieces.
- Roll each dough segment into a 12-inch roll or snake. This makes folding into knot easiest.
What to Serve with Garlic Knots?
For a scrumptious dinner with garlic knots, you can create a delightful Italian feast. Start with a classic Caesar, kale or simple side salad with garlic dressing.
As the main course, serve a hearty bowl of pasta, like spaghetti Bolognese, where the rich meaty sauce complements the garlicky goodness of the knots. Alternatively, a vegetable-based pasta dish, such as penne alla vodka with roasted vegetables, offers a flavorful and satisfying option.
For a more indulgent choice, pair garlic knots with chicken Alfredo or chicken piccata, with a side dish of sautéed broccolini.
Variations
There are two easy ways to make garlic knot variations: butter and cheese.
- Butter– Any flavored butter from cowboy butter to honey butter can be added to these tidy little knots.
- Cheese- Hard cheeses are best so things like pecorino, parmesan and even semi-hard like asiago are great!
Storage and Reheating
How to Store Garlic Knots
Bread should not be stored in the refrigerator as it will dry out the bread and become stale faster. To be on the safe side, store your garlic knots in an airtight container, plastic bag or wrapped in plastic wrap for up to a week on the counter. You can also wrap each roll individually in plastic wrap.
How to Reheat Garlic Knots
In order to reheat them, you could warm them in the oven or even pop them in the microwave for a few seconds to warm them through. I even like to brush more garlic butter on top. You can’t go wrong with more garlic and butter!
Can you Freeze Garlic Knots?
Baked garlic knots are freezer friendly. Place cooled bread in to airtight freezer bags, pushing out as much air as possible. Freeze for up to 6 months. Thaw at room temperature until soft and reheat just as you would leftovers.
Common About Garlic Knots
It simply means bread, tied like a knot and basted with a lot of garlic butter. Simple and delicious.
While garlic knots are often associated with New York City, they are not exclusive to the city itself. Garlic knots are a popular Italian-American dish that can be found in various regions of the United States, especially in areas with a significant Italian-American population.
The origin of garlic knots is believed to be in Southern Italy, and they likely made their way to the United States through Italian immigrants. Over time, they became a staple in Italian-American pizzerias and restaurants throughout the country.
More easy bread recipes:
Garlic Knot Recipe
Equipment
Ingredients
- 1 ½ cup warm water
- 3 tablespoon sugar
- 1/8 cup vegetable oil
- 1/2 teaspoon coarse sea salt
- 2 teaspoons yeast
- 1 egg
- 4 cups flour
Garlic Butter:
- 4 tablespoons butter , melted
- 3 garlic cloves , minced or or 1/2 teaspoon garlic powder
- 1 teaspoon homemade Italian seasoning
- 1/4 teaspoon coarse sea salt
Instructions
Rolls:
- Add the warm water, sugar, oil, salt and yeast to a large bowl and allow to sit for 10 minutes.
- In a large mixing bowl add 2 cups of the flour and pour the yeast mixture into flour and mix with a stand mixer.
- Add the egg and continue to mix until combined
- Slowly add the remaining flour and knead for 5 minutes using the bread hook.
- Place the dough into a greased bowl and cover with a towel and allow to proof until doubled in size. Place the proofed dough on a well-floured surface and roll into a 12–14 inch log. Using a food scraper, cut into 12 equal pieces.
- Roll each piece of the dough into a snake that is approximately 8-10 inches long Take the rope of dough and tie it into a simple knot, just as you would tie a knot in a string. The dough should be loosely knotted to allow for expansion during baking. Tuck ends under bottom.
- Place knots on to a silicone or parchment paper lined baking sheet.
- Allow to proof for 20 minutes before baking. Preheat the oven to 375°F while the dough proofs.
- Bake for 18-22 minutes or until golden brown.
- Remove from the oven and brush with the garlic butter spread while still hot.
Garlic Butter:
- In a small bowl, whisk together the butter, garlic, Italian seasoning and salt.
- If you've tried this recipe, come back and let us know how it was in the comments or ratings.
Nutrition






Super quick and easy for any dish!!! Love them, thank you
This recipe deserves 10 stars! I’ve only made them twice as we recently found the recipe. Second time I tried Einkorn flour which made them a little more hard to work with but they turned into delicious Manwich Bun.
This is my go to recipe! I’ve made rolls, bread, garlic knots and cinnamon rolls using this recipe. It’s delicious! Thanks for sharing!
Delicious! I added 1 C wheat flour and decreased sugar to 1T. I think next time I’ll try 2 T sugar. I divided into 16 parts and they were still scrumptiously big!
Absolutely delicious!! My batch came out huge and we loved it!!
I baked these in a baking dish and they got so big and fluffy! We were able to use them as slider buns for meatball sandwiches and they were sooooooooooo good! Definitely a keeper recipe. Super easy and an amazing final result.
In the instructions it says to add 2 cups of flour, mix and then add the remaining flour. My question is, is it 2 more cups Because the recipe says 4 cups or is it 4 remaining cups? My dough turned out very sticky and hard to manage…..
It’s the remaining 2 cups- so add two cups and the remaining 2 cups. I’ll update the recipe to avoid confusion.
I am currently making these now! Process has been easy so far!
If I want to wait to bake them do I leave them on the counter or refrigerate?
Hi! You’d put them in the fridge, covered, so the dough doesn’t dry out.
what kind of yeast?
regular, not rapid rise
These turned out perfectly light, fluffy and delicious; way better than any restaurant version I have tried! Definitely, a new favorite recipe!