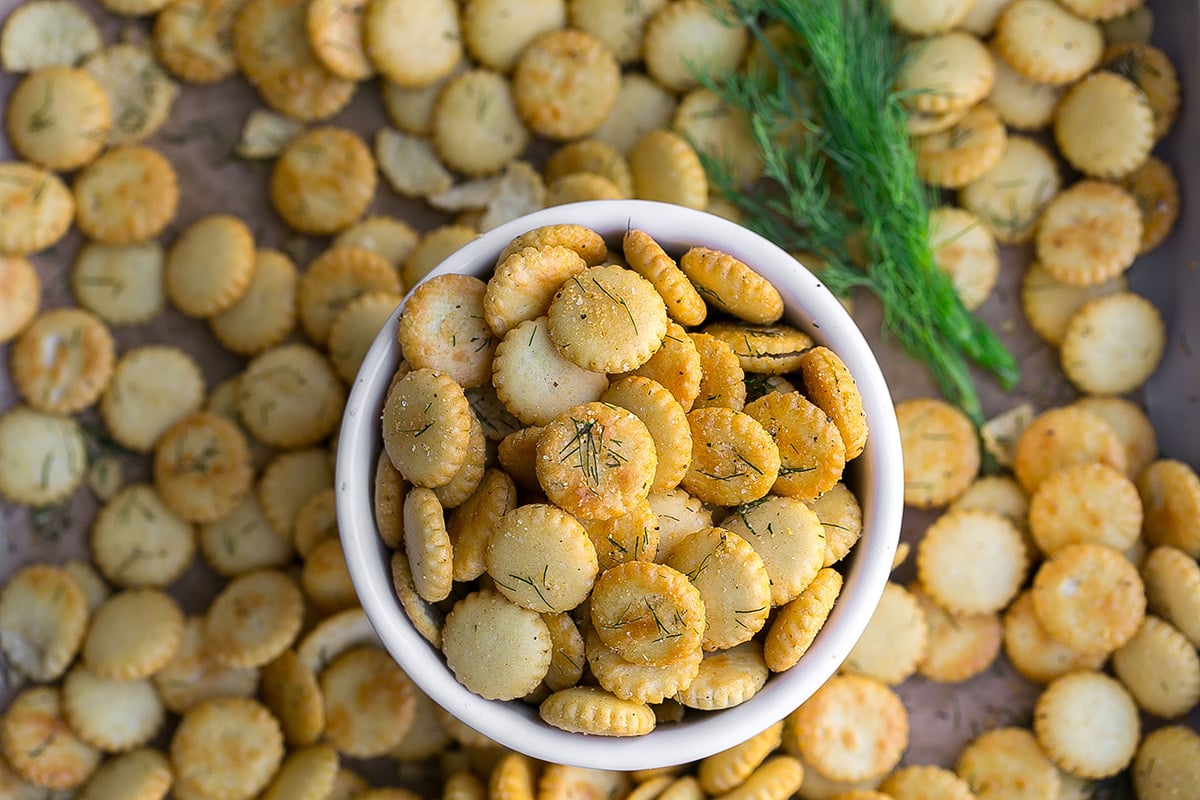
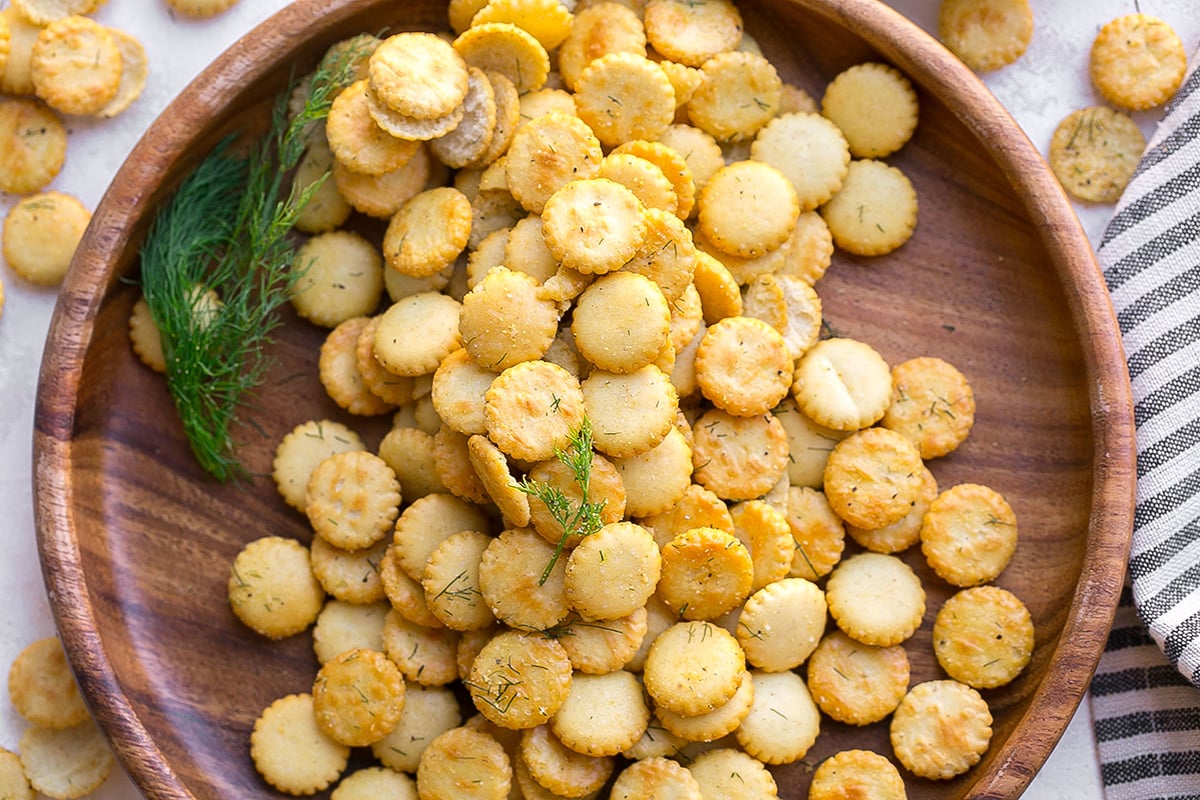
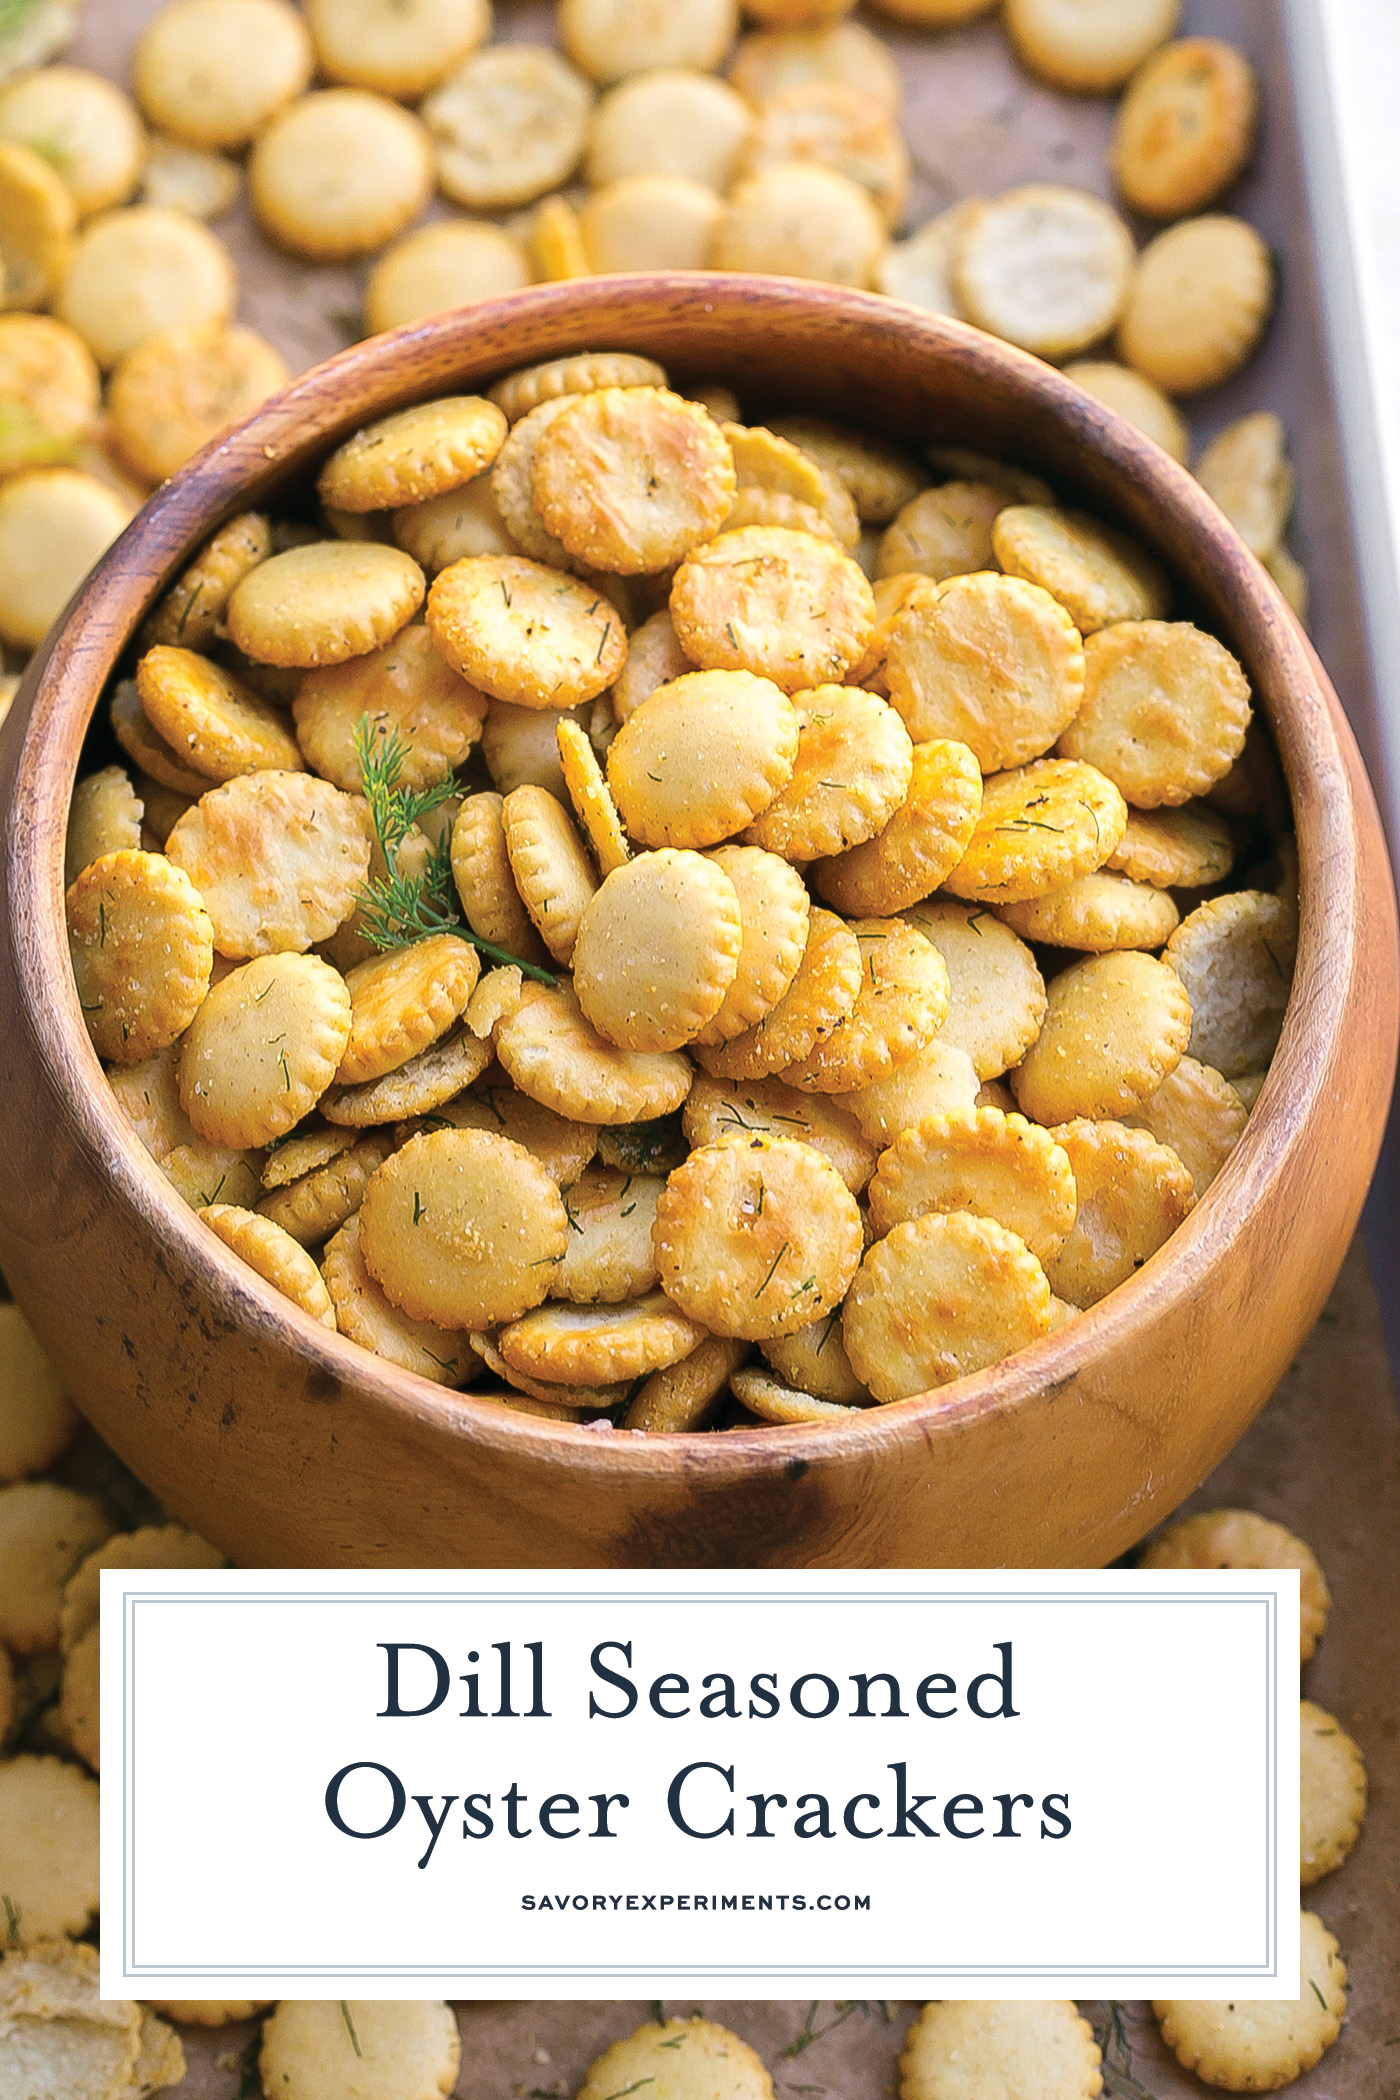
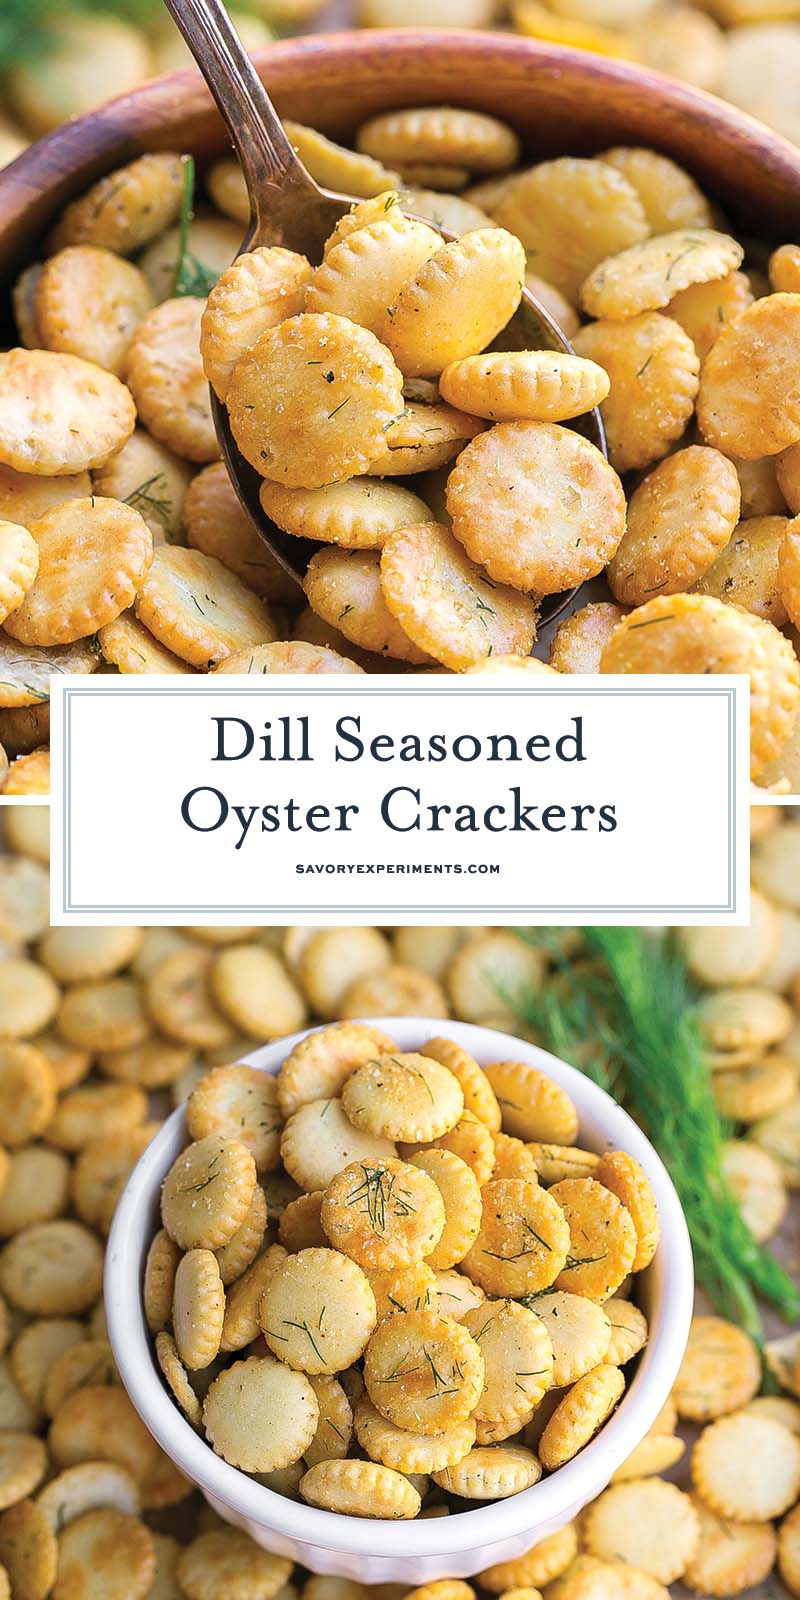
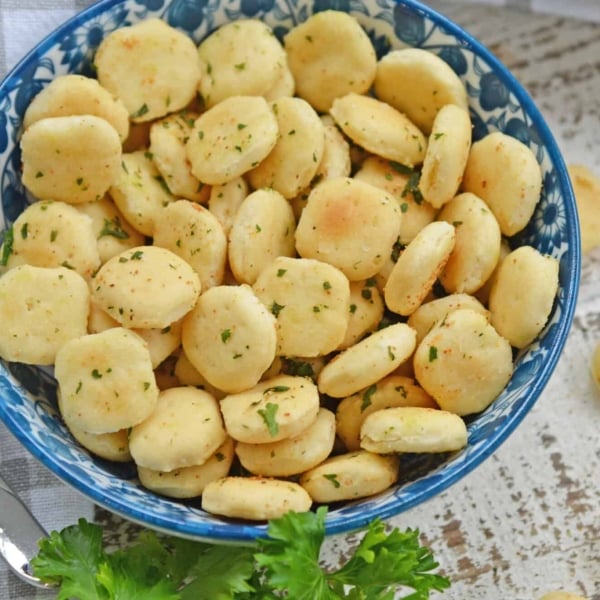
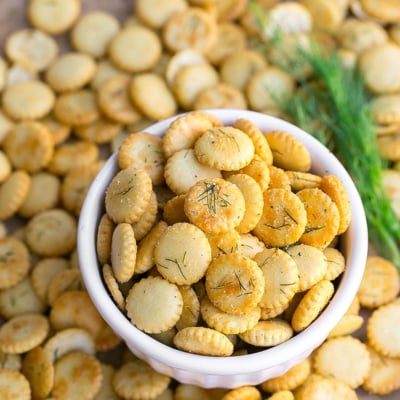
Dill Seasoned Oyster Crackers are the perfect snack, soup topper or salad crouton. They add an extra touch to any dish and are so easy to make and store!
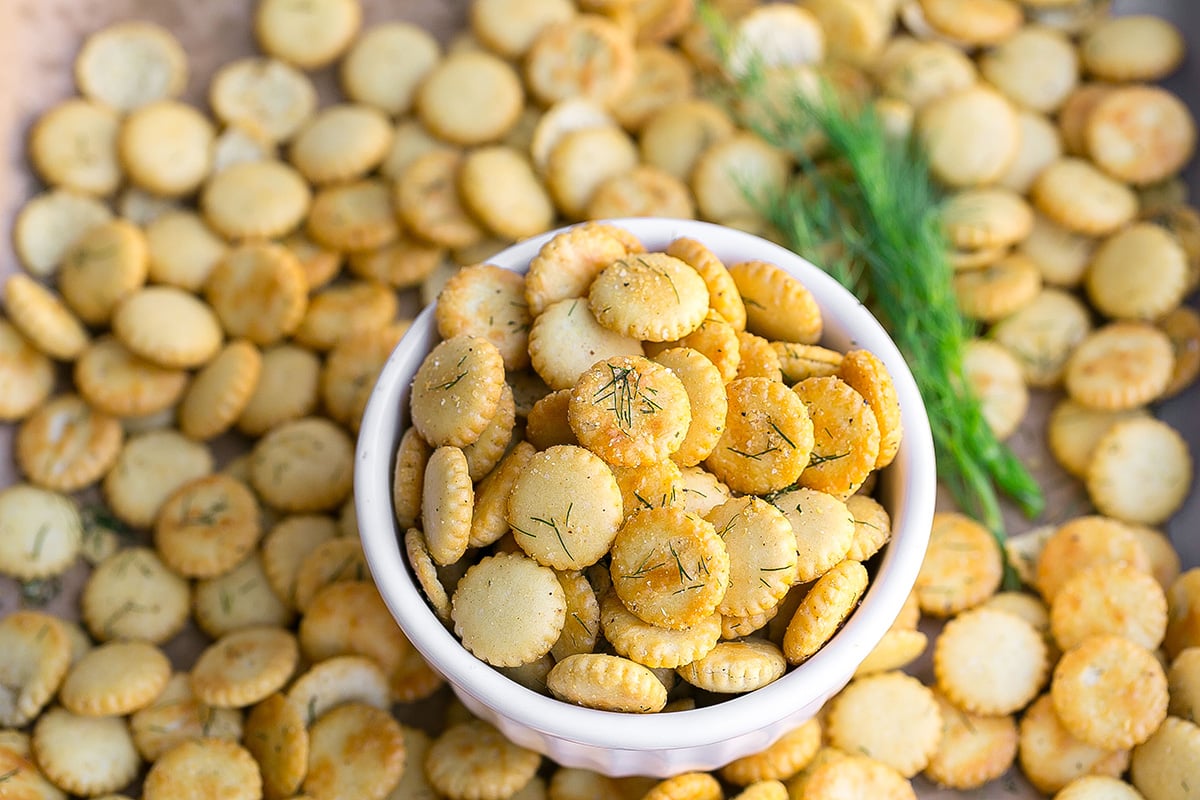
Why You’ll Love These Dill Seasoned Oyster Crackers
Little crackers topped with simple seasonings and made with pantry ingredients- what’s not to love!
- Great snack for game day – Instead of putting out a bowl of chips or pretzels for the big game, this salty snack makes a great swap.
- Change up the seasoning – You can take plain crackers and top them with just about any seasoning blend you’d like to make your new favorite simple snack.
- Great for gifting – Make a double batch, add to cute airtight containers, wrap with a bow and gift to family and friends for the holidays.
Ingredients
You can find all of these simple ingredients at your local grocery store.
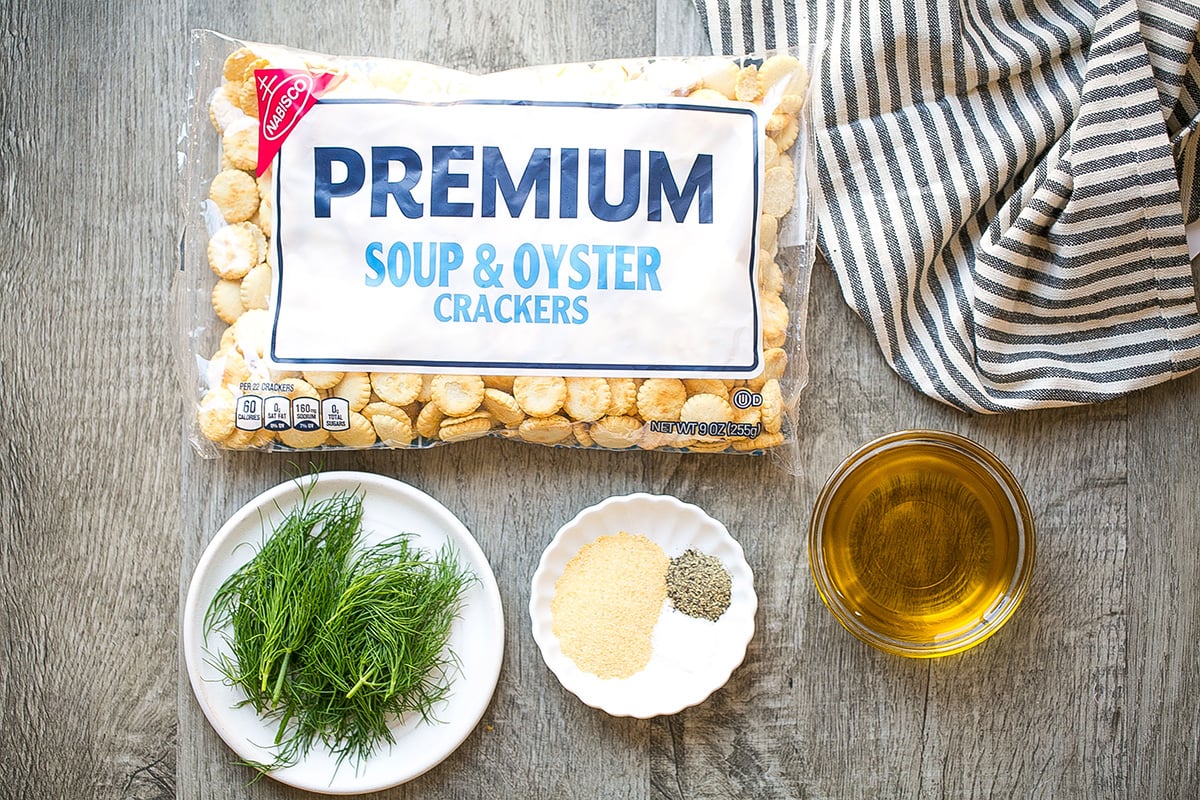
- Oyster crackers – You can’t make these seasoned crackers without, well, the crackers! The best oyster crackers that I’ve found to use have been the Westminster brand. You can also use Premium.
- Fresh dill – This is where the dill comes in. I much prefer to use fresh dill instead of dried. Fresh herbs pack much more of a flavor punch for these dill-seasoned oyster crackers.
- Garlic powder – Garlic and dill are a match made in heaven. But no need to use fresh garlic- garlic powder works just fine.
- Salt and pepper – The only other seasoning I use is a simple blend of ground black pepper and fine sea salt.
- Extra virgin olive oil – I like to use a light olive oil so that the flavor is overpowering. But you could also use vegetable oil or melted butter instead.
Variations
There are plenty of ways you can make these dill seasoned oyster crackers your own. Here are a few suggestions.
- Make them spicy – Try adding some red pepper flakes for those family members who like things a little spicier.
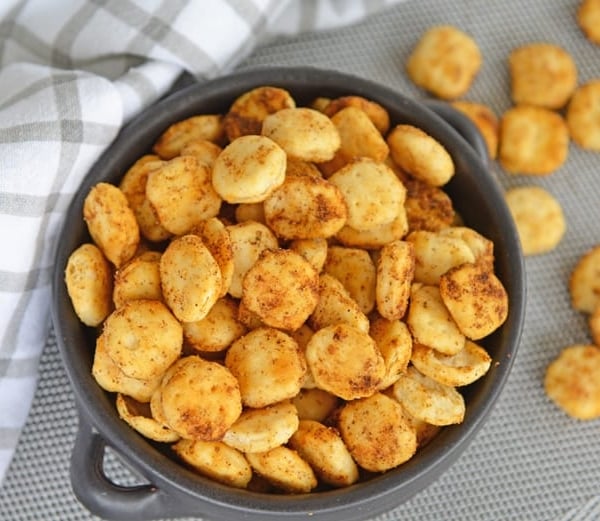
- Seasonings – Try different seasoning blends like taco seasoning, onion powder, ranch dressing seasoning mix or lemon pepper seasoning.
- Cheese – Add a sprinkle of parmesan cheese before baking to add a cheesy twist to these crackers.

How to Make Dill Seasoned Oyster Crackers Recipe
You are going to love how easy it is to make these mini saltines.
- Prepare oven and pan. Preheat oven and cover a large rimmed baking sheet with aluminum foil.
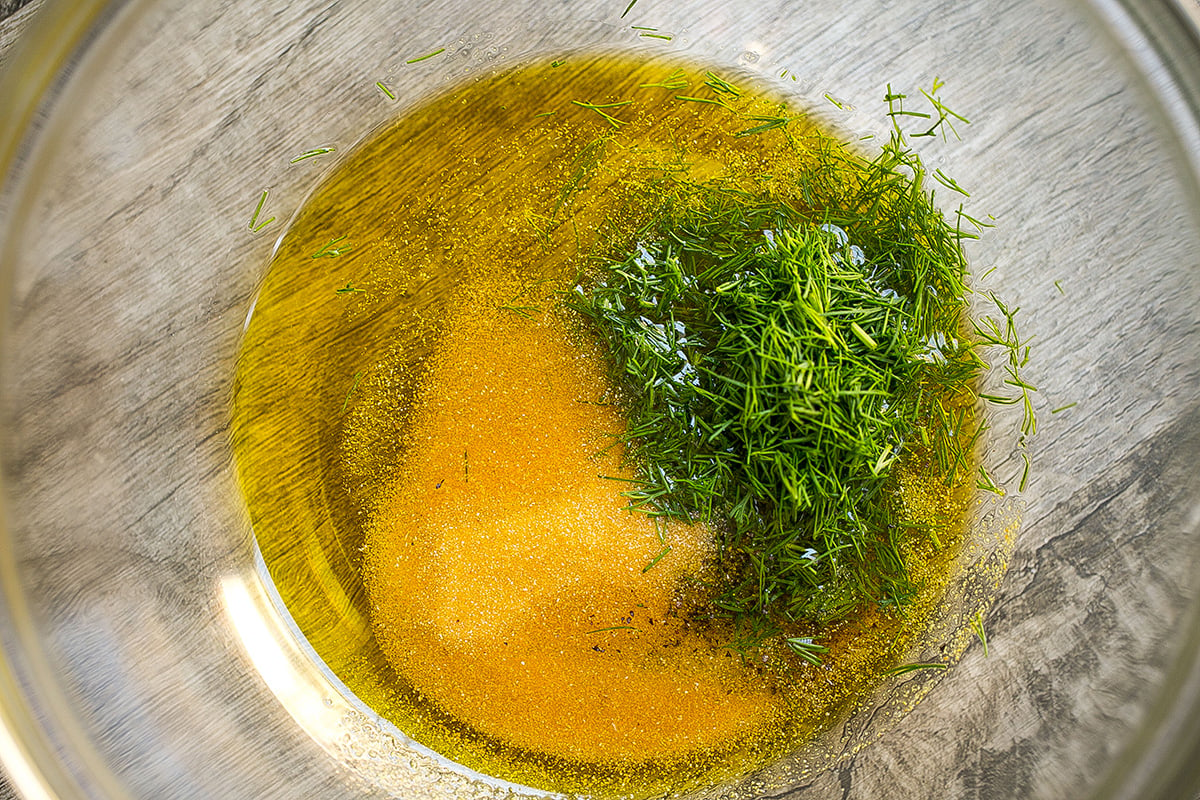
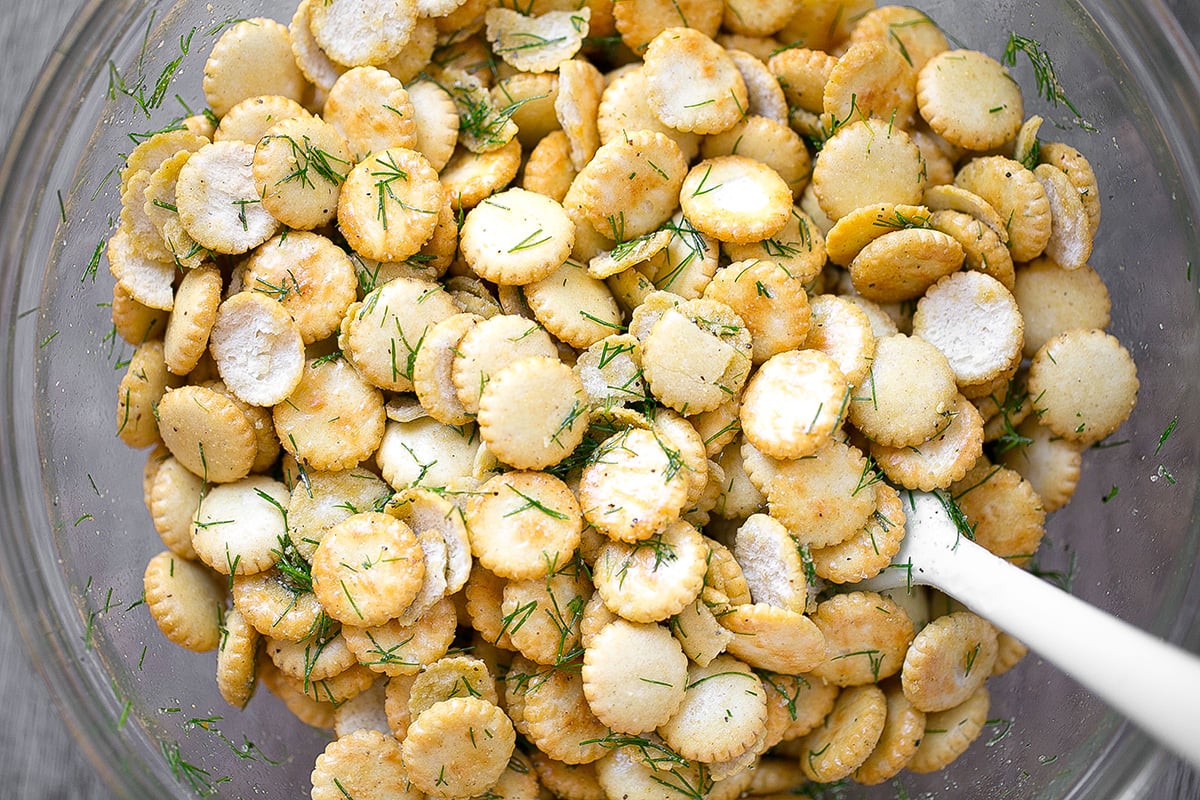
- Combine ingredients and toss crackers. In a medium mixing bowl combine all ingredients and toss until fully all oyster crackers are equally covered in mixture. Spread in a single layer on baking sheet.
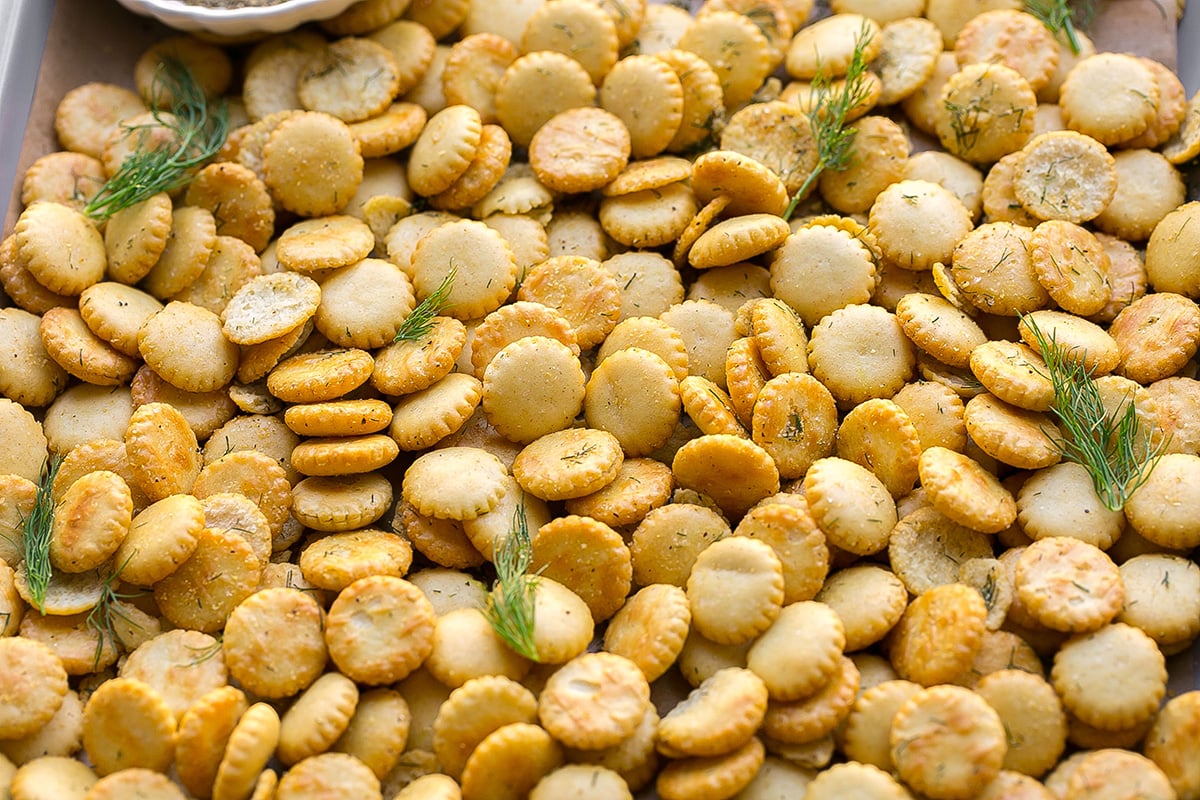
- Bake. Turn off oven and allow to sit for an additional half hour. Crackers might be lightly brown, but pretty much maintain the same original color.
- Enjoy. Remove, serve warm or place in an airtight container. Crackers will still good for at least a month if stored properly.
How to Use Dill Seasoned Oyster Crackers
You can put these crackers on anything you like! Of course they always taste great on top of a bowl of soup and chili recipes like these:
These are also great as a salad topper in place of croutons! Here are some salads they would taste great on:
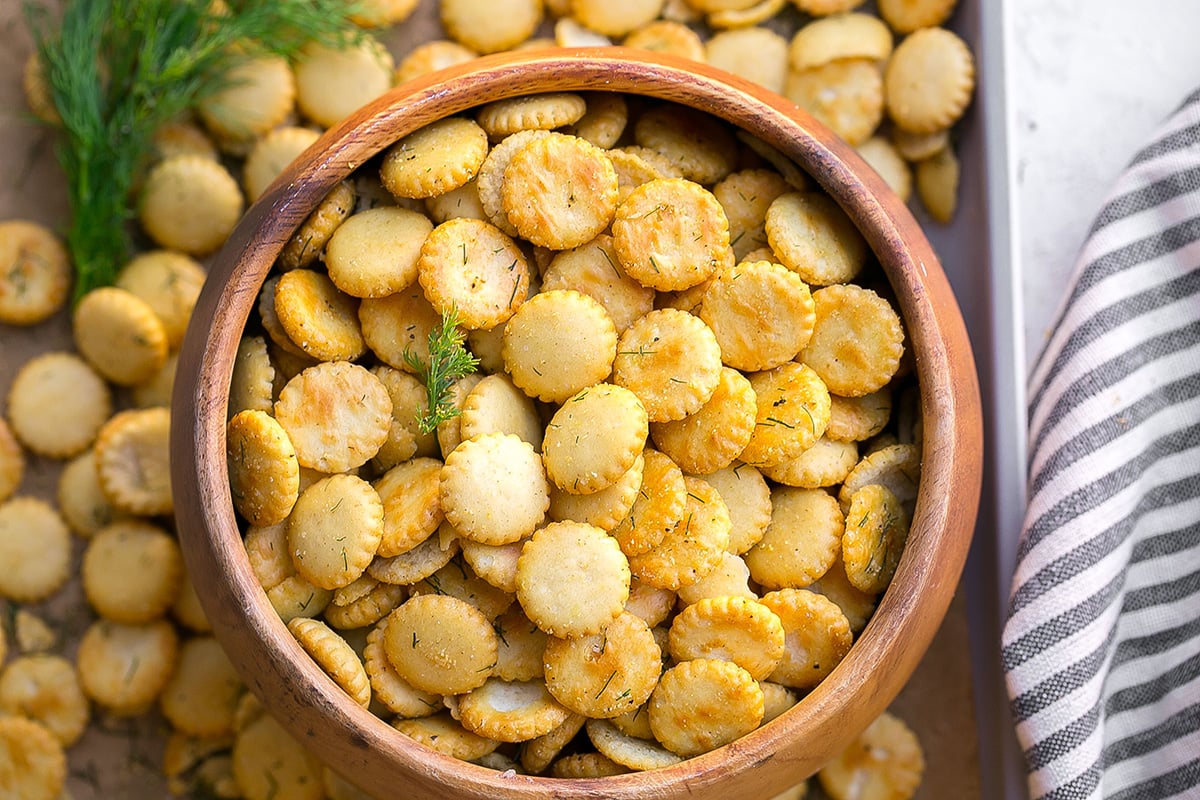
Of course, I just like them plain as a savory snack for movie night or road trips too. The options are endless!
Storage and Freezing
How to Store
You can store this easy snack recipe in an airtight container at room temperature. No need to refrigerate. They will last for up to one month.
Can I Freeze Dill Seasoned Oyster Crackers?
I do not suggest freezing these crackers. Ice crystals may form on the crackers causing them to be soggy once thawed.
More Easy Snack Recipes
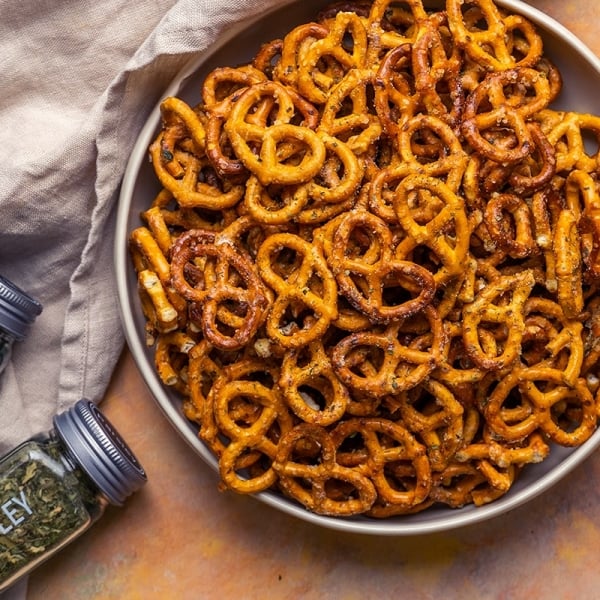
If you know me, you know I always like to keep good snacks around. Here are some of our favorites that I know you’ll love too.
Dill Oyster Cracker Recipe
Ingredients
- 10 ounces oyster crackers
- 1/3 cup fresh dill , minced
- 2 tablespoons garlic powder
- 1/2 teaspoon ground black pepper
- 1/2 teaspoon fine sea salt
- 1/3 cup light extra virgin olive oil
Instructions
- Preheat the oven to 250°F. Cover a large rimmed baking sheet with aluminum foil or parchment paper for easy clean up and to prevent sticking.
- In a medium mixing bowl combine the dill, garlic powder, pepper, salt and olive oil. Add the oyster crackers and gently toss until all are equally covered in the seasoning. Spread the crackers in a single layer on the prepared baking sheet.
- Bake them for 20 minutes. Turn off the oven and allow them to sit for an additional 20-30 minutes. Crackers might be slightly brown, but pretty much maintain the same original color.
- Remove, serve warm or place in an airtight container. Crackers will still good for at least a month if stored properly.
- If you've tried this recipe, come back and let us know how it was in the comments or star ratings.
Video
Nutrition





Can’t make this very often, it is so yummy I can’t stop eating them.
Not a bad problem to have 🙂
Looks so yummy! Just curious, most oyster cracker recipes I’ve seen use oil instead of butter. Is there a reason or difference in how they turn out? (I’ve never made oyster crackers before, but I make Chex mix a lot, and those recipes all call for butter.)
Not sure- it could do with the temp they are cooked at. Butter has a smoke point of 350°F, but it isn’t in the oven long or hot enough for that to happen. You could swap with oil if you prefer.
Just the recipe I was looking for. Simple, easy, and very tasty. Will be making this again.
Yay! Love hearing that. Thank you!
ABSOLUTELY DELICIOUS!!!THANK YOU FOR THIS RECIPE
You are very welcome!
So easy and so delicious! I could eat a whole bowl like popcorn! I’m going to include bags of these crackers with my Christmas cookies packages this year!
Love to hear that! I snack on them a lot too. So tasty.
Thanks for sharing! Do they keep long?
They keep very well in an airtight container!
These look so good! What a great way to doctor them up to make them even more special!
So glad to find this! I’m not a ranch fan and so many of these type recipes use ranch dressing mix as a base. These are excellent!
A fellow ranch-hater… it was meant to be! LOL.
Love these crackers. We had these with my moms oyster stew when I was a kid.
Yay! Thanks for stopping by!
Omg thank you i have been looking for this recipe for awhile. I cant wait to try it.