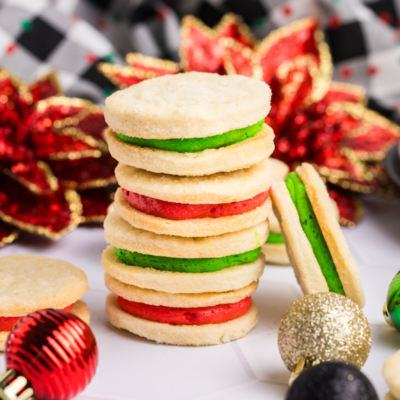
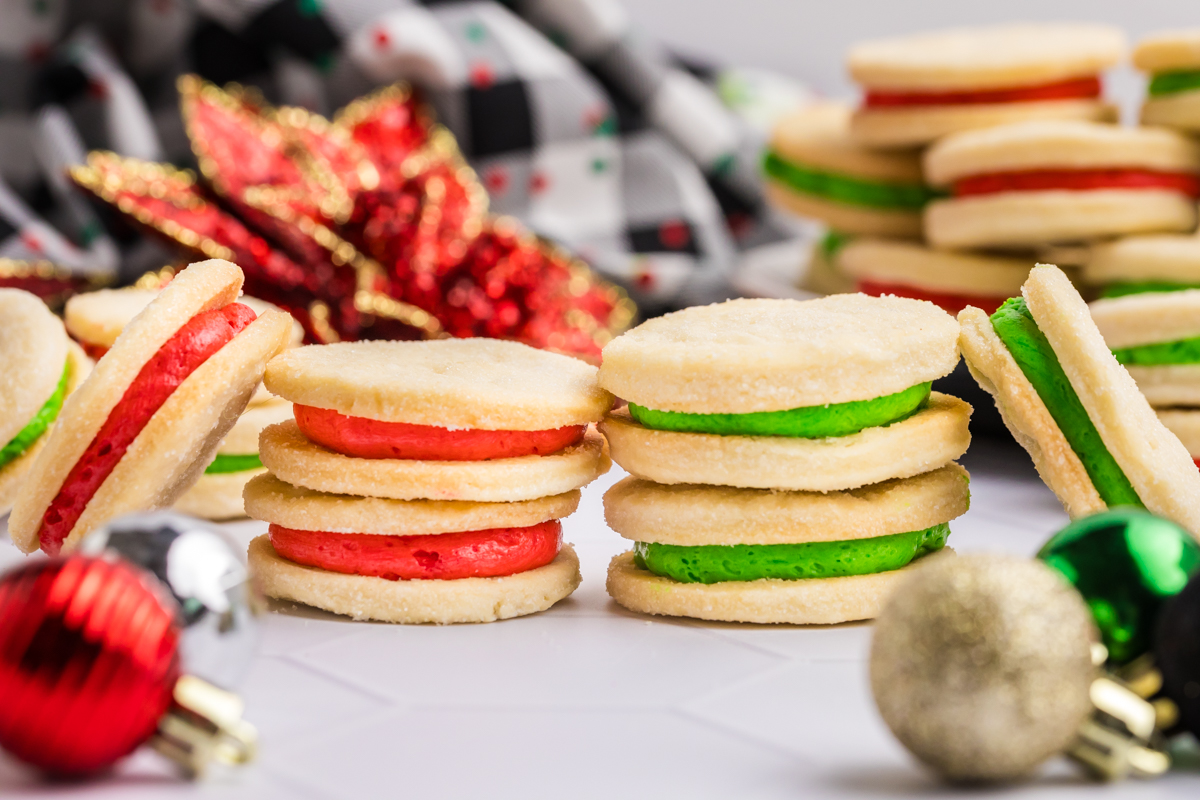
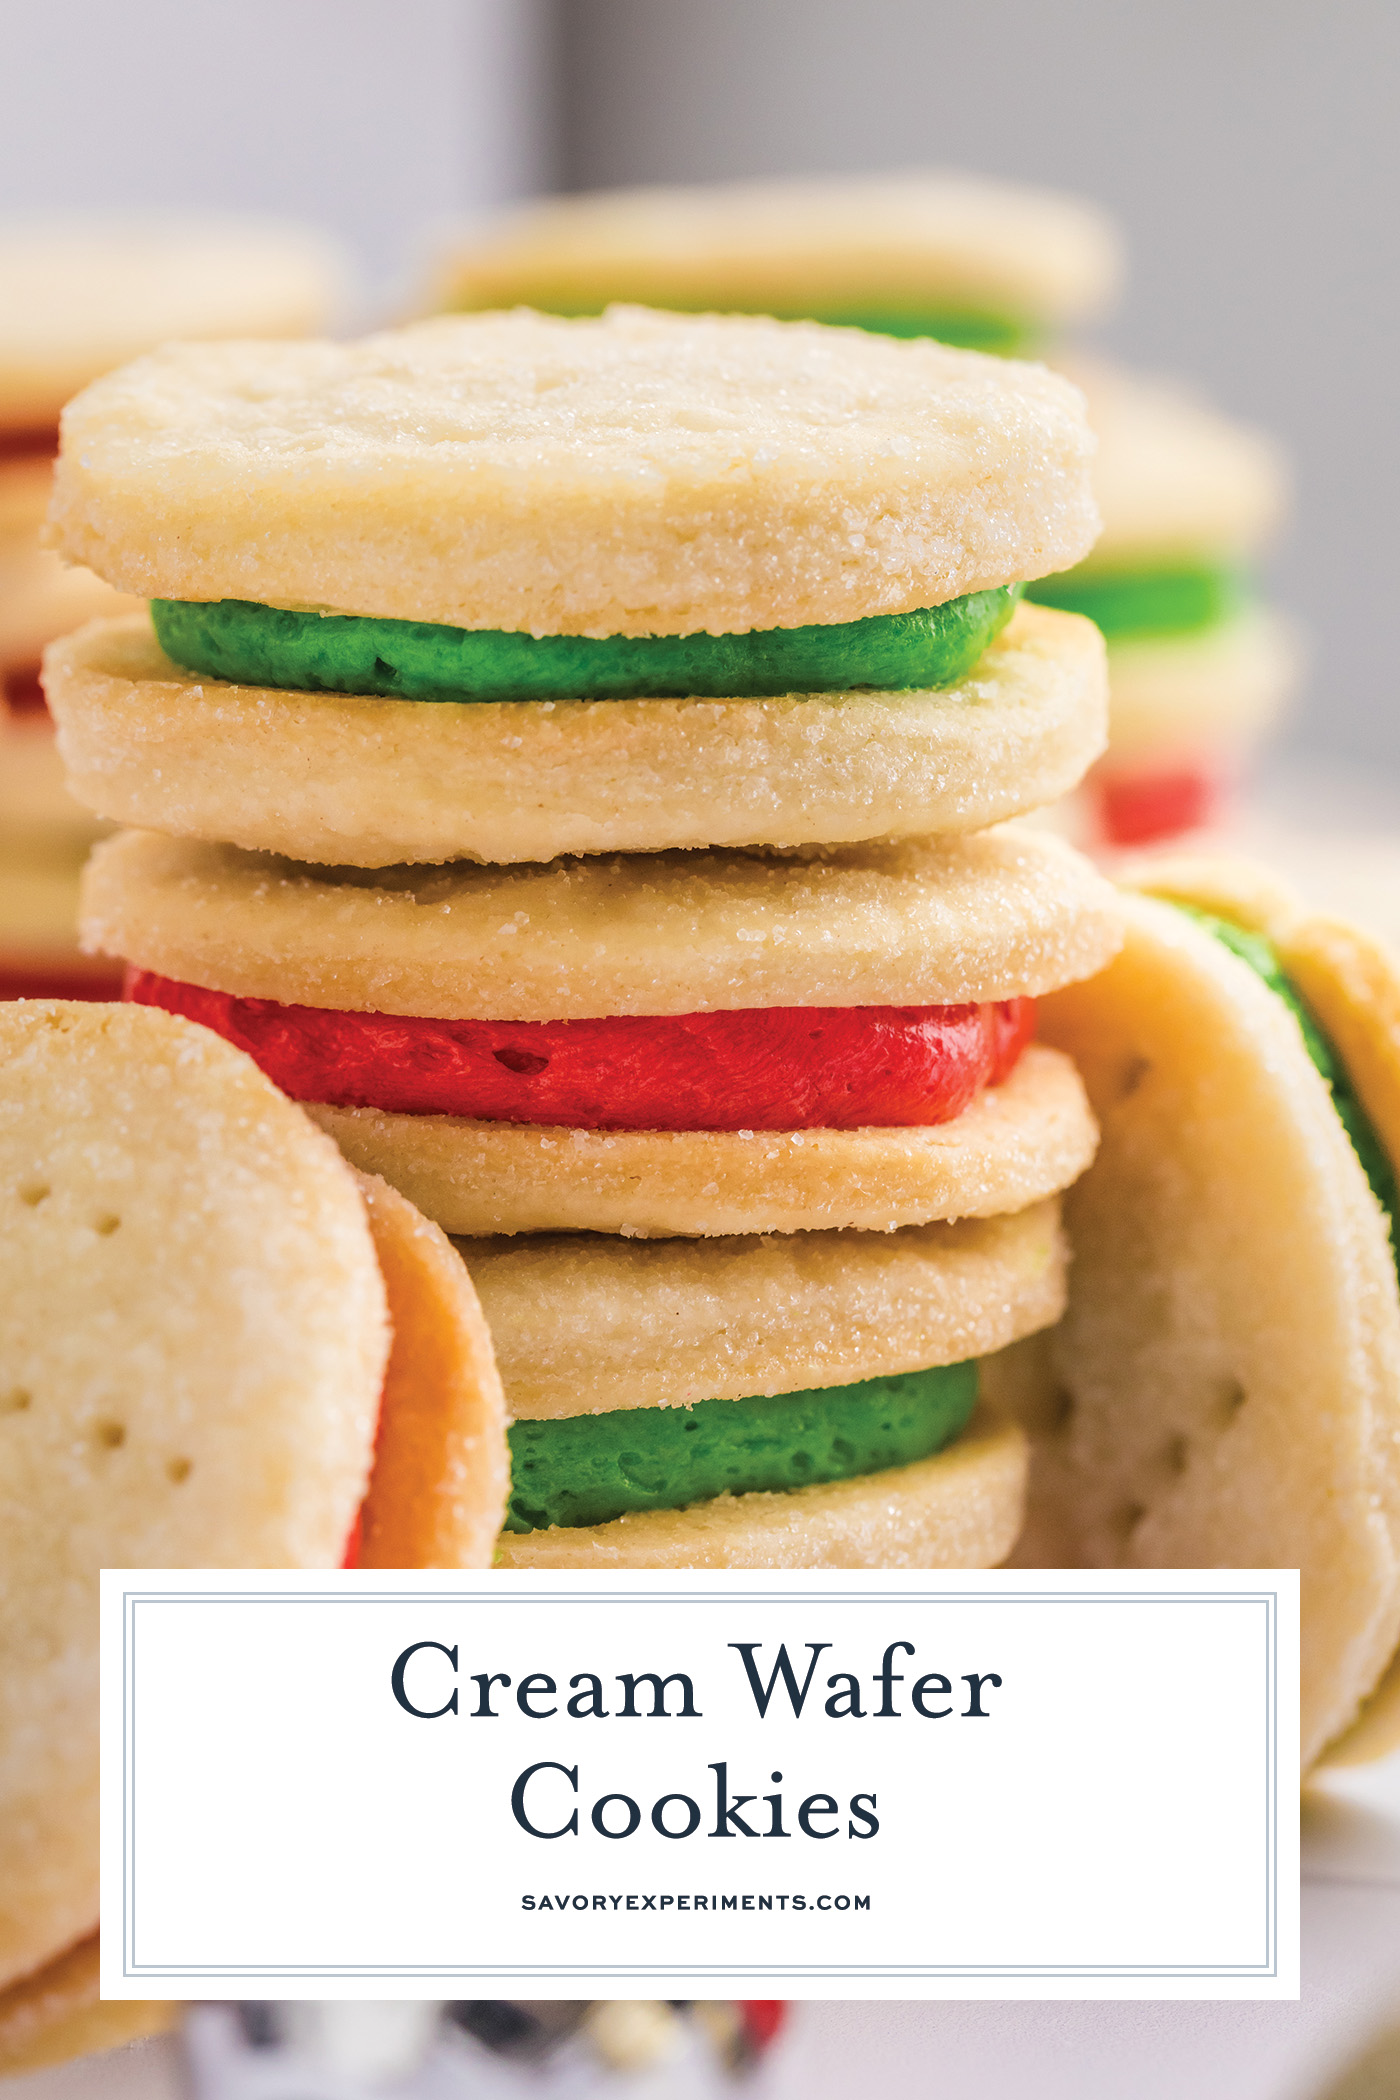
These Cream Wafer Cookies hold a special place in my heart and bring back a tinge of nostalgia during the holiday season.

Every Christmas a tin of holiday treats would arrive at our house and I would steal the cream wafer cookies before anyone else knew they were there. Yep, you hear that Jaclyn (my sister), I’d snatch those bad boys right on out and leave you one or two!
Clearly, now I can make this little sandwich cookie whenever I’d like, but still reserve them for special occasions like the holidays. They are so easy and quite literally melt in your mouth. They’re one of my kids’ favorite Christmas cookies too, but they don’t have to fight to get their share.
Ingredients
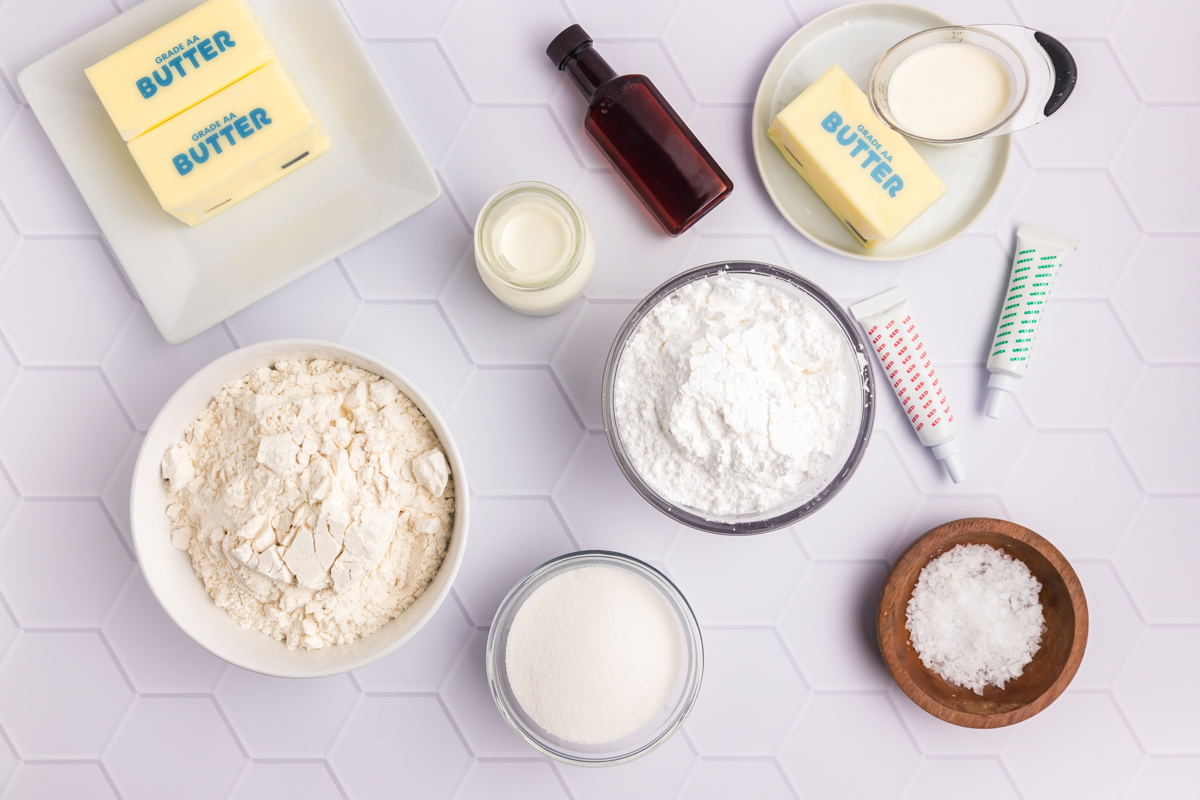
Here’s a rundown of what you’ll need to make the most buttery cookies and incredible creamy filling.
- Unsalted Butter – The high butter content adds rich flavor and gives the cookies a melt-in-your-mouth texture.
- Heavy Cream – Heavy whipping cream gives the dough a delicate texture. You can also use whole milk, but for the best flavor avoid a low-fat milk or skim milk.
- Flour – All-purpose flour gives the cookies structure while keeping them light and flaky.
- Sugar – Granulated sugar adds sweetness and also gives the cookies their signature sparkle on the outside when they’re coated before baking.
- Unsalted Butter – Softened butter creates a creamy base for the filling that makes it easy to spread.
- Powdered Sugar – Confectioner’s sugar is fine and dissolves easily to sweeten the filling without any graininess.
- Vanilla Extract – Adds a warm, sweet flavor that balances the buttery richness.
- Heavy Cream – Cream gives the filling its luscious texture. You can adjust the amount to get just the right consistency.
- Fine Sea Salt – A little bit of salt helps to enhance all the flavors in the filling.
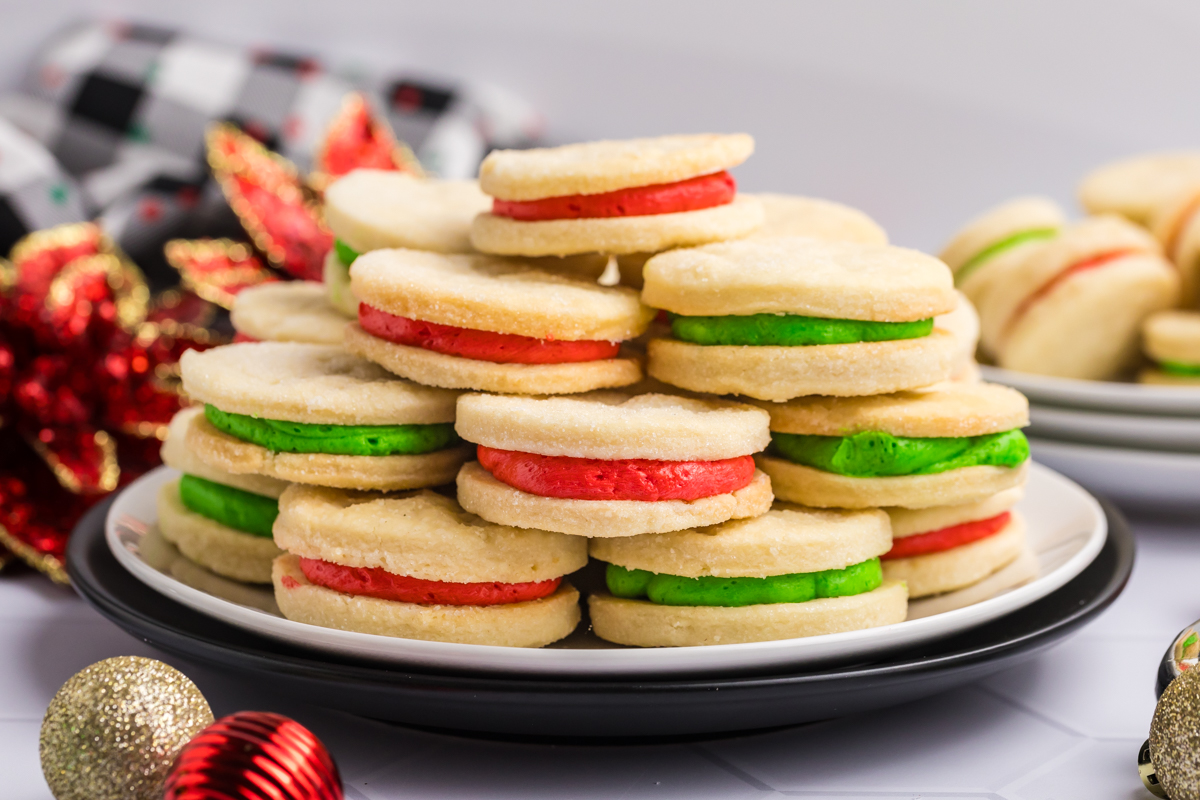
- Gel Food Coloring (optional) – This is a fun option if you want to add a pop of color to the filling. Red filling is perfect for the holidays but you can use other colors, too.
- Filling – You can always swap out this filling for other flavors like chocolate or sweet buttercream.
Variations
There are nearly endless ways to make these cream wafer cookies your own.
- Almond Extract – Swap out the vanilla extract in the filling for almond extract for a subtle, nutty flavor.
- Chocolate Drizzle – Melt some chocolate and drizzle it over the tops of the finished cookie sandwiches.
- Lemon Zest – Add a hint of fresh lemon zest to the filling for a bright, citrusy note.
- Cinnamon Sugar – Roll the cookie dough in cinnamon sugar instead of plain sugar for a warm, spiced twist.
- Peppermint Extract – Add a drop or two of peppermint extract to the filling for a holiday-inspired flavor.
- Colored Sugar – Use colored sanding sugar on the cookies for a festive look. This is also a great way to dress these sweet treats up for baby showers, Valentine’s Day, or a tea party.
- Sprinkles – Press sprinkles around the edges of the cookies after filling for an extra pop of fun color.
How to Make Cream Wafer Sandwich Cookies
These cookies are so pretty and delectable — no one will ever guess how easy they are to make! This may just become your new favorite cookie recipe.
Cookies
- Prepare the Cookie Dough. Add the softened butter to a medium bowl and beat until it’s light and fluffy. Mix flour and heavy cream in with the butter on low speed until everything just comes together.
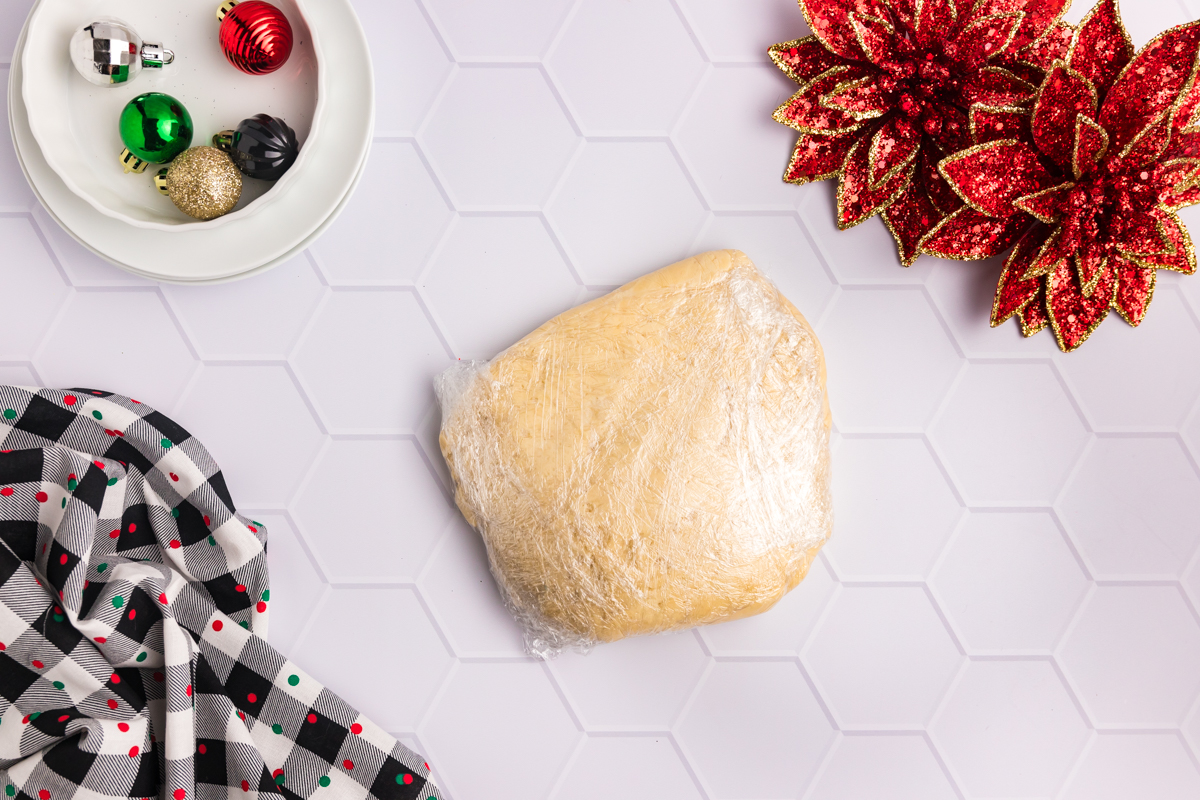
- Chill the Dough. Shape the dough into a ball, wrap it tightly in plastic wrap, and let it chill in the fridge overnight to help the flavors meld and keep the dough firm.
- Set Up the Sugar. Place some sugar in a shallow dish for coating the cookies.
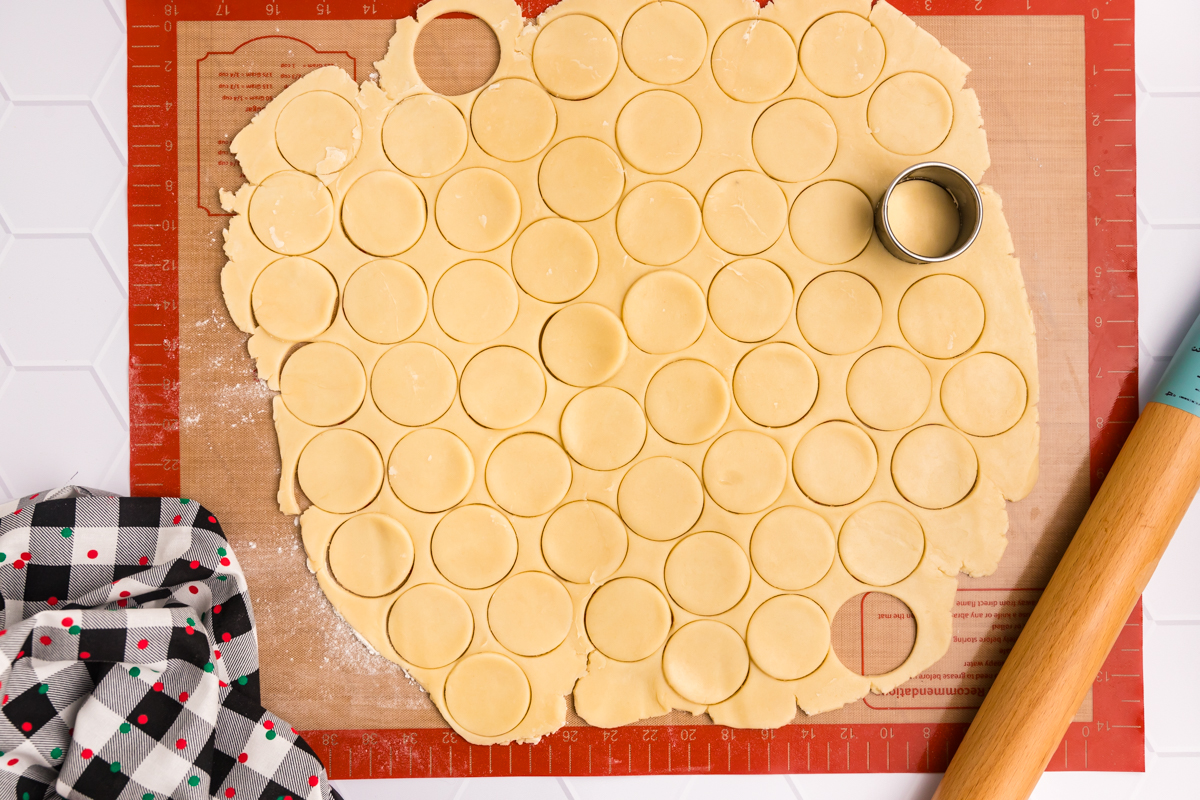
- Roll Dough and Cut the Cookies. Spread out sugar on your counter, then roll out the dough to about 1/8-inch thickness. Use a small round cookie cutter to cut out circles, then dip each one in sugar on both sides.
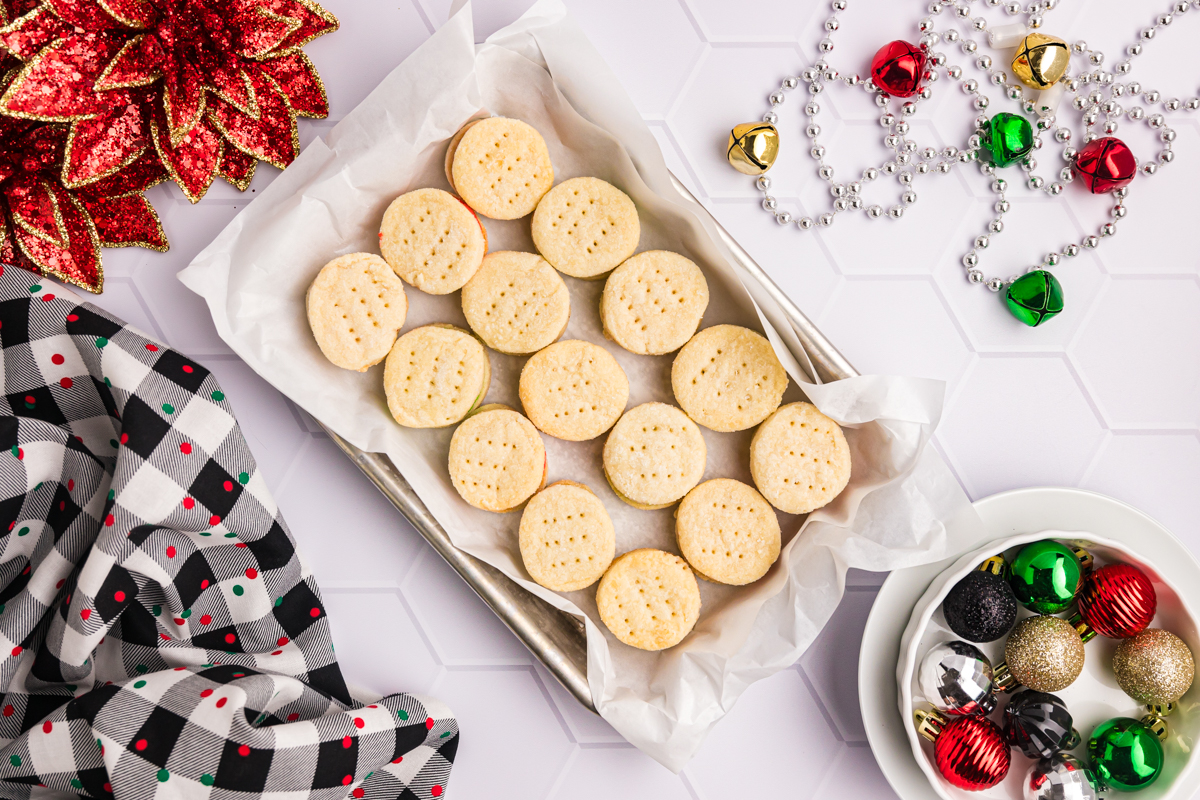
- Transfer and Prick the Cookies. Transfer cutouts to your prepared baking sheet lined with parchment paper, and prick each one down the center with a fork a few times to prevent puffing.
- Bake the Cookies. Bake until the cookies are set but still pale. Let them rest on the baking sheet for a couple of minutes, then move them to a wire rack to cool completely.
Filling
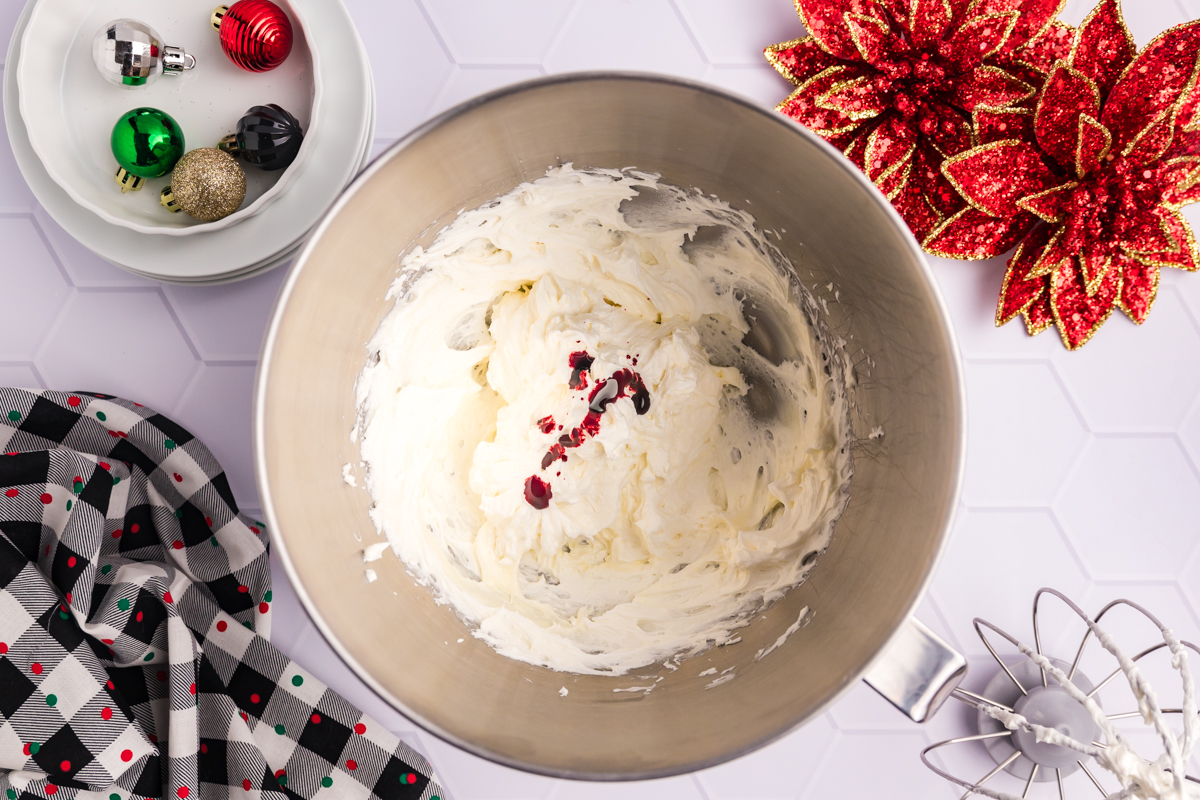
- Make the Filling. Beat softened butter in a mixing bowl until light, then add powdered sugar, vanilla, heavy cream, and salt, mixing until it reaches the desired consistency (you may need to add more cream). Add food coloring if desired.
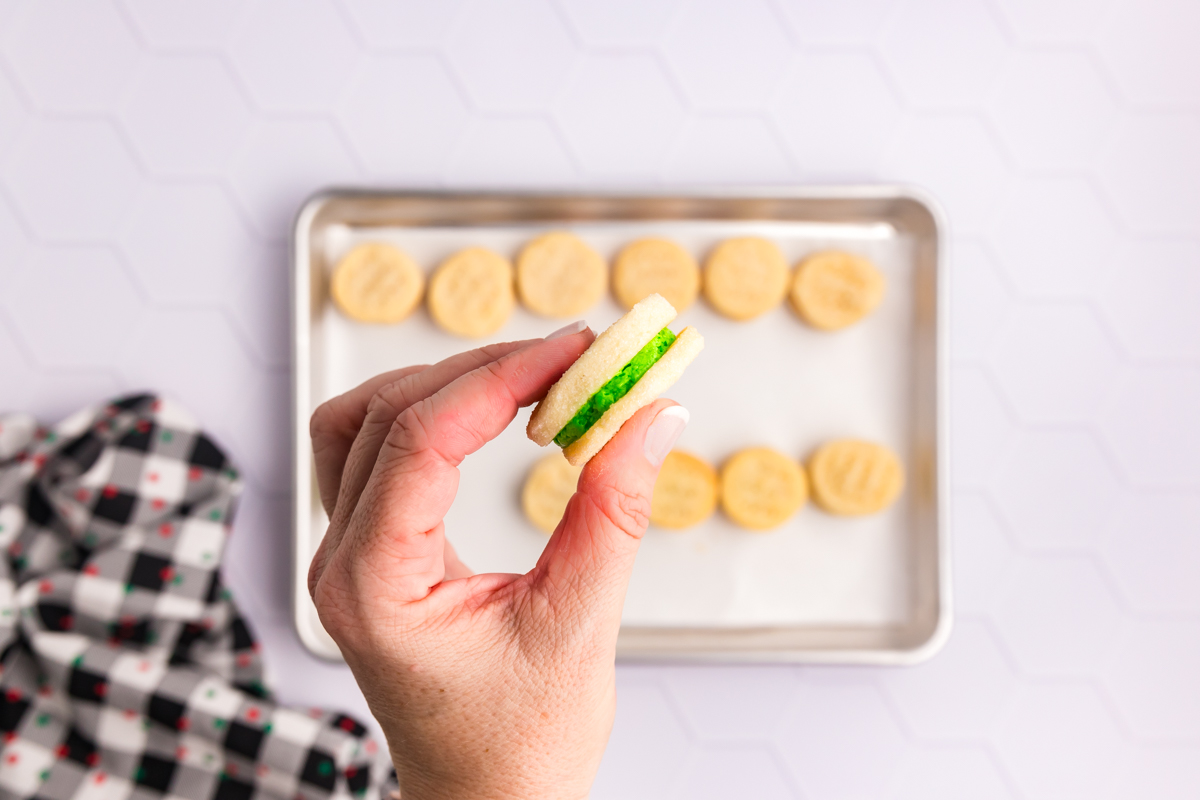
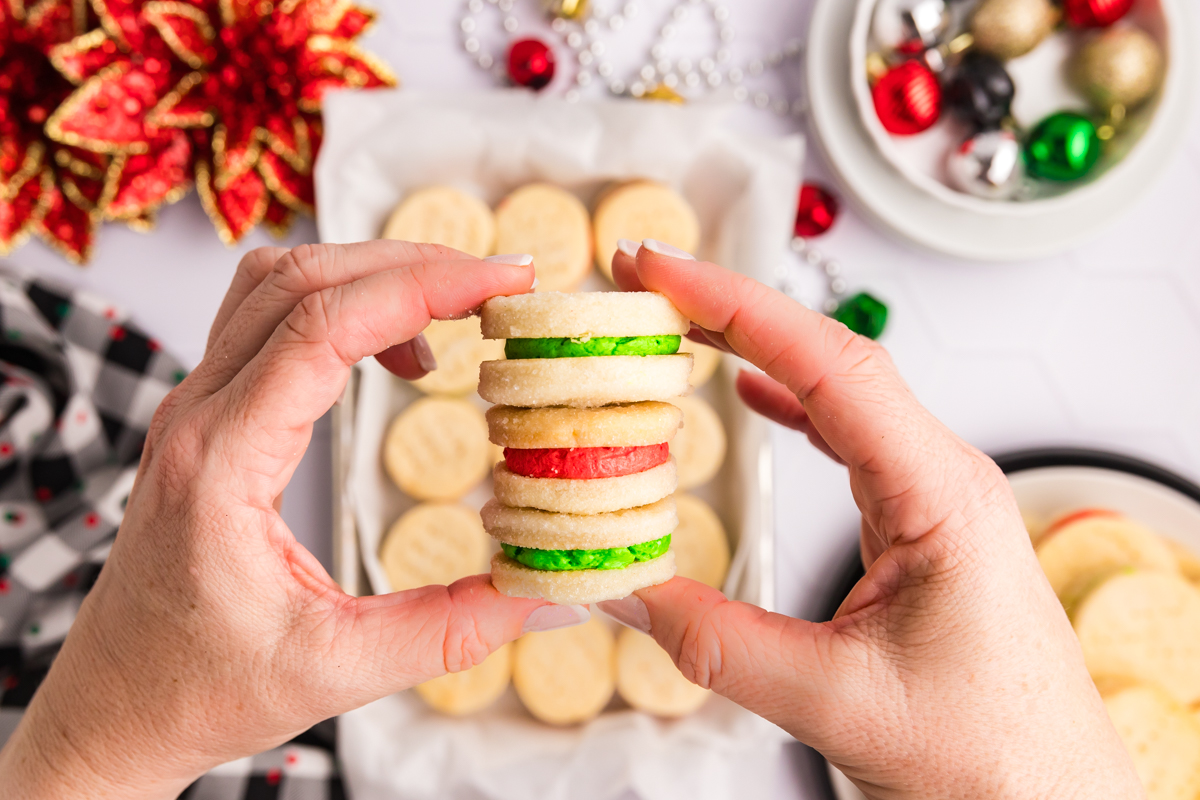
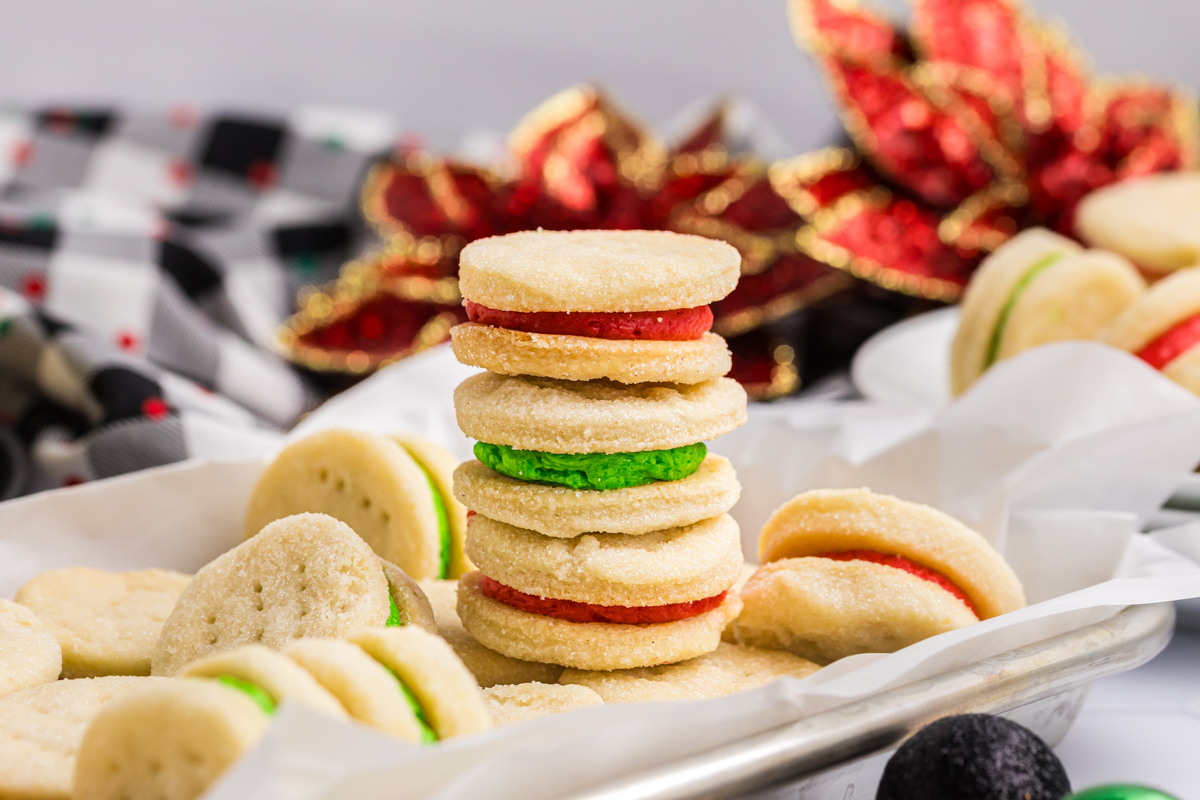
- Assemble the Cookie Sandwiches. Once the cookies have cooled to room temperature, use a piping bag, offset spatula, or butter knife to spread the filling on one cookie, then sandwich it with another.. Gently press them together and let them set.
- Store. Once the cookies have set, transfer them to an airtight container and store.

Common Questions about Cream Wafer Cookies
Heavy cream, butter, and flour are all you need to make simple cream wafers.
Instead of being either crispy or chewy like other cookies, these have a decadently soft texture.
This eliminates air bubbles and keeps the cookies from puffing up too much, giving you a flat surface that’s perfect for sandwiching.
Storage and Freezing
Store these cream wafer cookies in an airtight container to keep them fresh and delicious.
Make Ahead
If you’re planning to make these ahead, you can prepare the dough, wrap it tightly, and store it in the refrigerator for up to 2 days before baking.
How to Store
Store baked cookies in an airtight container in the refrigerator for up to one week.
Can I Freeze Cream Wafer Cookies?
For longer storage, you can freeze the unfilled cookies. Just bake, cool completely, and store in a freezer-safe container. When you’re ready to serve, let them thaw, and then add the filling.


More Easy and Delicious Cookies
If cookies are as much your jam as they are mine, you’ll love these other super simple recipes.
Cream Wafer Cookies
Ingredients
Cookies:
- 1 cup unsalted butter , softened
- 1/3 cup heavy cream
- 2 cups flour
- 1/2 cup sugar
Filling:
- 1/2 cup unsalted butter , softened
- 1 1/2 cup powdered sugar
- 2 teaspoons vanilla extract
- 2-4 tablespoons heavy cream
- 1/4 teaspoon fine sea salt
- Gel food coloring , optional
Instructions
Cookies:
- In the bowl of a stand mixer fitted with the paddle attachment or a large mixing bowl with an electric hand mixer, beat the butter for 5 minutes until it’s fluffy and paler in color.
- Add the flour and cream, mixing until just combined.
- Form the dough into a ball and wrap tightly in plastic wrap. Chill in the refrigerator overnight.
- When ready to bake, preheat the oven to 375°F. Line a rimmed baking sheet with parchment paper.
- Place the sugar in a shallow pie plate or on a plate. Set aside.
- Lightly flour a clean surface, counter or rolling mat. Working in batches, roll the dough to approximately 1/8-inch thickness. Cut the dough using a 1-inch circular cookie cutter. Transfer each cookie round to the sugar plate/dish. Flip, patting in the sugar.
- Place them on the prepared baking sheet and prick them down the center 3 times with a fork.
- Bake the cookies for 7-9 minutes, removing the cookies from the oven just before they start to brown. Allow to set for 1-2 minutes and then transfer them to a wire cooling rack. Allow them to cool fully before making into cookie sandwiches.
Filling:
- In the bowl of a stand mixer fitted with the paddle attachment or a large mixing bowl with an electric hand mixer, beat the butter until light and pale, approximately 5 minutes.
- Add the powdered sugar, vanilla, heavy cream and salt until smooth. It is too thick, add 1 teaspoon more heavy cream or milk.
- If only doing one color, add a few drops of the desired gel food coloring and blend until smooth. If using multiple colors, divide the frosting filling and repeat with other colors.
- If using a piping bag, fill the piping bag using a circle tip, then place a large dab in the center of one cookie, topping it with another to make a sandwich. If using an offset spatula, just place a teaspoon amount in the middle and smoosh together.
- Allow the cookies to set then store in an airtight container with layers separated by parchment paper.
Nutrition
