There is nothing as delicious, or simple, as Chocolate Covered Strawberries. You might pay a pretty penny to buy them at the store, or even have them delivered, but they are SO easy to make at home for a fun afternoon with the kiddos, a special occasion or of course, Valentine’s Day or Mother’s Day.

Best Chocolate For Chocolate Covered Strawberries
Look for good quality chocolate. This might mean you need to spend a little more money, but you are still saving not paying a couple of dollars per strawberry. There are lots of types of chocolate and they are not all created equal, so choose wisely.
The best melting chocolate is called couverture chocolate and has a higher ratio of cocoa butter to cocoa, which helps it melt more smoothly. If you are just at the store, aim for 35 percent cocoa solids and 31 percent cocoa butter. Of course, you can order this delicious chocolate, too. You can use milk chocolate or dark chocolate.

How to Melt Chocolate in a Double Boiler
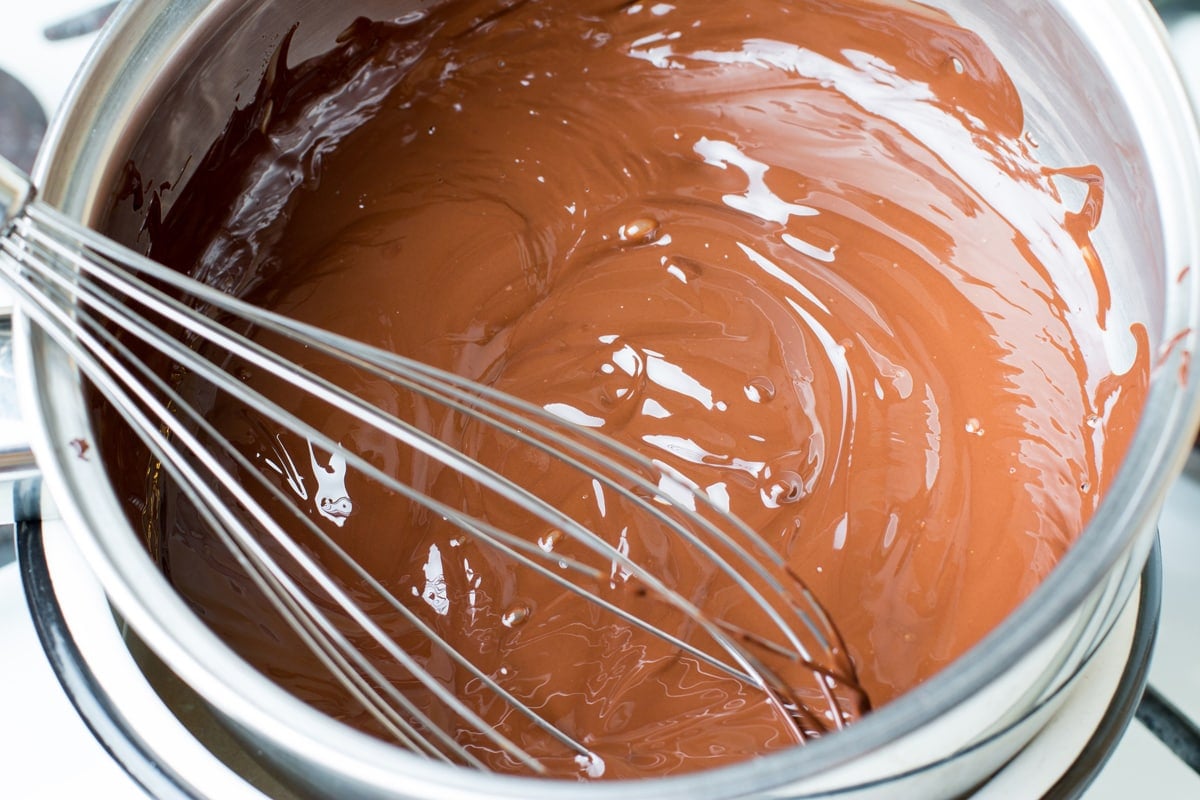
The best way to melt chocolate, hands down, is in a double boiler. If you don’t have one, a cheap one will do, no need to break the bank. Unless you are dipping things in chocolate all the time (in which case, I envy you), you won’t use it often, but be glad when you need it.
- Fill the bottom of a double boiler with one-third water and place over low heat without the top pot.
- When the bottom water is simmering, place the top pot on.
- Add the chocolate to the top pot of a double boiler over simmering water (not boiling) and allow it to melt. Do not cover and stir constantly.
- Remove when most of the chocolate is melted and shiny, but there are a few chunks, add a few more unmelted pieces of chocolate to temper. Stir until smooth and use immediately.
You can even use a fondue pot! If you aren’t using a couverture chocolate you might need to add a teaspoon of shortening, coconut oil or butter to help it melt smoothly. Candy melts are another option, but have the tendency to get chalky and not taste as good.
How to Make Your Own Double Boiler
If you don’t own a double boiler you can make your own with a saucepan and heat-safe glass bowl.
As long as the bowl says microwave-safe, chances are it is heat-safe enough for making a double boiler. The instructions are the same, but the top pot is your glass bowl.
- Fill the bottom of a medium saucepan with one-third water and place over low heat.
- When the water is simmering, place the glass mixing bowl over top.
- Pour the chocolate into the glass mixing bowl over simmering water (not boiling) and allow it to melt. Do not cover and stir constantly.
- Remove when most of the chocolate is melted and shiny, but there are a few chunks, add a few more unmelted pieces of chocolate to temper. Stir until smooth and use immediately.
How to Melt Chocolate in the Microwave
The second best way to melt chocolate is the microwave, but watch it carefully because this is also where people tend to overcook it and after it reaches the chalky, gross thick stage, you can’t bring it back to life.
- Microwave the milk chocolate for 30-second intervals at 50% power or 20 seconds if at full power in a microwave-safe bowl.
- Take the bowl out and give it a stir. Be careful, as the bowl will likely be hot.
- Place the bowl back in the microwave and repeat the process of cooking for 30 seconds at 50% power and stirring.
- After the first two intervals, reduce the time in the microwave to only 10 or 15 seconds.
- When chocolate is mostly melted with just a few chunks, do not place it back into the microwave, simply keep stirring it until smooth. Use immediately.
How Long Do They Last?
The short answer is that dipped berries are best enjoyed right after the chocolate has set or the same day you make them. However, you can make them up to 2 days in advance.
Fresh strawberries will last longer, of course, and quality chocolate coating.
Storage
If eating your chocolate-dipped strawberries the same day, store them at a cool room temperature away from sunlight and uncovered. They really don’t need to be refrigerated, so this is my best advice.
They can be kept in the refrigerator for up to 2 days in an airtight container separated by layers of wax or parchment paper. Be mindful that they have the tendency to sweat when removed. This won’t impact the flavor, it just looks unsightly.
Why Do Chocolate Covered Strawberries Sweat?
The sweat is just condensation. Both the chocolate and strawberries contain water and when they are subjected to a big temperature change, like going from a chilly fridge to a comfortable room temperature, this brings out the moisture.
The best way to prevent this is to not subject them to the temperature variation and to dab them dry with a paper towel before dipping so there isn’t any moisture bubbling to the surface.
To avoid sweating, it’s best to make and enjoy chocolate covered strawberries the same day. However, they will keep at room temperature for up to 10 hours. Follow instructions above on how to best do this.

Topping Ideas
The sky is the limit for toppings, but here are our favorites.
- Chopped Nuts
- More chocolate drizzle
- Toasted sweetened coconut flakes
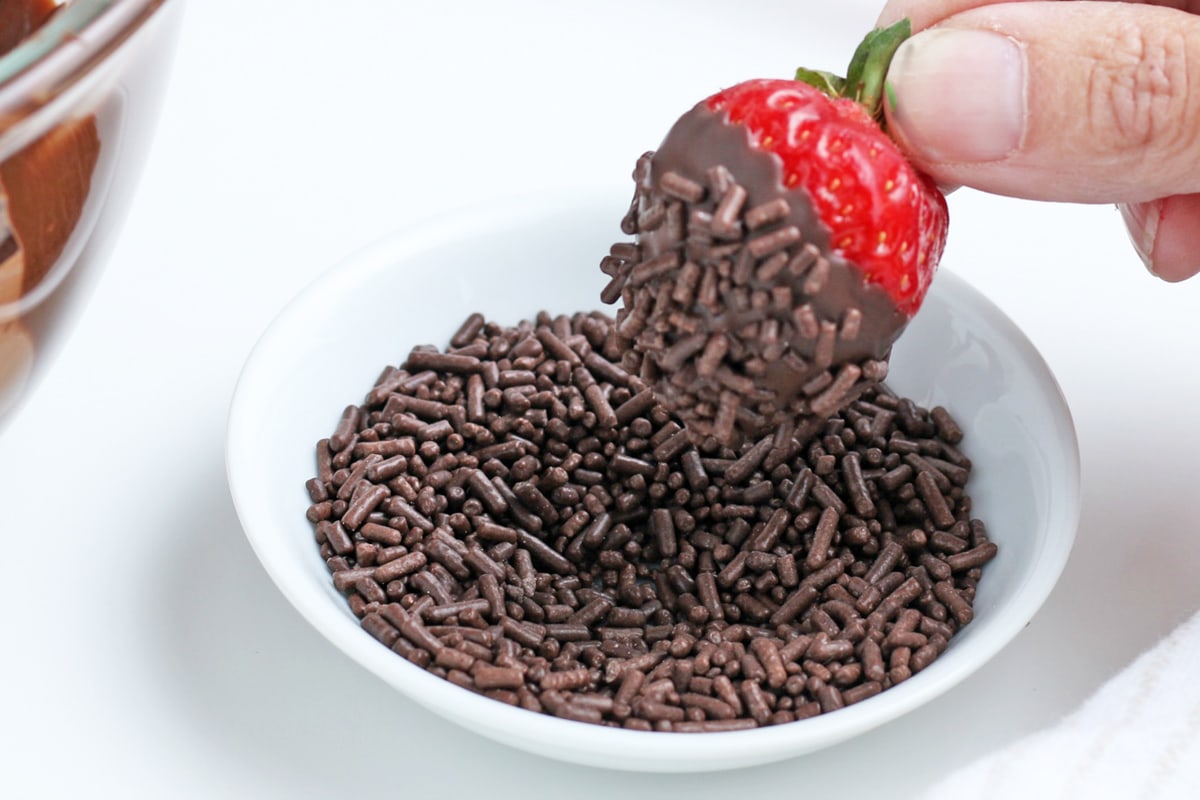
- Sprinkles
- Mini chocolate chips
- Graham cracker crumbs
- Crushed cookies
- Crushed candy (any kind)
- Mini dehydrated marshmallows
- Crushed dehydrated fruits
Tips and Tricks for Chocolate Covered Strawberries
Follow these simple tips to make sure you make the perfect chocolate covered strawberries every time.
- Pick pretty berries. They don’t have to be in the best shape, but at least not bruised or discolored. Healthy green leaves also make them appear prettier.
- Refrigerate your berries, but when you go to dip them, let them come up to room temperature for 20-30 minutes so the chocolate isn’t shocked the moment it touches.
- The most common mistake is having wet berries. Chocolate can’t stick to the berries if they are wet. Dry them with paper towels before dipping and let them air dry even further.
- Leave the leaves, these are your “handle”.
- Use a double boiler to prevent chocolate from overheating and getting all yucky. You can make your own by fitting a large stainless steel or glass mixing bowl over a small saucepan. Be careful to not burn yourself. A double boiler is always best.
- Temper your chocolate. This simply means adding a small amount of unmelted chocolate right at the end. The trick to professional chocolatiers getting super shiny chocolate is tempering (bringing the temperature up and down several times). This is the quick and dirty version. Gray or chalky chocolate isn’t bad, again just unsightly.
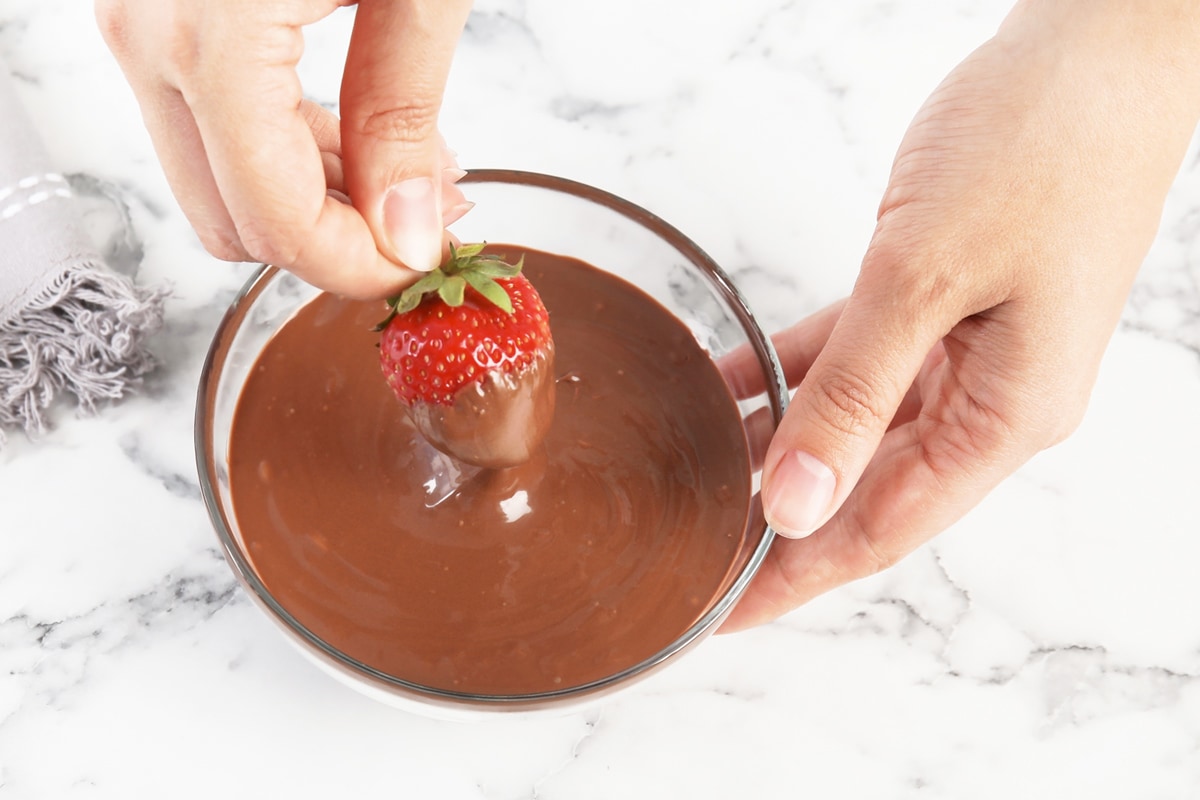
- Dip your strawberry by the stem in the chocolate, then give it a swirl and tap off the excess chocolate on the side. Don’t let it sit in there too long or it will cool the chocolate too fast and develop layers that look unsightly.
- Place on a piece of parchment or wax paper on a sheet pan, NOT a cooling rack. The chocolate will drop around the grates and then you’ll have to peel them off, risking the chocolate breaking. Store in a single layer on the parchment-lined baking sheet.
- It is best to let the chocolate set at room temperature, but you can use the fridge if you need to move fast. Any changes in temperature, even a quick trip to the fridge, can case sweating.
- Store chocolate covered berries uncovered at room temperature in a cool, dry place. If you keep them in the fridge, they will start to sweat, or the chocolate will start to look chalky. It usually takes about 30 minutes to fully harden.
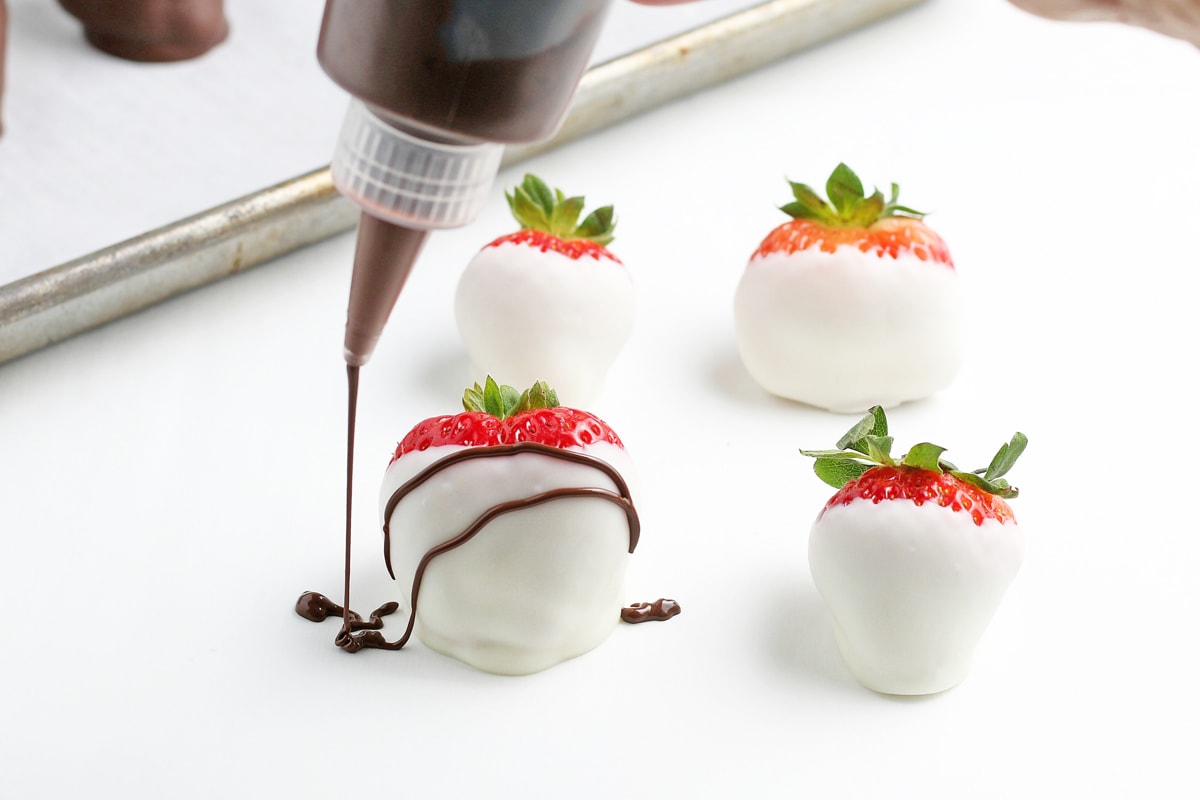
- If you are adding chocolate embellishments, wait until the initial chocolate covering has set and use a piping bag or cheap squeeze bottle for the best results. White chocolate gives the best contrast.
More Valentine’s Day Recipes
If you’re looking for more treats to celebrate Valentine’s Day, check out these other popular favorites!
How to Make Chocolate Covered Strawberries
Equipment
Ingredients
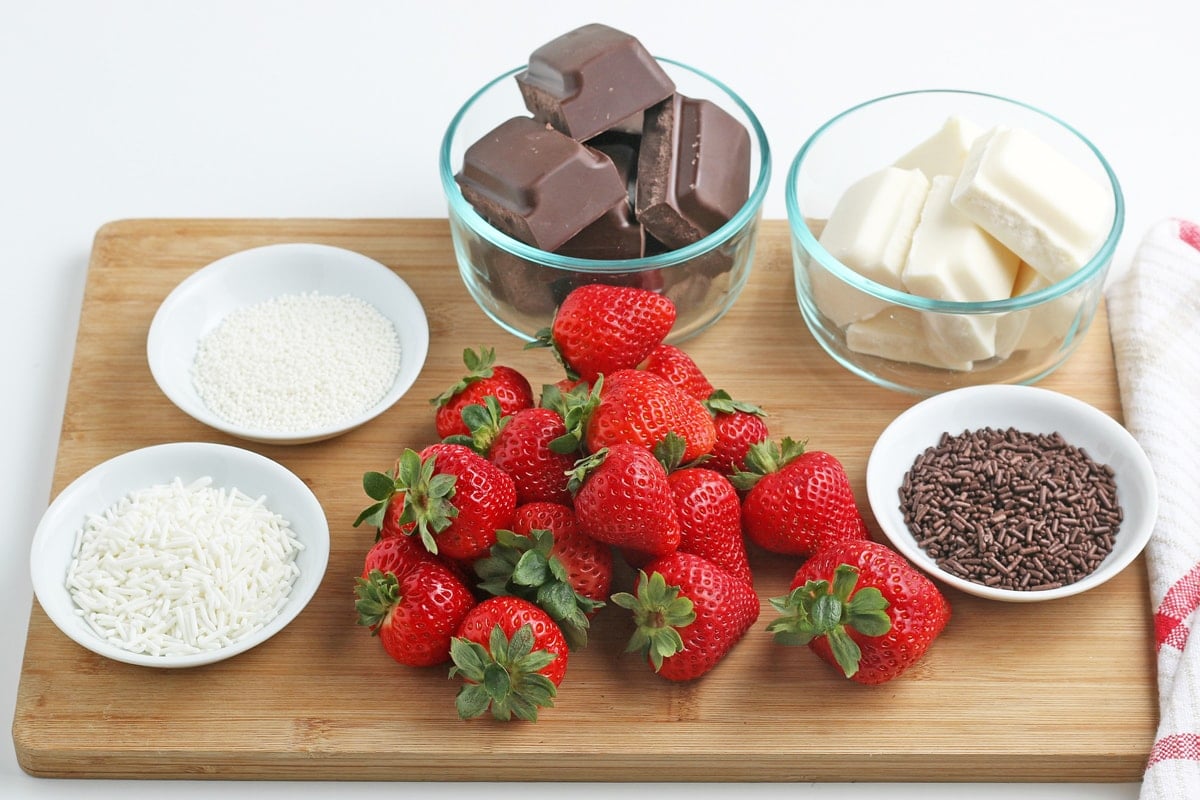
- 1 pound Strawberries , about 20
- 8 ounces Couverture chocolate , roughly chopped
- 8 ounces White chocolate or almond bark , roughly chopped
- Sprinkles of choice
Instructions
- Line a baking sheet with parchment paper, wax paper or a silicone mat.
- Wash the strawberries and dry them with a paper towel and then let them further air dry and come to room temperature for about 20-30 minutes. The chocolate will not cling to wet strawberries.
- Fill the bottom pot of a double boiler one third of the way with water and bring to a low simmer.
- Place the top pot on and all of the couverture chocolate, reserving roughly 1 tablespoon.
- Stir constantly until the chocolate has nearly all melted, then remove from the heat and stir in the remain 1 tablespoon of couverture. Alternately, use the microwave method as described in the notes.
- If using alternating white chocolate, do all of your couverture chocolate first and then follow with with repeating the same steps. Unless you have two double boilers and then, I am simply impressed.
- Dip the strawberries in the melted chocolate, swirling once and then tapping off excess.
- Immediately add sprinkles or other toppings while still tacky.
- Place on the prepared baking sheet to set.
- For drizzling the desired chocolate and place it in a squeeze bottle or candy melting bag, drizzle.
- If you’ve tried this recipe, come back and let us know how it was in the comments or ratings!
Video
Notes
- Microwave the milk chocolate for 30-second intervals at 50% power or 20 seconds if at full power in a microwave-safe bowl.
- Take the bowl out and give it a stir. Be careful, as the bowl will likely be hot.
- Place the bowl back in the microwave and repeat the process of cooking for 30 seconds at 50% power and stirring.
- After the first two intervals, reduce the time in the microwave to only 10 or 15 seconds.
- When chocolate is mostly melted with just a few chunks, do not place it back into the microwave, simply keep stirring it until smooth. Use immediately.
Nutrition








your berries are STUNNING! i’m going to accidentally email this to my boyfriend!
I made these yesterday and it was a hit! Definitely making these again for Valentine’s day. Thank you for this awesome dessert idea!
I always have a hard time making these but this recipe made it so much easier and they were perfect!!
Yummy! These look so delicious! My husband and daughter are going to love! Can’t wait to try this!
Such a great recipe for chocolate strawberries. I’m saving it for V-Day