Roasting a chicken is intimidating to most, but it actually quite easy and one of the last things you can majorly fumble in the kitchen. And home cook needs to have a basic knowledge and be able to wing it (pun intended) to whip up this one dish dinner.
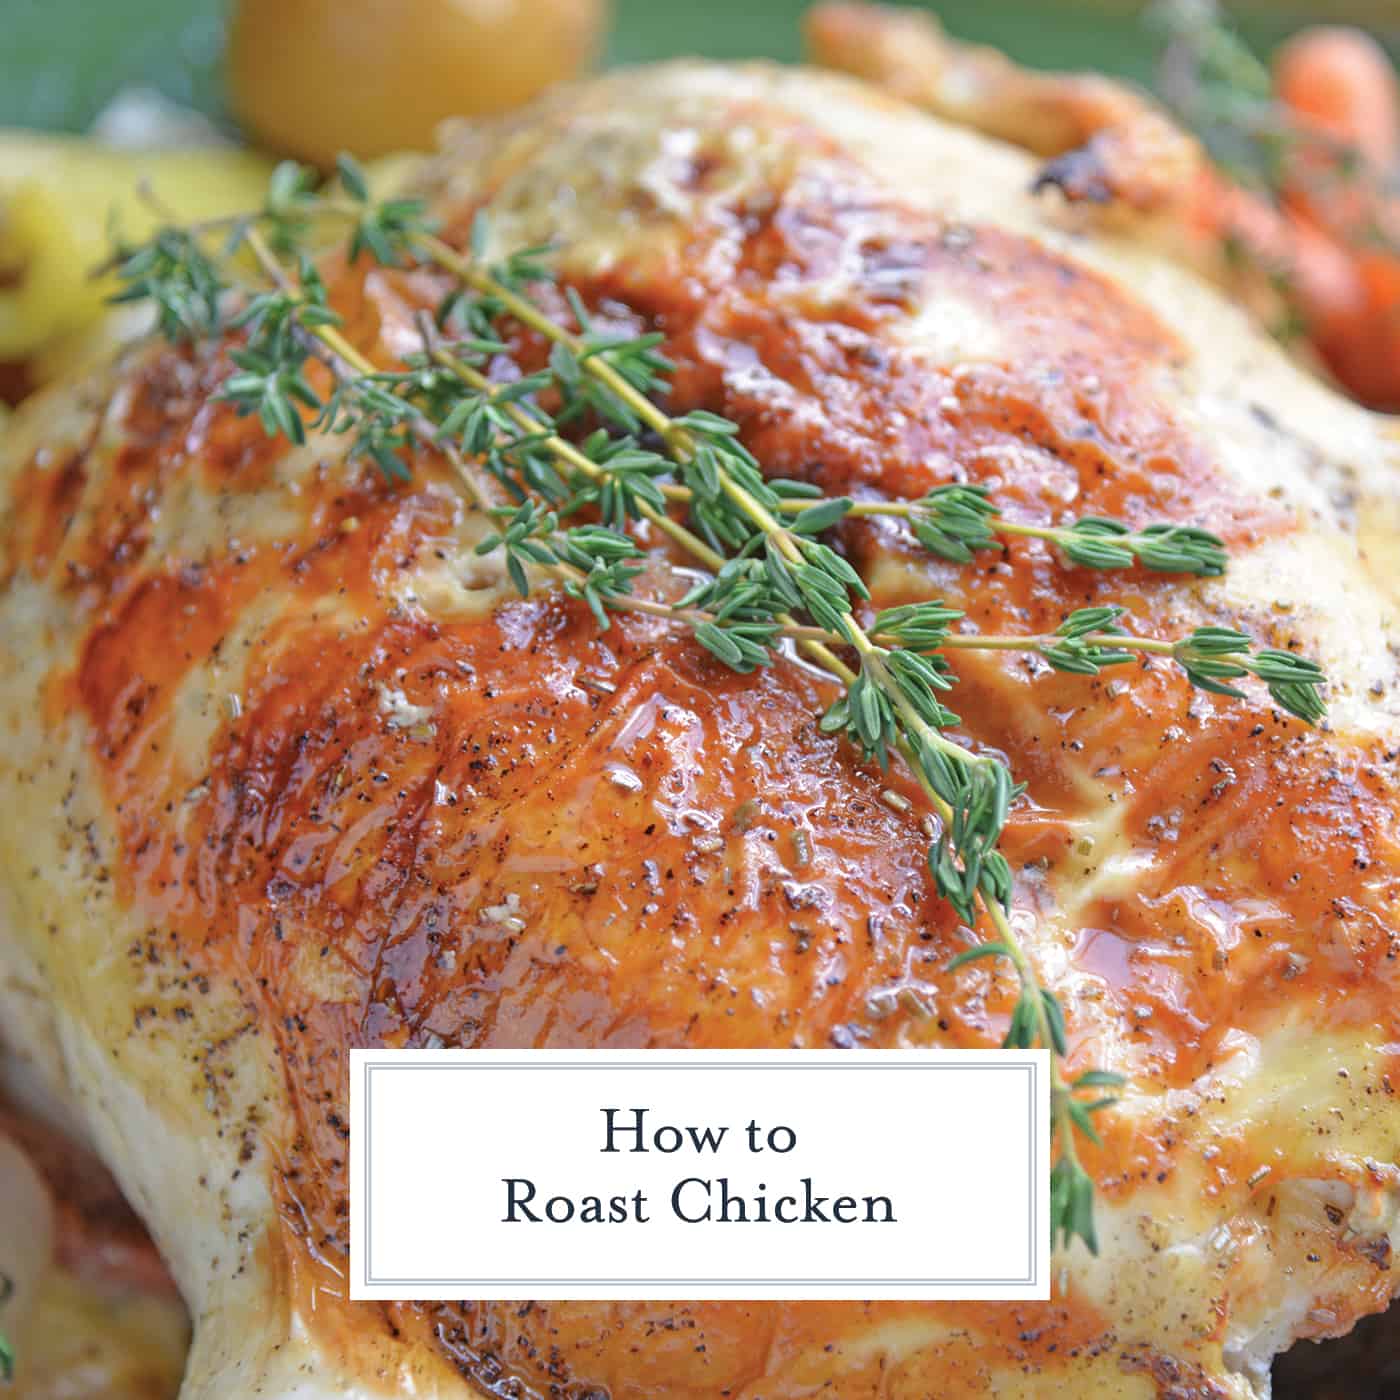
Easy steps on how to roast chicken plus the mostly frequently asked questions. Moist and flavorful oven roasted chicken in under 2 hours.
I am sitting here staring at my computer screen and I honestly don’t even know where to start. Roasting a chicken is a fairly simple kitchen skill that tends to get blown out of proportion.
Home cooks, novice and expert, tend to be intimidated by the process, but to be honest, it is pretty hard to mess it up.
The first thing to consider is that everyone has an opinion and “the best roasted chicken recipe. I’ve tried a lot of techniques. Some out of curiosity, others out of laziness and some out of necessity. What I’ve found is that they are all good.
How to roast a chicken.
STEP ONE. Prep your chicken if you have the foresight to do so. See some of the techniques below on how to get crispy chicken skin in the event that you want to try one.
If not and you want to serve dinner in two hours, don’t worry. You’ll be just fine!
STEP TWO. Preheat the oven to 450 degrees. Yes, that is hot, but we are going to roast this bird and roast it fast. The best way to so do is on high heat. This will also aid in crispy chicken skin.
STEP THREE. Prepare your vegetables and butter. Chop the vegetables you choose to use. Carrot, onion, celery, baby potatoes, rutabaga and parsnips seem to be the most popular because of their heartiness.
They add flavor and won’t fall apart during the cooking process. Some people also like a little acidity or citrus, mostly lemon.
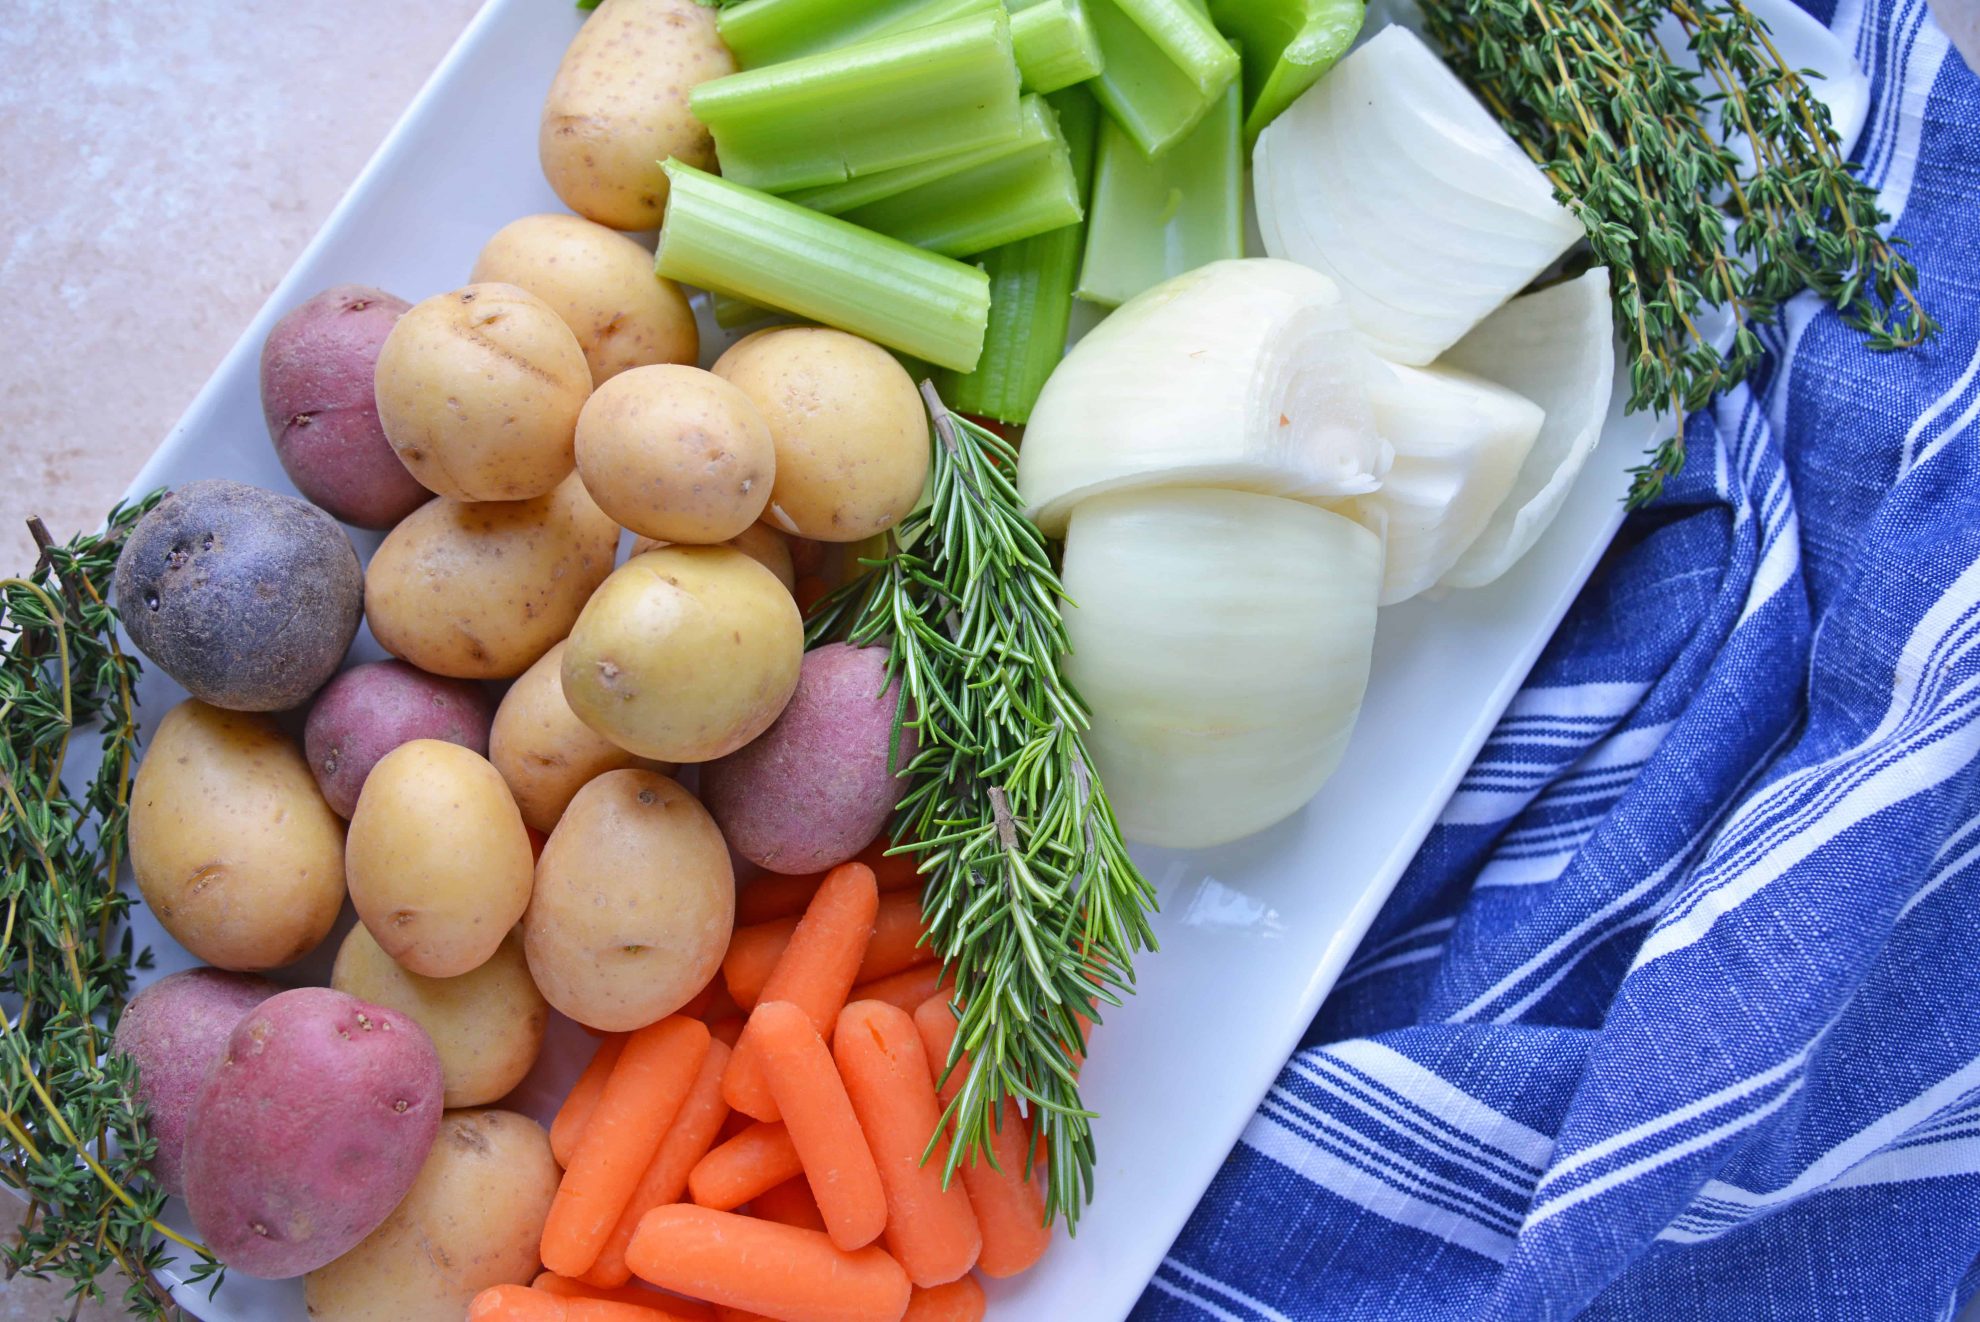
I do recommend using tri-colored potatoes to add more color to the dish. You know what they say, eat the rainbow!
Soften butter to room temperature. Do not microwave the butter! You need it soft so you can rub it under the chicken skin.
Using a fork, mix with seasonings. Seasoning can vary from nothing but plain butter to butter with salt and pepper or even butter with fresh herbs and spices.
Lemon zest is also popular if you are using lemon in the vegetable mix. Garlic is always a winner.
STEP FOUR. If you didn’t do a crispy skin preparation, rinse and pat your chicken dry using paper towels. Place into a large roasting panwith enough room around the chicken for your vegetables.
STEP FIVE. Take all that delicious butter and rub it under the skin of the chicken. Use your fingers to loosen skin from the meat and for hard to reach places, you can use the back of a spoon to get down in there with the butter. If there is extra butter, just place it in the cavity.
STEP SIX– Season the outside of the chicken. You can get creative here using any type of dry or fresh herbs and spices you want. I am going basic with Kosher salt and pepper. Flavorful and the salt will help get the crispy skin I am looking for.
Some people swear by putting vegetables in the cavity. I’ve done it both ways and I don’t see much of a difference flavorwise, so I don’t do it.
STEP SEVEN. Place the chicken breast side down. Truss the chicken by loosely tying the legs together using cooking twine.
STEP EIGHT. Place all the cut vegetables around the chicken. You can also use any leftover fresh herbs or aromatics if you desire. There is no need to reason the vegetables because the chicken juices and seasoned butter will do it for you.
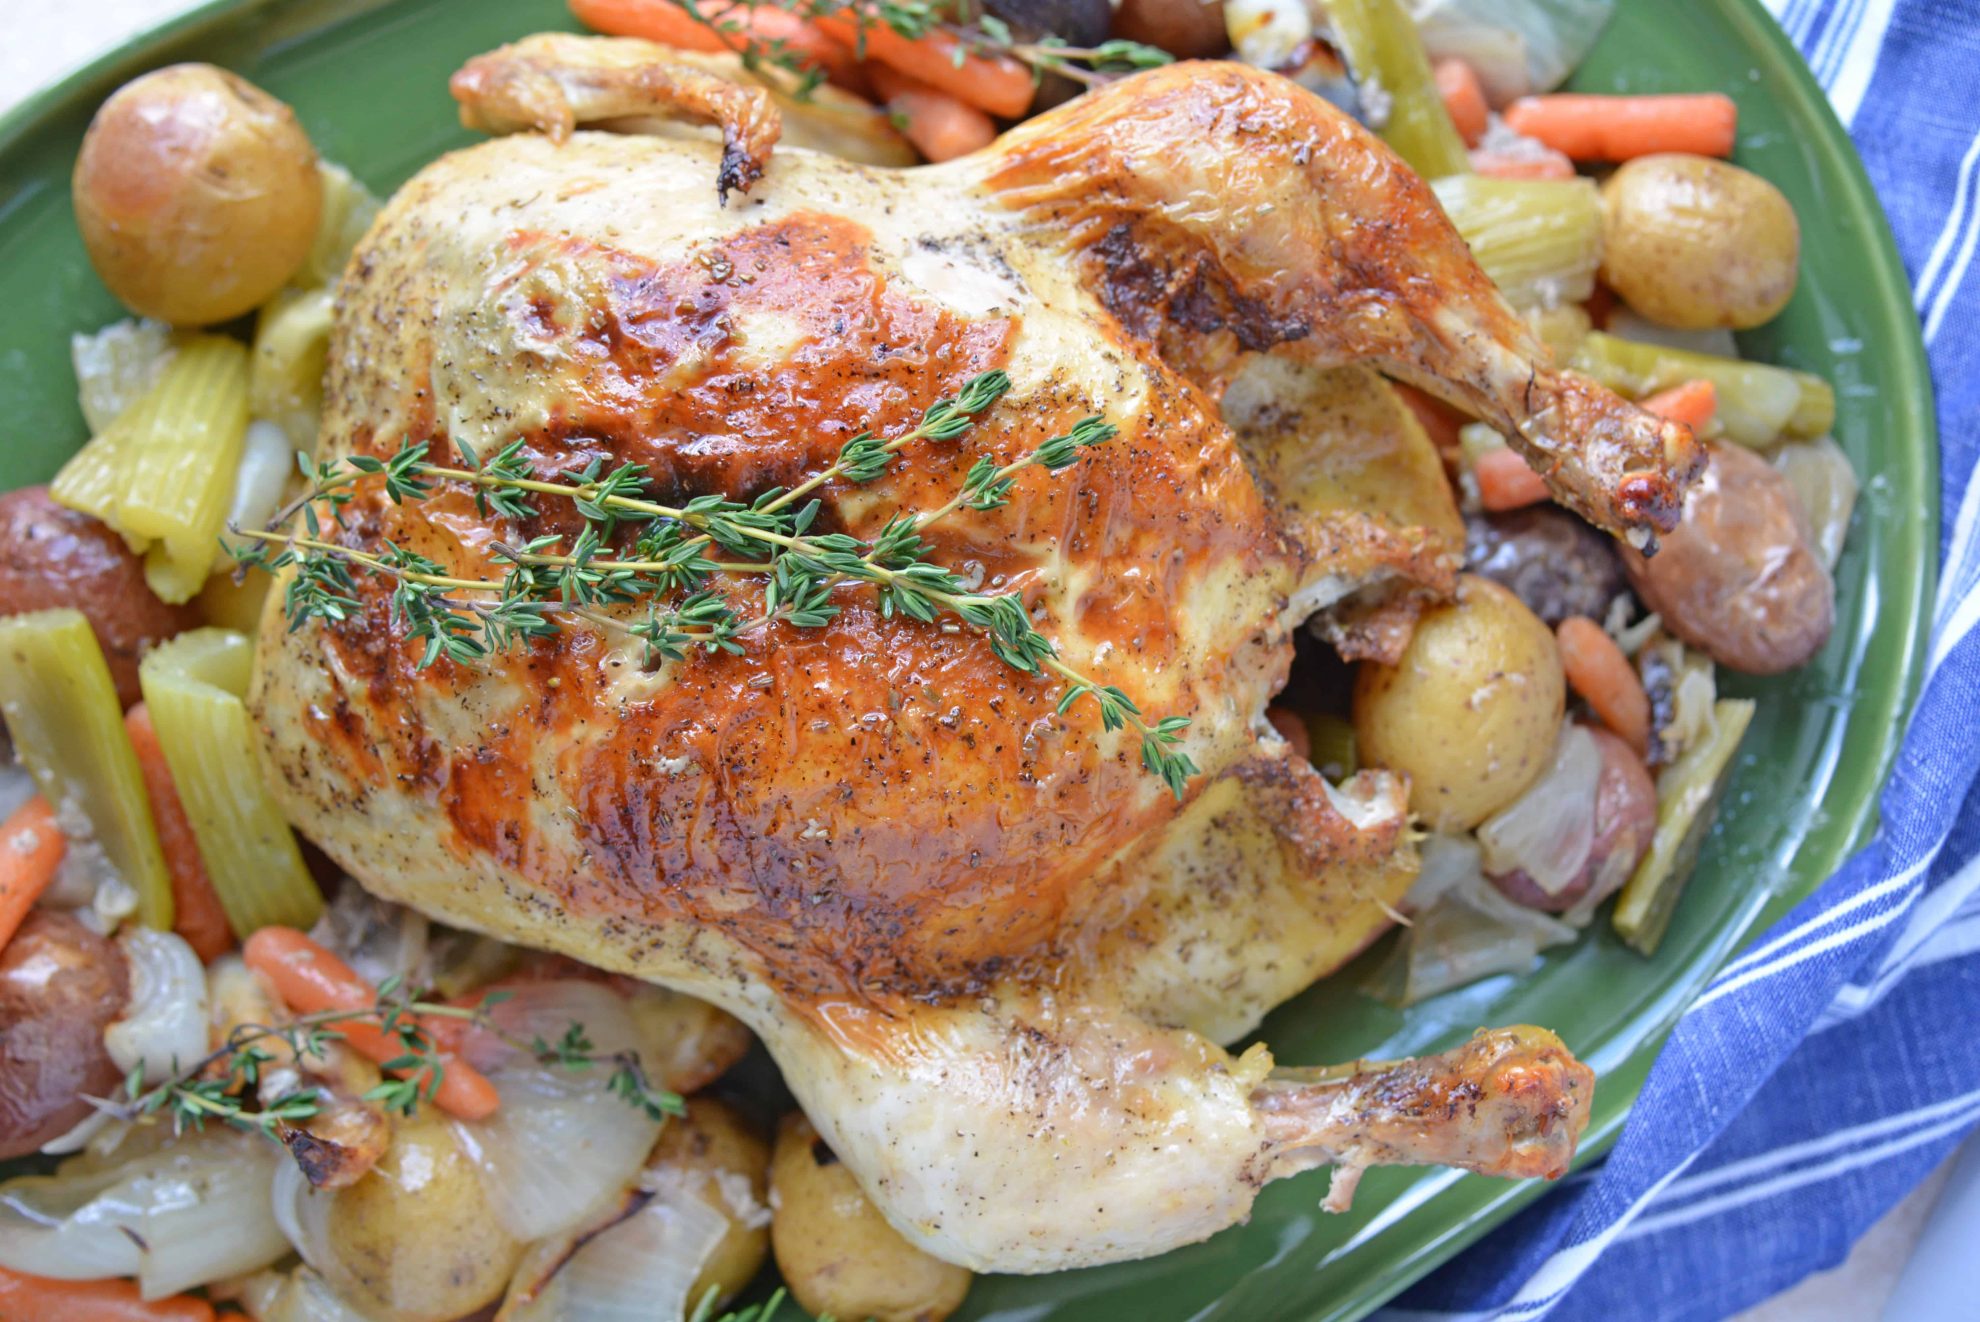
STEP NINE. Roast the chicken for 30 minutes. Stick a pair of tongs (I almost wrote thongs… that would be awkward!) inside the cavity of the chicken to flip the bird to breast side up.
Roasting it breast side down for the first half creates a self basting environment. The butter from the top is running down really nurturing the chicken breast meat, keeping it moist and adding flavor, while the skin below has a chance to crisp up.
It will lose a little crispiness when you flip it from any butter pooled in the bottom, but it has a better chance than without. And it is butter, butter is delicious!
At this point, toss the vegetables so they are fully coated in chicken juices and butter while roasting. You’ll basically have buttered potatoes.
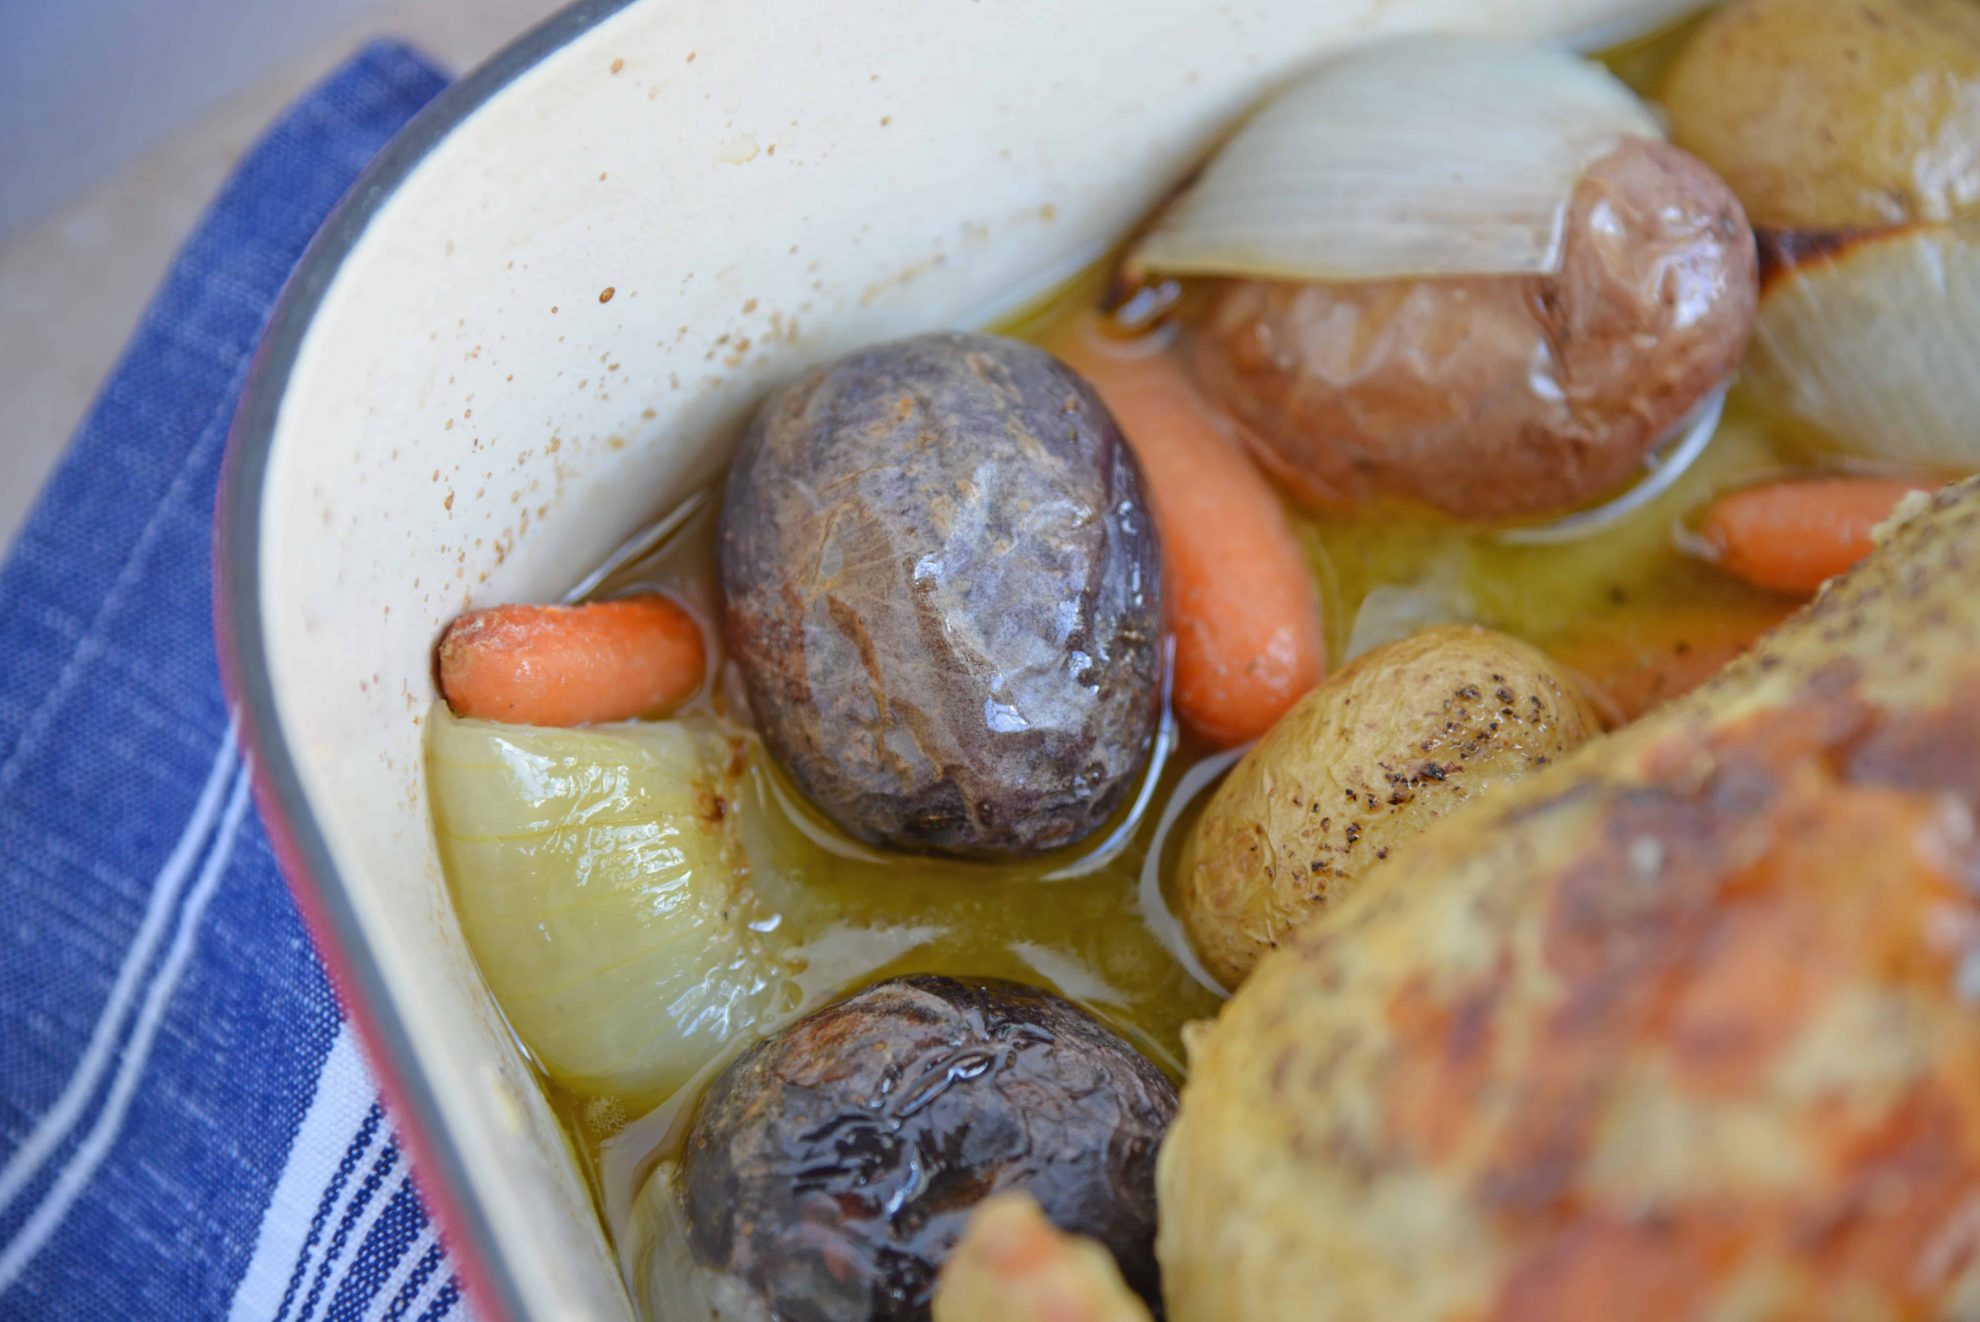
STEP TEN. Continue roasting the chicken breast side up for another 30-40 minutes or until a digital thermometer registers at 165 degrees when inserted into the thigh (not the breast!). This will be determined by the size of your chicken.
Why check the chicken thigh? It is the thickest part of the chicken, even thicker than the breast. You want to make sure to stay away from bone which can often get hotter faster giving you a false temperture.
If you want to baste the chicken while roasting you can, but the more moisture you introduce to the skin, the less chance of a nice crispy skin, so I don’t.
If your chicken starts to get too brown too fast, place a piece of aluminum foil loosely over the top. It will still cook, but prevent it from burning.
STEP ELEVEN. Remove the chicken from the oven. Allow to rest for 10 minutes before carving or serving.
STEP TWELVE– If you plan to make my Easy Chicken Gravy, now is the time! Simply use a baster to get some of the chicken drippings or juices out of the bottom of the pan and follow the recipe.
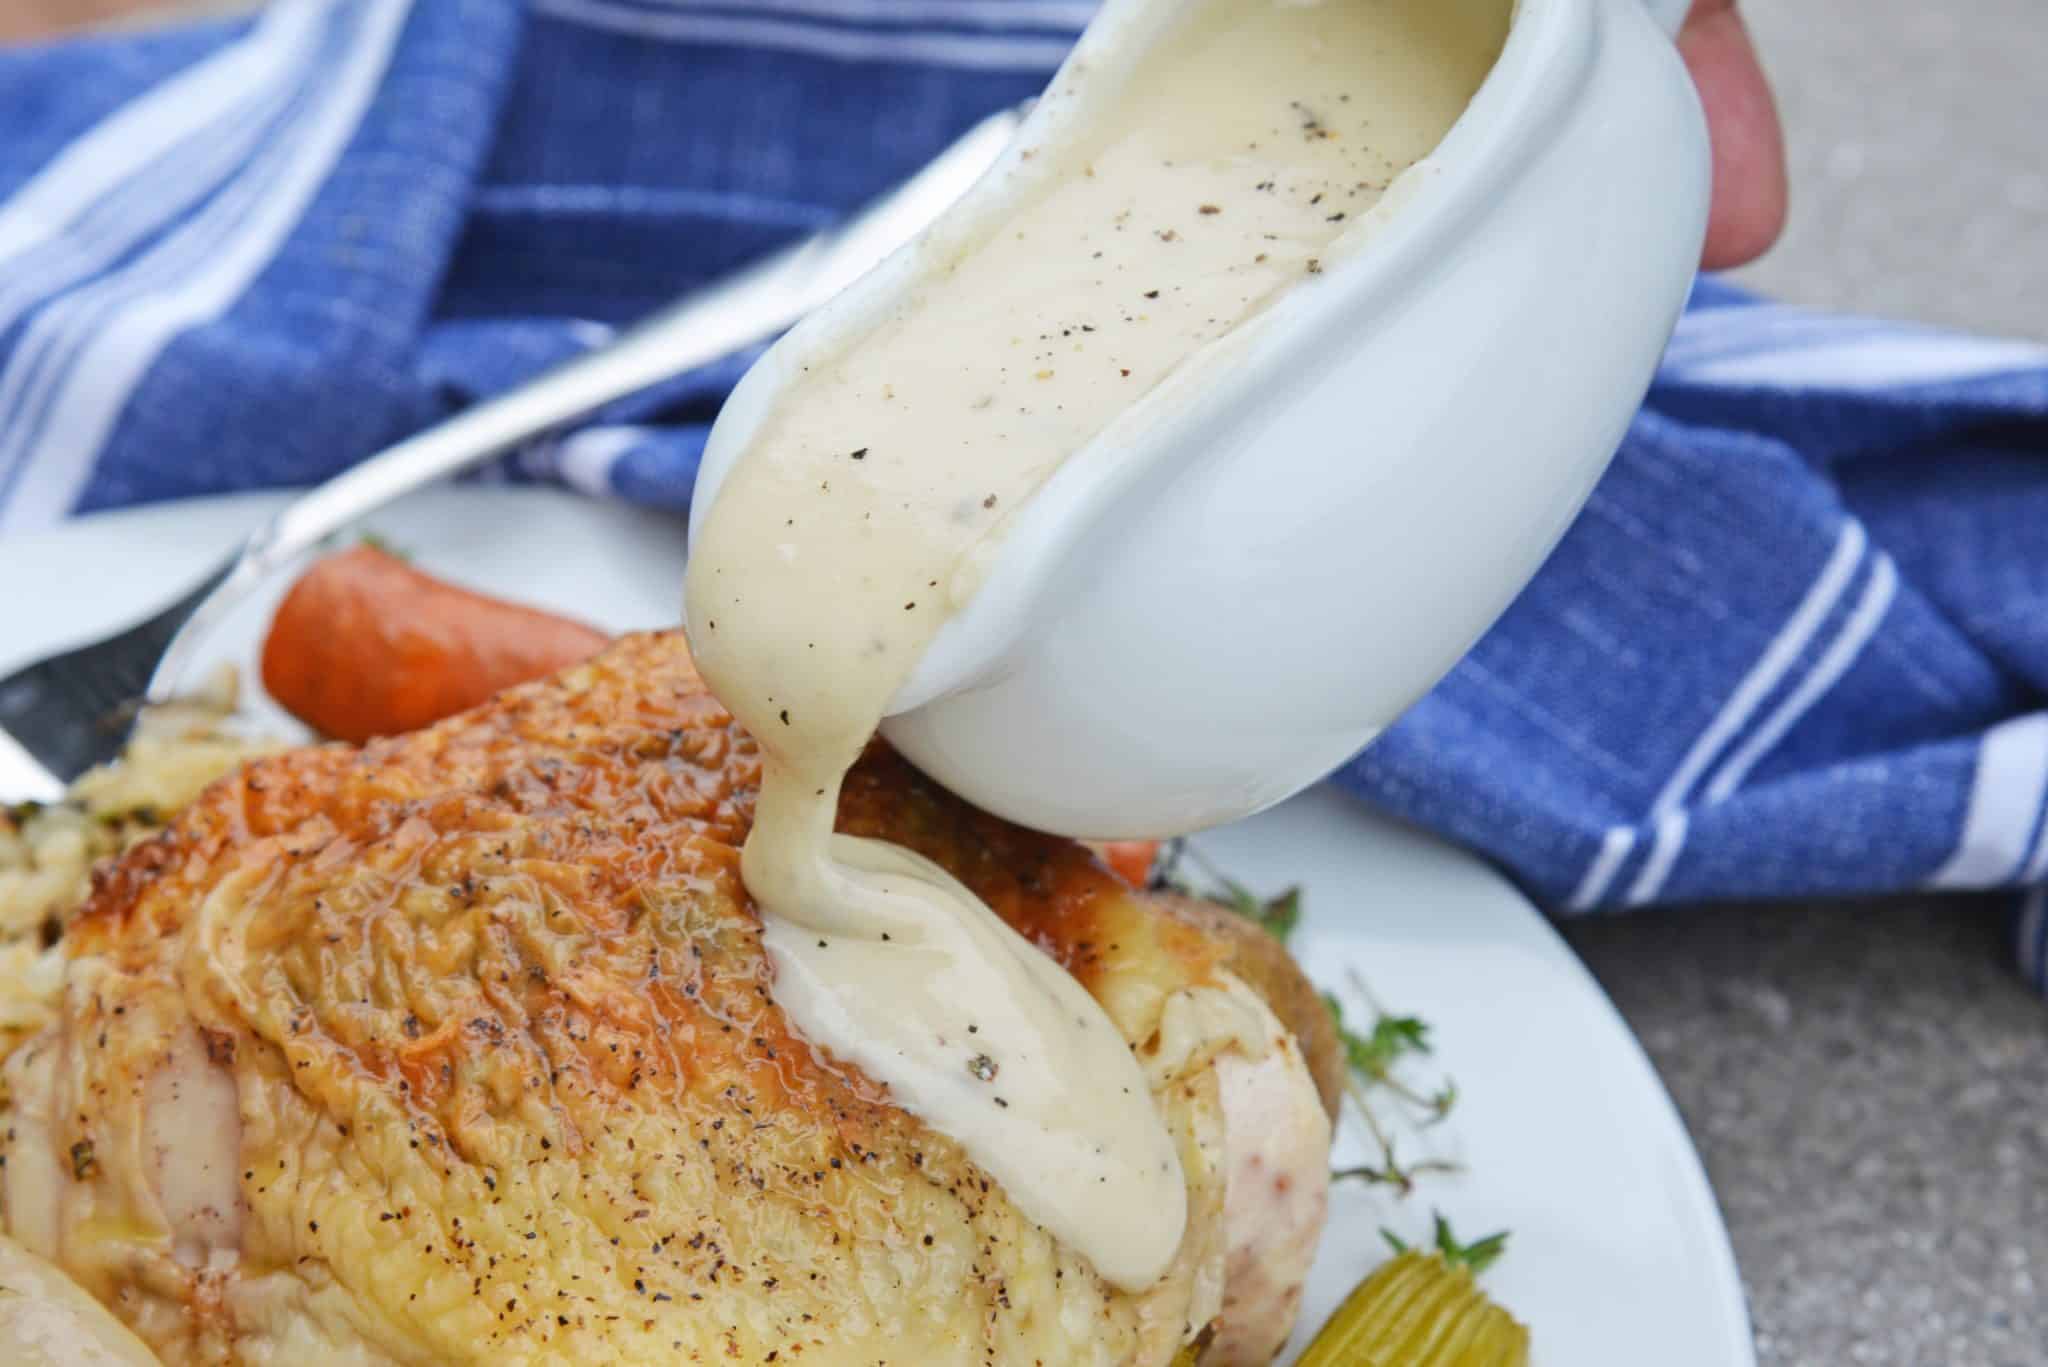
STEP THIRTEEN- Carve the chicken and enjoy dinner! Although this is really a one dish meal with vegetables, protein and a starch (potatoes) I still often feel the need to pair it with another carbohydrate.
You can also try making this recipe in the Instant Pot!
There are some of my favorite side dishes to pair with oven roasted chicken:
Creamed Spinach Recipe
Ranch Roasted Potatoes
No Yeast Potato Bread
A few questions…

Do you roast chicken breast side up or down? I’ve heard arguments for both sides. Some beleive you should roast breast down the whole time so it doesn’t dry out. But this runs the risk of not having the breast cook all the way through.
Others do breast up the whole time and use a piece of aluminum foil to block heat about halfway through so it doesn’t get too brown.
I land in the middle roasting my chicken breast side down for the first half and breast side up for the second. Best of both worlds.
How do I get crispy chicken skin? There are several techniques on how to get crispy chicken skin, many which are also used for recipes like Duck aL’orange.
ONE. The first is the best way to get crispy chicken skin and also the easiest. The downside is that it is also the most time consuming. Hands off time, though. Up to 24 hours in advance, rinse and pat your chicken dry.
Place it on a dry rimmed baking sheet or even serving platter lined with paper towels and allow it to sit in the refrigerator, uncovered until you are ready to cook the chicken.
The skin will dry out nice and good. This way you get crispy skin without having to use a lot of salt and is therefore best for low sodium diets.
TWO. The second is the scariest, but the most widely used for duck. Pierce the chicken skin with a fork all over. Bring 6-7 cups of water to a boil. Place chicken in a colander and pour boiling water over the skin.
The skin will essentially burn and pucker, but it isn’t enough heat to start cooking the meat. Resume with the regular recipe you are following.
THREE. The last is the easiest and least time consuming method and works pretty well. It is also the method I usually use. Rinse your chicken, pat it dry really well and season the skin with Kosher salt. You’ll get flavor and crisp.
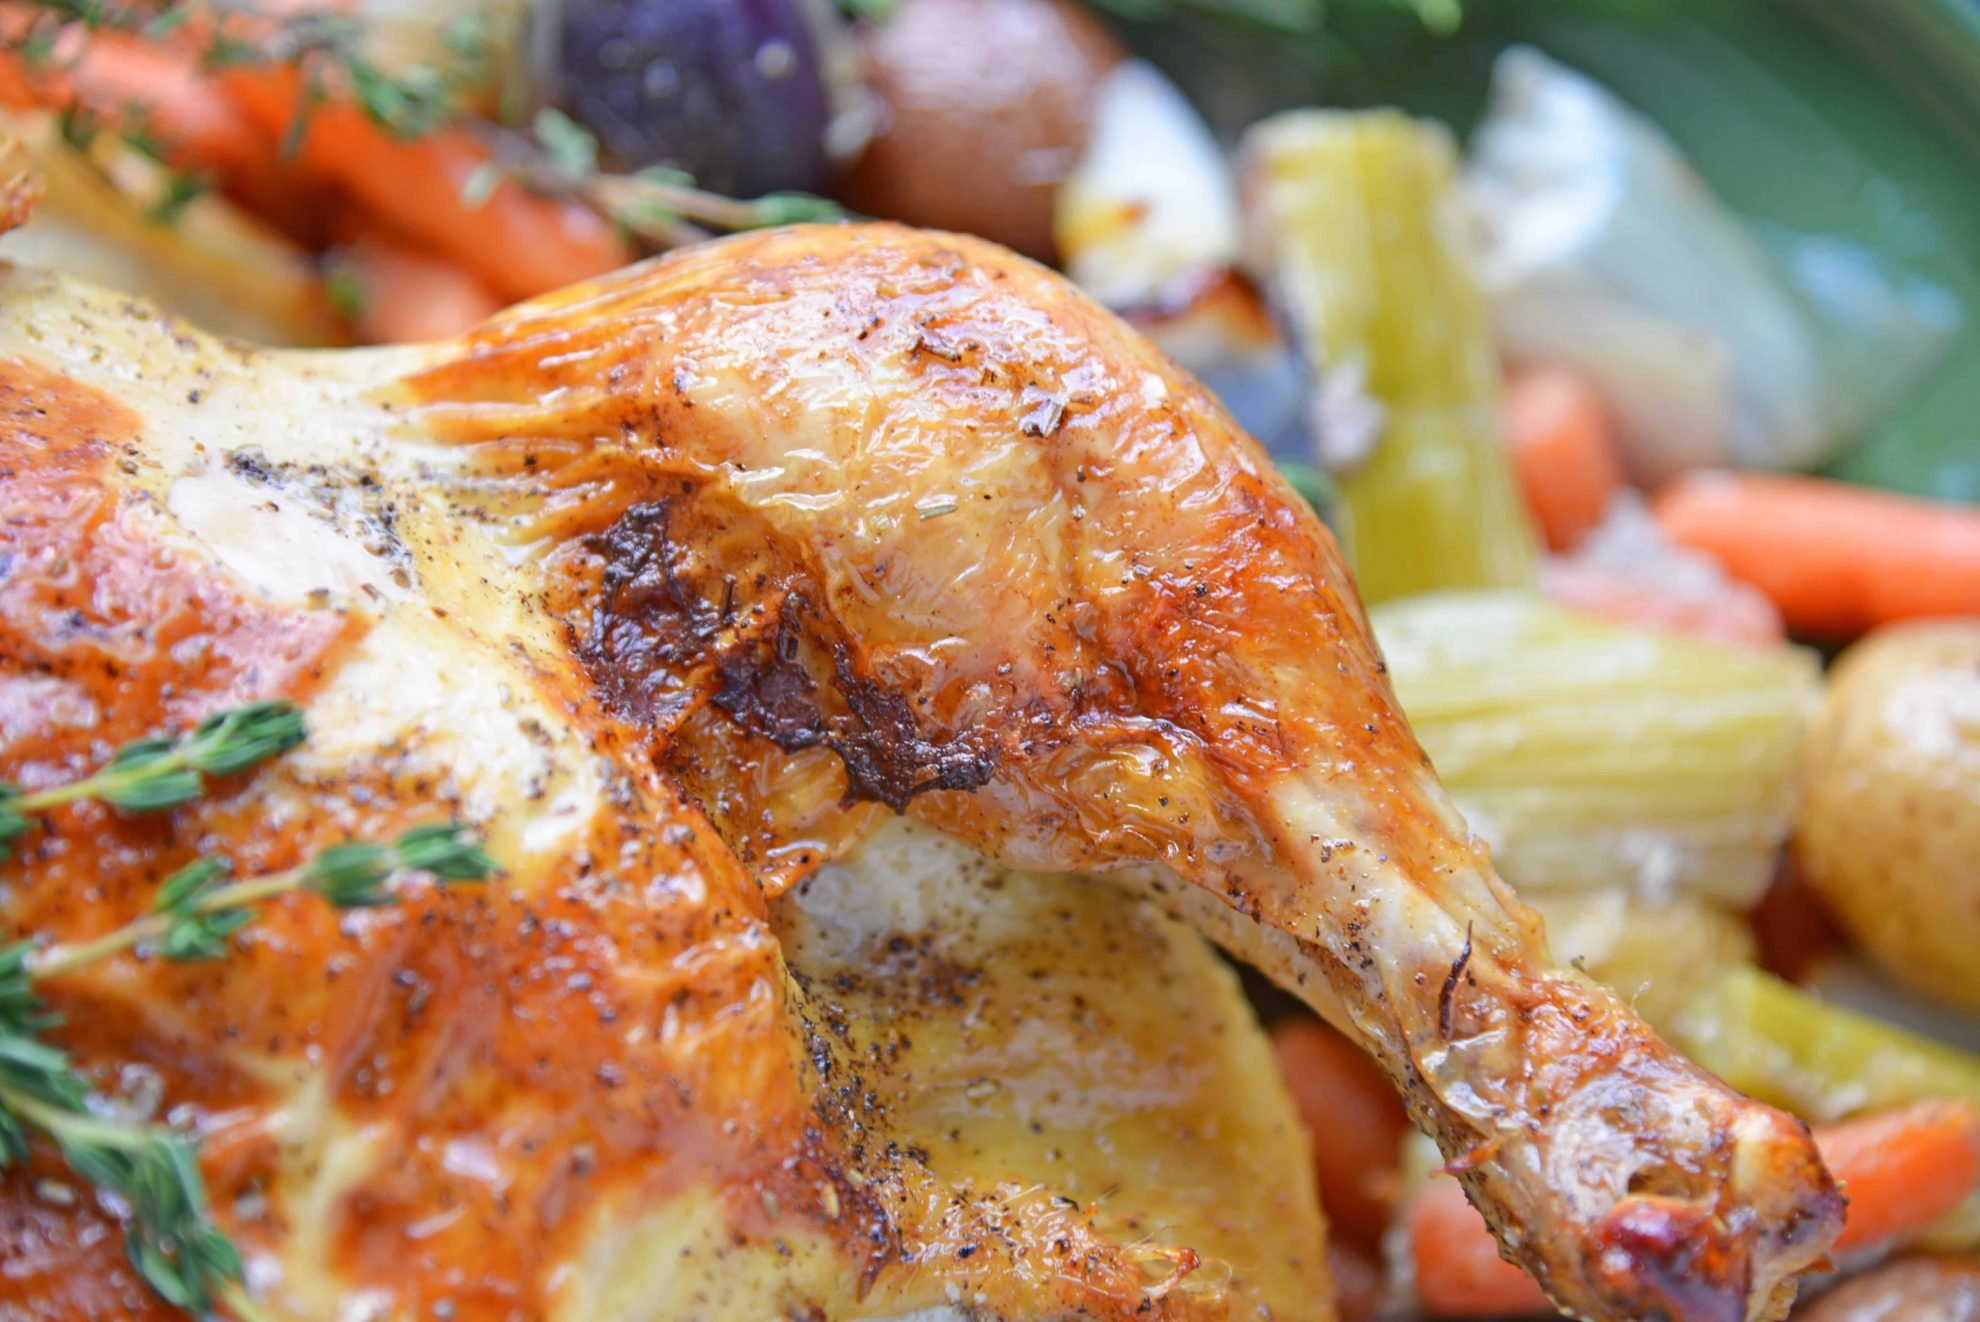
Is roast chicken keto? I beleive so, but I think that really depends on the recipe you are following. I am also not a keto expert. I would think this recipe does comply, minus the potatoes. Check your seasonings though, they have hidden ingredients.
Can roast chicken be reheated? It sure can! Reheat it in the oven tented with aluminum foil or even in the microwave.
Can I freeze roast chicken? Is my name Jessica? YES! In fact, I often buy baked whole chickens at the grocery store, shred them and keep them in the freezer for all sorts of recipes. Just remove from the bone. Do not freeze the whole chicken.
Can you roast chicken in the microwave? By definition, it would not be roasted chicken if it was cooked in the microwave. I am going to say no… but there was that viral video of how to microwave a turkey last Thanksgiving, so I am sure someone will prove me wrong.
Can cooked chicken be pink? Sometimes it has a rosy hue. Really the temperature is the best way to tell if a chicken is safe to eat. It need to register at 165 degrees using a meat thermometer.
Can you roast chicken and vegetables together? That is the miracle of this one dish meal. They all season each other. So yes, you can roast chicken and vegetables together, including potatoes. All in the pot… see below!
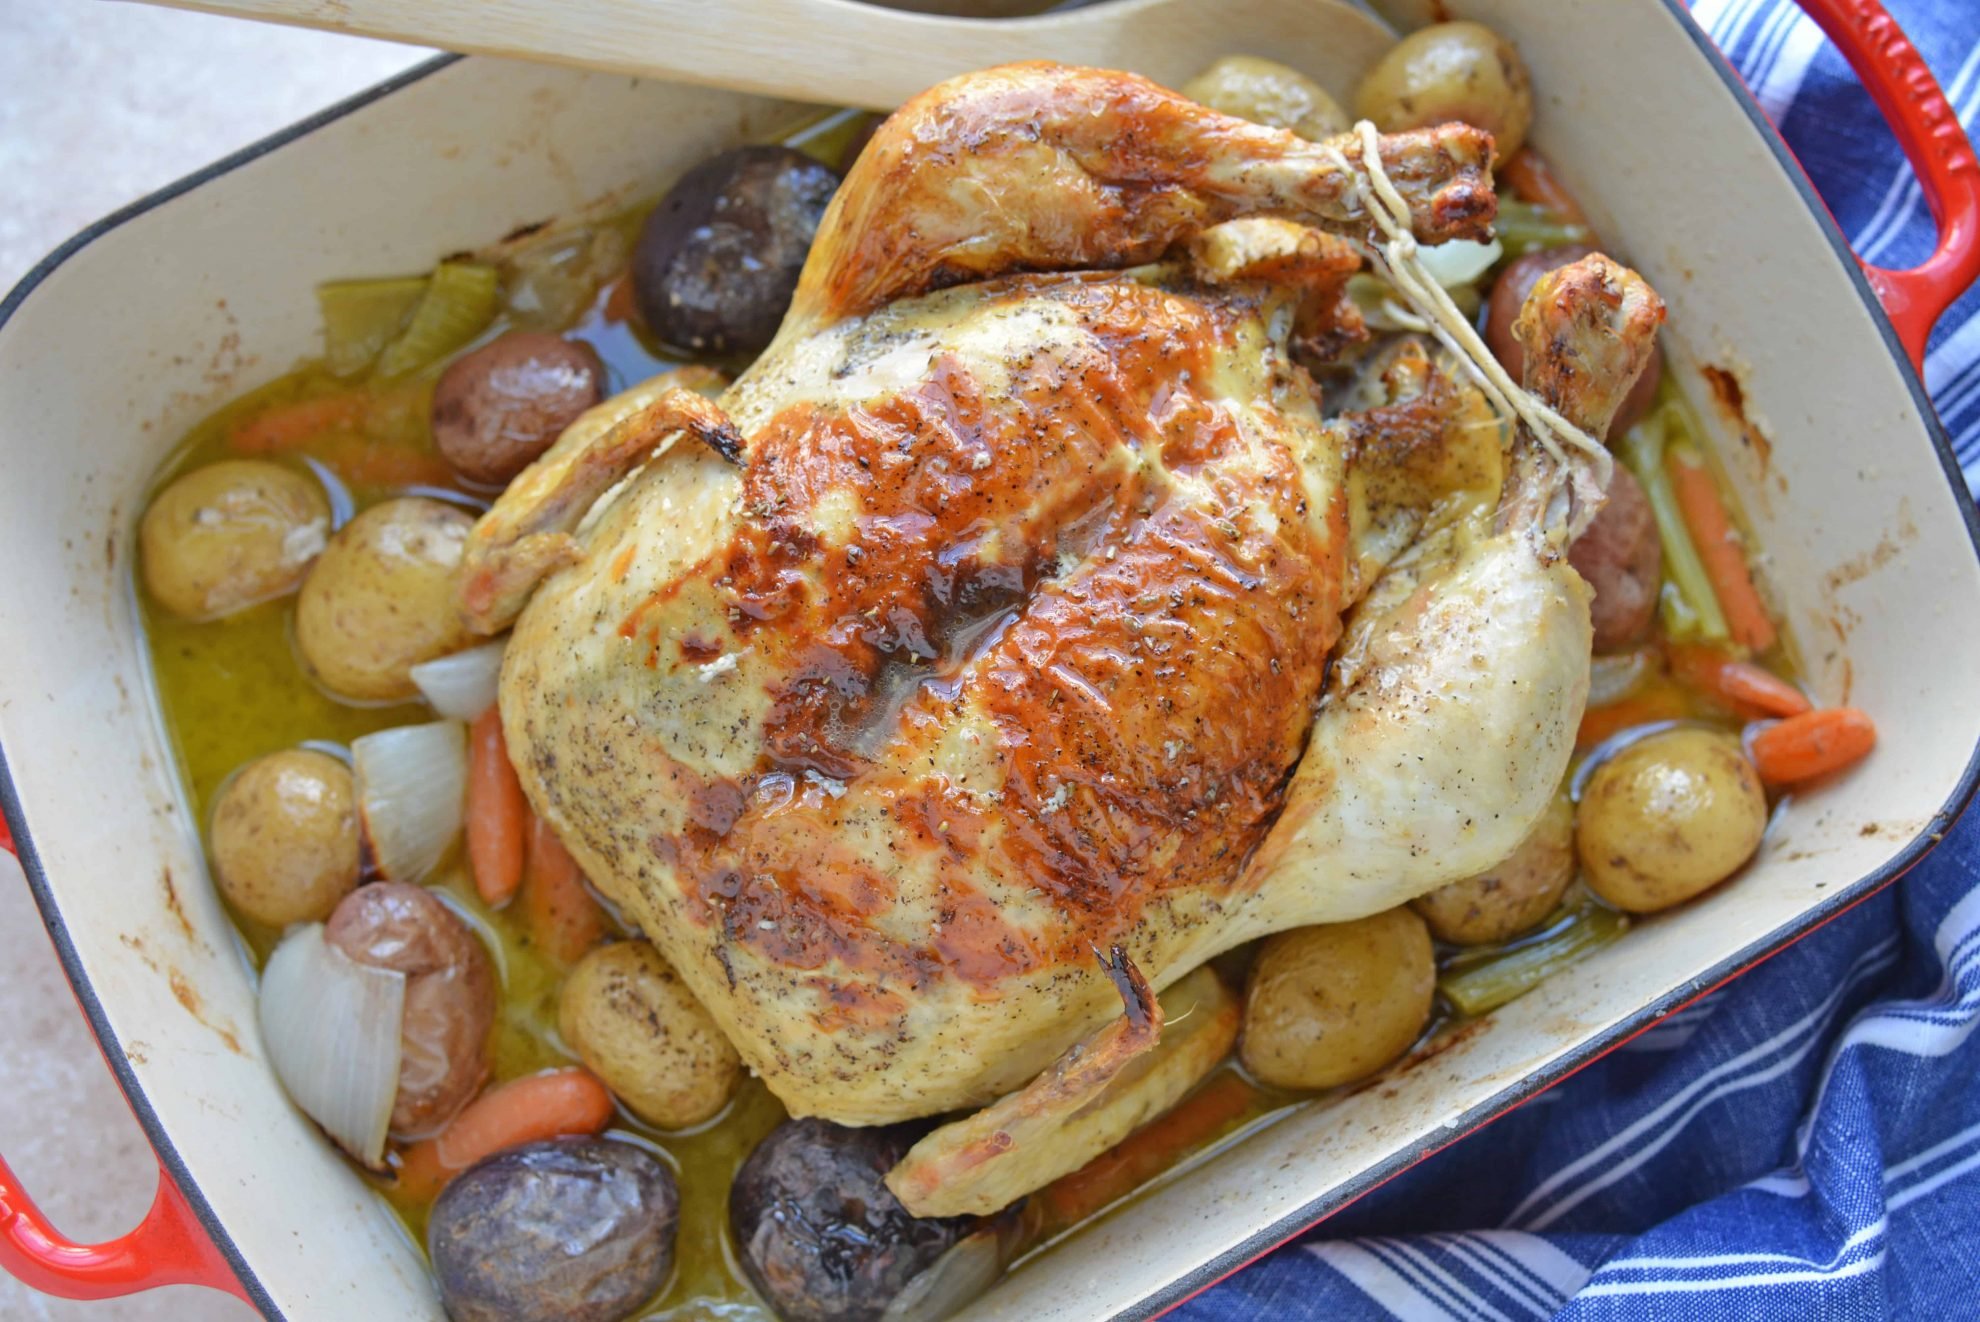
Can you roast chicken in a slow cooker? You can roast chicken in the crock pot, but you will miss out on the crispy skin. Use the same process and only enough vegetables that will fit in the pot, place on high for 4-6 hours. The time really depends on how big your chicken is. Check the temperature for safety.
Can you roast chicken in the Instant Pot? You can roast chicken in the Instant Pot, but you’ll run into the same issue as cooking chicken in the crockpot, no crispy skin. Season chicken and add 1-2 cups chicken broth.
Cook for 6 minutes per pound on manual high pressure. Allow for 15 minutes natural release before quick releasing. This counts as the resting time. Carve and serve!
If you want crispy skin after roasting a chicken in the instant pot or crock pot, place into the oven on broil for 5- 10 minutes or until skin starts to brown.
How long do I cook a whole chicken in the oven for? This really depends on the size of your chicken and the temperature of the oven. Aim for 18 minutes per pound in a 450 degree oven.
Again, the only way to tell if a chicken is done is to manually check the internal temperature for 165 degrees.
Can I brine a chicken? Yes, you can brine chicken. If you do choose to brine, do not use the “dry it out in the fridge” method of crisping up the skin. You’ll just counteract all the work you did to brine it. My third technique for crispy chicken skin is your best bet.
Do I need to use olive oil on the chicken? You don’t need to, but some people like to. You can use olive oil in lieu of butter.
What herbs can I use for roasted chicken? Any you want! You can use fresh aromatics like rosemary, thyme or oregano or even dried herbs and spices.
The general conversion for dry to fresh herbs is 1 tablespoon to 1 teaspoon. So one tablespoon of fresh rosemary would equal 1 teaspoon of dried rosemary.
If you are using fresh herbs, beat the herbs on your counter or gently rub them in your palms to release oils and fragrance. This way you’ll get the most out of your herbs.
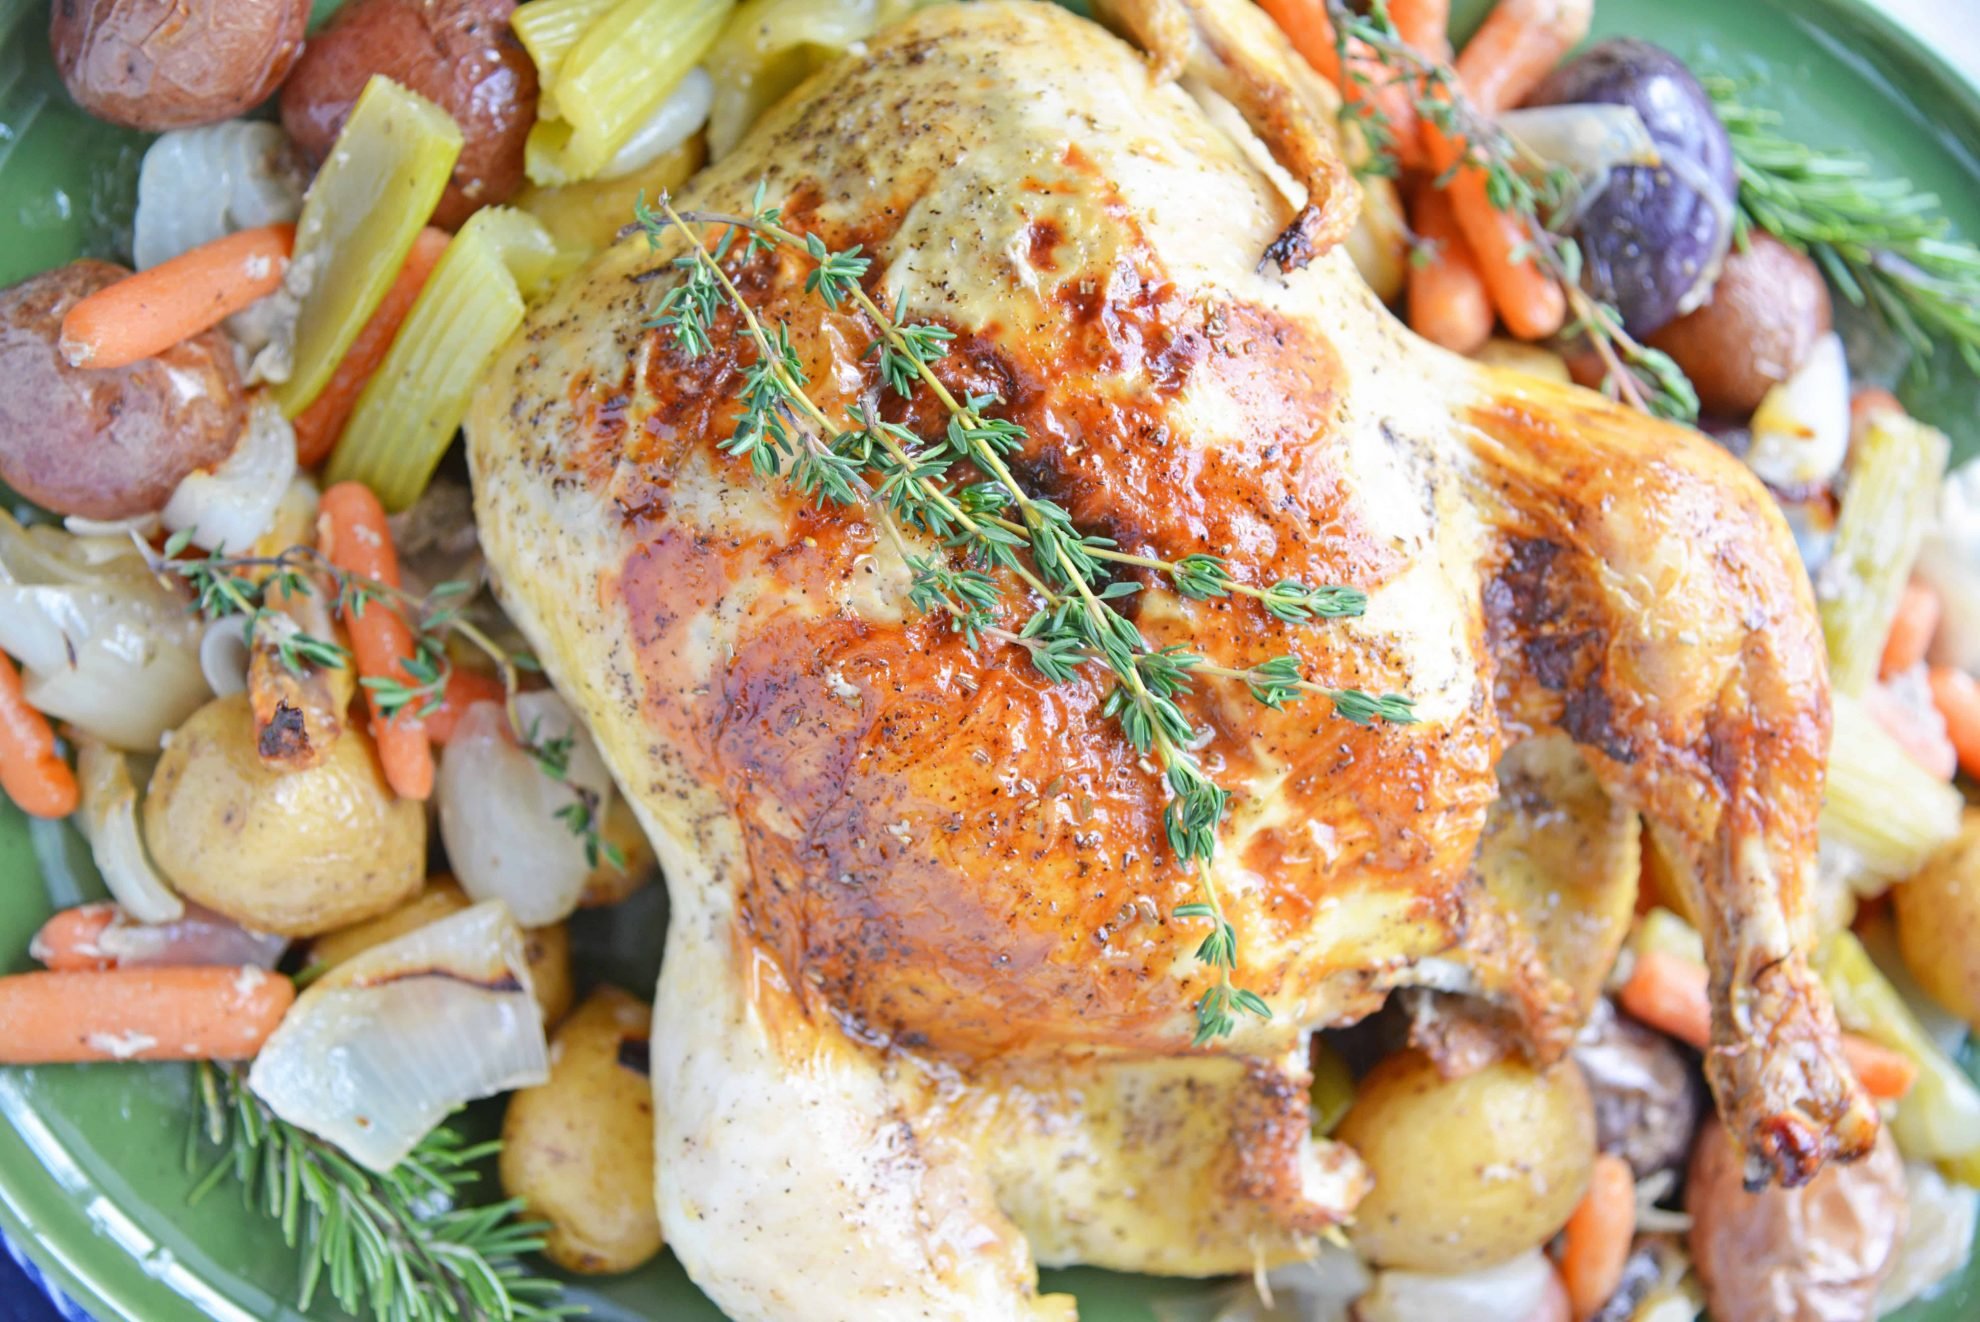
If you are using dry herbs, make sure they are not expired. Most herbs expire or lose potency after 6-12 months. Also rub in your palms before adding to the recipe to reinvigorate the flavor and oil.
I use a label maker to mark the lid of the date of purchase for each of my herbs. I also only buy the smaller bottles so I don’t waste a lot. A Sharpie and some masking tape also works.
Minced or crushed garlic cloves are also a family favorite.
Is there way to roast chicken fast? There is, in fact, and it is called spatchcoking. I love that word… it is just so funny to say. Spatchcoking is a unqiue way of cutting the chicken so it lays flat with the breast side up. Well, all the meaty pieces will be up, actually.
To spatchcock a chicken, take a pair of kitchen shears and cut along one side of the backbone. Open up the chicken so it starts to lie flat. Cut along the other side of the backbone to remove it entirely. The chicken will be flat and in two seperate pieces.
Why is my roast chicken dry? There are a lot of reasons. The most common reason for dry chicken is that you cooked it too long. I find people are so worried about undercooking chicken that they overcook it and then claim they don’t like chicken or avoid making it at home. Not having a fresh chicken is also a reason for dry chicken.
Is roast chicken gluten free? It really depends on the recipe and the seasonings you use. My recipe for whole chicken is indeed, gluten free.
Can I roast my chicken in a bag? You can roast your chicken in a bag, but I don’t recommend roasting the vegetables in the bag too. Do them separately.
You will also not get the crispy skin. You can use the same method as slow cooking or using an Instant Pot by placing the chicken under the broiler for 5-10 minutes or until it browns.
How long will roast chicken stay good in the fridge? I would say if kept properly in an airtight container and chilled, up to 5 days. Remember it is easy to freeze after being removed from the bone. Use deboned chicken in salads, quesadillas, chicken noodle soup and any recipe that calls for cooked chicken.
Tools for making Baked Whole Chicken:
Kitchen Shears – Even if you don’t spatchcock the chicken, these come in handy to easily remove any weird hanging skin or excess fat.
Roasting Pan– this roasting pan has a tray in it and you really don’t need that for this recipe, but you will use it for others.
Kitchen Twine– I use this for everything even not kitchen related. I like this one because it is on a spindle with a little razor so I don’t have to hunt down scissors or a knife, I can do it all one handed.
More Chicken Recipes
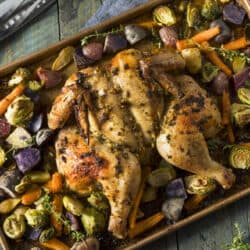
Spatchcock Chicken Recipe
How to Roast Chicken
Ingredients
- 3-4 pound roasting chicken
- 1 cup butter , softened
- 1 tablespoon fresh rosemary , minced
- 1 tablespoon fresh thyme , minced
- 1 teaspoon poultry seasoning
- 1 tablespoon Kosher salt
- 1 teaspoon ground black pepper
- 1 white onion
- 4 celery stalks , cut into 3 inch pieces
- 4 carrots , cut into 3 inch pieces
- 1 pound baby potatoes
- 2 cups Easy Chicken Gravy
Instructions
- Prep your chicken if you have the foresight to do so. See some of the techniques above on how to get crispy chicken skin in the event that you want to try one. If not and you want to serve dinner in two hours, don’t worry. You’ll be just fine!
- Preheat the oven to 450 degrees and prepare a large roasting pan with cooking spray.
- Using a fork, mix softened butter with poultry seasoning, fresh rosemary and thyme.
- If you didn’t do a crispy skin preparation, rinse and pat your chicken dry. Place into a large roasting pan with enough room around the chicken for your vegetables.
- Take all that delicious butter and rub it under the skin of the chicken. Use your fingers to loosen skin from the meat and for hard to reach places, you can use the back of a spoon to get down in there with the butter. If there is extra butter, just place it in the cavity.
- Season the outside of the chicken with Kosher salt and ground black pepper.
- Place the chicken breast side down. Truss the chicken by loosely tying the legs together using cooking twine.
- Place all the cut vegetables around the chicken. You can also use any leftover fresh herbs or aromatics if you desire.
- Roast the chicken for 30 minutes, remove from oven. Stick a pair of tongs inside the cavity of the chicken to flip the bird to breast side up.
- Toss the vegetables so they are fully coated in chicken juices and butter while roasting.
- Continue roasting the chicken breast side up for another 30-40 minutes or until a digital thermometer registers at 165 degrees when inserted into the thigh.
- Remove the chicken from the oven. Allow to rest for 10 minutes before carving or serving.
- If you plan to make my Easy Chicken Gravy, now is the time! Simply use a baster to get some of the chicken drippings or juices out of the bottom of the pan and follow the recipe.
- Carve the chicken and enjoy dinner!
- If you’ve tried this recipe for whole roast chicken, come back and let us know how it was!
Video
Nutrition






Roasted chicken is absolutely, by far, one of my favorite things to cook and eat. It’s so simple and I am obsessed with the crispy skin LOL. I usually do the pat dry method but salting the skin and letting it sit comes out AMAZING.
Everyone needs a reliable roast chicken recipe and this looks like a perfect beginners recipe. Thanks for sharing!
I’m not intimidated to roast a chicken but I definitely never think to do it! This post is such a great reminder and I love all your tips an techniques!
I’m actually a vegetarian but my husband loves chicken so I was looking for instructions on how to make it properly since I was kind of nervous! this helped so much!
This post is so informative, I MUST pin it! Your roast looks fantastic and I love the step by step instructions. I always wondered how to get the crispy skin, and now I know! Thank you.