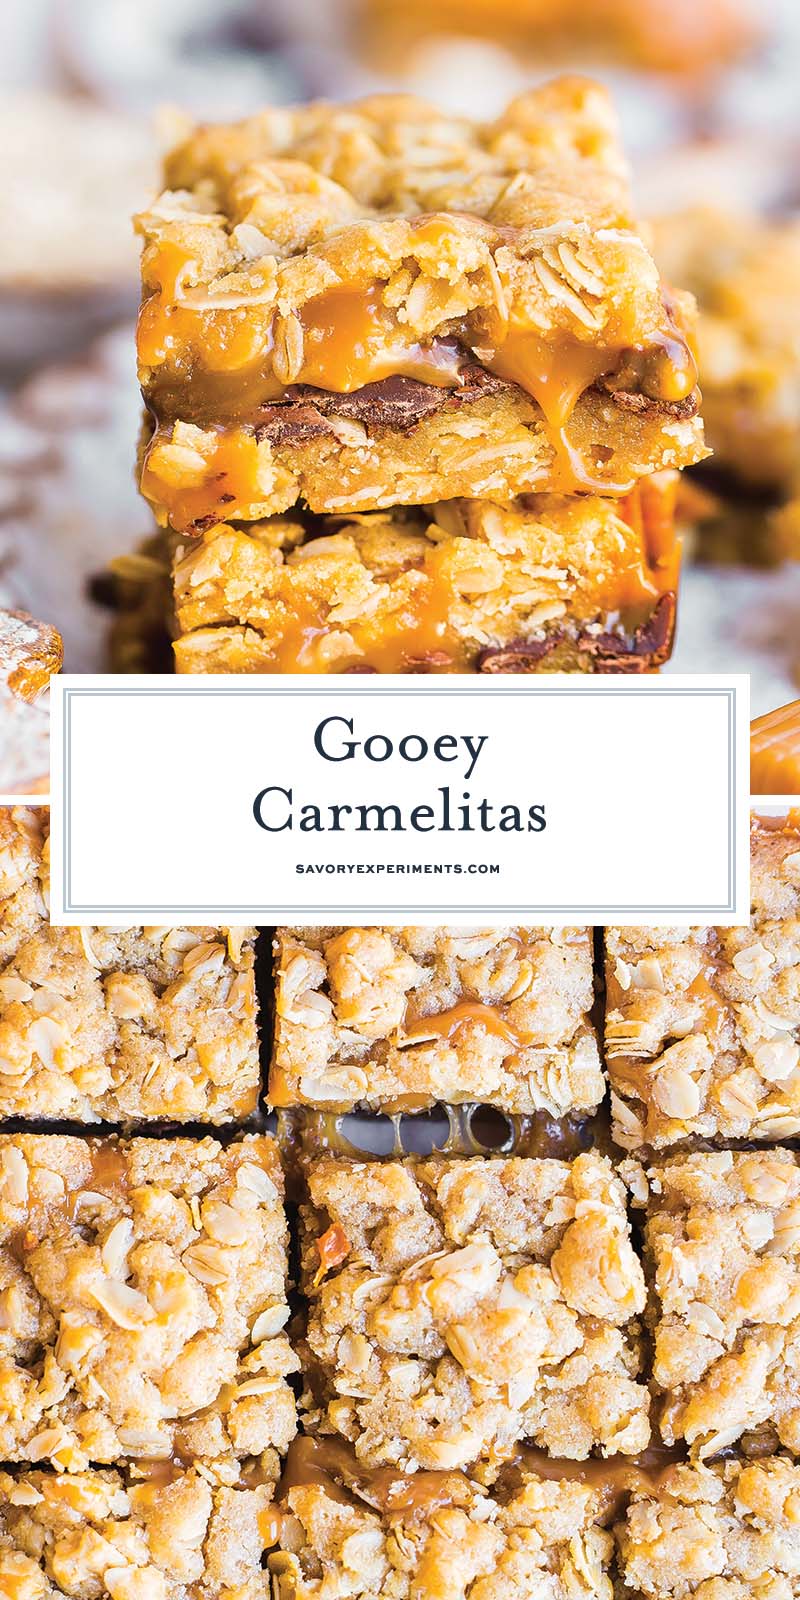
I absolutely adore any dessert that marries melted chocolate with creamy caramel. These carmelita bars do just that!
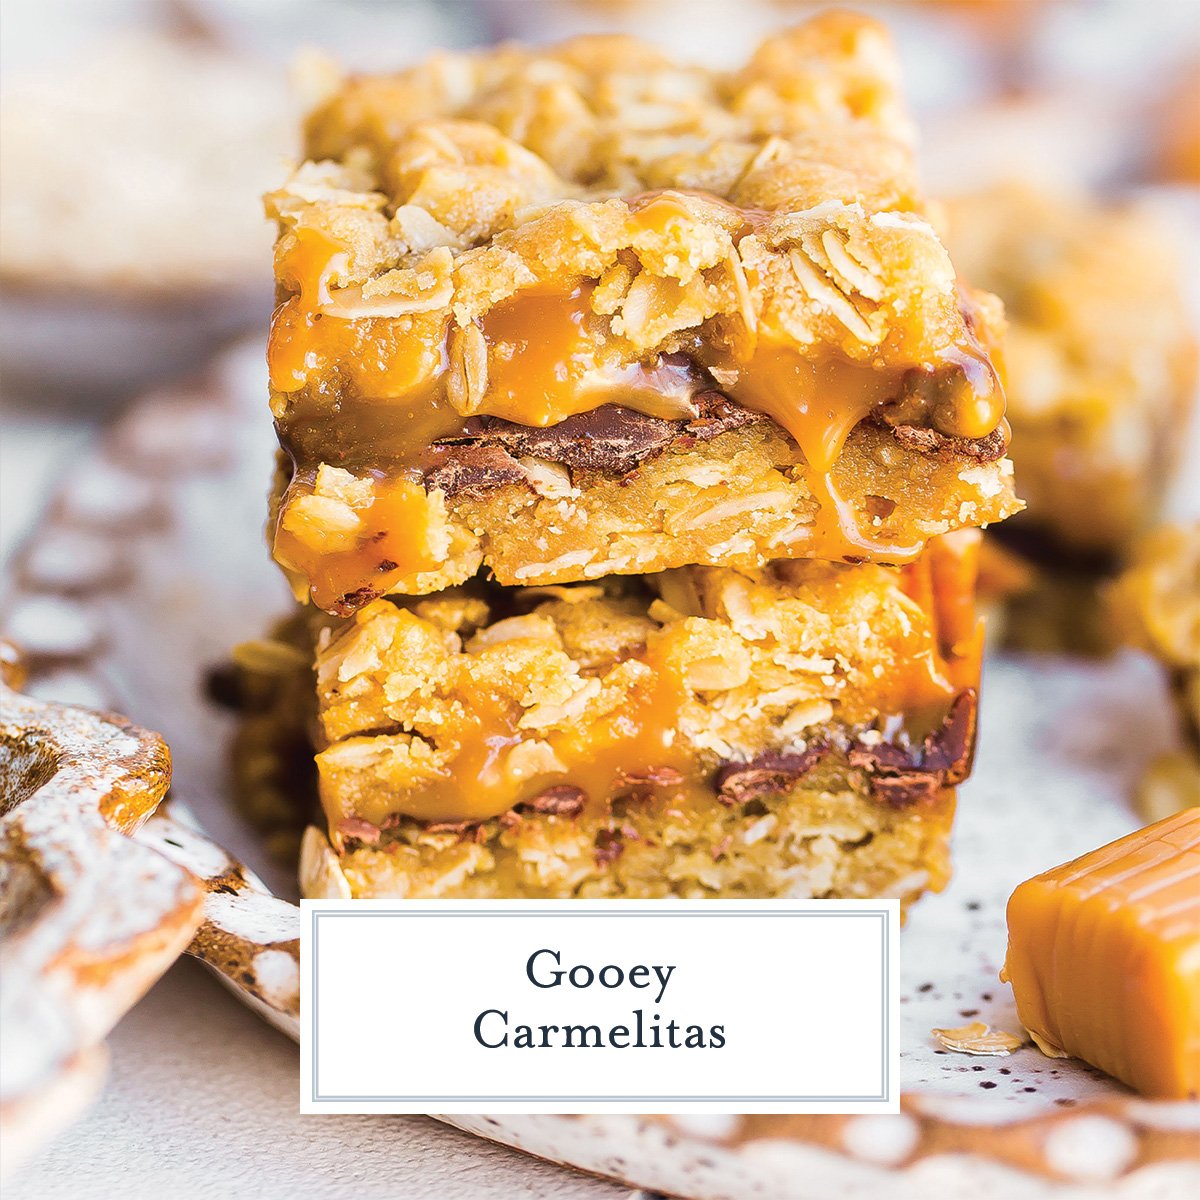
The best part about these bars (outside of how addictively delicious they are) is that they’re a perfect treat for nearly any occasion. You can pack them in lunch bags, take them to a picnic, or you can serve them at a party.
What are Carmelitas?
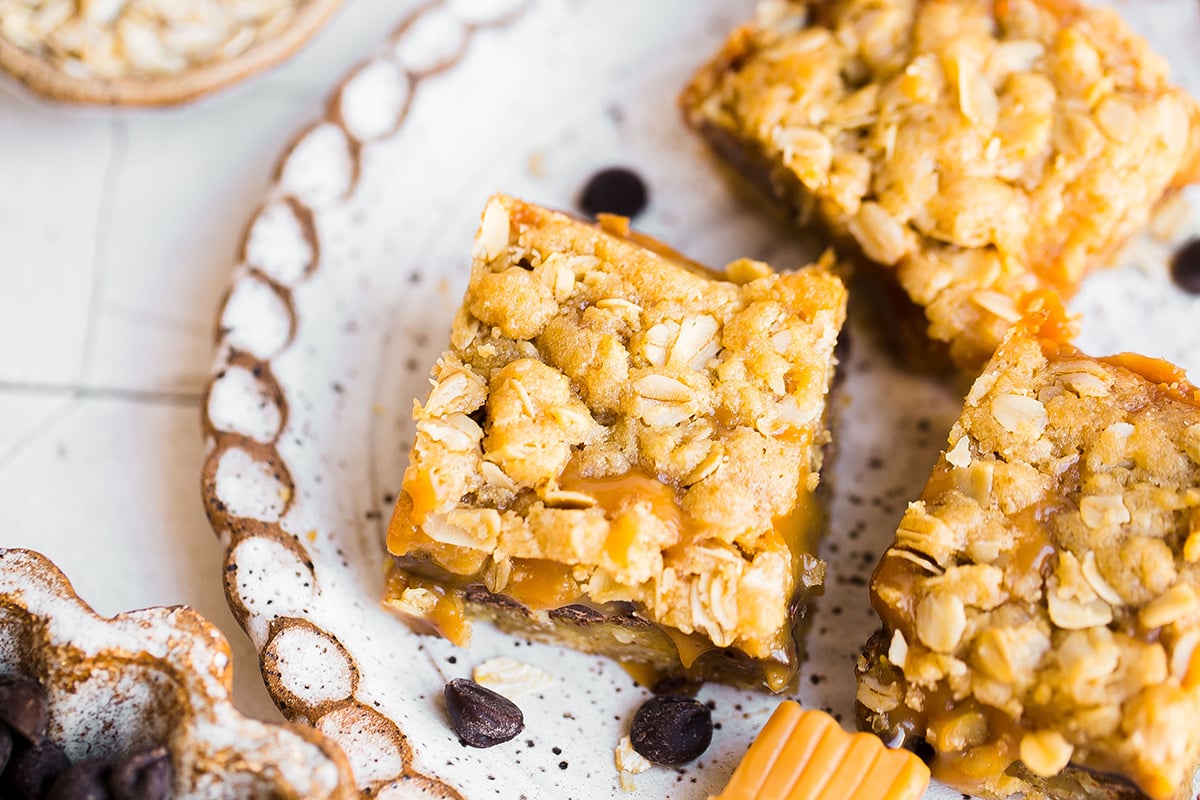
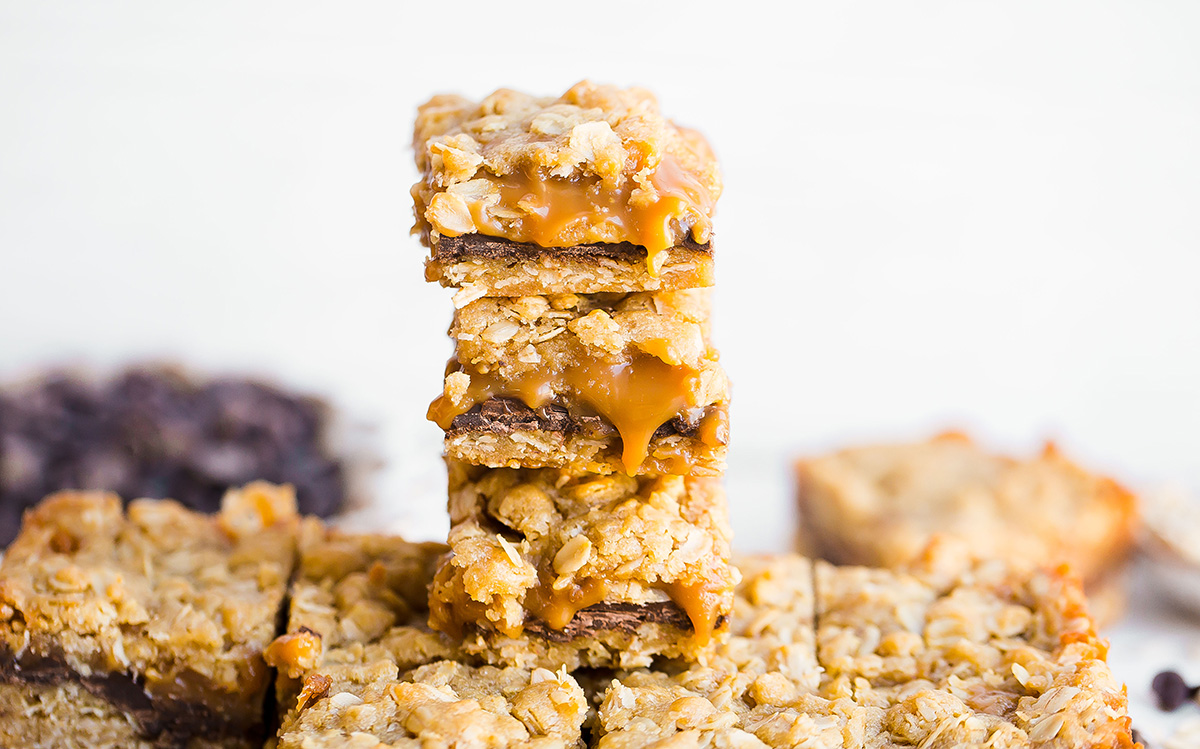
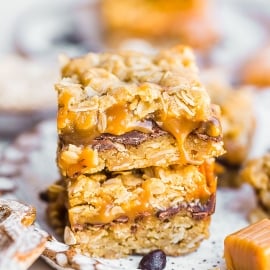
Carmelitas are chewy bars that have a buttery oatmeal cookie layer topped with a chocolate chip layer, and then a soft caramel layer. Then, it’s finished off with more small pieces of sweet oatmeal in the form of a kind of streusel-crumb topping.
Since all of the ingredients for the base are mixed together at the same time it’s a super simple recipe. If you want to make it even easier, you can use a jarred caramel sauce.
The next time you want a decadent dessert that doesn’t leave you with a sink full of dishes, this is definitely the recipe to try. You might even want to make a double batch to keep some extras around for when you have a sweet tooth!
Why You’ll Love This Carmelitas Recipe
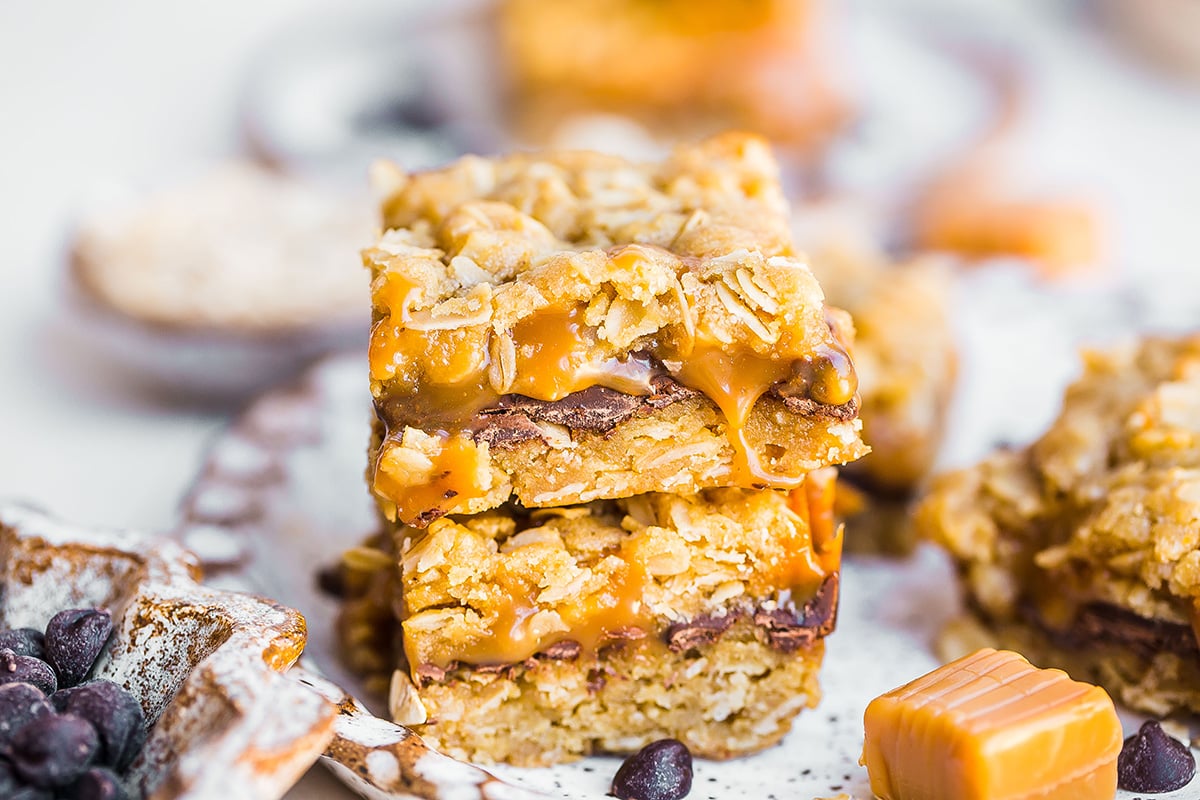
Gooey caramel, chocolate and crunchy oats- what’s not to love about this favorite dessert bar!
- Delicious – The combination of melted chocolate and ooey gooey caramel is classic while the mixture of the crust and crumbles gives the bars tons of texture.
- Quick – While the cooling process might take a bit, the actual preparation time is fast. Also, with so few bowls and spoons needed, cleanup happens in a jiffy.
- Easy – Whip these up in a jiffy since there aren’t a ton of steps.
- Customizable – You can add your own favorite ingredients to make these your own.
- Portable – These bars travel well — just wrap them with plastic wrap or place them in ziploc bags.
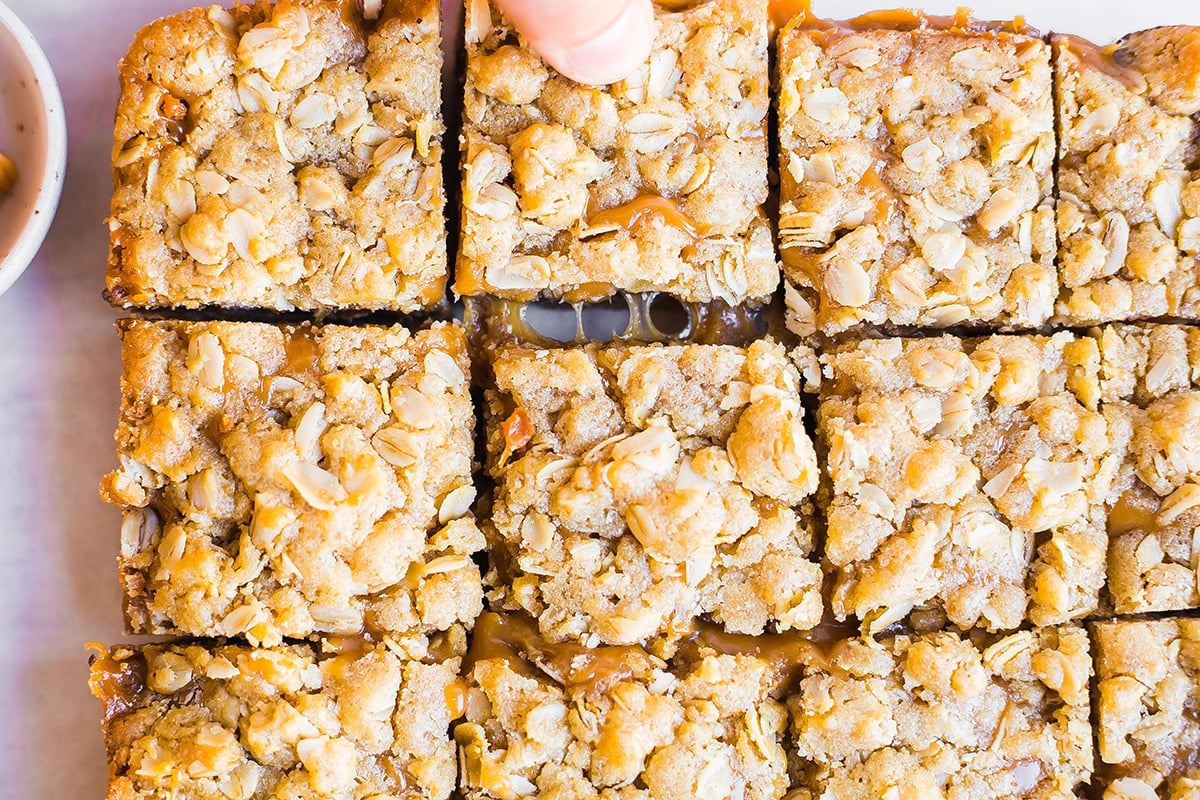
Ingredients
With a handful of pantry ingredients, you can have this easy carmelitas recipe ready in no time.
- Salted butter – Typically baking recipes call for unsalted butter, but this recipe incorporates the salt with the butter. Be sure to use melted butter to make it easy to mix.
- Brown sugar – You can use either light or dark. Dark brown sugar will impart more molasses flavor.
- Granulated sugar – Your standard white sugar that you likely already have in your pantry will do. The granules are the perfect size to quickly dissolve.
- Vanilla extract – Whichever brand you prefer will work for this. Or you can make your own!
- All-purpose flour – All purpose flour helps to bind the carmelitas ingredients together and also act as a leavening agent.
- Old-fashioned oats – While old-fashioned oats and quick-cooking oats are often interchangeable, I find that I prefer the nutty flavor and chewy texture that old-fashioned oats impart.
- Baking powder – Be sure to use baking powder and not baking soda. This leavening agent will help the dough to rise.
- Egg – Make sure to lightly beat the egg prior to adding it to the rest of the ingredients so that it is evenly distributed in the mixture.
- Semi-sweet chocolate chips – You can switch these out for whichever type you may prefer but I use semi-sweet to lend just the right level of sweetness to the bars.
- Caramel candies unwrapped – These soft candies can be found in the candy aisle or baking aisle at your grocery store. If you have little helpers while you are baking, they can take the wrappers off for you.
- Heavy whipping cream – Don’t skimp on this ingredient by going with a cream with a lower fat content. Heavy cream will give the caramel its rich silkiness.
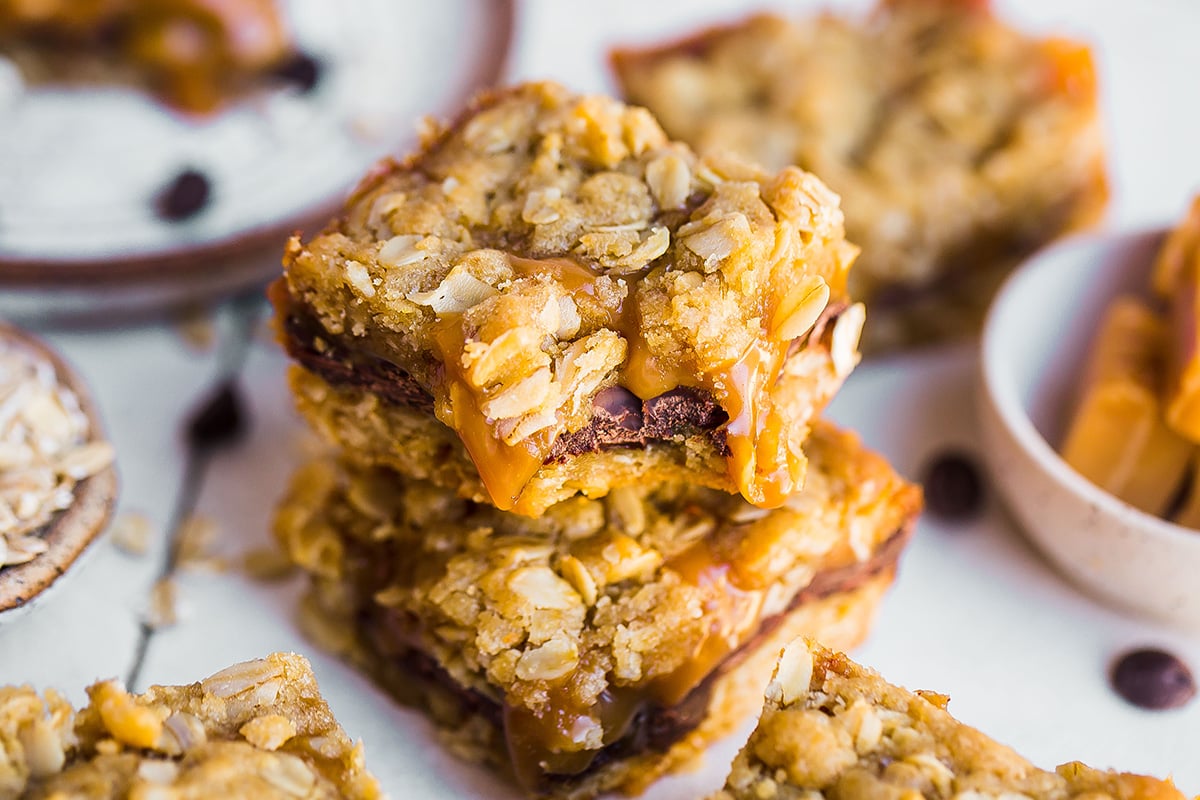
How To Make Carmelitas
You can have these dessert bars ready in under one hour!
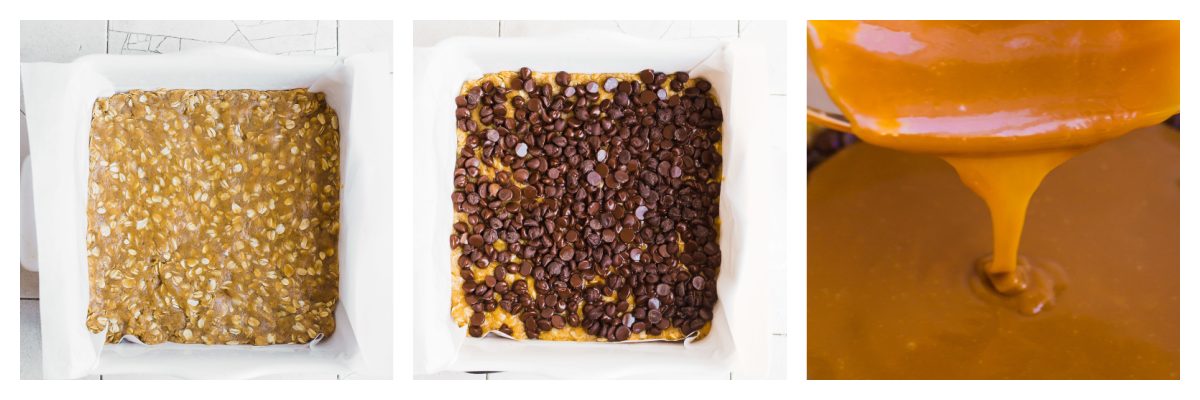
- Make cookie base. Add all of the cookie base ingredients to a large bowl. Using a wooden spoon, completely combine all of the ingredients, ensuring that they are all equally dispersed.
- Press into pan. Using your hands, or a spatula, remove half of the cookie dough and press it evenly into the baking dish prepared with parchment paper and cooking spray, then bake.
- Make caramel sauce. While the mixture is baking, make the caramel sauce. Combine caramels with the heavy whipping cream in a microwave-safe bowl.
- Melt caramel. Then, microwave the candy and cream mixture at 30-second intervals. In between each interval, stir the mixture to combine the two ingredients keeping in mind that the sauce should be completely smooth.
- Sprinkle chocolate chips. When the dough is finished its first round of baking, remove the pan from the oven. Immediately sprinkle the chocolate chips over the dough.
- Drizzle caramel. Then, drizzle the melted caramel mixture on top — be sure to make an even layer.
- Crumble dough. Then, using your fingers, take the remaining uncooked dough and crumble it over top of the crust, chocolate chips, and caramel sauce.
- Finish baking. Place the baking dish back in the oven to finish baking. The carmelitas will be finished when the edges are lightly golden brown and the center is bubbly.
- Cool. To cool, place the pan on a wire rack and allow the bars to come to room temperature.
- Cut and enjoy. Use a sharp knife to cut the bars. Enjoy them on their own, dunked in coffee or a cold glass of milk, or topped with ice cream.
Variations
There are plenty of ways you can make these carmelitas your own.
- Change up the chips – You can switch out the semi-sweet for milk chocolate chips, dark chocolate chips, or white chocolate chips. If you’re feeling adventurous, you could also substitute some or all of the chocolate with peanut butter chips or butterscotch chips.
- Vanilla-infused oatmeal – If you love lots of vanilla flavor, experiment with using an oatmeal that incorporates that flavor (or make your own).
- Salt – Love salty/sweet combinations? Add a pinch of salt to your carmelitas after baking — you could use Kosher salt, gray sea salt, or even Pink Himalayan for a fun twist.
- Fall-time flavor – If you want to make these a seasonal treat, try throwing a dash of pumpkin spice on top, or shaking a generous dose of cinnamon sugar in with the oatmeal before baking.
- Sauce – Drizzle the top with a white chocolate sauce or a little bit of fruit sauce.
- Nuts – Crush and sprinkle your favorite kind of nuts over top.
- Miniature candies – Chocolate candies like M&M’s can add crunch and color to the bars.
- Salted caramel – Use a salted caramel sauce instead of standard caramel.
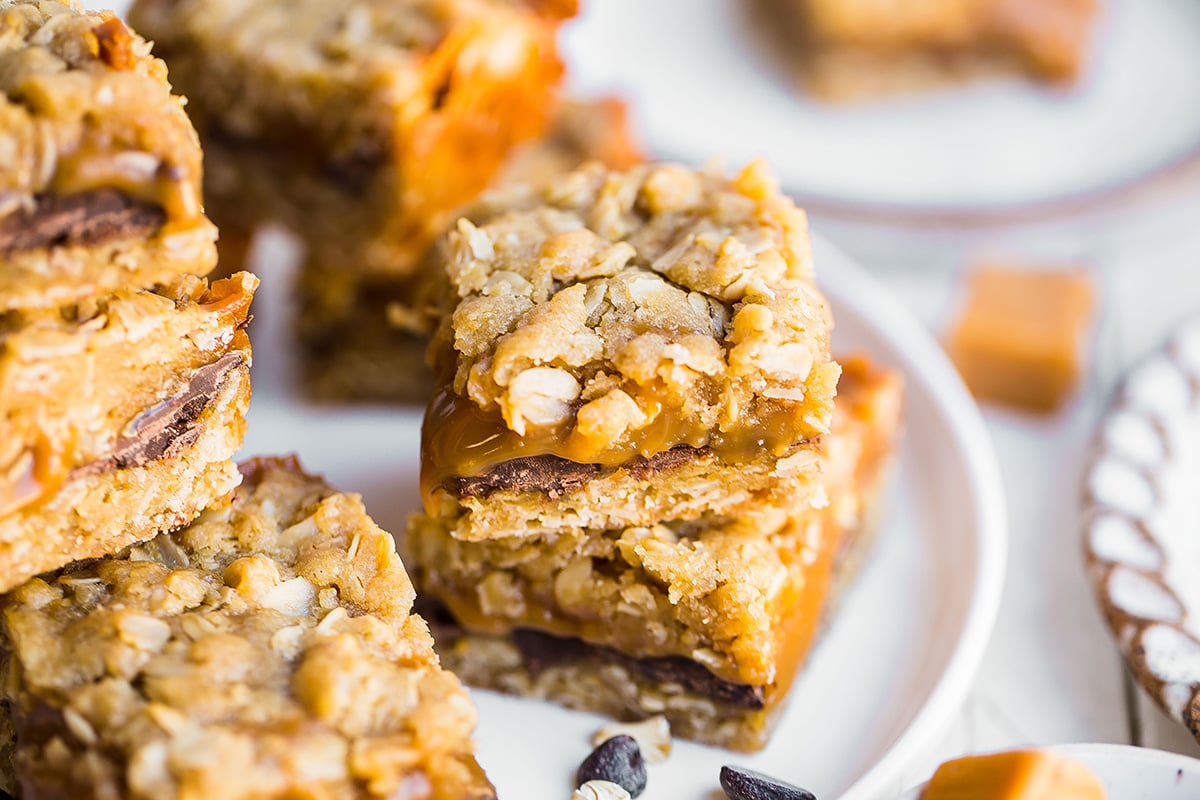
Storage and Freezing
Storage: After these carmelita bars come to room temperature, you can store these bars for up to a week in the refrigerator — wrap them in aluminum foil, plastic wrap, or store them in a ziploc bag.
Freezing: You can also freeze your carmelitas in an airtight container for up to three months.
More Bar Recipes
Delicious bar recipes, perfect for any party, event or just a random weeknight.
Monster Cookie Bar Recipe
Lemon Bars
Potato Chip Marshmallow Bar Recipe
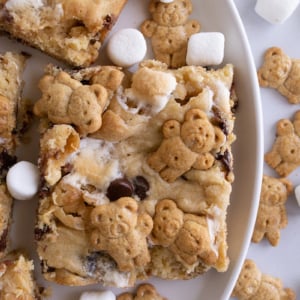
S’mores Cookie Bars
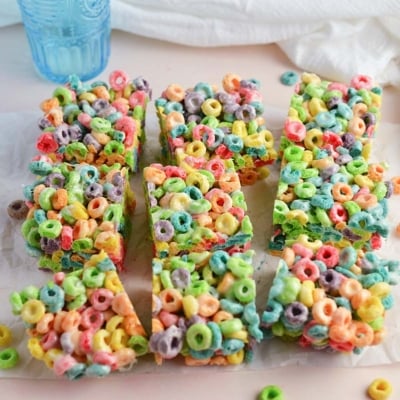
Fruit Loop Bars
Carmelita Recipe
Equipment
Ingredients
Cookie Base:
- 3/4 cup salted butter melted
- 3/4 cup brown sugar
- 2 tablespoons sugar
- 1 teaspoon vanilla extract
- 1 cup flour
- 1 1/4 cup old-fashioned oats
- 1 teaspoon baking powder
- 1 whole egg lightly beaten
Filling:
- 1 cup semi-sweet chocolate chips
- 35 caramel candies unwrapped
- 1/3 cup heavy whipping cream
Instructions
- Line a 9×9 inch baking dish with parchment paper and set aside. Preheat the oven to 350°F.
- In a large mixing bowl with a wooden spoon, combine all of the cookie base ingredients. Mix until combined.
- Press half of the cookie mixture into the prepared baking dish with your hands or a spatula. Bake for 12 minutes.
- In the meantime, make the caramel sauce by adding the unwrapped caramel candies and heavy whipping cream to a microwave safe bowl. Heat in 30-second intervals, stirring in between each interval for up to 2-4 minutes depending on your microwave. Caramel sauce should be smooth. Alternatively, you could heat caramels and heavy cream in a saucepan on medium-low heat. Stirring continuously until smooth.
- After 12 minutes, remove the pan from the oven and sprinkle the chocolate chips on the hot cookie base. Then top the chocolate chips with the caramel sauce.
- Crumble the remaining cookie crust on top.
- Return the pan to the oven and bake for 15-18 minutes or until the edges are lightly browned and the center is bubbly.
- Place the pan on a cooling rack and let the bars cool completely- this can take several hours. You can also place the cooled pan in the refrigerator to speed up the process. You want to be sure the caramel in the center is cooled otherwise it can burn when cutting into bars.
- Once cooled, cut into bars with a sharp knife and enjoy!
- If you’ve tried this recipe, come back and let us know how it was in the comments or star ratings.
Nutrition






This was absolutely delicious. The recipe was so easy to follow and it came out just right! My husband and I really enjoyed the texture of the cookie base! We used butterscotch chips instead of chocolate chips, this is easily become one of our favorite desserts!
These bars were such a hit at our office party. So oozy and gooey and great textures.
So gooey and delicious. The problem will be stopping after one portion!
These were so gooey and delicious. My kids loved them too.
These look so delicious and i couldnt believe they are mode of oats. Saving to make soon.
All of my favorites in one bar! Caramel, chocolate and oat goodness, these were devoured in minutes!