
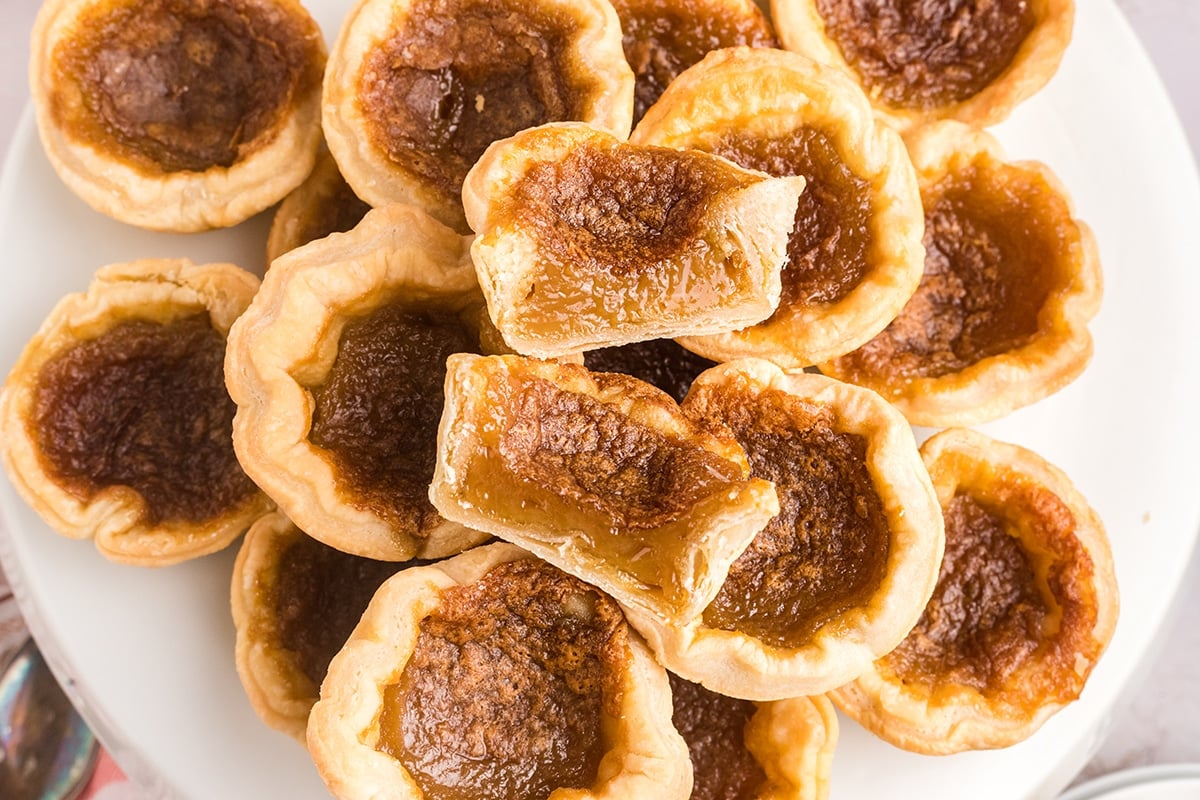
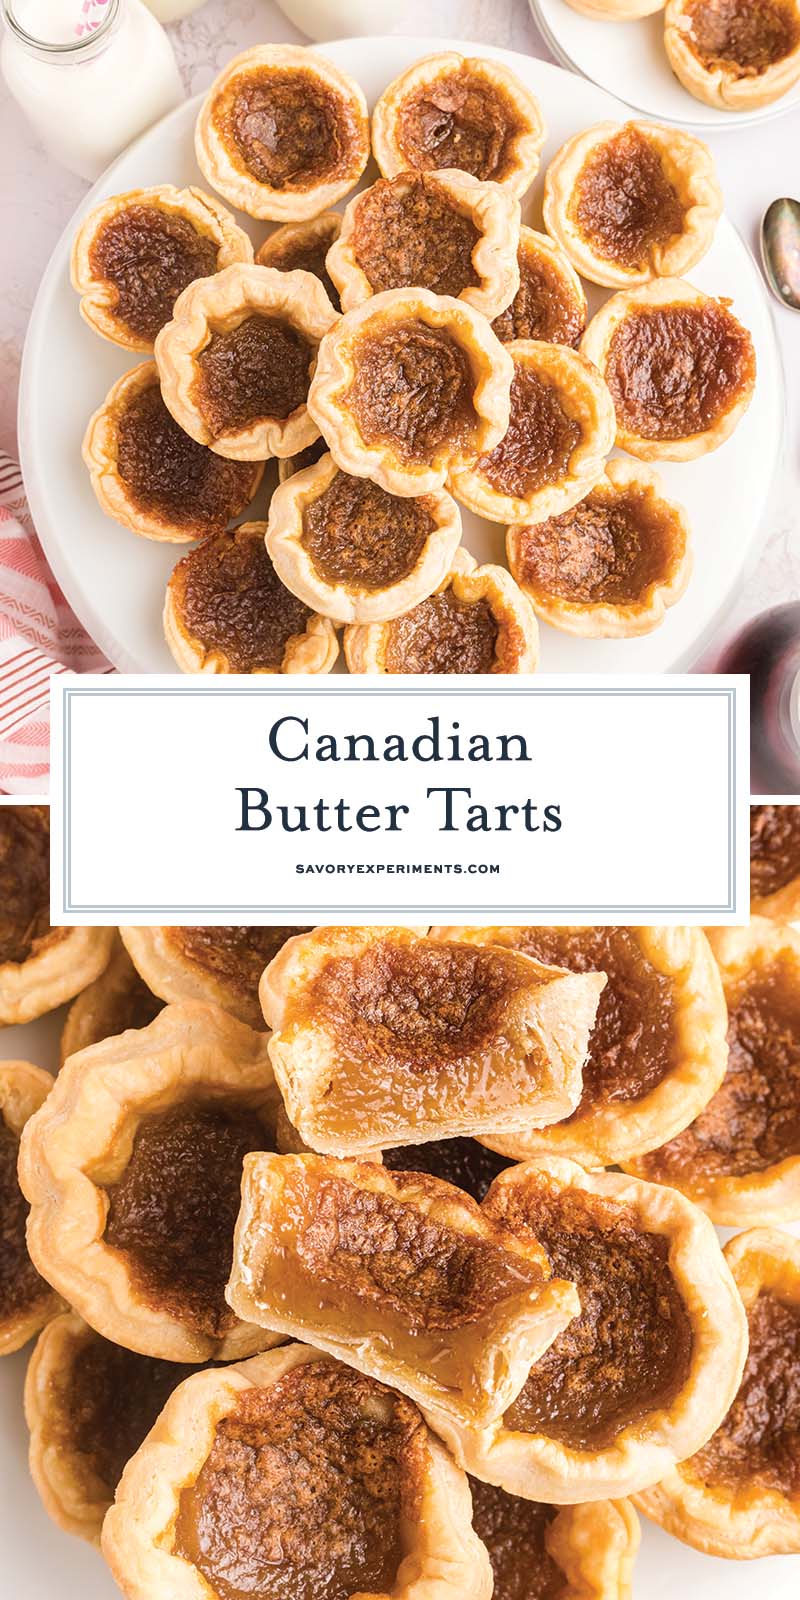
These Canadian butter tarts pair an ultra-flaky homemade crust with a gooey maple-brown sugar filling that sets just enough to hold its shape. The dough mixes fast in a food processor, presses into a muffin tin, and bakes into bite-size tarts with shiny tops and caramelized edges.
Why You’ll Love Them!
A flaky crust and a gooey filling- what’s not to love about these canadian butter tarts?
- Flaky, buttery crust – This crust recipe is homemade, easy to make and even easier to roll and press.
- Gooey maple filling – With classic caramel notes, this gooey maple filling is filled with warmth and perfectly sweet.
- Made in a muffin tin – No special tart pans are needed to make this dessert- just your muffin tin!
Ingredients Checklist
The ingredient list for these canadian butter tarts is fairly simple using kitchen basics.. A full list of ingredients with measurements for this recipe is available in the printable recipe card below.
- Maple syrup- this is probably the most important part, use real maple syrup, not maple flavored sugar water. To get the right texture, a thick syrup is ideal. Some recipes use corn syrup, but I prefer the flavor of maple syrup. Even opt for a flavored syrup like bourbon laced.
- Flour
- Sugar
- Fine sea salt
- Unsalted butter
- Cold water
- Brown sugar
- Eggs
- Vanilla extract
How to Make Easy Butter Tarts
Crust:
- Using a food processor, pulse the 2-1/2 cups flour, 1 tablespoon sugar and 1 teaspoon fine sea salt. Add the 1 cup unsalted butter in chunks, pulse 5 to 8 times, or until butter is in small pieces. Add the 3/4 cup cold water and pulse until the dough starts coming together.
- Turn the dough onto 2 plastic wrap pieces lying flat. Cover over and pat into a disc. Refrigerate for at least 1 hour. Dough will be super sticky, this is normal.
- Sprinkle a small amount of flour on a flat surface and roll out one portion at the time, about 1/8 of an inch thick. Use a round cutter or lid (4 inches) and cut 15 pieces.
- Grease 1 muffin pan completely and 3 muffin cups from a second pan. Press each dough circle into the bottom of a muffin pan cup. Refrigerate while making the filling.
- Preheat the oven to 350°F.
Filling
- Cream the softened ¼ cup unsalted butter and packed 1/2 cup brown sugar together. Add the 2 eggs one at the time. Mix in the 1 cup maple syrup, 1/4 teaspoon fine sea salt, and 1 teaspoon vanilla extract. The filling is a chunky custard and very loose. If you make this ahead and set aside, you’ll need to whisk before pouring into muffin tins.
- Pour the filling into pie crust and bake for 25 minutes. It is easiest to use a glass measuring cup with a pour spout.
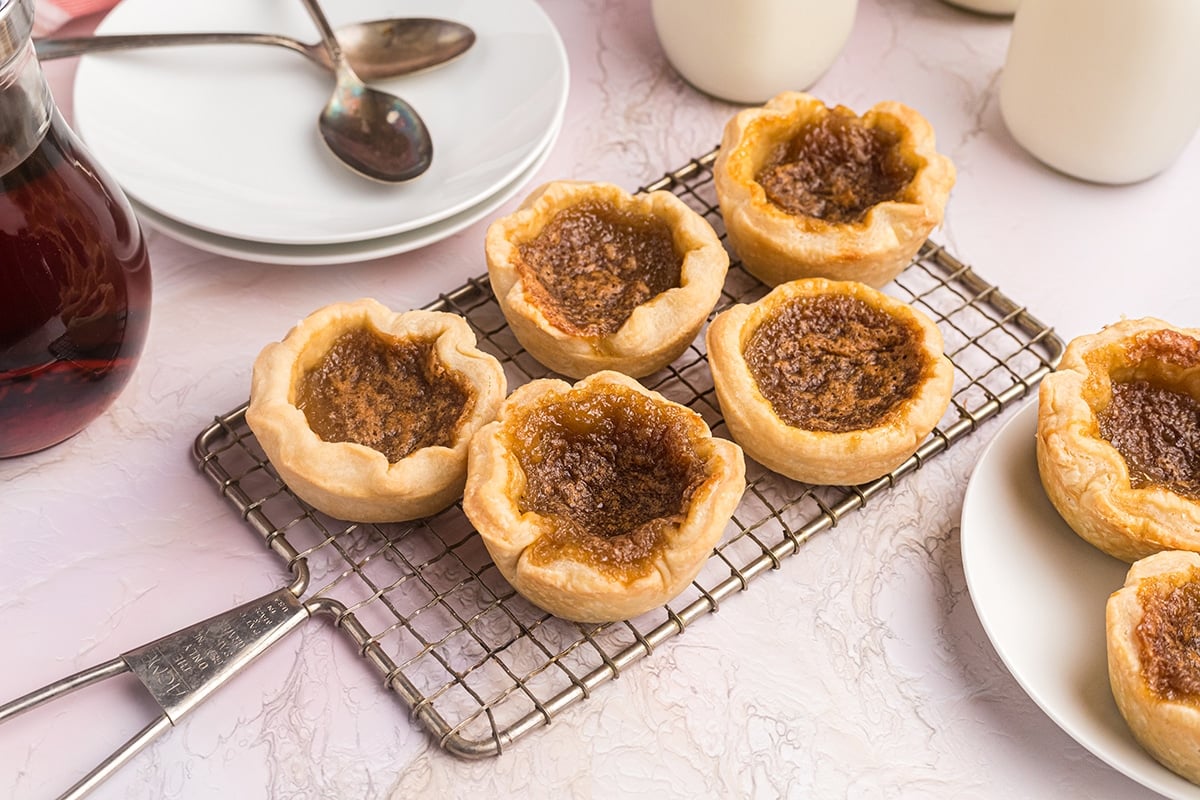
- Let the tarts cool for 5 minutes in the pan and remove to a cooling rack.
5S Philosophy 👩🏻
- Salt – Because we use unsalted butter in both the crust and the filling, we add a pinch of fine sea salt to both as well. It helps to bring out the other flavors.
- Sauces – You could drizzle any number of dessert sauces over these butter tarts. White chocolate sauce, butterscotch sauce or salted caramel sauce would be delicious.
- Swaps – Try adding dried fruit or nuts to the filling. Things like raisins, currants, dates, figs, walnuts or chocolate chips would be perfect.
- Senses – These Canadian butter tarts are a golden, gooey indulgence with a crisp, flaky shell that shatters gently under your fork. The filling is rich and buttery—sweet like caramel, with a hint of vanilla and brown sugar warmth.
Test Kitchen Tips
I’ve tested these canadian butter tarts several times to bring you the best tips and tricks.
- Grease tins thoroughly – To make sure your tarts have an easy release from the pan, make sure to grease your pan thoroughly.
- Keep dough cold – Try to chill the shaped shells while mixing filling. This helps them to hold their shape.
- Don’t overfill – If you leave a little headroom and don’t overfill, it will help to prevent boil-over.
Commonly Asked Questions
Nope. They’re totally optional. If you’re Team Raisin (no judgment… okay, a little), add a small pinch to each shell before pouring in the filling. Same for chopped walnuts/pecans or even chocolate chips.
You can, but you’ll lose that cozy maple depth. If you do swap, use light corn syrup for a similar texture- then add a splash more vanilla and a pinch of salt to bump up flavor.
Two usual culprits: overfilling or baking too hot. Leave a little headspace in each tart (the filling puffs as it bakes), and make sure your oven temp is accurate.
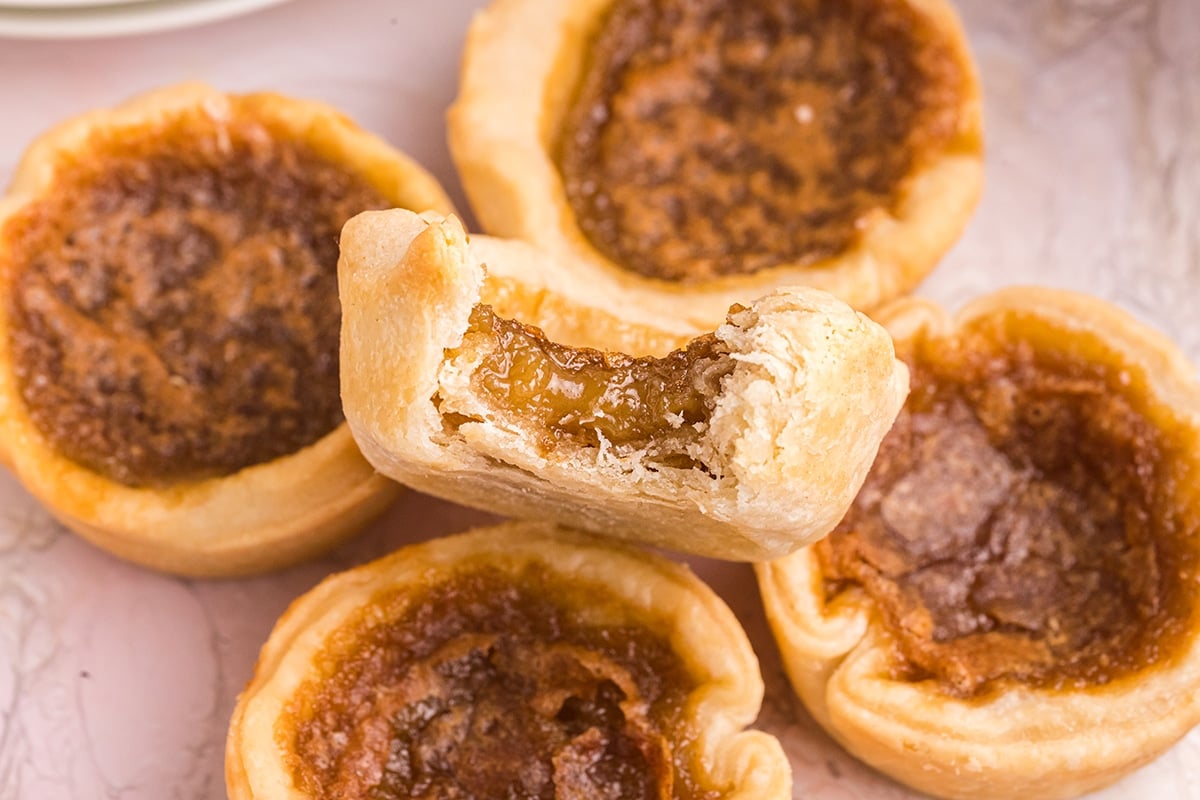
How do I know when butter tarts are done?
That’s usually undissolved sugar. Make sure your brown sugar is soft (break up lumps), whisk well, and let the mixture sit for a minute or two before filling so the sugar starts dissolving.
More Easy Desserts
We do love easy dessert recipes over here, but they need to be easy- we all know I am a lazy baker!
Canadian Butter Tarts Recipe
Ingredients
Crust
- 2-1/2 cups flour
- 1 tablespoon sugar
- 1 teaspoon fine sea salt
- 1 cup unsalted butter , cold
- 3/4 cup cold water
Filling
- ¼ cup unsalted butter , at room temperature
- 1/2 cup brown sugar
- 2 eggs , at room temperature
- 1 cup maple syrup
- 1/4 teaspoon fine sea salt
- 1 teaspoon vanilla extract
Instructions
Crust:
- Using a food processor, pulse the 2-1/2 cups flour, 1 tablespoon sugar and 1 teaspoon fine sea salt. Add the 1 cup unsalted butter in chunks, pulse 5 to 8 times, or until butter is in small pieces. Add the 3/4 cup cold water and pulse until the dough starts coming together.
- Turn the dough onto 2 plastic wrap pieces lying flat. Cover over and pat into a disc. Refrigerate for at least 1 hour. Dough will be super sticky, this is normal.
- Sprinkle a small amount of flour on a flat surface and roll out one portion at the time, about 1/8 of an inch thick. Use a round cutter or lid (4 inches) and cut 15 pieces.
- Grease 1 muffin pan completely and 3 muffin cups from a second pan. Press each dough circle into the bottom of a muffin pan cup. Refrigerate while making the filling.
- Preheat the oven to 350°F.
Filling
- Cream the softened ¼ cup unsalted butter and packed 1/2 cup brown sugar together. Add the 2 eggs one at the time. Mix in the 1 cup maple syrup, 1/4 teaspoon fine sea salt, and 1 teaspoon vanilla extract. The filling is a chunky custard and very loose. Allow the filling to sit for 5-10 minutes to let the sugars dissolved fully, then give it one more whisk. If you make this ahead and set aside, you'll need to whisk before pouring into muffin tins.
- If adding raisins or nuts, sprinkle into each muffin well before adding the filling (see notes section). Pour the filling into pie crust and bake for 25 minutes. It is easiest to use a glass measuring cup with a pour spout.
- Let the tarts cool for 5-10 minutes in the pan and remove to a cooling rack.
- If you've tried this recipe, come back and let us know how it was in the comment or ratings!
Video
Notes
Adding Nuts or Raisins
If you choose to add nuts, raisins or both, add a scant 1 teaspoon of whichever you choose to each muffin tin. You might have a little bit of leftover liquid filling. Discard this.How to Store
Mini butter tarts keep well at room temperature for up to 2 days or in the refrigerator for up to a week. Place them in an airtight container.Can I Freeze Butter Tarts?
Yes, you can freeze Canadian Butter Tarts for up to two months in an airtight container or freezer bag.Nutrition


Would this recipe work in mini muffin tins?
It would- but they’d be very tiny and the dough to filling ratio might be a tad off. Watch carefully because the bake time will also be reduced.
These are fantastic.
Hi everyone. Though I’m half French Canadian I’m also half Scottish. My grandfather and uncle owned Scottish bakeries in Toronto On. They taught me to always put a little bit of vinegar and a splash of 1/2 and 1/2 cream into the filling. This worked wonderfully
Easy recipe I use pie crusts I make them all the time. My husband from Canada and gives him some memories of home.
AS a Canadian, may I also state that you can also add, raisins, and or pecans, if you want AWESOME Canadian Butter Tarts!!!
The absolute best! I have been baking butter tarts for years and this is by far better than any other.
Thank you
Love this recipe, always turns out great, I usually double the recipe so I can freeze some❤️
Very good but the instructions are lacking in detail a little bit. Saying “bake 25 minutes” isn’t going to work with every oven, at every elevation. Mine ended up a little under done because I trusted the 25 minutes. Also, it would be helpful if the recipe told you how thick to pour the filling.
Hi Jessica,
I am making these today, they are my hubby’s favourite! If I pre-bake the tart shells ahead of time (store bought pastry), does the cooking time once the filling is added decrease from the 25 minutes?
Thanks!!
Maybe by a tad- but I haven’t tried it. Just keep a close eye on the filling to see if it sets visually- I’d check it at 15 minutes and 20 minutes. Good luck and let me know how it works out!
I’ve recently visited Canada and tried the tarts, oh my goodness! I had to bake them! I loved this recipe, and i wonder if it is adaptable to different flavors? The shop we went to had at least 30 varieties, we tried 6. Any suggestions for making a “brandy old fashioned” one? Or salted caramel? There was also a raspberry with dark chocolate and merlot. I just don’t know how much of the filling ingredients to alter if I try some adventurous flavors. Thank you for this delightful recipe! My Wisconsin friends are now hooked!