Let’s start with a few of the basics before we get to those lovely napkin folding ideas.
Types of Napkins
Before I started adding these to my table setting I never really thought much about the type of napkin, but it does make a difference.
Some folds are better with a thin fabric, while others need the structure of a thick one. Even more, some need the crispness of a lot of starch or even paper napkins.
Fabric– Most will be either cotton or linen. If you are planning something with many folds, a cotton napkin might be too thick. But it you are doing a tall napkin display (something 3-D that stands up), a linen napkins might not have enough body and structure.
Other materials are burlap, silk, specialty and synthetic. Most are square (which is required for most napkin folds, but not all).
Paper Napkins– Paper napkins are fun for parties, lunches and other casual events or parties with a lot of guests. The biggest issue is that many paper napkins are not square, they are rectangle and also thin. Look for a 2 or 3 ply in most circumstances.
The Square Test
Again, something I had never considered, but something to be aware of, is your dinner napkin a square?
When I first started this project I ordered a whole pack of square white napkins and when they arrived, I was so disappointed that NONE of them were a perfect square.
Basically, they were just a low quality and the hems didn’t match up. So make sure you test your napkins before folding. Those that don’t pass the square test can still be used for some folds, but will never look as nice and crisp as those that do.
All you have to do is fold the napkin into fourths and look to see if the corners and lines match up. This napkin has failed the square test. Miserably.
Tips for Basic Napkin Folding
Iron & Starch– all fabric napkins will need to be ironed prior to folding and some will also need to be starched, depending on the fold (noted on each step-by-step tutorial).
Do it Ahead of Time– unless it is a fold you have mastered and done time and time again, try doing this ahead of time to save stress.
Placing- One question I get a lot is where does the napkin go on a place setting? The answer is that it really depends on your vision and while back in the day there was a strict table setting protocol, nowadays you can use artistic license.
But if you are going for traditional, forks go on the left and knives and spoons on the right. They are then placed in the order in which you will need them to eat with the last being closest to the plate.
Napkins can go on the plate, under forks or just to the left of the forks.
Bread plate is to the top left and water glass or wine glasses are to the upper right side.
Napkin Size– Most napkins are 20×20 or 18×18. I prefer 18×18 for basic napkin folds, but 20×20 for tall napkins or ones with more detail.
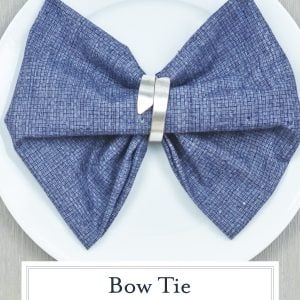
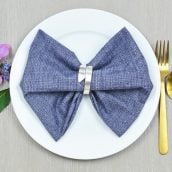
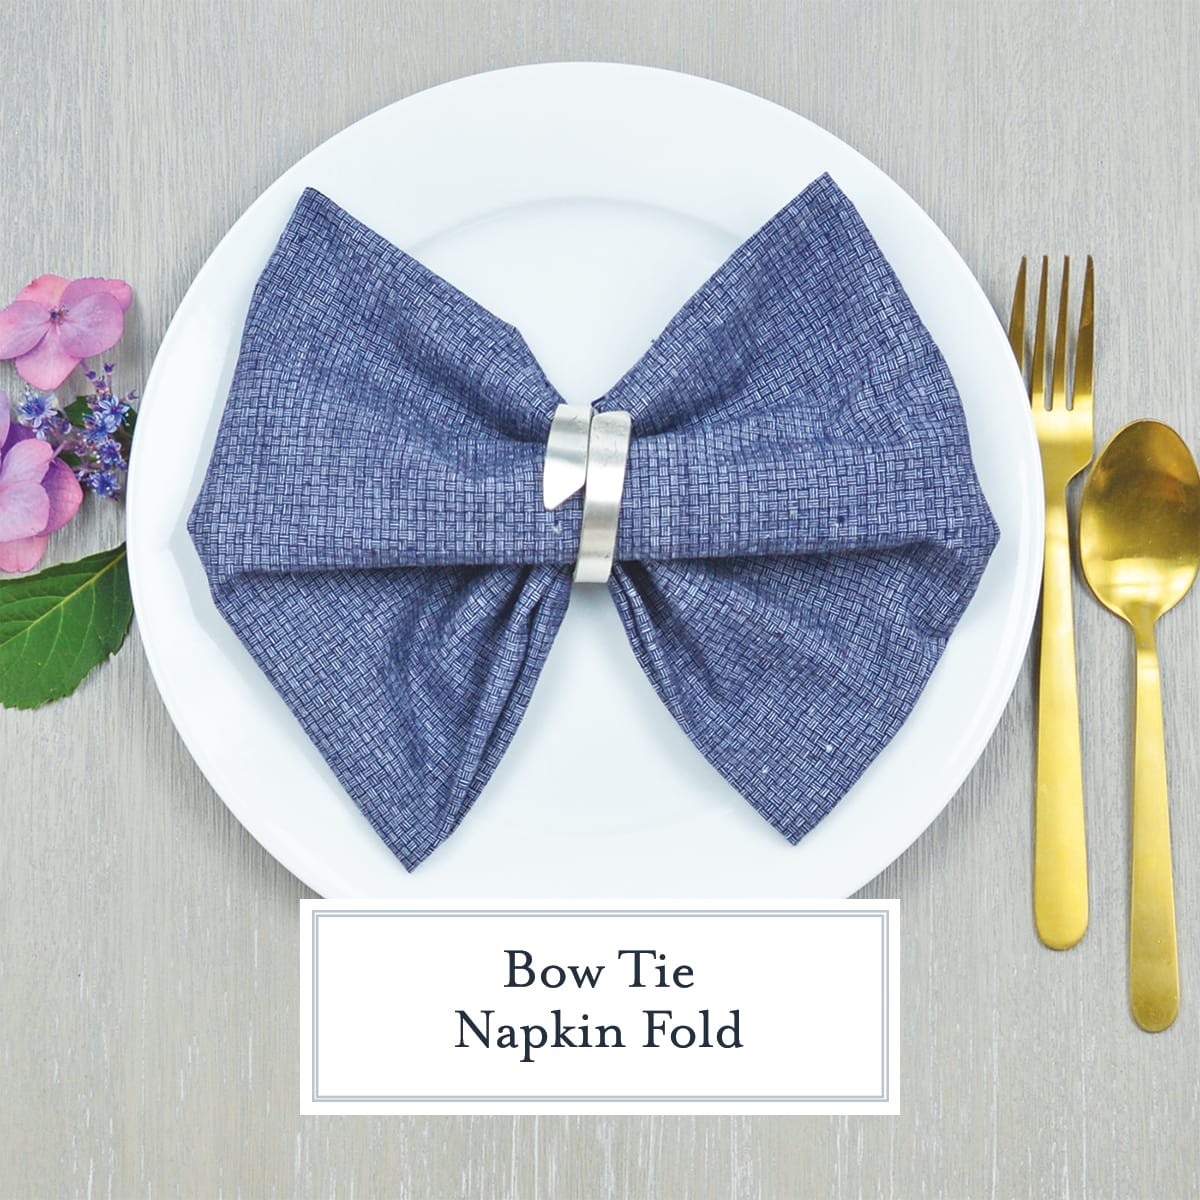
Bow Tie Napkin Fold
For this fold you will need a square napkin. Iron to no wrinkles, but starching is not necessary, although you can apply a light spray if you desire. Some people like to iron after each fold on this one, but I don’t find it necessary.
I prefer to use napkin rings, but you can also use a small piece of fabric, ribbon or rubber bands to secure the center of your bow.
These are best assembled right at the place setting, as they don’t travel well, but you can fold the napkins to the point of being a square and then last minute go around to pinch and secure the napkin ring.
Step-by Step Instructions
Fold the top down and the bottom up so that the two ends of your napkin meet in the middle.
Fold the opposite two sides in so it forms a square.
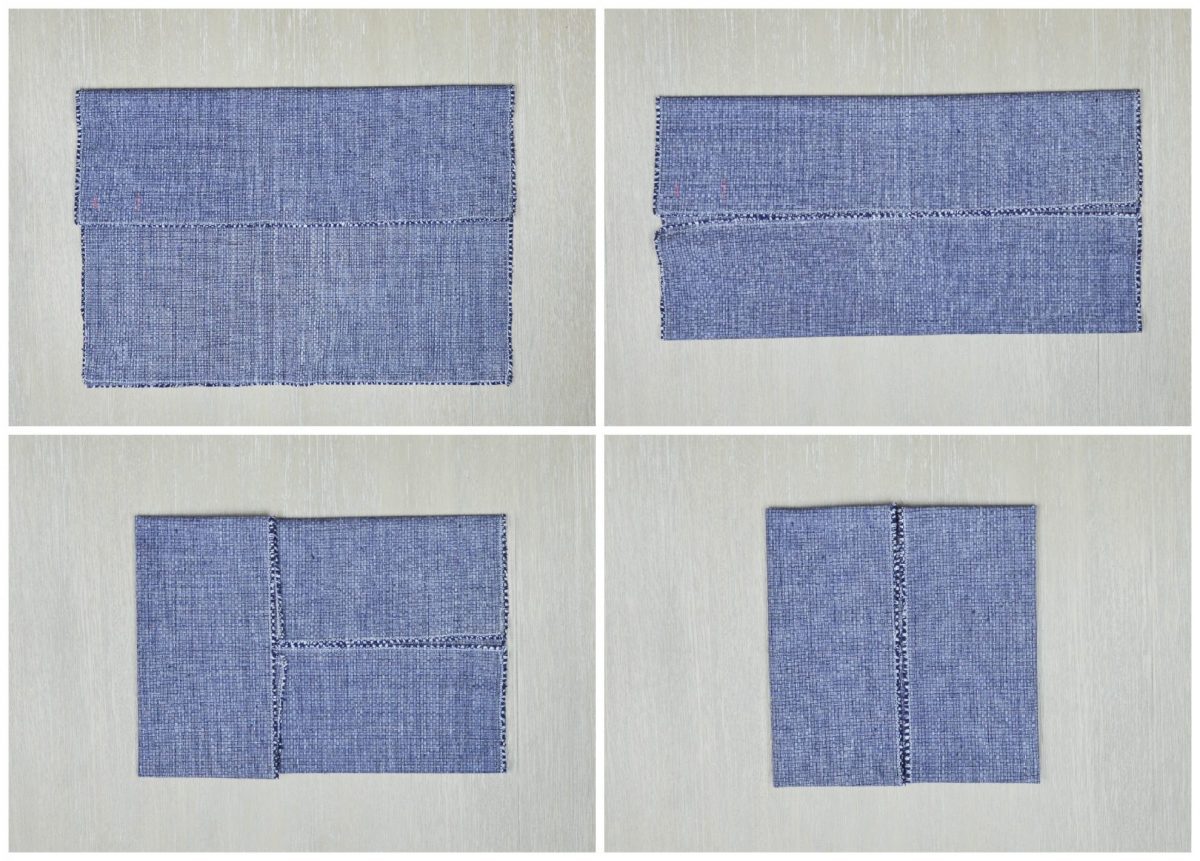
Flip it over for a flat square.
Pinch it in the center and create 3 folds, creases or waves- whatever you want to call them, and then gently pull the napkin ring to the center.
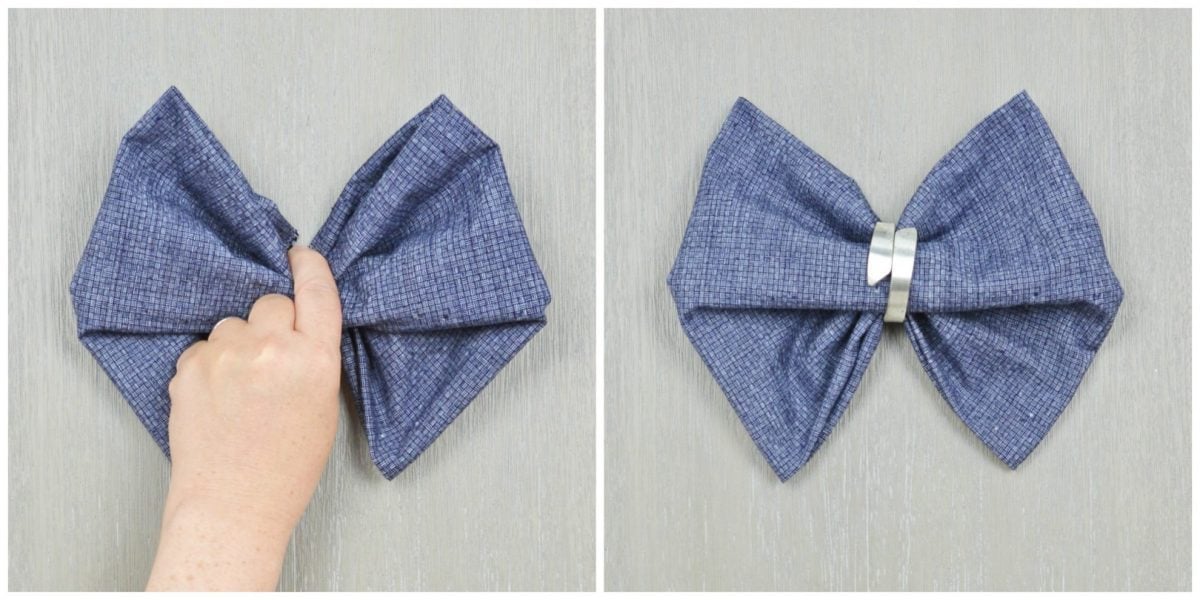
This one is fragile, so don’t do too much pinching and pulling, but you can fluff it a little.
More napkin folds:
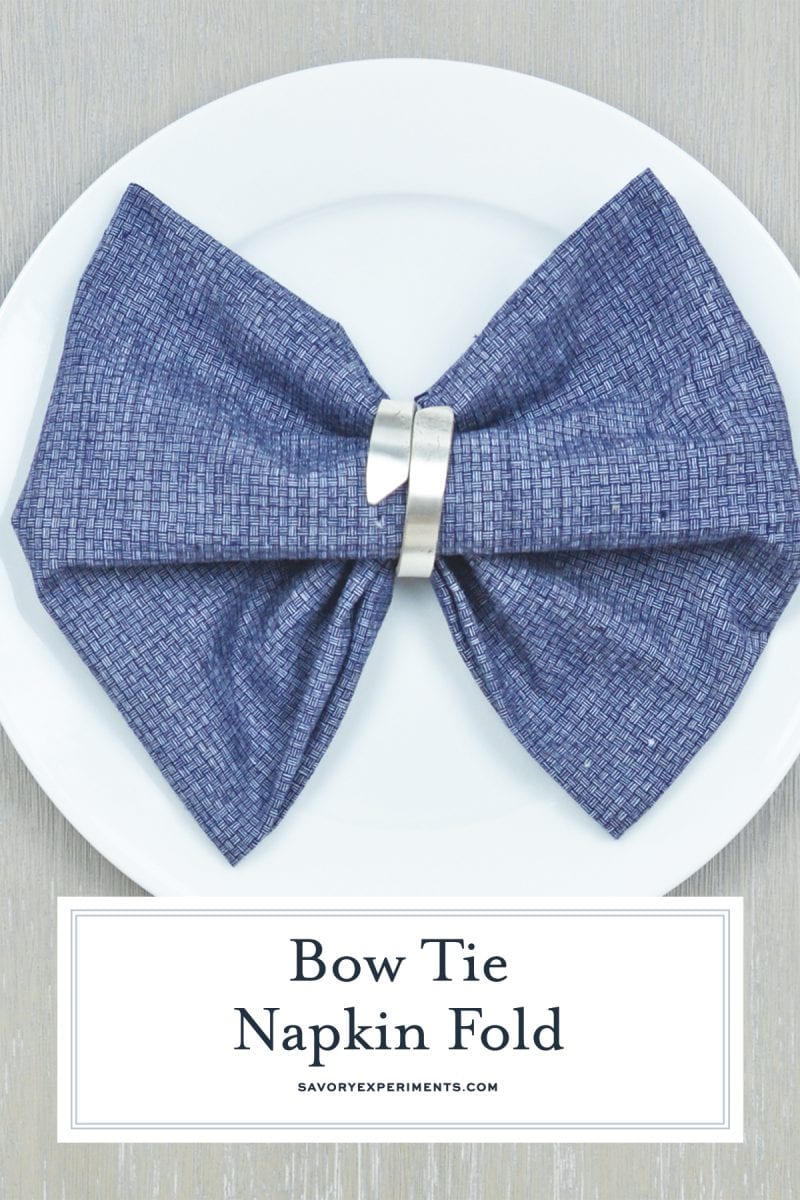
Bow Tie Napkin Fold
Ingredients
- 4 Square napkins , ironed
- 4 Napkin Rings
Instructions
- These are best assembled right at the place setting, as they don’t travel well.
- Fold the top down and the bottom up so that the two ends of your napkin meet in the middle.
- Fold the opposite two sides in so it forms a square.
- Flip it over for a flat square.
- Pinch it in the center and create 3 folds, creases and then gently pull the napkin ring to the center.
- Don’t do too much pinching and pulling, but you can fluff it a little.
