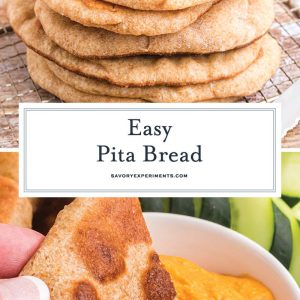
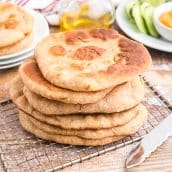
Only 5 ingredients and a small amount of hands-on work to fresh, soft, warm pita bread. Use homemade pita bread in any recipe that calls for flatbread or naan. Yes, we understand these are fundamentally different, but they can be used in the same capacity.
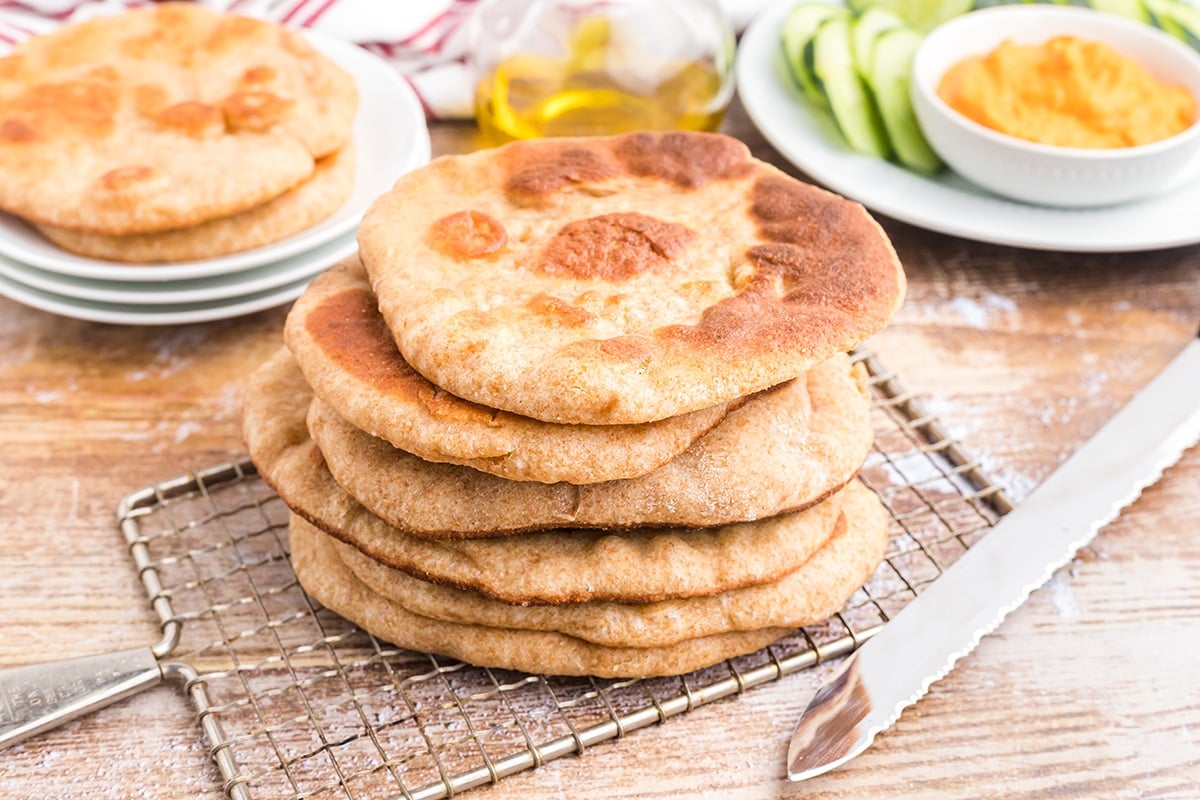
What is Pita Bread?
Pita bread is a yeast bread commonly made in the the Mediterranean, Middle East and surrounding areas. We originally posted a flatbread recipe (unleavened), but so many people commented on it thinking that were making pita bread, that we decided to go ahead and change the recipe to a leavened bread to appeal to the readers.
The original flatbread (yeast free) recipe is in the note section of the recipe card if you are searching for it.
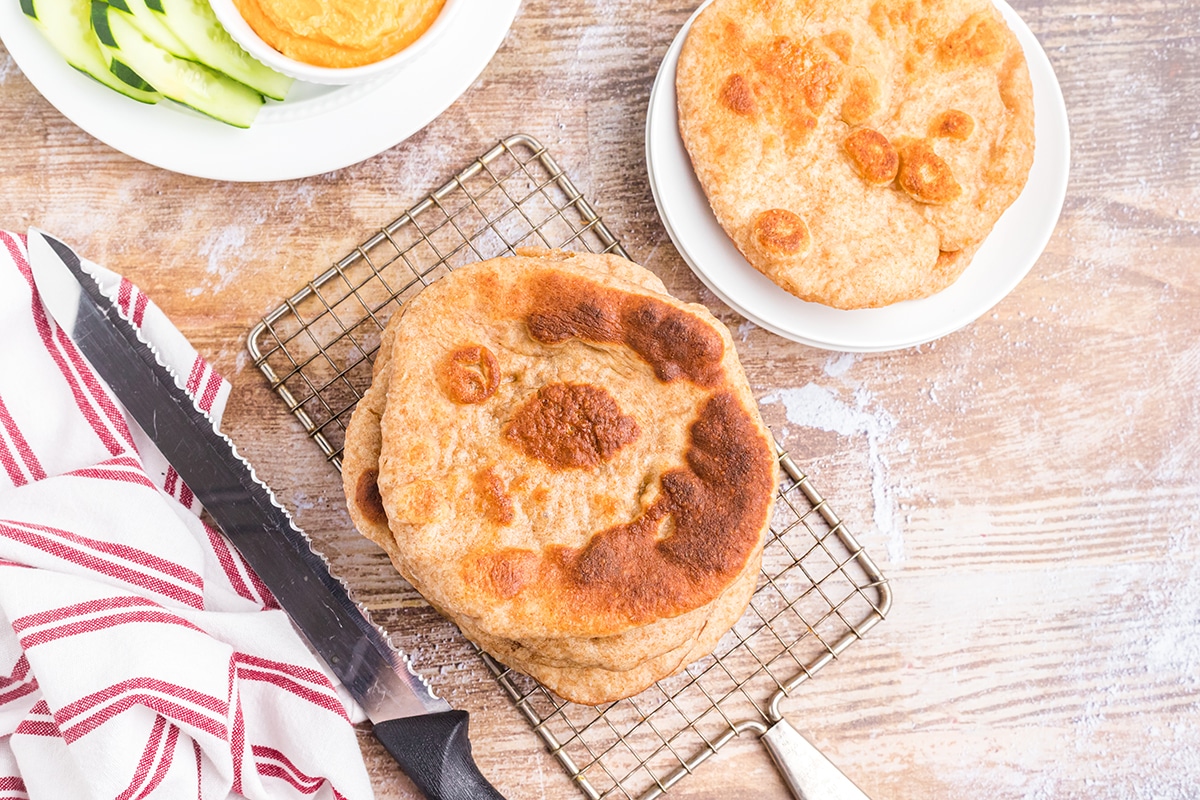
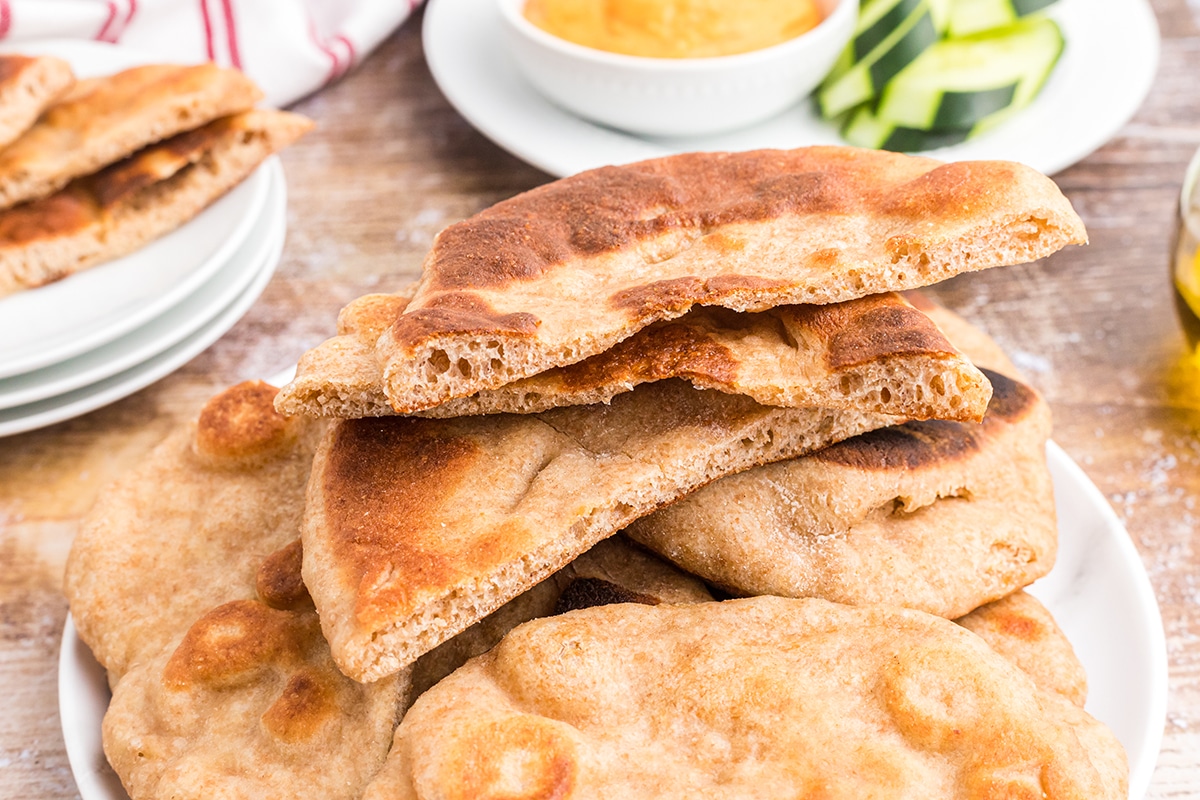
This pita recipe can be made in any size you need, large or small. Make mini pita breads for appetizers and dips and larger ones for wraps and use as sandwich bread or even a super large pita to use as a pizza crust.
This version doesn’t make a particularly good pita pocket, but two slices can be used as the top and bottom pieces of a sandwich or for more of a gyro type of sandwich. But it is perfect for dipping into a big bowl of soup like Zucchini Carrot Soup or Panera Broccoli Cheddar Soup.

Ingredients in Pita
The key to making a tasty homemade pita bread recipe is using a good quality olive oil. Not all olive oils are created equal and as you can see, there aren’t many ingredients with much flavor, so the olive oil is key.
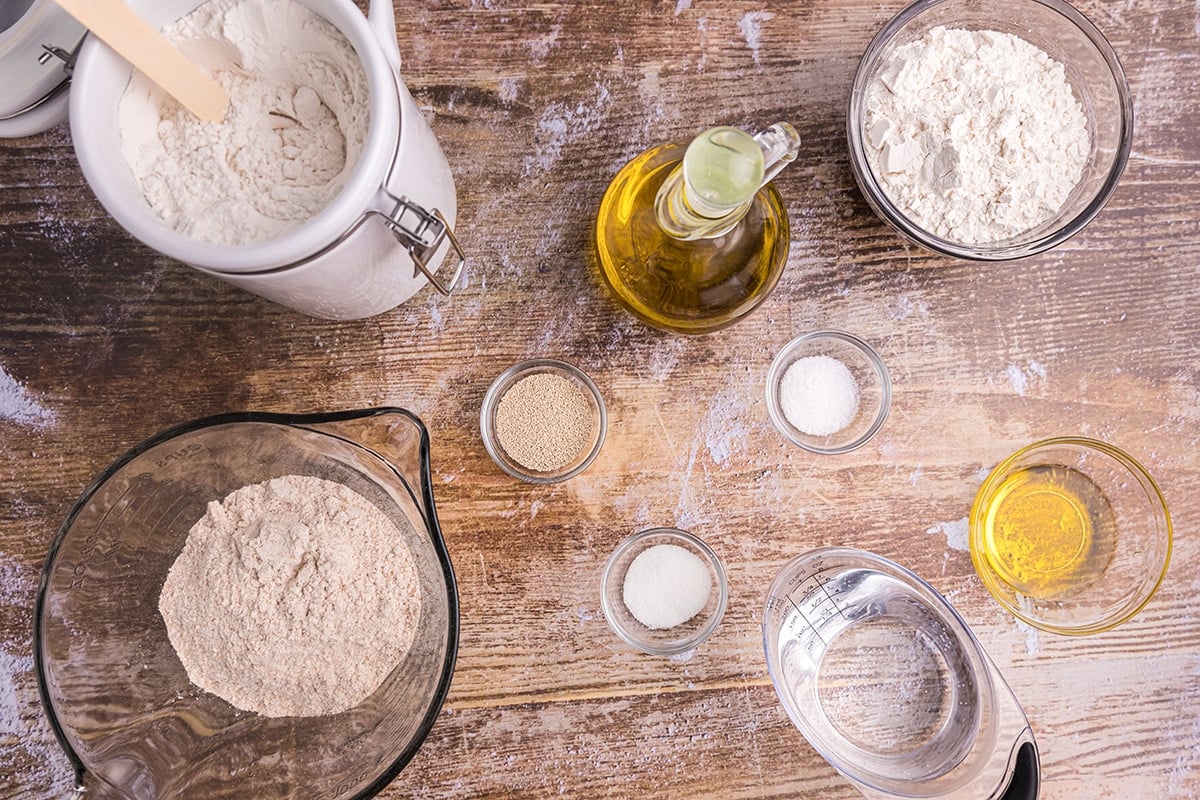
- Active Dry Yeast– Just one packet, which is about 2 1/4 teaspoons. Instant yeast can also be used.
- Warm Water– Yeast can fail to activate or die if the water temperature is not correct. Make sure the water is between 105°F-115°F.
- Sugar- Just the tiniest amount of sugar will help the yeast bloom. It can be omitted, if desired.
- Whole wheat flour & All-Purpose Flour- We used a combination of whole wheat for the bread. All whole wheat can be used by was a little too rustic and earthy. Using half and half made a nice chewy balance. You can use all-purpose or bread flour for the whole thing if you like. We have not tested this recipe using flour substitutes, but if you do, please come back and let us know how they worked!
- Coarse kosher salt– I love the clean flavor of a coarse kosher salt, but if you are using fine sea salt, cut back the volume by half.
How to Make Pita Bread
Pita bread from scratch is quite simple, but always make sure you have ample flour to prevent sticking. Although it isn’t mandatory, I highly recommend using a stand mixer with the dough hook attachment. This requires a good amount of kneading and unless you have biceps of steel, it is going to be a hard process! If you do, use a wooden spoon to prevent sticking.
- First, proof the yeast by combining it with warm water and a small amount of sugar. This step ensures that the yeast has been activated and not dead from too hot or too cold of water. Yeast thrives on sugar, so it just gives it something to eat; think if it like a reward for blooming. After the yeast bubbles and becomes fragrant, start making the bread dough.
- Stir in the olive oil and salt to the yeast mixture until well combined and then add the flours. Initially the dough will be slightly sticky, but no longer sticking to the sides of the bowl. If it isn’t reaching this stage, add an additional 1/4 cup flour.
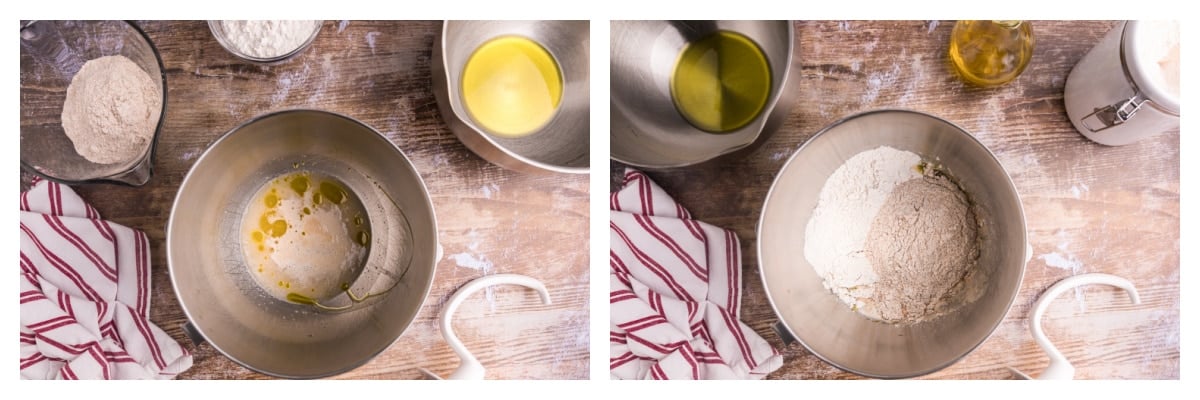
- Knead the dough on a low speed for 5-7 minutes until it forms a nice ball and is springy. I find the different stages of the dough while kneading fascinating, don’t you?
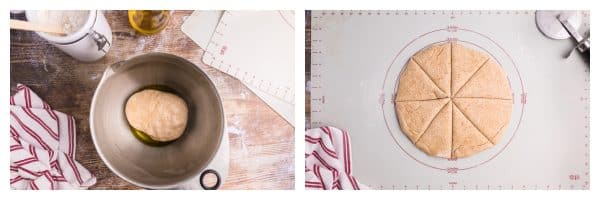
- Grease the inside of a large bowl with olive oil and turn the dough out into the bowl. Lightly baste the top of the bread with olive oil as well. This prevents the dough from drying out. Cover with a damp kitchen towel or plastic wrap and wait for the dough to double in size, approximately 2 hours.
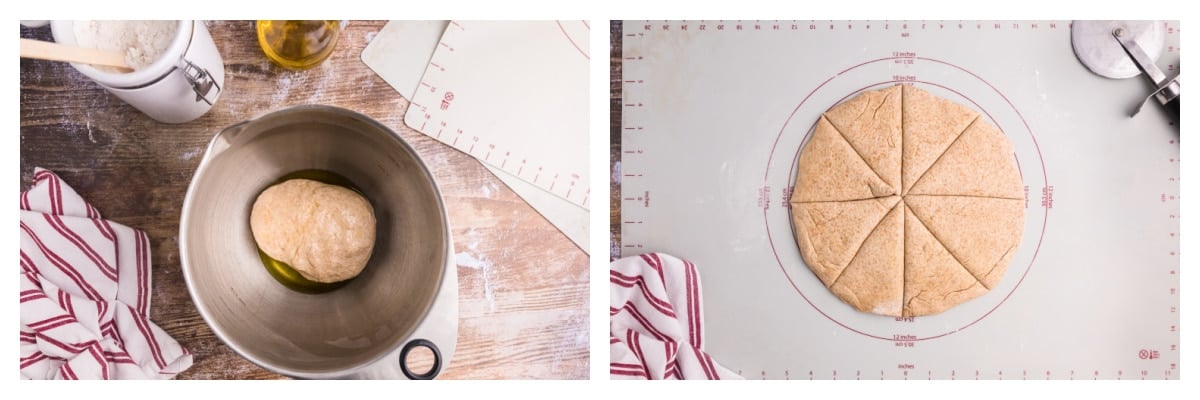
- Turn dough out onto a lightly floured work surface. Using your hands, form a disc about 1-inch thick and then divide into 8 equal pieces (like pizza slices). Some folks prefer to use a floured rolling pin, but I like the rustic appeal of using my hands. You can just eyeball this, it doesn’t need to be exact. And if you want to make smaller, mini pitas, divide each eighth again to form 16 smaller balls.
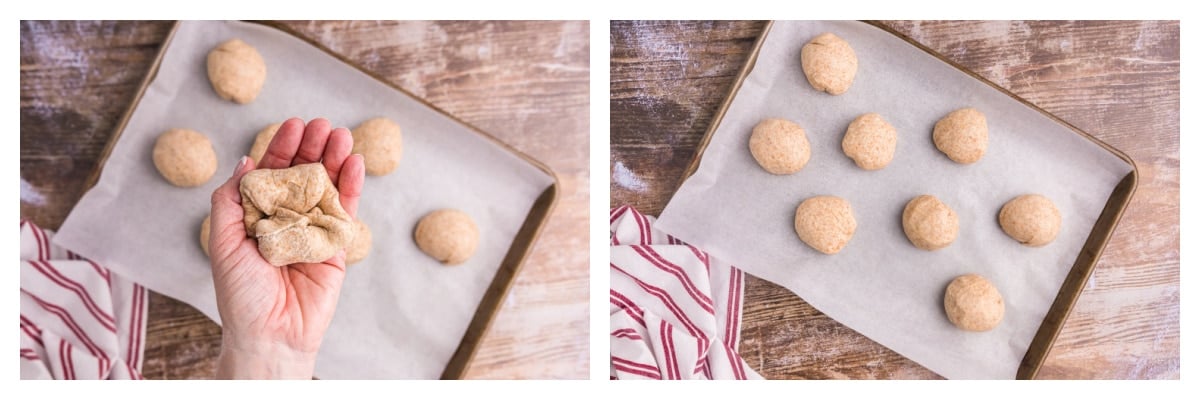
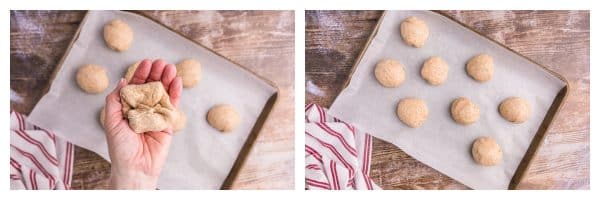
- Form each “slice” into a small dough ball, but instead of rolling, pull the dough from the top and tuck the ends underneath the bottom, making a smooth ball. This what will create the “pocket”. Place onto a parchment lined baking sheet to prevent sticking, cover again with a damp towel and let them rise another 30 minutes in a warm place. If you are lucky enough to have an oven with a bread proofing setting, this is the time to use it! Don’t skip the second dough rise, this contributes to the air pockets to make it light and airy.
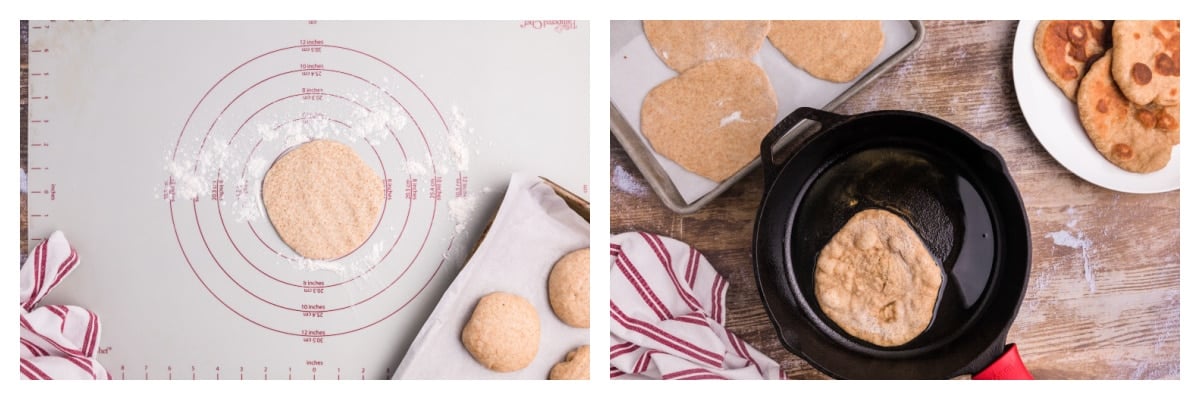
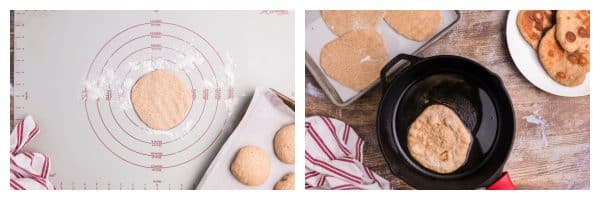
- On a floured work surface, use the palm of your hand to flatten into the dough into a pita shape about 1/4 inch thick.
- Heat a large cast iron skillet over medium heat and lightly baste with olive oil. Do not use high heat because olive oil will burn. Working in batches, place pieces of dough into the hot skillet. Cook on each side for 2-3 minutes or until it starts to puff and brown. Toss back to the first side, cooking another 30 seconds, then remove from the pan and allow to cool before using.
How to Make Baked Pita
I find using the stovetop to be much more efficient, but you can also bake pita bread using a baking stone (pizza stone).
- Preheat the oven and baking stone to 475°F.
- Place one to two pieces of flattened dough onto the hot stone. Cook for 2-3 minutes in the hot oven, open the oven and flip using your tongs, the same way you would on the stovetop. Bake until it forms the perfect pocket of air.
- Continue with the rest of the pita dough.
Storage
Store baked pitas in an airtight container or plastic bag at room temperature for up to 5 days. Like most baked goods, it is best enjoyed on the day it is baked, but you can bring some new life into it by heating it slightly in the oven or a hot pan.
Pitas can be frozen for up to 3 months. Allow to thaw at room temperature.
What to Serve with Pita Bread
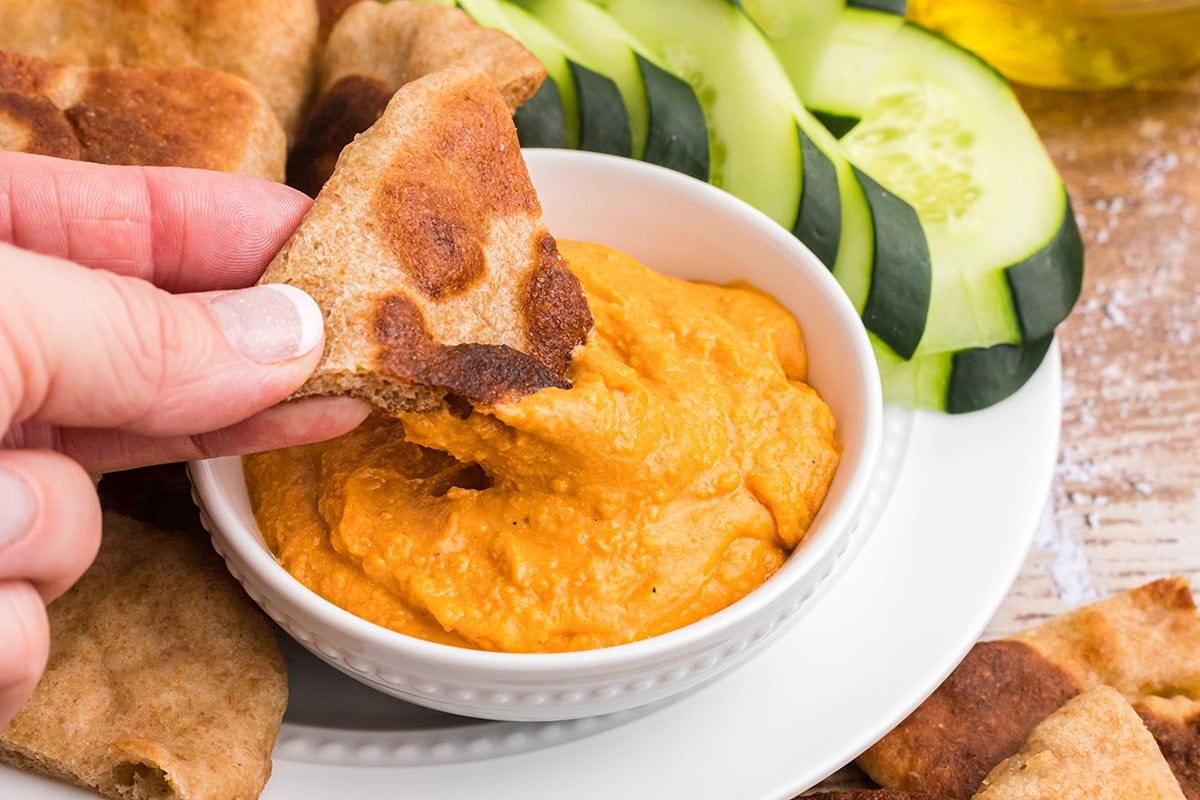
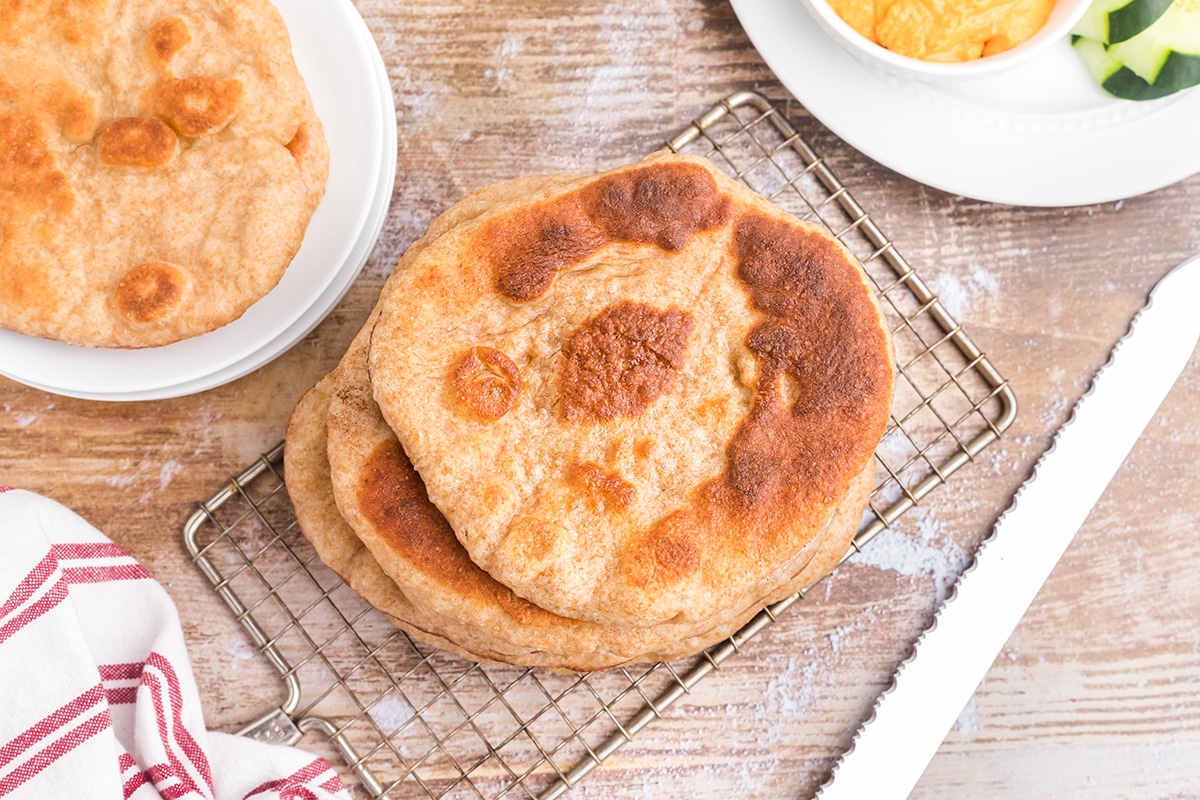
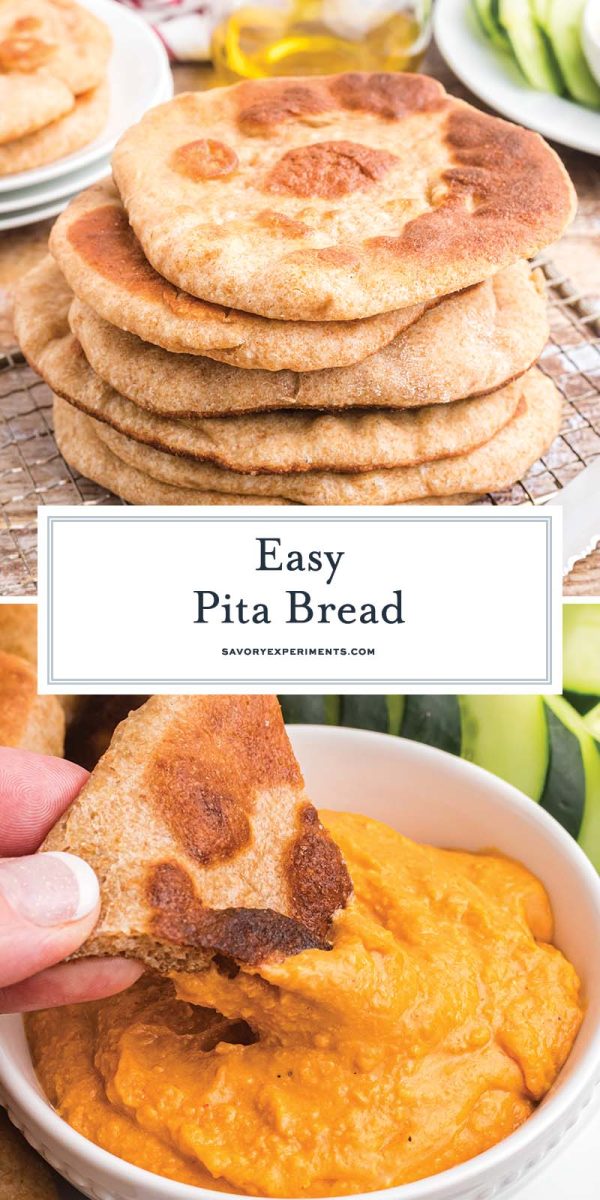
Pita can be served standalone, as a dipper or as the bread of the meal. Here are a few of our favorites.
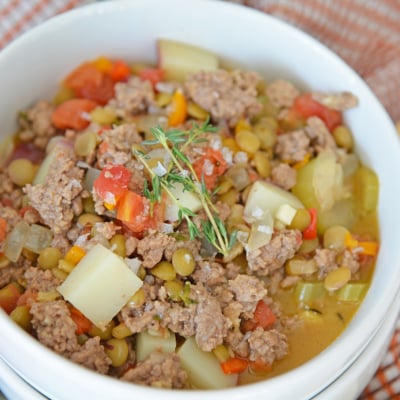
Easy Lamb Stew
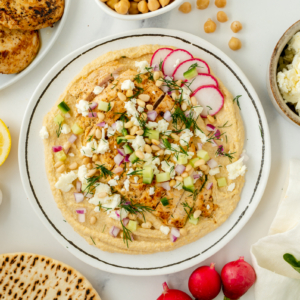
Greek Chicken Hummus Bowl
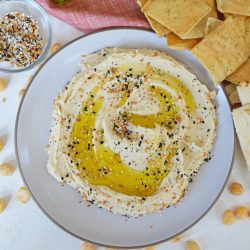
Everything Bagel Hummus
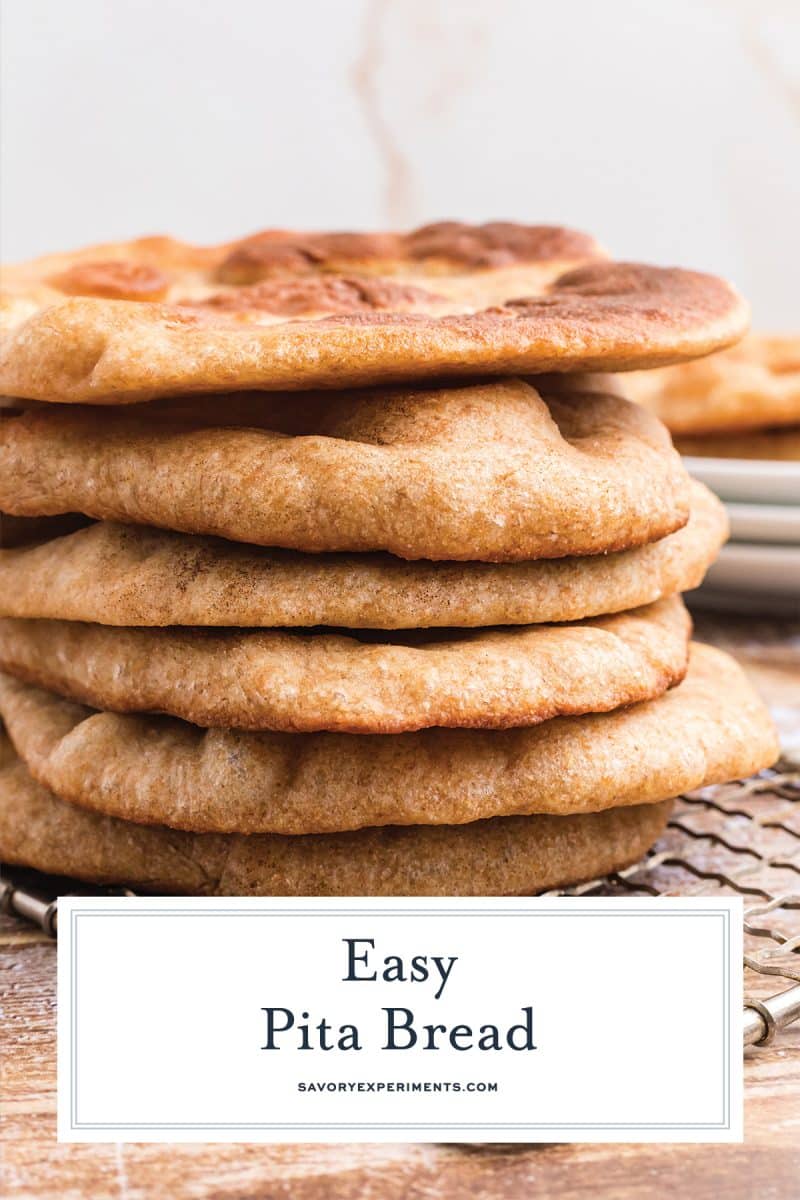
Homemade Pita Bread Recipe
Ingredients
- .25 ounces active dry yeast , 1 package
- 1 cup warm water , 105°F-115°F
- 1 teaspoon sugar , optional
- 1 3/4 cups whole wheat flour
- 1 cup all-purpose flour
- 1 1/2 tablespoons olive oil
- 1 teaspoon coarse kosher salt
- all-purpose flour for dusting
- olive oil for greasing and frying
Instructions
- In the bowl of a stand mixer fitted with the bread hook or a large mixing bowl, combine the active yeast, warm water and sugar (optional). Stir gently and allow to bloom, approximately 10 minutes.
- Stir in the olive oil and salt. Add the flours, using the dough hook, work until the dough is slightly sticky, but no longer sticking to the sides of the bowl. If it isn't reaching this stage, add an additional 1/4 cup flour.
- Knead the dough on a low speed for 5-7 minutes until it forms a nice ball and is springy.
- Grease the inside of a bowl with olive oil and turn the dough out into the bowl. Lightly baste the top of the bread with olive oil as well. Cover with a damp towel and wait for the dough to rise, approximately 2 hours.
- Turn dough out onto a lightly floured work surface. Using your hands, form a disc about 1-inch thick and then divide into 8 equal slices (like a pizza).
- Form each "slice" into a small ball, but instead of rolling, pull the dough from the top and tuck the ends underneath the bottom. This what will create the "pocket". Place onto a parchment lined baking sheet.
- Cover with a damp towel and allow to rise another 30 minutes.
- Place dough balls back onto the floured work surface and using the palm of your hands, flatten into the shape of your desired pita bread, about 1/4 inch thick.
- Heat a large cast iron skillet over medium heat and lightly baste with olive oil. Do not go too high because olive oil will burn. Working in batches, place each piece of dough into the cast iron skillet. Cook on each side for 2-3 minutes or until it starts to puff and brown. Toss back to the first side, cooking another 30 seconds, then remove from the pan and allow to cool before using.
- If you've tried this recipe, come back and let us know how it was in the comments or star ratings.
Nutrition





I made whole wheat pitas and they turned out great! However, I only got 8 balls of dough out of mine. They would’ve been teeny tiny balls if I had cut it into 16 pieces like the recipe instructs. I was able to roll mine into about 6″ circles before they got too thin. My husband is going to love these tonight with dinner. Thank you for the simple, delicious recipe.
Fabulous! Mine are usually about 4 inches- they are smaller than the usual store bought ones.
Taste is good but the dough was so sticky, they look hideous (like flat fat snakes). Will perceive, maybe with different stronger flour as otherwise lovely and easy recipe
Thanks for the feedback! Yea, my dough isn’t that sticky- maybe it was the flour you used with a different gluten amount?
Thank you! Just downsized the recipe and made 2 pita bread today for experimenting.
Cooked it in the grill with water in the oven tray underneath! Awesome result!
Yum! Thanks for coming back to let us know!
Made this and we loved it. I will make this recipe again. Thank you ?
Awesome! Thanks for letting us know!
This is Lebanese and Greek cuisine. Not American.
Not sure why, but the dough was extremely sticky and impossible to form into a ball or roll out. I used whole wheat dough. Any thoughts?
Hmmm…. Hi Robyn! The only thing I can come up with is that the flour you were using had a different amount of protein/gluten than mine. Most whole wheats are about 14%- can you check your package and let me know. Also, did it happen to be super humid or raining on the day you made them? Others have made this with success (including myself on numerous occassions) so there must be a variable here that is off a little.
I tried making this with all purpose flour and it didn’t work at all. How long am I supposed to knead the bread for, if at all, and what consistency should it come out to?
Then, when I rest it, should I expect it to grow in size? My dough ball did not grow at all.
Also, what thickness should I roll the dough balls out to?
Hi Raja, I am sorry it didn’t work out for you. The bread doesn’t rise at all since it doesn’t have any yeast. The resting time is to allow the gluten to soften and activate. The consistency is slightly sticky, but not overly floured, I will add this to the instructions. The balls roll out to about 1/4 inch thick- the same thickness you would expect a flatbread to be.
It’s very good. A+, nice soft bread. Will make this often.
Thank you!!! Have a nice day!
I make my husband’s lunch sandwiches on whole wheat pitas every single day and these ones look so much better! Plus, I think I’d win wife-of-the-year award if I made him sandwiches every day on homemade bread 🙂
They are so easy! No reason to not make homemade!
These were the best. We used them for greek wraps and they were wonderful. I wanted to make
them again to just enjoy. Thanks for the great recipes, I hope to get to the Carmel Apple Cookies.
Thanks for taking time out of your day to let us know !