Maple fudge is a creamy, decadent maple treat that is always a winner! Made with real maple syrup, plenty of brown sugar and butter, and topped with chopped walnuts, this rich treat is a must for your holiday baking.
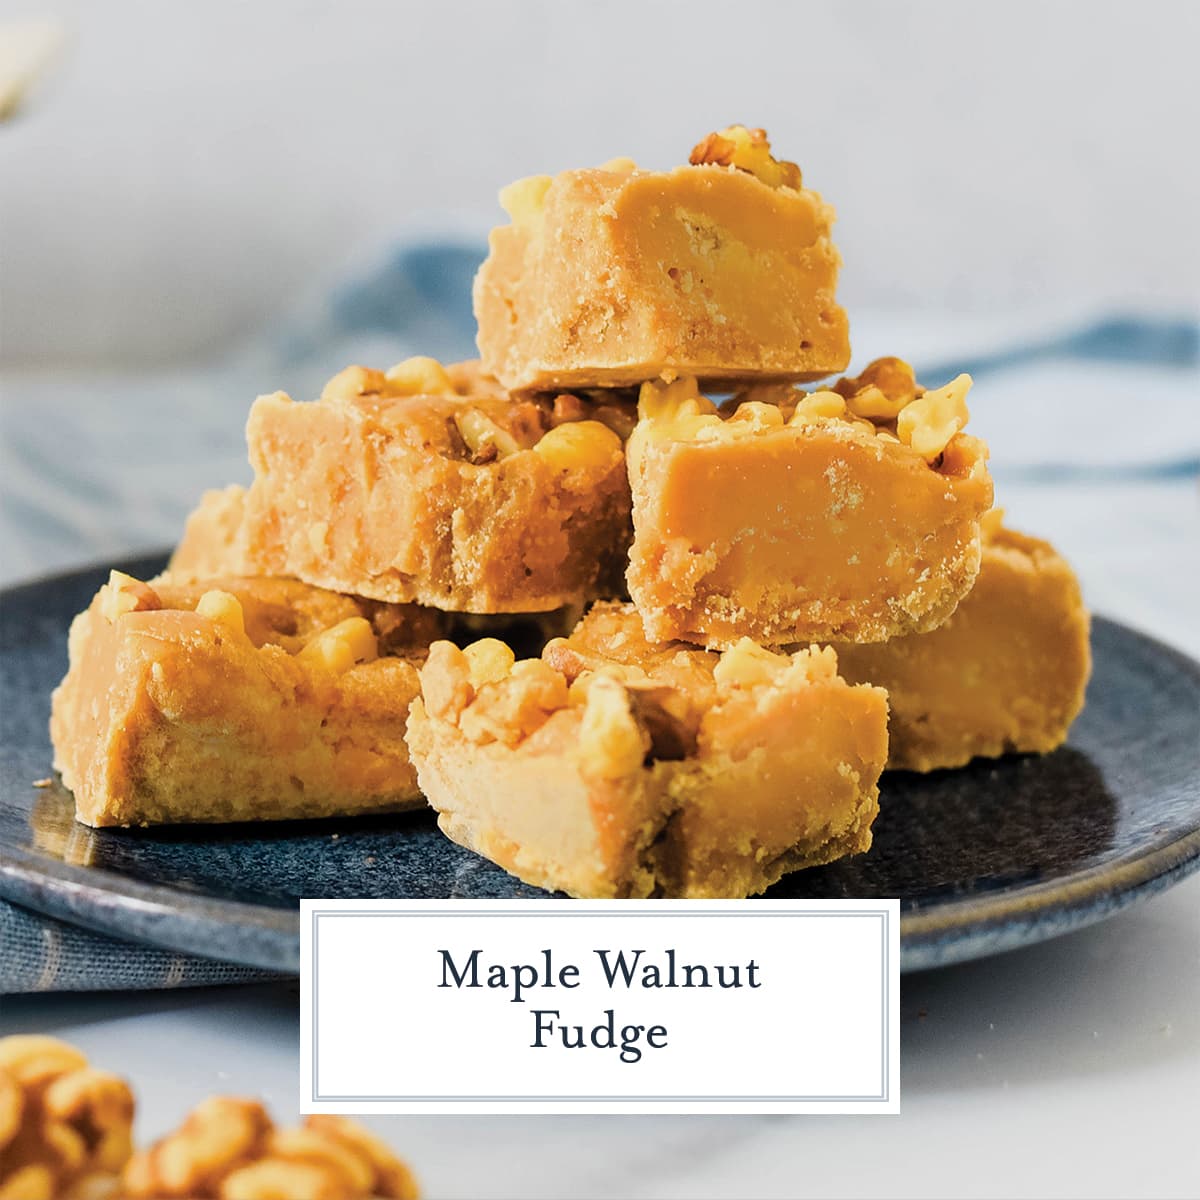
There are two basic ways to make maple fudge – Either boiling maple syrup for what feels like hours (which is actually a super technical recipe) OR flavoring a brown sugar based fudge with maple flavoring (which feels like cheating).
This maple fudge recipe is a happy medium – an easy to make recipe that actually contains maple syrup and doesn’t need a ton of time or fancy techniques. And its ready in about 20 minutes!
This rich and flavorful fudge is perfect for holiday baking, bake sales, or any party where you want to wow your friends!
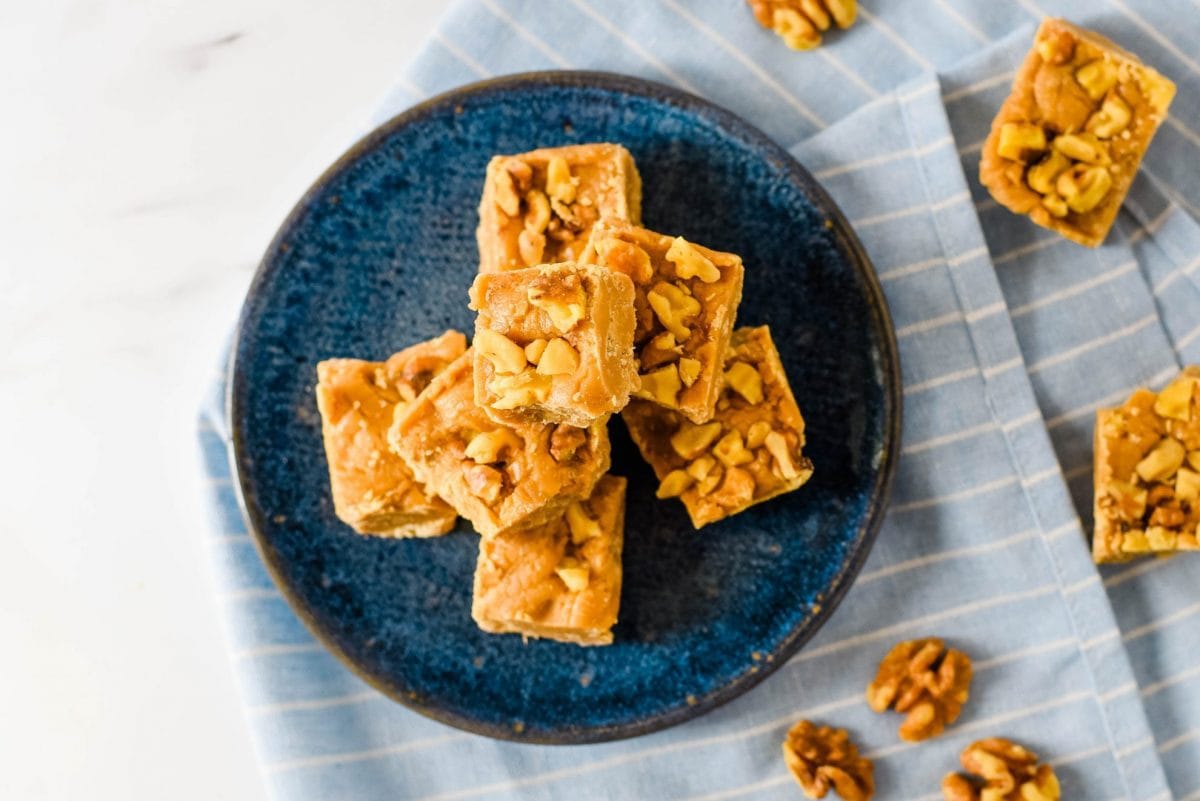
How to Make Maple Fudge
This fudge recipe is a great fudge recipe to make!
- In a large saucepan, combine the maple syrup, granulated and brown sugars, evaporated milk and salt. You want to use a large size because the mixture will bubble and expand as it cooks.
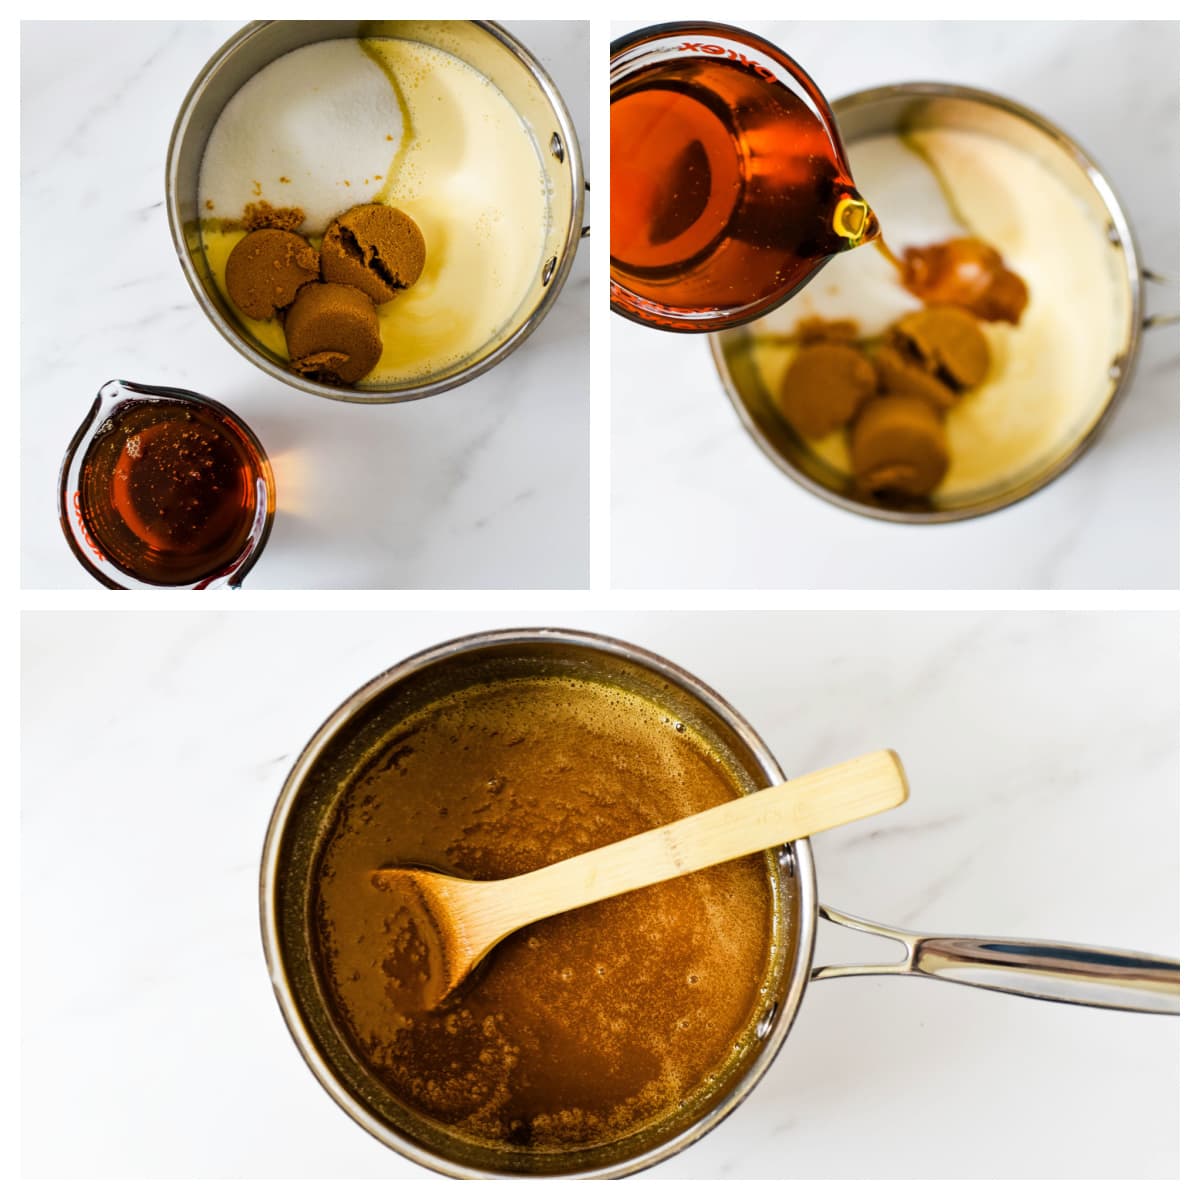
- Bring the mixture to a boil over medium high heat, making sure to stir constantly.
- Once it’s boiling, cook for 7-8 minutes (do not start the clock until the mixture starts to boil!), until the mixture reaches a temperature of 238°F on a candy thermometer (or just below softball status).
- Remove from heat and add in the butter and vanilla extract (be careful, it will bubble when you add them!)
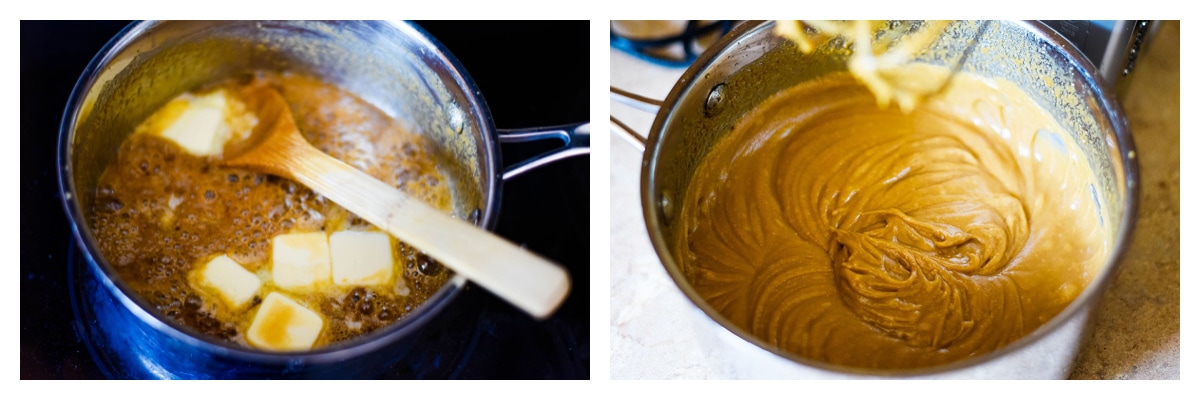
- Using a handheld electric mixer, carefully beat the mixture for about 5 minutes, until the mixture has thickened and loses its glossy appearance. Do not overbeat! It will become dry and crumbly if you do. Just barely 5 minutes will do it!
- Pour the mixture into the prepared pan and evenly spread out.
- Sprinkle with the chopped walnuts and allow to cool for at least 25 minutes.
- Take the fudge out of the pan using the foil, cut into small squares and enjoy!
Maple Fudge Making Tips
- Using a candy thermometer is the best and easiest way to tell that the mixture has been cooked to the right stage. You can test to see if its ready without a candy thermometer by dropping a small spoonful of the mixture into a glassful of cold water. When the mixture forms a small soft ball and is easily removed from the water, it is ready. Again, I do recommend using a candy thermometer instead! Its just better!
- Do NOT overcook or overstir your fudge! It will cause it to be hard and crumbly. Stirring it while it boils also causes it to be grainy. You don’t want your fudge to have any of these textures, so let it go until it reaches the right temperature.
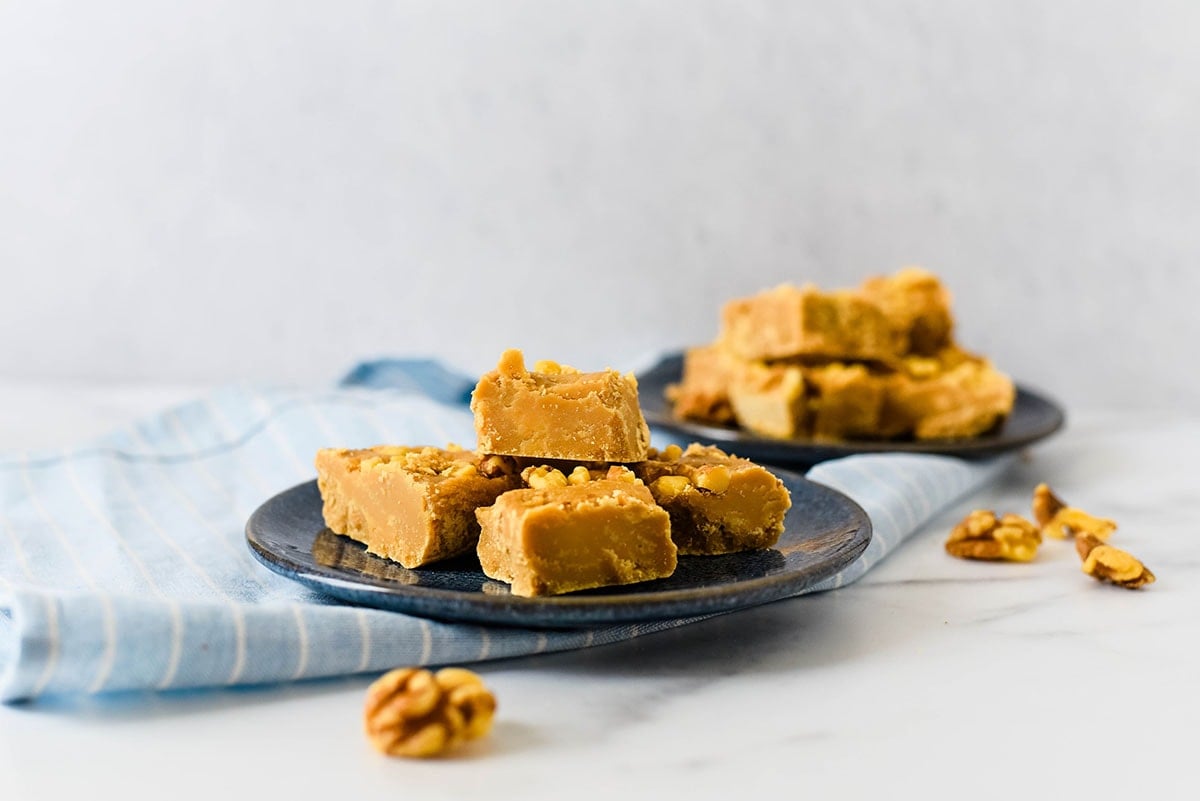
What variations of this maple fudge recipe can I make? I like this recipe topped with chopped walnuts, but also feel free to stir in:
- Cinnamon chips
- Bacon pieces
- White chocolate chips
The Importance of Using Real Maple Syrup
You want to use a good quality pure maple syrup for this recipe. You don’t want to use pancake syrup here!
Pancake Syrup if typically made from cornstarch, caramel color and artificial maple extract. Because pancake syrup has a different kind of sugar and artificial flavors, it will not result in a good tasting maple fudge. It won’t cook right, and the maple flavor will be very subtle.
You want to use a real maple syrup where the only ingredient is boiled down tree sap. Find a really good quality Grade A amber maple syrup that is rated as either Amber or Dark, with robust flavor for the best maple fudge!
Storage and Shelf Life
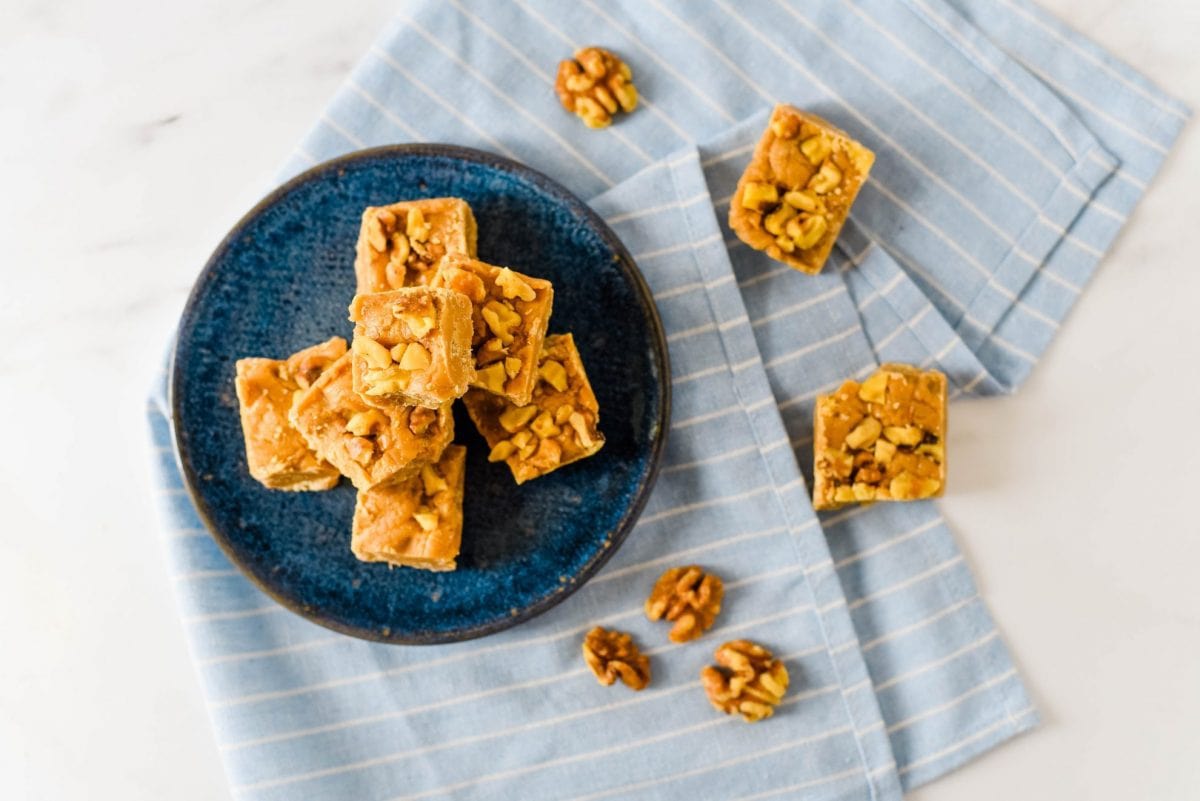
This maple fudge will stay fresh for at least one week if stored at room temperature in an airtight container.
You can also freeze your fudge! Wrap the fudge well in wax paper, and then place it in a freezer storage bag for up to six months. Allow the fudge to thaw on the counter for an hour or so. Keep the fudge in the bag while thawing so it doesn’t form condensation while thawing.
More homemade fudge recipes:
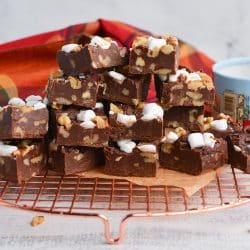
Rocky Road Fudge Recipe
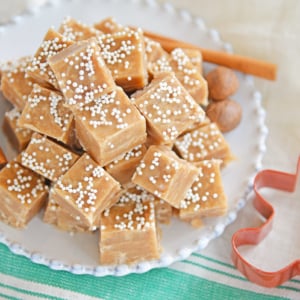
Gingerbread Fudge
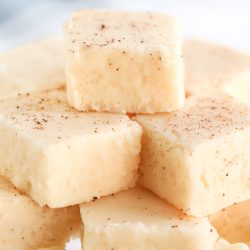
Eggnog Fudge
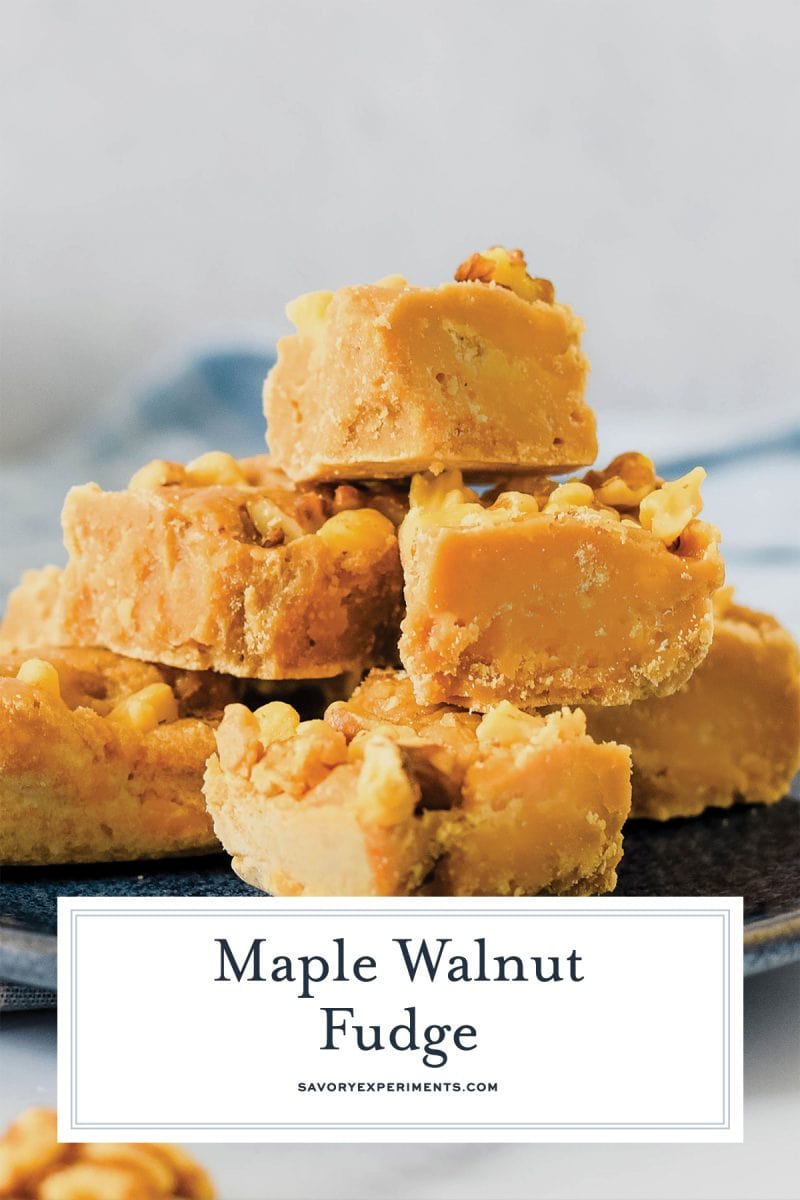
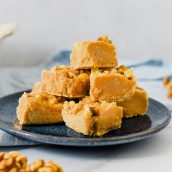
Maple Walnut Fudge
Equipment
Ingredients
- 1 ½ cups real maple syrup
- 1 cup sugar
- ¾ cup dark brown sugar
- 5 ounces evaporated milk
- ¼ teaspoon fine sea salt
- ¼ cup unsalted butter
- 1 teaspoon vanilla extract
- 1 cup walnuts , chopped
Instructions
- Line an 8” baking pan with foil and spray with cooking spray.
- In a large saucepan, combine the maple syrup, both sugars, evaporated milk and salt.
- Bring to a boil over medium high heat, stirring constantly.
- Once boiling, stop stirring, and cook for 7-8 minutes, until the mixture reaches a temperature of 238 °F on a candy thermometer.
- Remove from heat and add in the butter and vanilla extract (be careful, it will bubble when you add them!)
- Using a handheld electric mixer, carefully beat the mixture for about 5 minutes, until the mixture has thickened and loses its glossy appearance. Do not overbeat! It will become dry and crumbly if you do.
- Pour the mixture into the prepared pan and evenly spread out.
- Sprinkle with the chopped walnuts.
- Allow to cool for at least 25 minutes.
- Remove the fudge from the pan using the foil and cut into 12 squares.
- If you've tried this recipe, come back and let us know how it was in the comments or ratings!





This is amazing. It took a bit longer to reach the right temp. But when it did I took it right off the heat. I followed the instructions and bingo…So delicious 😋
Thanks for the feedback! Everyone’s burners are a taf different, so this doesn’t surprise me. I have an industrial gas stove with max BTUs so mine burners a bit hotter and faster.
I was a bit worried about attempting this, but I decided to dive in anyways, in search of a Real maple fudge, that didn’t use maple flavouring, white chocolate, etc.
Definitely was not expecting how much it bubbled up. I used a large pot, yet it still almost boiled over. Got it to 238, then added butter, vanilla, and toasted walnuts. Started mixing, and realized that I really should not have put the walnuts in. (I’m used to a different recipe, where you add peanuts in before mixing)
I persevered, mixing with the electric mixer and by hand. Once it started to thicken noticably, looking a little less glossy, I spread it into the pan.
It is more grainy than a normal fudge, but I suspect because of the amount of maple syrup. Still, flavour is amazing. Highly recommend toasting the walnuts, and a sprinkle of extra salt. Otherwise, very good.
*Also when it came to mixing, I noticed lots of sugar particles on the bottom of the pan. I’ve never seen that in any other fudge recipe. I blame it on the maple. again. 🙂
I made this recipe two times & it failed both times. Ugh!
Ugh, Becky, I am sorry. This recipe came from one of our contributors- we will be making it ourselves to make sure it is foolproof. I really apologize!
Leave it boiling for 7-8 minutes and not stirring? Won’t it scorch? I already tried one recipe and totally failed😬😂🙏Thank you in advance!!!
Hi Robin- if it is at the right temperature, no, it shouldn’t scorch. Make sure you use a candy thermometer! If you stir, it seperates.
If I don’t have dark brown sugar would light brown sugar work as well?
It will! Just a little less molasses flavor 🙂
Such a creamy and indulgent dessert! I loved it! I also use it as a snack.
This is the perfect recipe for the holidays! Thank you so much for sharing!
We all love fudge in this house. This one is definitely going on my holiday baking list!
What a perfect fudge flavor for fall time! 🙂 Can’t wait to try this recipe.
Enjoyed this for a midday treat and it does not disappoint! So rich and creamy, and just in time for fall! Looking forward to enjoying this all season long!