Perfect hard boiled eggs, one of the most basic of cooking skills, remains a challenge for many home chefs.
How Long Do You Boil Eggs?
How long do you boil eggs? How to hard boil eggs should be a basic, but for many of us, remains a mystery! The yolk comes out a grayish-green, they aren’t fully cooked, the shells are hard to peel; a whole host of problems.
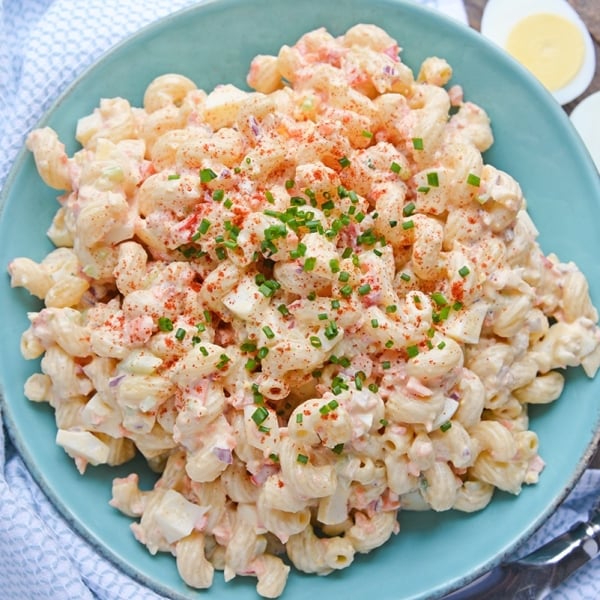
Since spring and Easter seem to be the time that hard boiled eggs make their seasonal come back for everything from egg salad , deviled eggs, or just eating them plain, I want to share a few quick tips and tricks on how to make hard boiled eggs.
I am going to say that these are tips and tricks I have personally found work, as have many others, but this doesn’t mean that there isn’t room for failure.
You will come across that stubborn egg that just doesn’t want to play nice and there are many variables preventing you from perfectly cooked hard boiled eggs.
What to Grab at the Store
The list it short! To make the perfect boiled eggs, you only need two simple ingredients. A full list of ingredients with measurements for this recipe is available in the printable recipe card below.
- Eggs – Work in batches of 6. Aim for older eggs in this case. The membrane separating the egg from the shell starts to separate as the egg ages, making it easier to peel. All of these times are based on large eggs.
- Baking Soda or Vinegar- You don’t need both, just pick one of the other. Both will help to break down the shell a bit, making them easier to peel.
Time to Make the Magic Happen
Follow these simple steps to make sure you have the perfect hardboiled eggs.
- Older eggs (but not expired old) as opposed to fresh eggs, actually make the best hard boiled eggs. The taste will be the same, but the shell will peel with ease. This is probably the most critical piece of whether or not your egg will peel well and might take some planning ahead. Grab the eggs in the front of the case, as most grocers will have the oldest stock up front.
- Adding 2 teaspoons of baking soda to cold water before boiling water will assist in peeling. Some folks swear by adding vinegar for the same purpose, but I’ve always had luck with baking soda, so I stick with what I know.
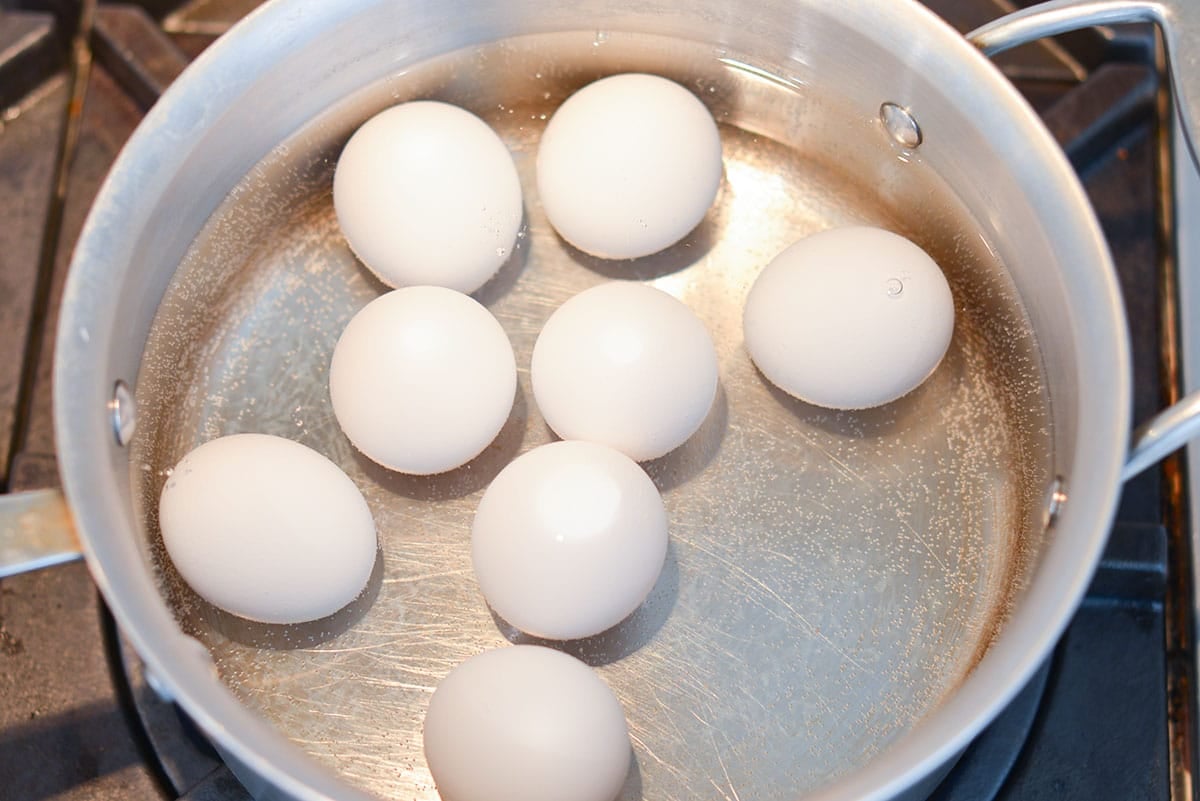
- Place eggs in a single layer in the pot, being careful not to crowd the pot. The water needs to circulate around the entire egg. You may need to do them in batches.
- Also make sure you are using the correct size pot, too. For 6 or less eggs, a heavy bottom saucepan will work. If you are making more, use a large Dutch oven or pot. As with most items, overcrowding the pot does not help the cooking process.
- Cover eggs with cold water and bring up to a boil. This way the eggs will come up to temperature with the water instead of being shocked when dropped into boiling water causing the shell to shatter and raw egg to leak. Do not fill with hot water either. Cool water is fine. Boil over high heat for the rest of the cook time.
- There are many wives tales for centered yolks. Some tricks that I have heard are to sit the egg carton on its side the night before boiling and stirring the eggs while the water comes to a boil, alternating the direction every minute so the egg whites will be perfect around the egg yolk.
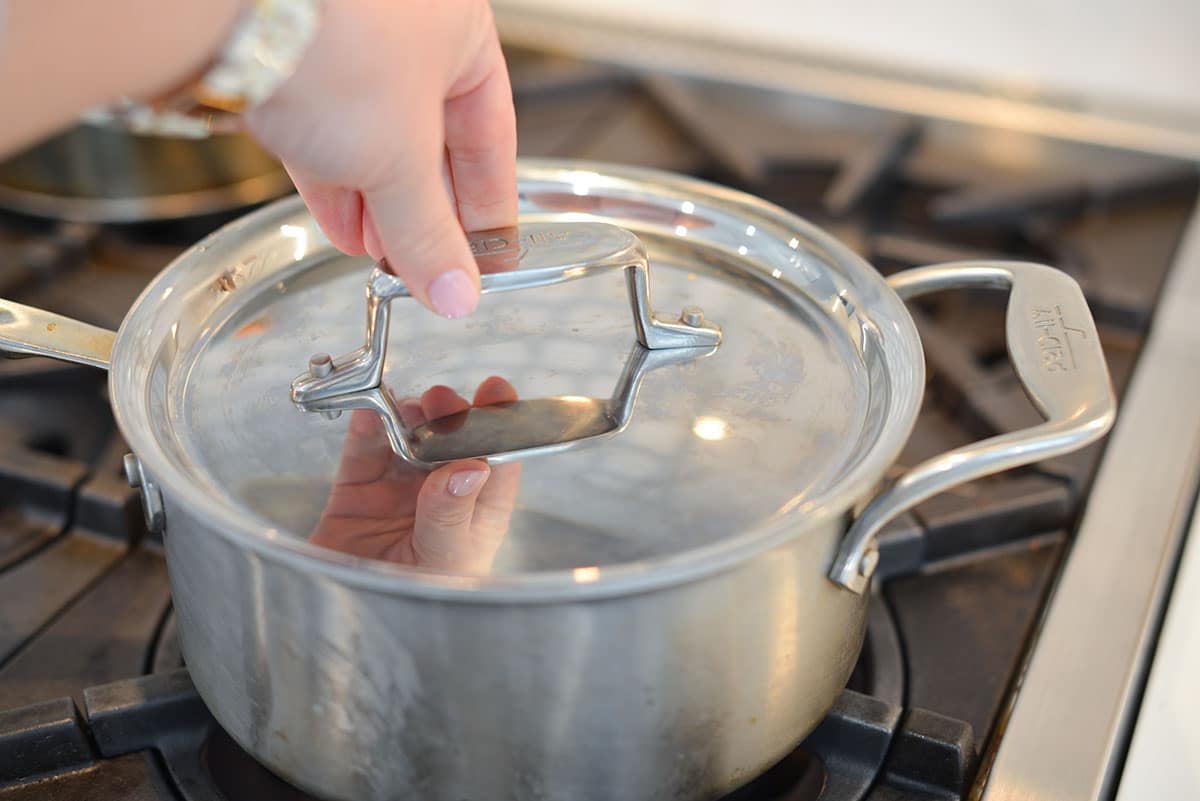
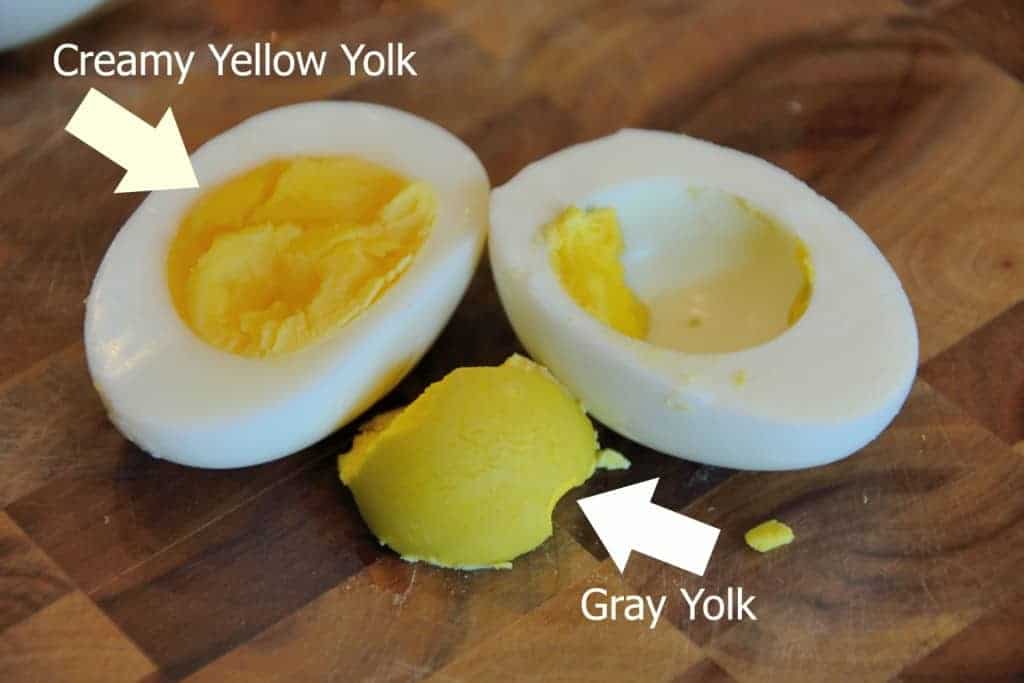
- Remove from the heat as soon as the water comes to a boil, cover and let sit for 10-12 minutes. Many people are worried they will undercook eggs and therefore over boil. Bringing them to a full rolling boil is a sure way to get gray yolks! You are even better with a low simmer than a full boil. Overcooking will result in the yucky colored gray hued yolk. The color comes from iron in the yolk reacting with hydrogen sulfide in the white.
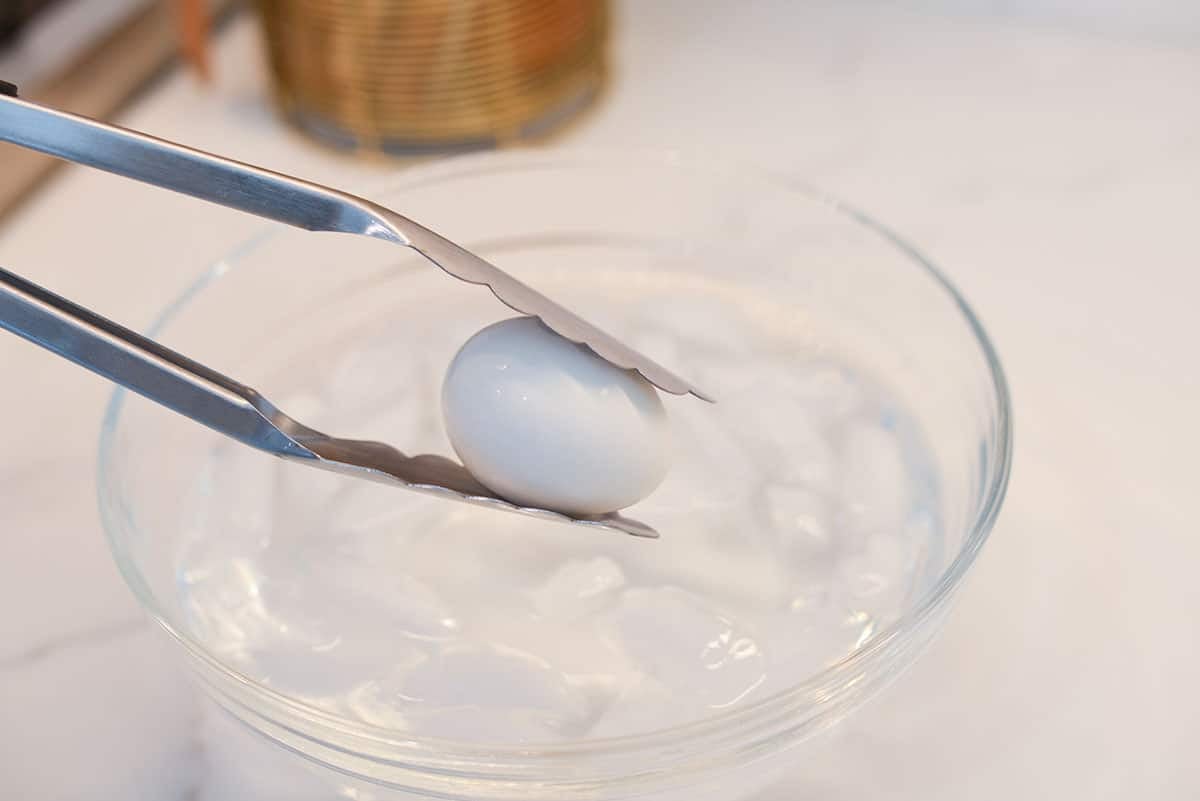
- Immediately immerse in a bowl of ice water to stop the cooking process and also loosen the shells. Shock the eggs! Fill a large mixing bowl with cold water and ice cubes (ice water bath), but make sure to leave enough space for the eggs. Transfer from boiling water to ice bath using a large slotted spoon.
- Shells will be the easiest to remove while they are still warm. Peeling under cold running water will also assist in separating the shell from the egg and prevent you from burning yourself.
If you have any additional ideas or tips for easier to peel eggs, I’d love to hear them in the comments section!
Instant Pot Method
Skip the boiling water and make eggs in the Instant Pot or another brand of electric pressure cooker.
- Place trivet in the bottom of the inner pot and pour in 1 cup of water.
- Place eggs on the trivet. Cover and lock the lid in place. Cook on manual high pressure for 10 minutes.
- Use quick release method and remove lid. Use tongs to transfer eggs to a bowl of ice water for 5 minutes to cool then peel.
How long do you boil eggs for hard boiled eggs?
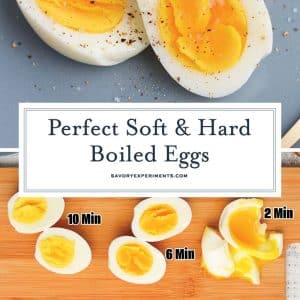
Cooking time really depends on the size of your eggs. Generally speaking…10-12 minutes is for a large egg.
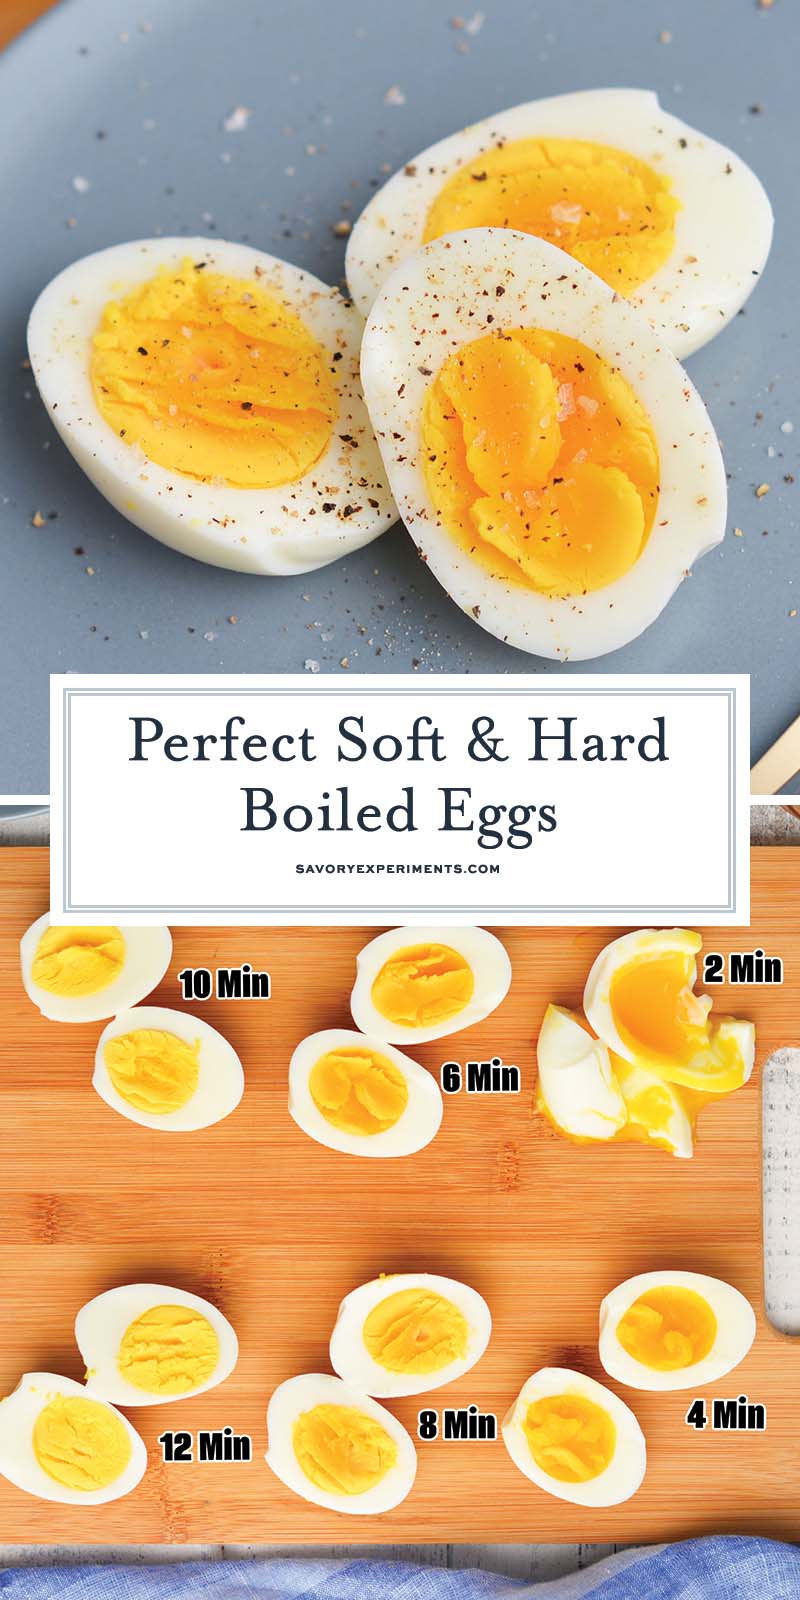
Extra large or jumbo eggs may need to boil for 1-2 minutes before removing from heat and conversely, smaller eggs may need closer to 8-10 minutes. Here is what they look and taste like at each stage.
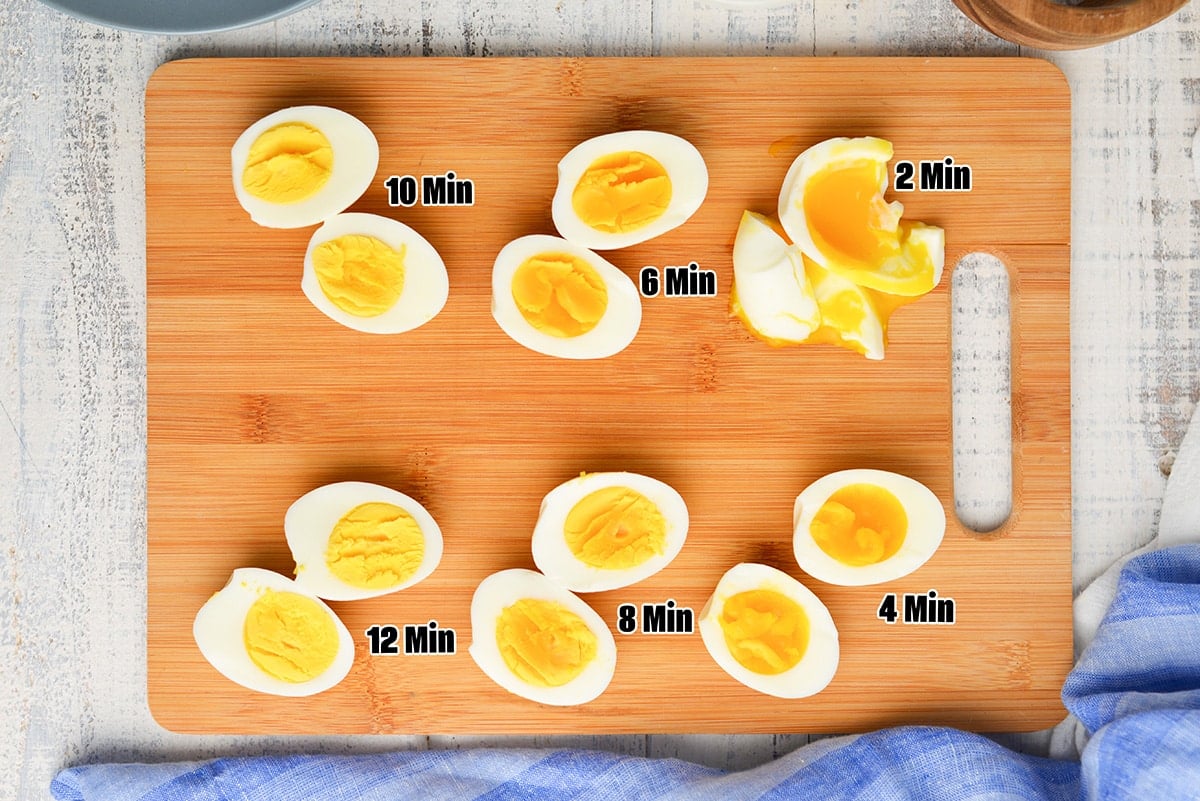
Two Minute Egg
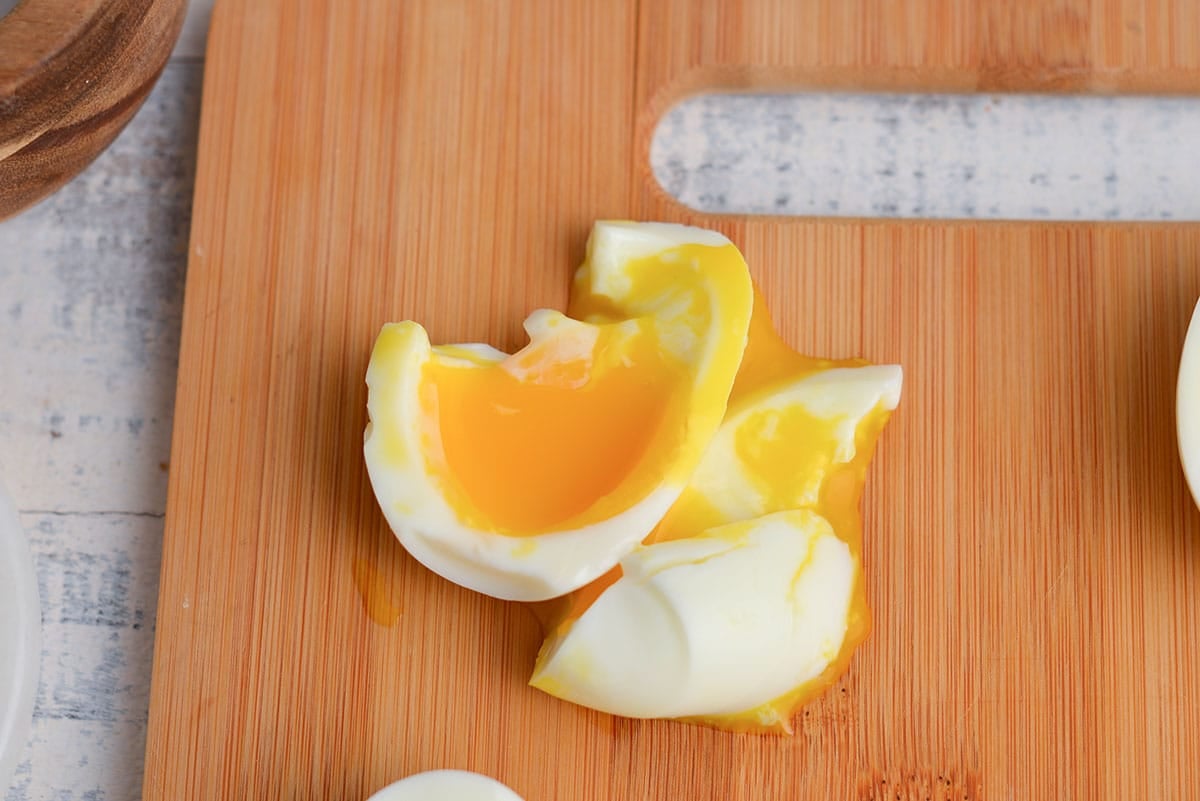
These were common in the Victorian period and served on a little egg stand with the top of the shell missing. People would remove the top white and dip their toast into the runny yolk. As you can see, these are very runny and hard to peel because they lack shape and structure.
Four Minute Egg
A little more set than a two-minute egg, these are still going to provide a soft yolk, but will be more set. These are ideal for things like Ramen and salads, but aren’t set enough to slice into thin strips.
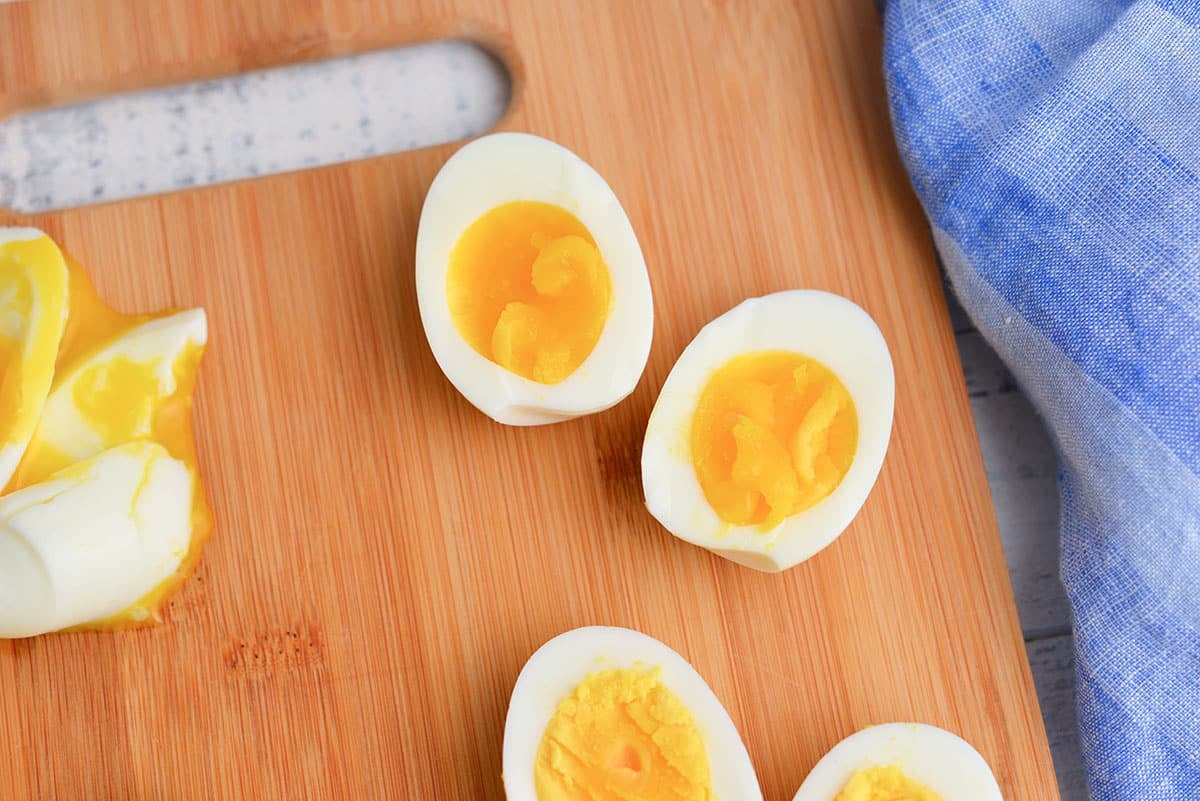
Six Minute Egg
Considered to be the perfect “soft boiled egg”, these are also used in Ramen dishes, but also as a side for breakfasts, crushed with a fork they can be smeared onto a tortilla or tossed with your favorite greens or on a niçoise salad.
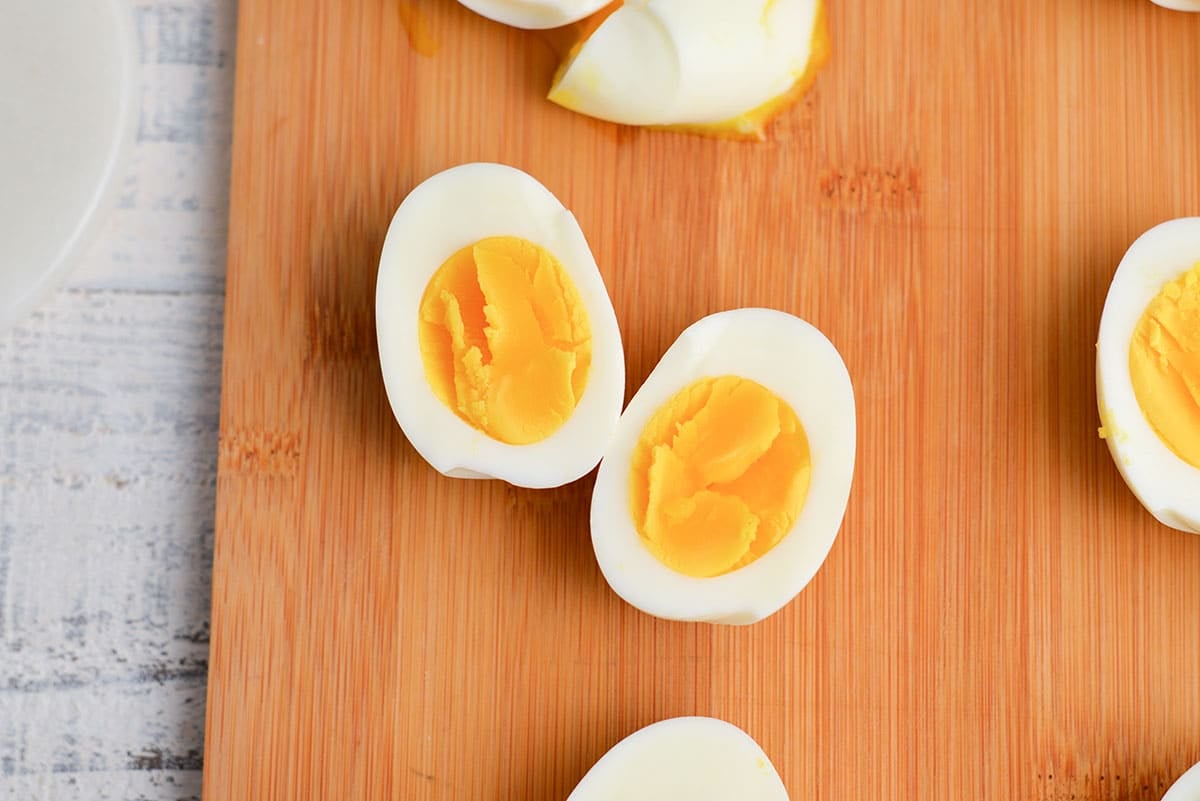
Eight Minute Eggs
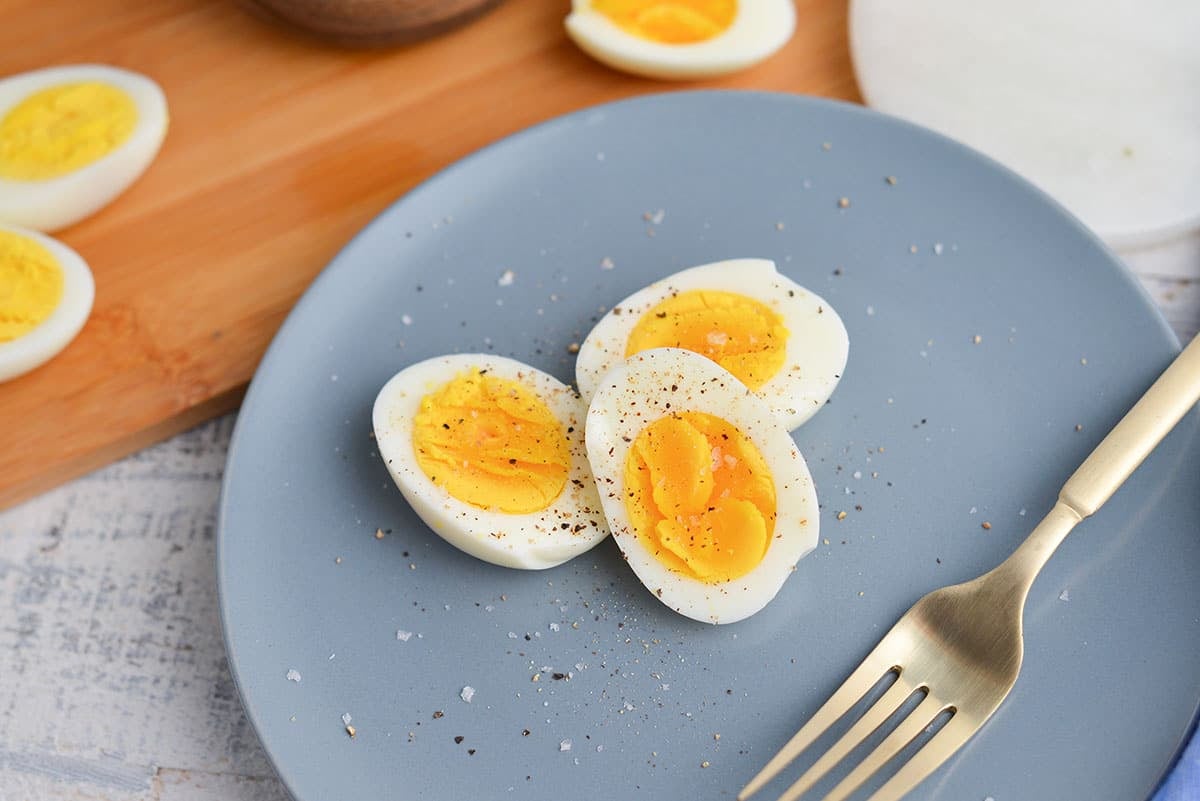
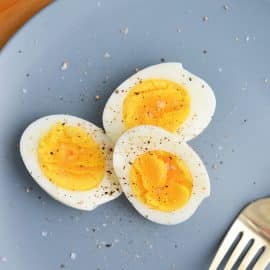
Now we are running into hard boiled eggs. Eight minute eggs are at the lower end of that and will be more of a preference and used for salads and other dishes that require a soft, but set yolk. This is my preference of egg to sprinkle with flaky salt and fresh pepper as a snack.
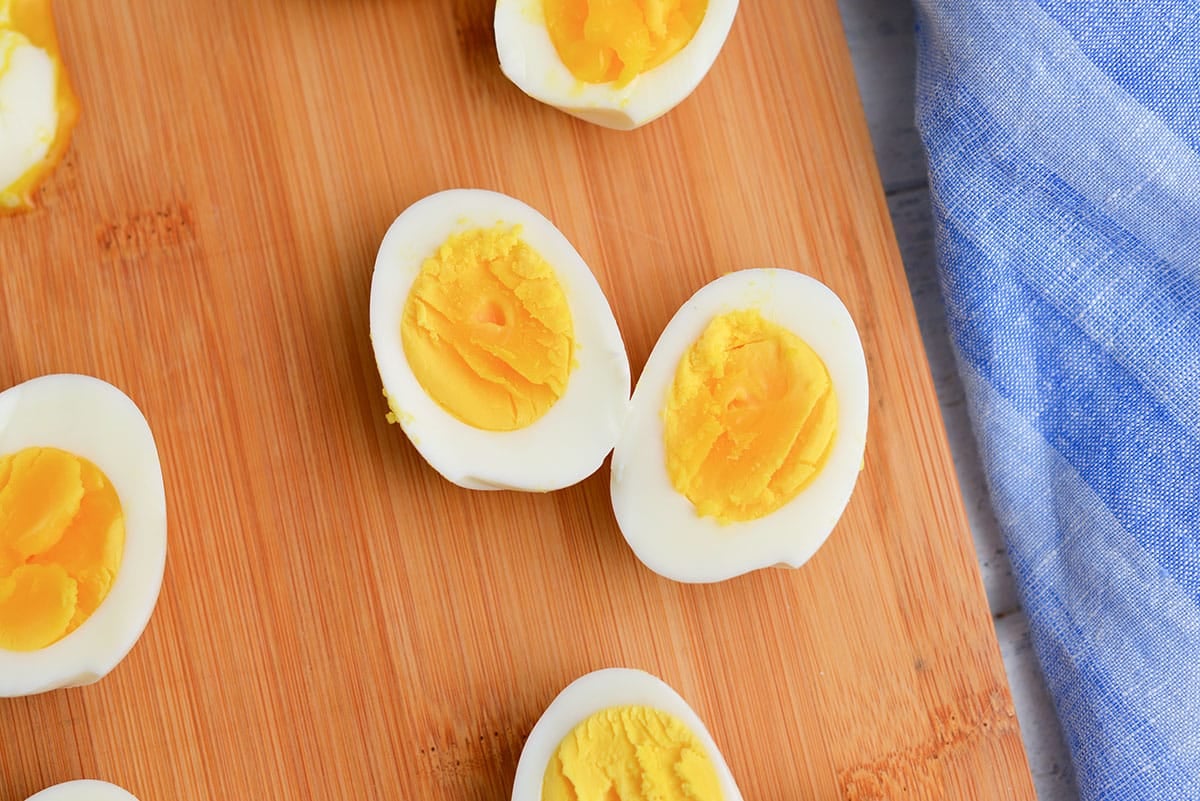
Ten Minute Eggs
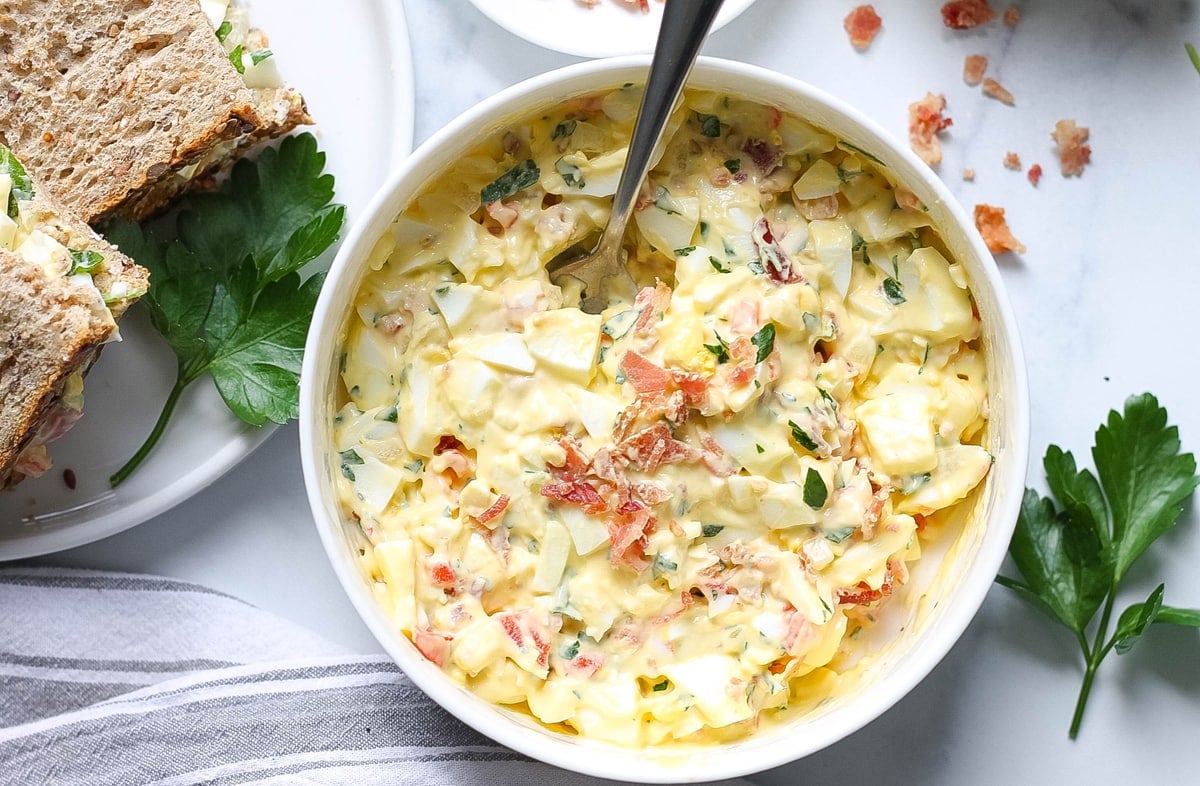
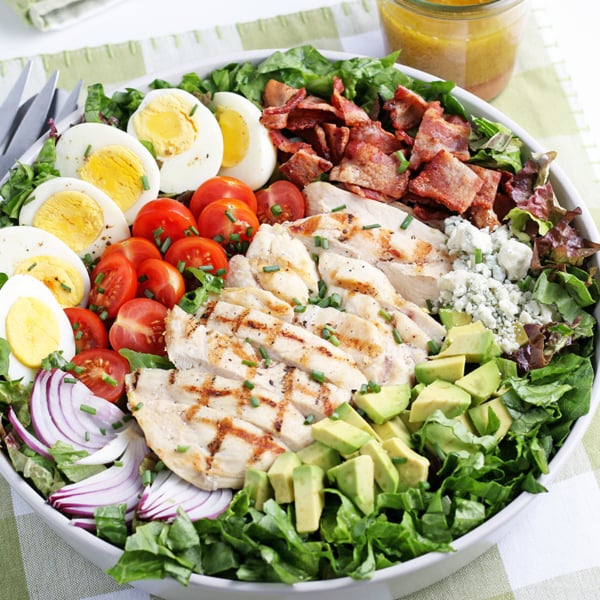
A more solid yolk, but still creamy and velvety, these are hearty eggs used for egg salad, quartered and put on top of salads or used as a garnish for other dishes.
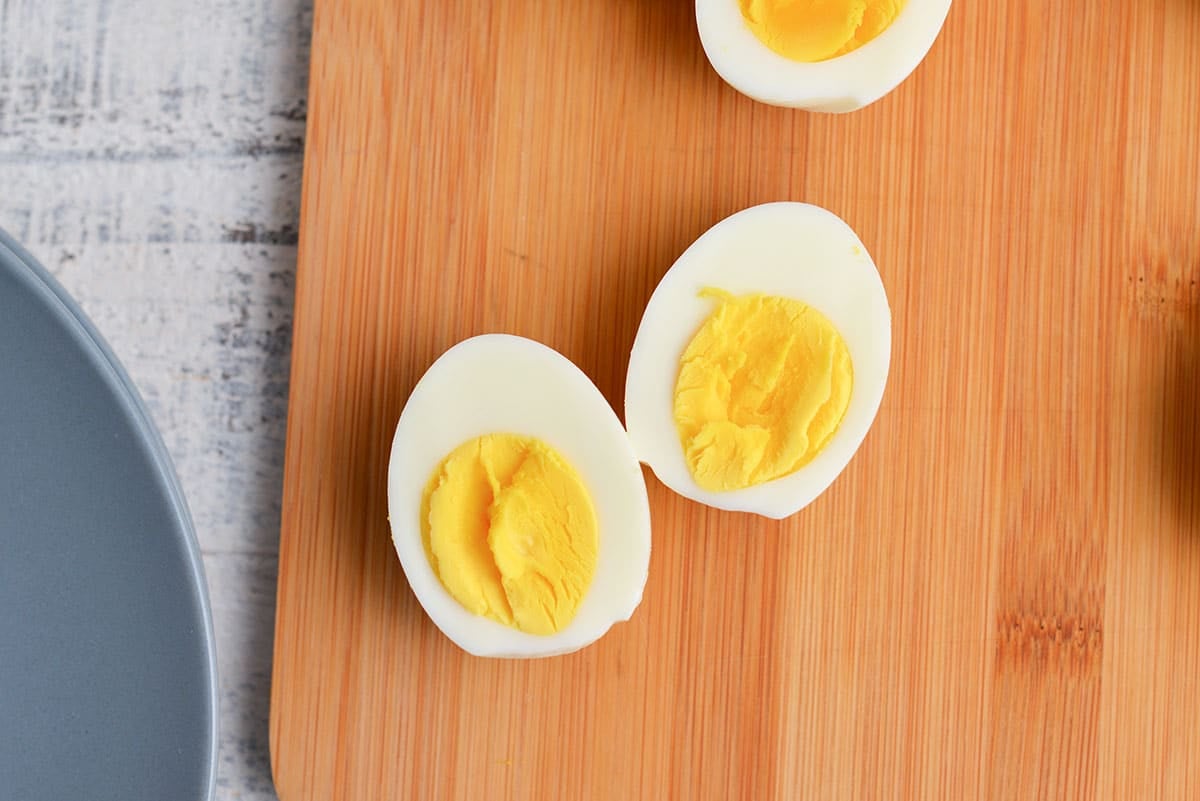
Twelve Minute Eggs
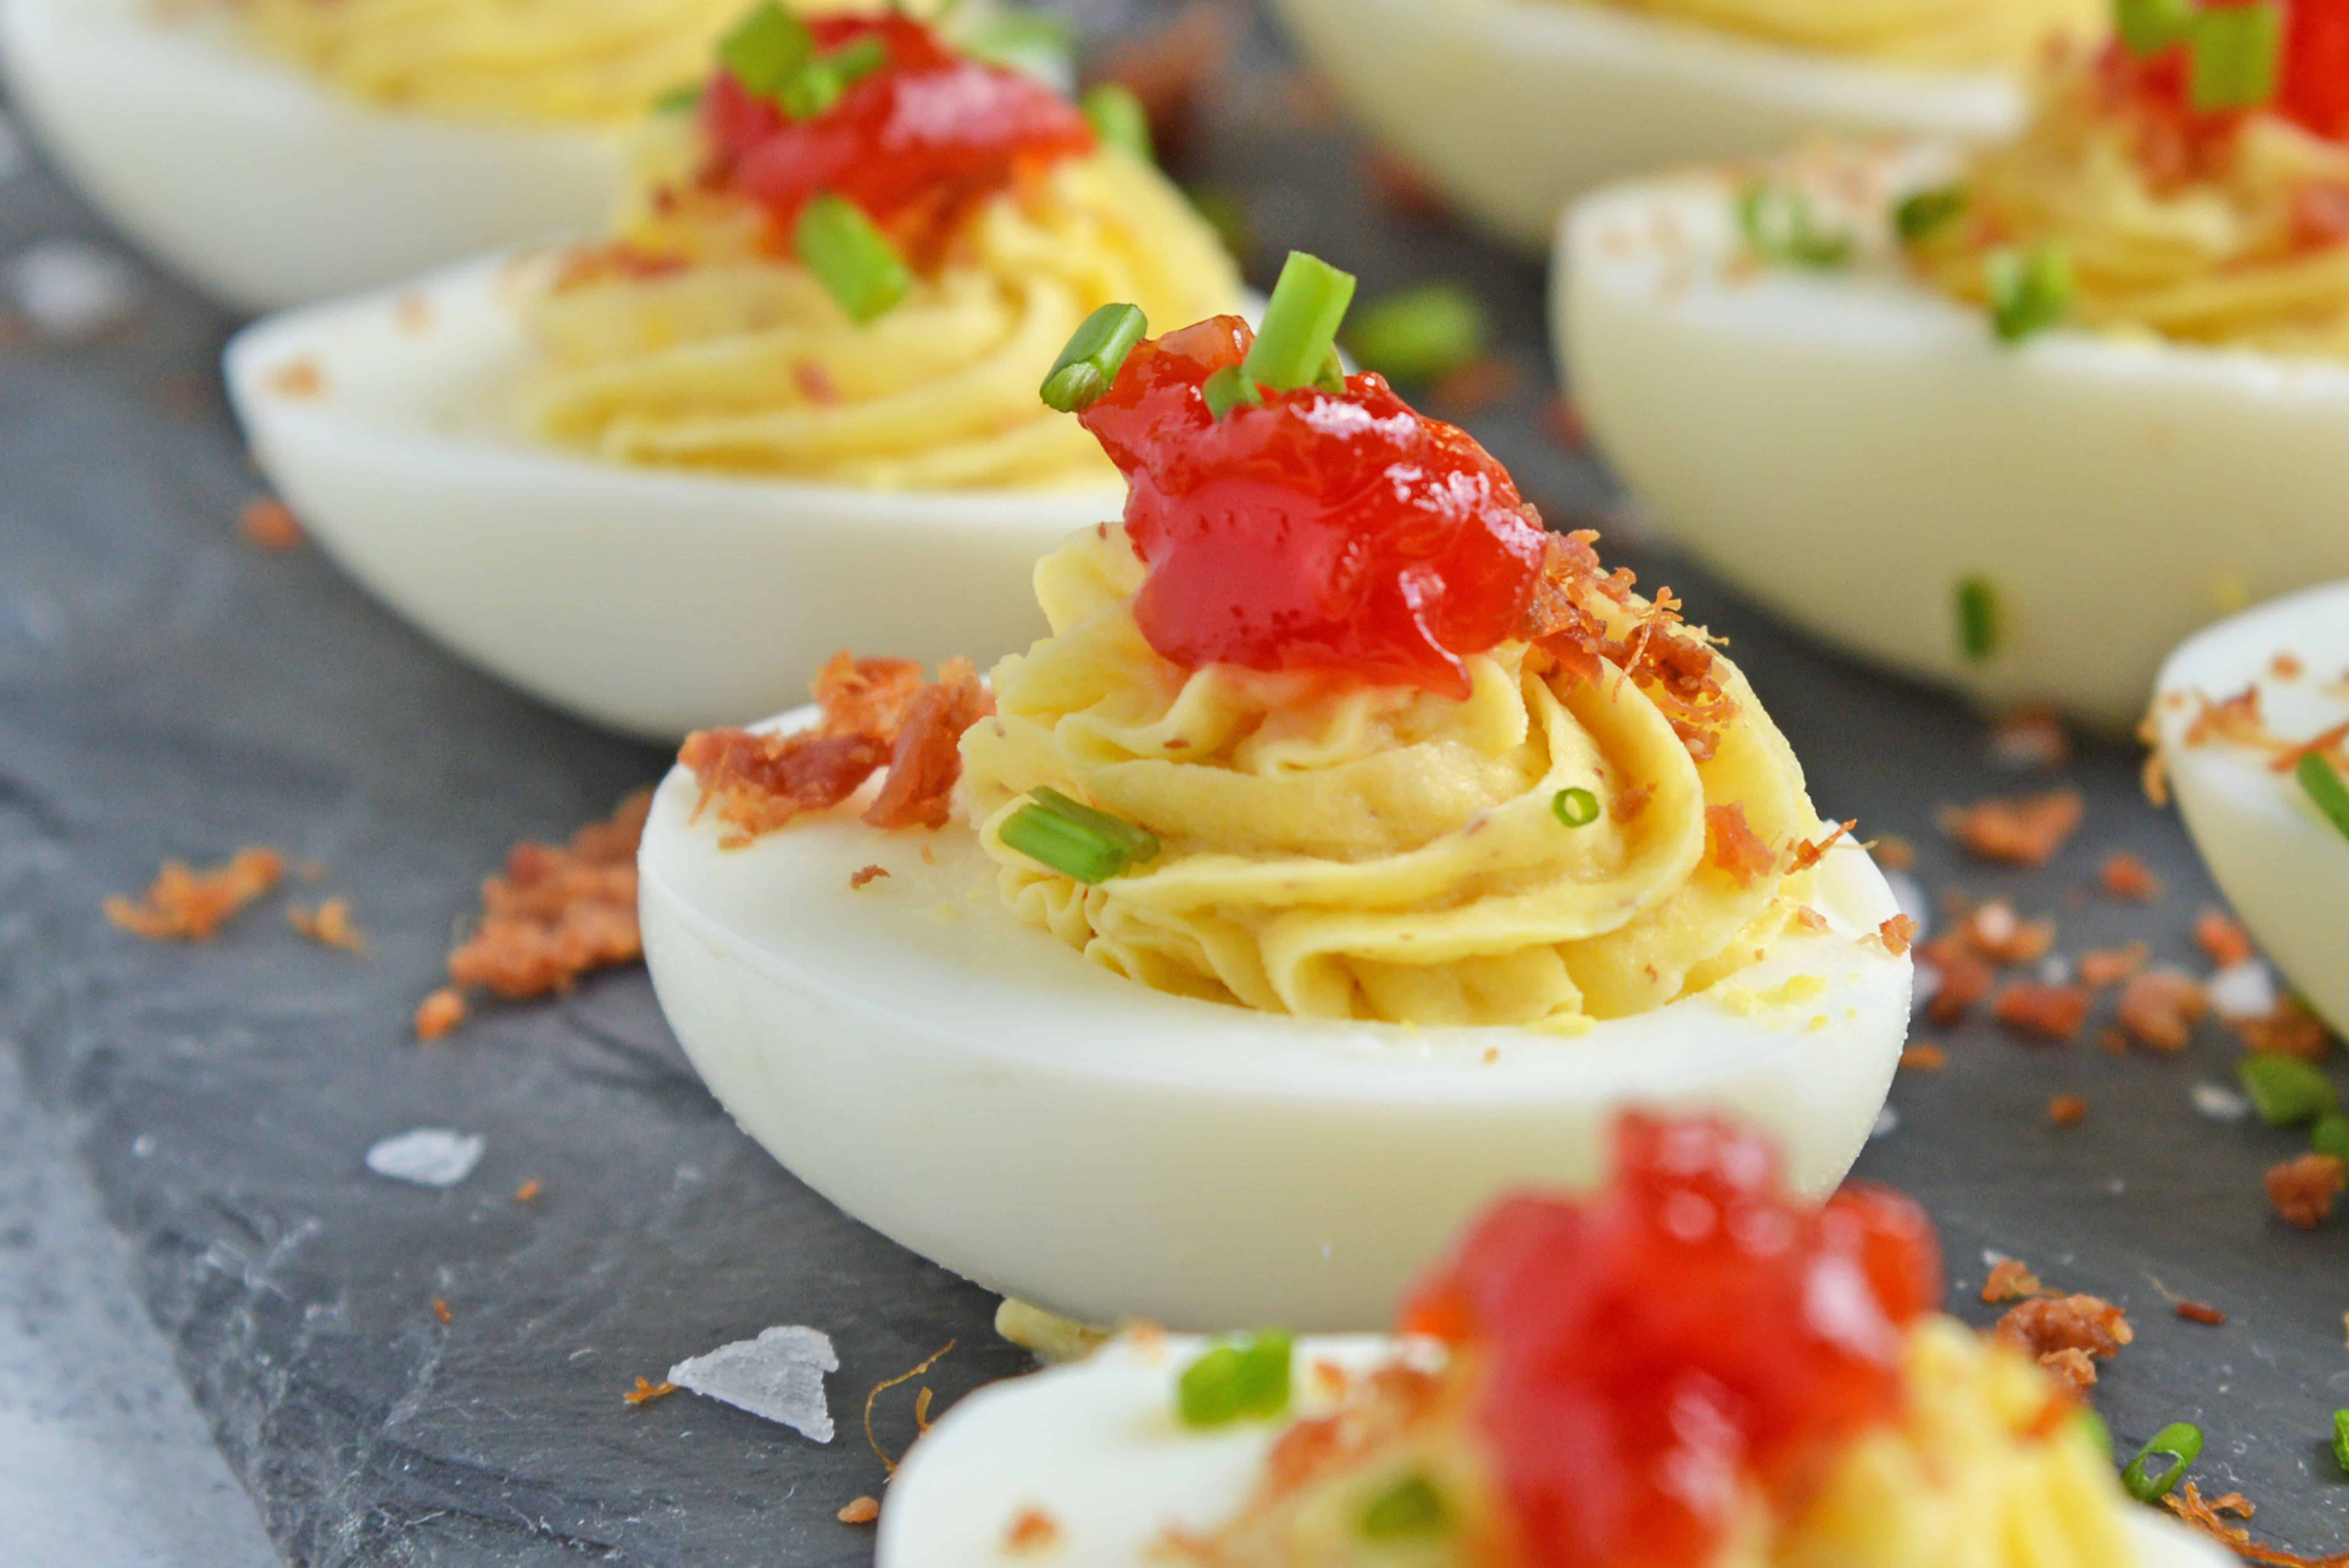
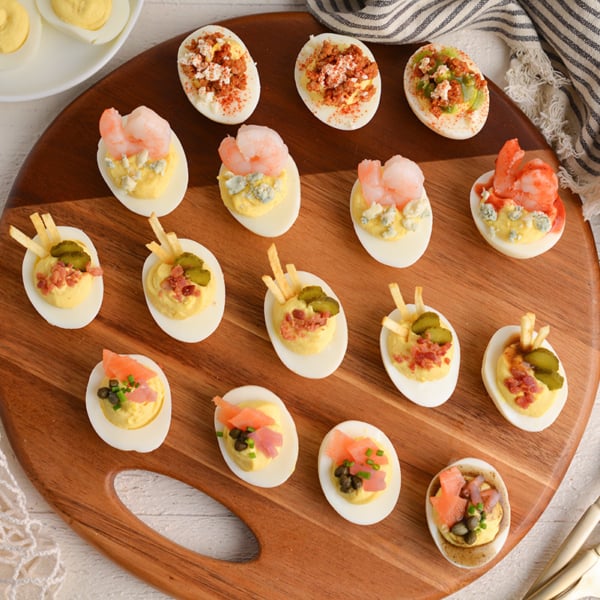
These are the most solid before heading into the mealy, dry and gray zone. These are great for deviled eggs and using to dye Easter eggs.
Perfect Boiled Egg Time
The perfect time depends on on two things, the size of the egg and how you like your yolk, which might be a demand of the recipe or a personal preference. All of these times are based on large eggs. Add 1 minute for extra large eggs, subtract one minute for medium eggs.
- Soft boiled eggs– For best results, cover for 2-5 minutes, depending on how you like your yolk. Soft-boiled eggs are sometimes called dippy eggs or runny eggs because the yolk can range from runny to semi-set and jammy.
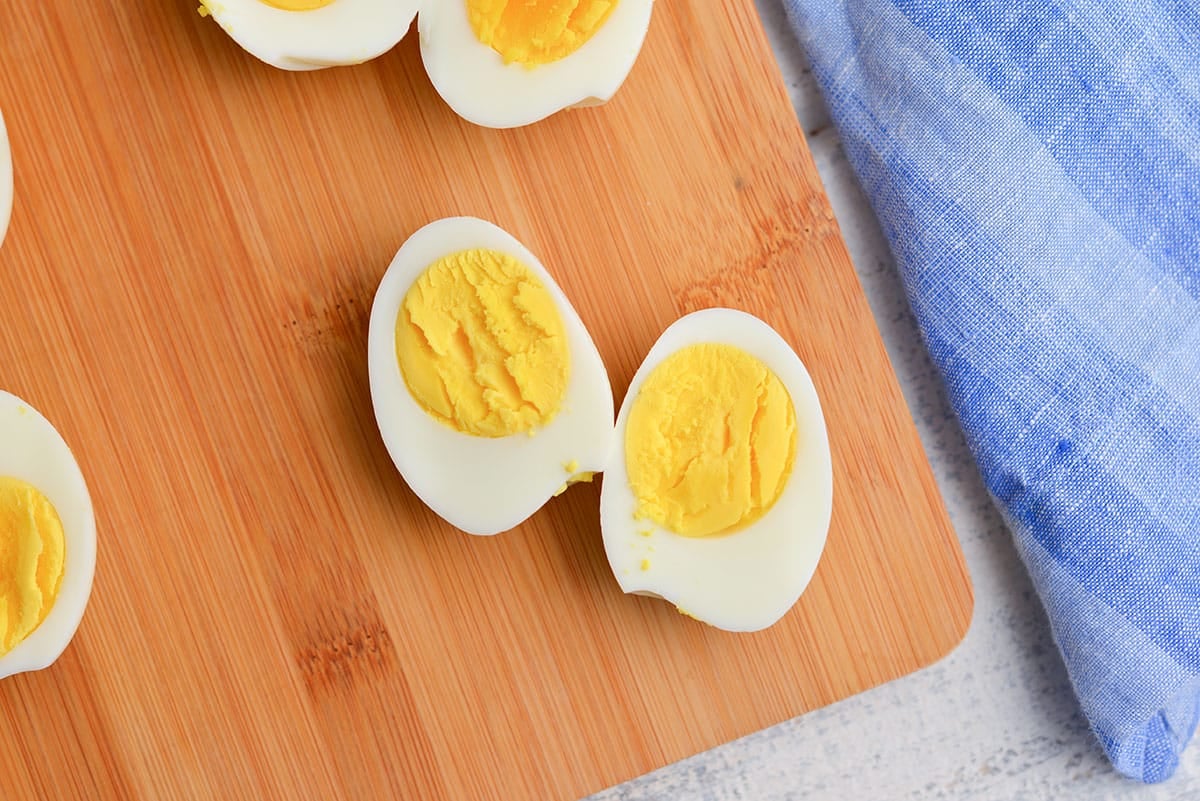
- Hard boiled eggs– Cover for 9-12 minutes, depending on how you like you yolk. These eggs have a set yolk. Go all the way to 12 minutes for things like Easter eggs. Anything past that the yolk starts to get chalky, dry and can develop a grey-ish ring which is edible and won’t hurt you, but is unsightly.
You can also pick any time between depending on how you like you yolks or the purpose of the recipe. Here is a quick guide for how long to let the eggs sit covered for the optimal yolk.

Air Fryer Method
You can also break our the air fryer to make perfect eggs.
- Preheat the air fryer to 270°F.
- Place the eggs in the air fryer basket and slide it into place.
- The next step will depend on how you like your eggs. For soft boiled eggs, keep them in there for 10 minutes. This will give you a soft white and a jammy yolk. For medium-boiled eggs, keep them in there for 12-13 minutes. This version will have a yolk that is just set and a white that is still a bit tender. For hard-boiled eggs, they should spend 14-15 minutes in there.
- While your eggs are cooking, put together an ice bath. This will help to stop them from cooking more when you take them out and will help to allow you to peel them more quickly. It is as easy as adding a bunch of ice to cold water in a bowl.
- When your eggs are done, carefully transfer them to the icy water and let them sit for five minutes or so.
Best Way to Peel Hard Boiled Eggs
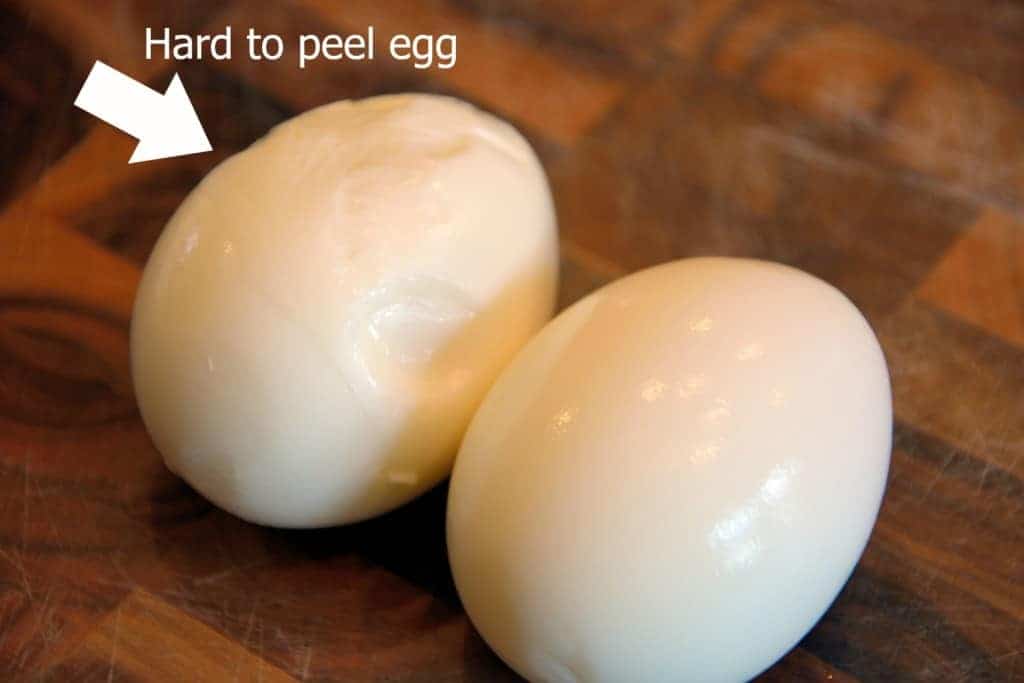
Hopefully using older eggs and using baking soda or vinegar will loosen up the shell a bit. From there, gently crack the egg and roll it on a hard surface to break up the shell and dislodge the membrane.
Start peeling at the large end. If the shell is temperamental, you can place it under running water, the force will help to separate the two.
Storage and Freezing
Can you freeze hard boiled eggs?
Yes and no. Whites do not freeze well and become gross and rubbery. The yolks, however, will freeze decently, but not great.
How long can hard boiled eggs be kept at room temperature?
This is a great questions and eggs are commonly left at room temperature for long periods of time.
Think of egg hunts, egg salad sandwiches on the potluck table or even deviled eggs, which I prefer to be more toward room temp than chilled.
According to the CDC, hard boiled eggs are good at room temperature for up to 2 hours.
Do hard boiled eggs need to be refrigerated?
Yes! After cooking, if you aren’t eating them immediately, hard boiled eggs should be kept refrigerated in a sealed container.
How long do hard boiled eggs last?
If kept in an airtight container in the refrigerator, they will last up to 7 days.
Why Does My Egg Look Gray Or Green?
Eggs that have a gray or green ring were cooked took long. Rest assured they are safe to eat and will taste fine, but they might be a touch dry or mealy and look a little unsightly. These will also tint egg salad or deviled egg filling a tad gray.
Quick Q&A
You can, but they will get rubbery, just like an overcooked egg. I don’t recommend microwaving, they can explode and the texture will be off.
If you really want to reheat a hard boiled egg, bring water to a boil in a saucepan and heat the egg in for 1-2 minutes.
They were cooked a little too long, but they aren’t bad, just a little unsightly.
Hard boiled eggs, hence the name, are best in the boiling water, but you can also make them with more modern appliance like an Air Fryer or Instant pot.
Place the eggs in the water before it boils so the internal temperature rises along with the water. This prevents them being shocked and the shell breaking.
Cold, peeling is much easier after the egg has been in an ice bath. It is also safer for you fingers!
You don’t have to, but I hate doing it, so I try to get it done and out of the way so when I want an egg, I can just grab one from the fridge and go.
What To Do With Hard Boiled Eggs
There are so many ways recipes that use hard boiled eggs or soft boiled eggs, but my favorite way to enjoy them has to be with just a little salt and pepper.
You can also make easy Poached Eggs!
Perfect Hard Boiled Eggs
Ingredients
- 12 eggs
- 1 tablespoon vinegar or baking soda , pick one
Instructions
- Place the eggs in a large saucepan or Dutch oven. Do not over crowd the pot, make sure there is enough room for water to circulate around each egg. If there isn't, work in batches of 6.
- Add the baking soda or vinegar.
- Fill pot with cold water to about 1/2 inch above egg tops.
- Bring the water to a boil.
- When the water reaches a full, rolling boil (not just a simmer), then remove from heat and cover.
- For jammy yolks (soft boiled), cover for 4-5 minutes, for hard boiled (solid, cooked yellow yolk), cover for 10-12 minutes. You can also pick any time between based on preference.
- Immediately remove eggs using a metal slotted spoon or tongs and submerse in an ice bath to stop the cooking process.
- Run under cold water and gently break and remove the shells.
- If you've tried this technique, come back and let us know how it was in the comments or star ratings.
Video
Notes
Nutrition
** Please note, these are just tips and tricks. I am not claiming that these will work ALL THE TIME or that this is THE ONLY way. They are simply suggestions. I’d love to hear your own and if these tips worked for you!





This method works great for me every time – I think problems arise if people don’t “sacrifice” an egg and test for doneness. I always do this no matter how many times I hard boil eggs. Sometimes 1-2 more minutes sitting in hot water is all they need. It pays to test one before assuming they’re ready for the ice bath.
That is great advice, Tammy! I usually make a few extra just in case there are casualties.
I haven’t tried your method yet. Before I start I’d love key to know if you have advice for duck eggs. I know they are a bit larger and I always mess up I’m my cooking time.
Deana, That is an excellent question! I have never used duck eggs with this method (usually a runny fried egg), but I would assume the anatomy is the same, so it should work. Maybe just add a 1-2 minutes to the boiling to account for it being larger (that is what I do for extra large eggs).
You should be embarrassed at how poorly this process works. I followed your directions to a T expecting to receive some truly higher knowledge. What I got was only 7 out of a dozen eggs that were even worth peeling farther than cracking and starting to remove the shells. Don’t pass on something that flat out doesn’t work.
Mark, I’m sorry this process did not work for you. It has worked for many others. Maybe the quality of your eggs or the size had something to do with it. While these are just tips for hard boiled eggs, there are still many variables in play and no set of instructions will work for every egg, every time. I personally use these instructions and have success with them. I have a high level of integrity and certainly wouldn’t pass on any advice that I didn’t feel was honest.
Min came out perfect using her method. Sounds like someone is a sour puss, Mark.
Hi As for the Viniar in the boiling water. It is to keep the egg whites from comeing out when shell is cracked or to poach the egg’s in
You know, to be 100% honest, I’m not sure exactly how the vinegar works scientifically. I will say, I hope the eggs don’t break and it doesn’t react like if you were making a poached egg. All I know is that I have had more success with vinegar than without.
Thank you for the great information. Will try this tomorrow
Let me know how it goes!
this has been my recipe for many years it’s the best!
i just leaned to peel boiled eggs with a spoon. make a big enough crack to insert a spoon tip, slide spoon around the inside of the shell. the shell breaks away clean.
i rarely ever have any funky pecked up looking egg whites or residual shell left behind.
give it a try some time it’s like magic.
Great tip, Tracie!
sorry if this seems like a silly question but when exactly do you place the baking soda in the pan: initially, after it boils, 0r in cold water when you begin to peel? Sorry! 🙁
Thanks
No worries, Julie! There are no silly questions… usually the question comes because I didn’t make the directions clear enough. Your feedback helps me update the post to be more clear to everyone reading it, and that I appreciate! You add the baking soda to boiling water. I’m heading to clarify the post now. Here is to perfect eggs! – Jessica
Now I’m confused. Your directions say to add baking soda to cold water before boiling and your reply above says to add to boiling water. Does that mean either way works?
Yes, either way. I will clarify. Thank you for pointing that out!
I’m literally making these right now, I will post back how they turn out 🙂 I love hard boiled eggs but I have never tried the baking soda trick before! Thanks!
Update:
To be honest, these didn’t turn out for me at all….. The inside was fine, maybe a teensy bit undercooked but I found them more difficult to peel by far than making them the traditional way (no baking soda, boiling longer). I may have done something wrong unwittingly, though.
Sorry to comment again, I just realized where my error probably was….errrrrr…… I just went to get baking soda for a completely different recipe, and realized my DH switched the location of my cooking baking soda with the kind formulated to keep the fridge fresh (theyre the same formula, but the granulation is different and doesn’t work well in baking. Its not toxic or anything tho ) so I accidently used the fresh fridge baking soda in the water ! Whoops! Im sure that’s what the issue was!
Hi Nina! I hope you got my e-mail. It could be, but it could also be if the eggs were too fresh. Such a contradiction to everything else that you want them to be old 🙂 Also, if the eggs are larger, you might have to boil them for a moment or two longer. This was based on large eggs, not extra large or jumbo.
As someone who raises laying hens, the best way to keep the yolks centered is to turn them “upside down” so that the narrow end is on the bottom. Somewhere along the way someone decided it looked better to have the narrow end up but it’s not the correct way to store them.
Great tip! Thank you!
I so gotta try this method! Thank you so much – for the tip about adding baking soda
You are very welcome!