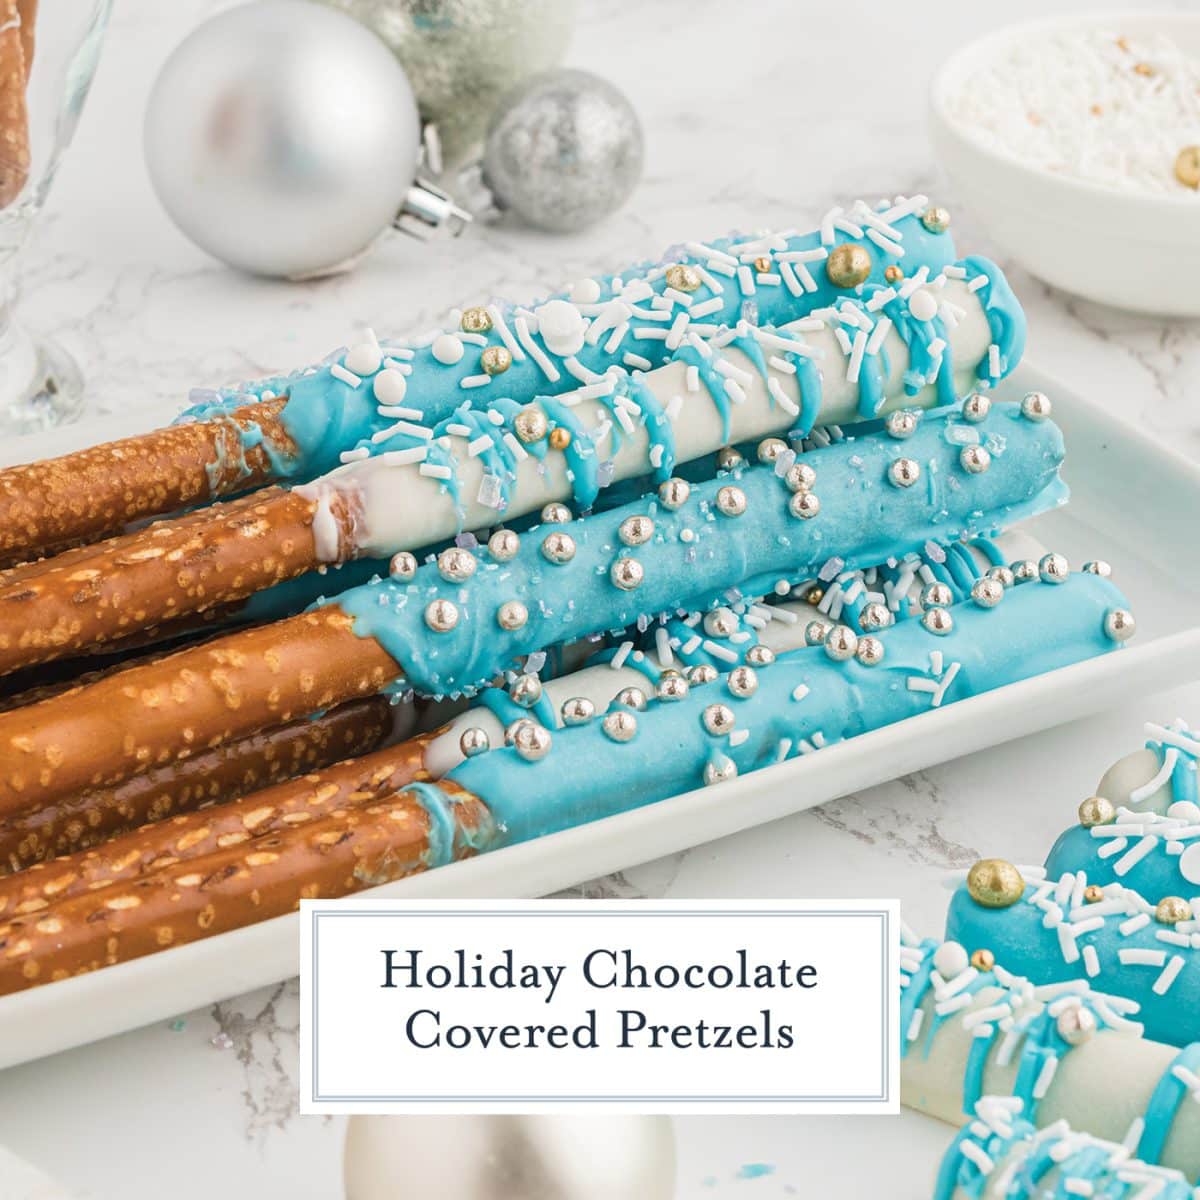
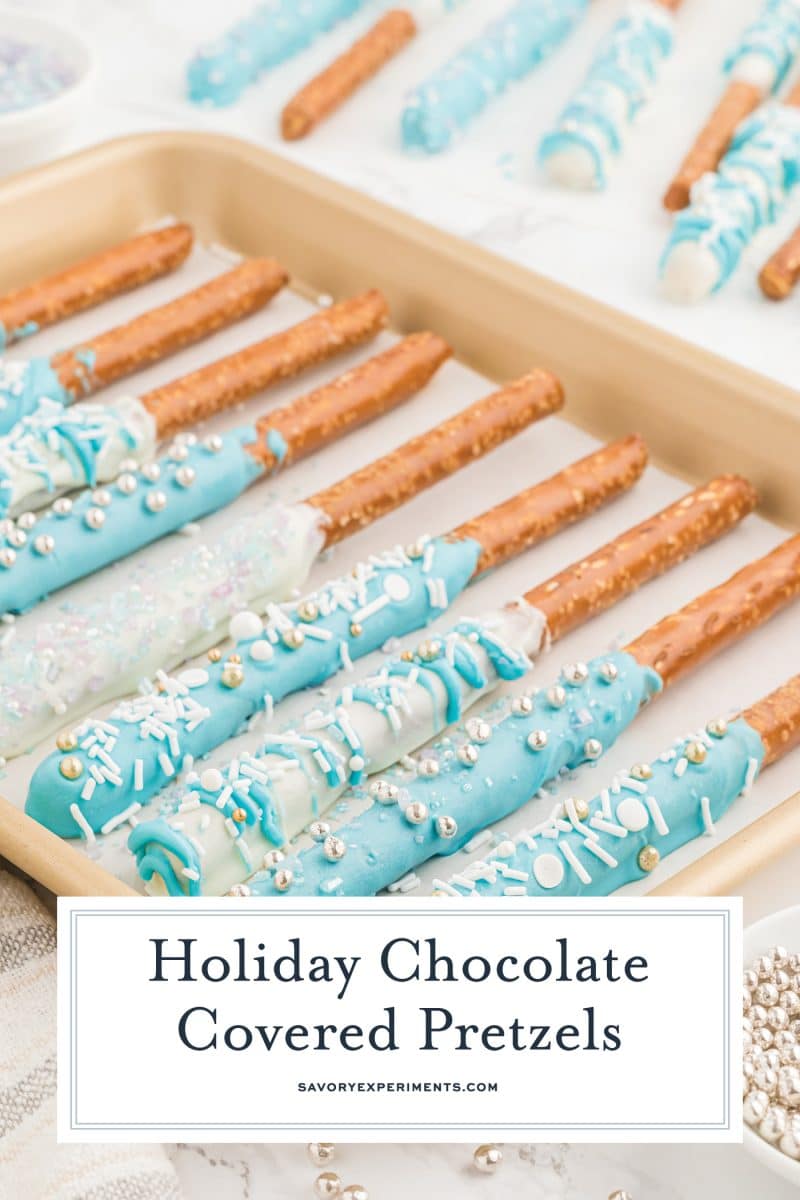
You can make these fun and festive Holiday Chocolate Covered Pretzel Rods with only 4 ingredients! Add different sprinkles and your favorite topping to customize for any occasion, or make this sweet treat just because.
When I think of my ideal dessert, it has to be sweet and salty. The two go hand in hand. I crave them. I add salt to desserts that didn’t originally have them. Don’t tell, but I even put salt on my gosh darn ice cream!
So when you combine salty pretzel rods with melty chocolate bars, it becomes the perfect treat. And the best part? It’s a super easy treat too.
The perfect match of salty and sweet with a little crunch. I like to make my chocolate covered pretzel rods with the small, short pretzels.
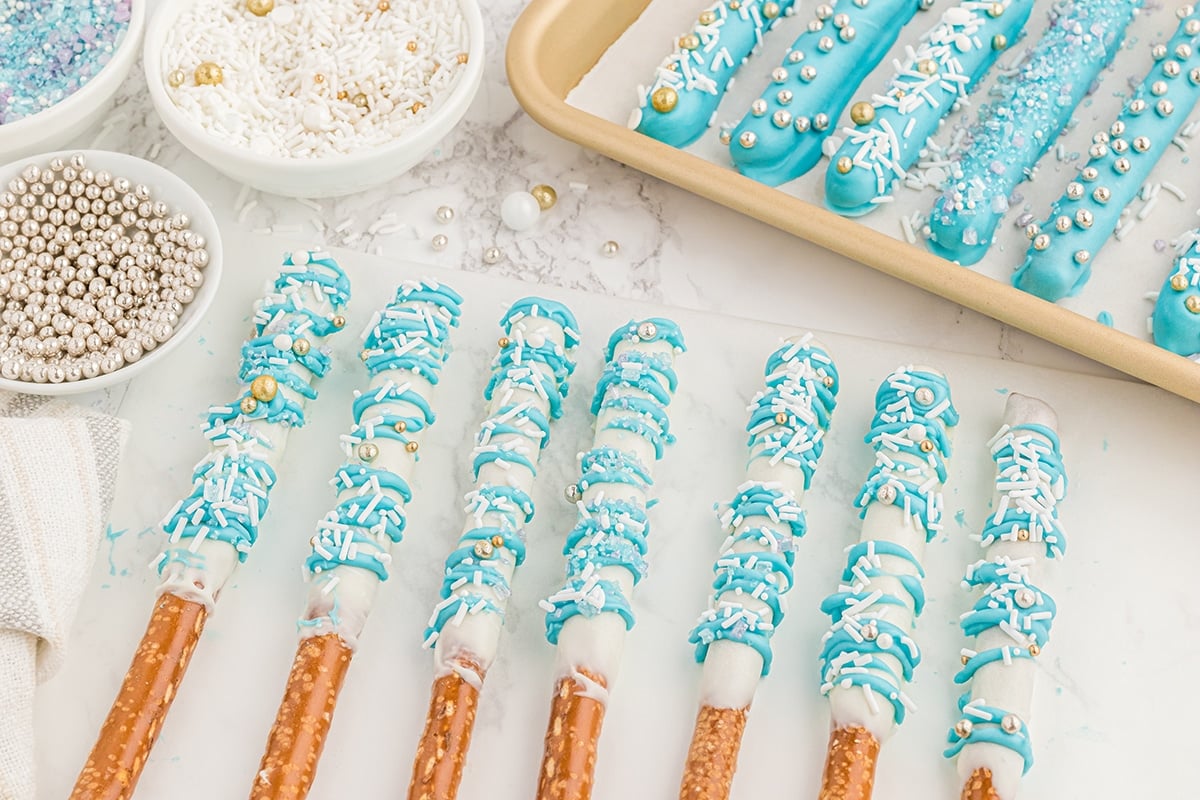
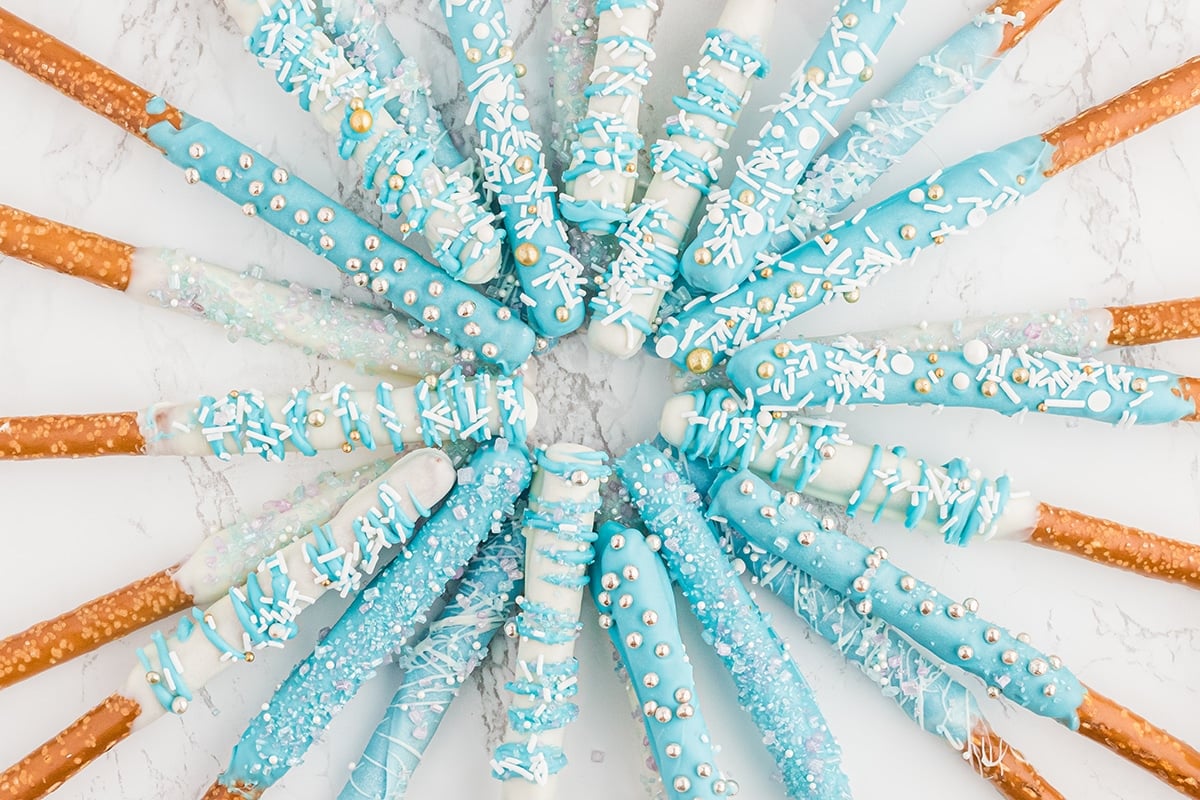
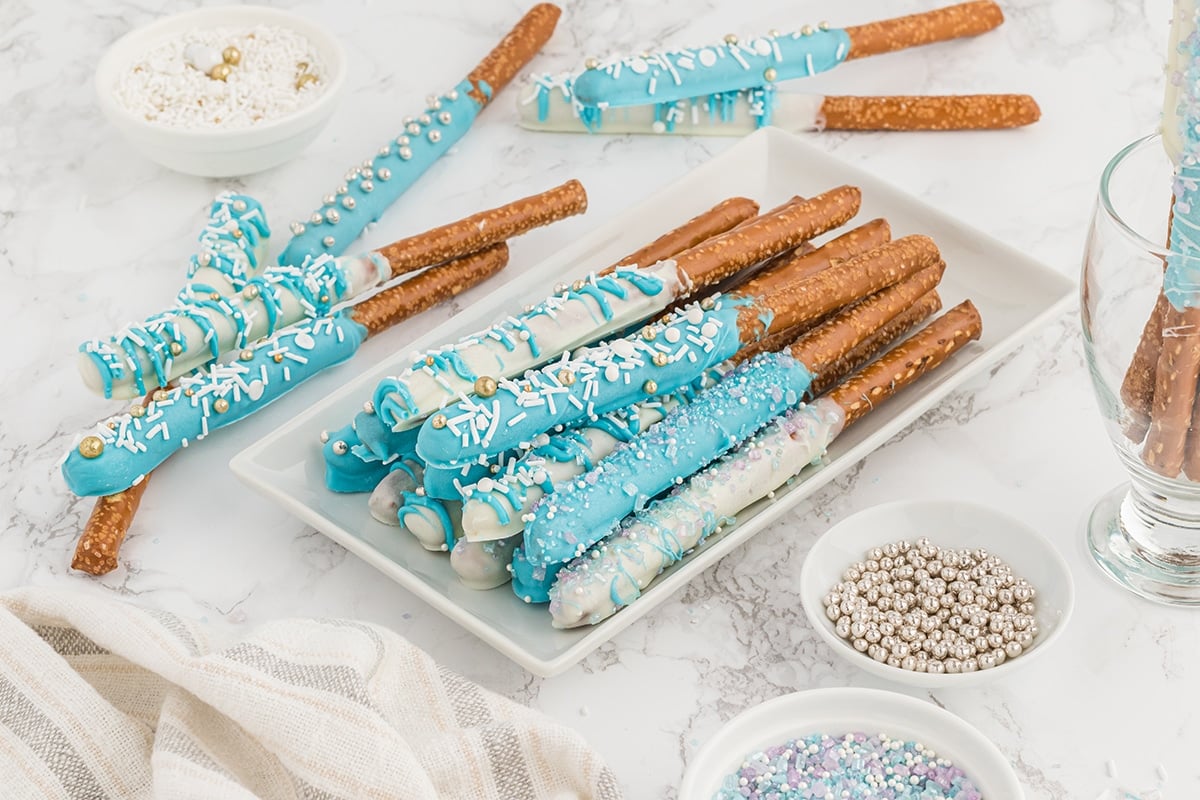
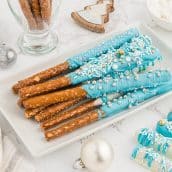
Because I wanted them to be a holiday treat and not specific to any holiday, I chose a generic light blue with snowflakes. Perfect for Thanksgiving, Christmas, Hanukkah or any other winter festivity or holiday.
This salty treat makes great gifts when put in a cellophane bag and tied with a pretty ribbon. Add this delicious treat to cookie trays, bring to birthday parties or any special occasion. You can also make them “just because”. I won’t judge… I am the person that puts salt on my ice cream!
Tips and Tricks
So yes, chocolate covered pretzels rods are ridiculously easy to make, but before you begin let’s review a few tips and tricks about working with melted chocolate.
The art of melting chocolate. It should be easy, right? Melt the chocolate and ta-da! If only…
Melting chocolate, like many other things in the kitchen, is chemistry and science. You need the optimal temperature to make sure your chocolate melts to a silky smooth consistency. So here are a few tips for melting chocolate:
- Skip the microwave and use the double boiler method. The microwave heats too fast and too hot.
- If you do need to use the microwave, use it at 50% power or defrost mode and go slow, 15 second intervals. Make sure to use a microwave safe bowl.
- Don’t fully boil the water in your double boiler. Get the hot water hot enough to melt the chocolate, but not to a rolling boil.
- Put the top pot on with chocolate after the water has come to temperature.
- Stir constantly while melting. It should only take a minute or so.
- Use immediately and while shiny.
- If chocolate gets too hot, it gets clumpy and matte.
- You can try to revive it by adding 2 teaspoons of vegetable shortening, but sometimes you are better off just starting over.
Also, don’t put too much pressure on yourself. Truth be told, even if your chocolate gets a little lumpy or matte, it will still taste good.
These holiday pretzel rods are also so amazingly fun that you can get the kiddos involved. The kids might eat them as they make them.
They are also excellent for filling the holes on your cookie tray or to give as gifts. They might even be a nice treat for Santa and his reindeer, hint, hint.
Ingredients
- Salty pretzels – These are different than pretzel sticks. You want the large pretzel rods because they hold up better when dipped into the chocolate.
- White chocolate – You can use white candy melts, or even colored candy melts to save the step with food coloring. Really any type of chocolate will work here.
- Blue gel food coloring – This is, of course, optional. If using colored chocolate, you can omit this altogether. And it doesn’t have to be blue. Get creative with it!
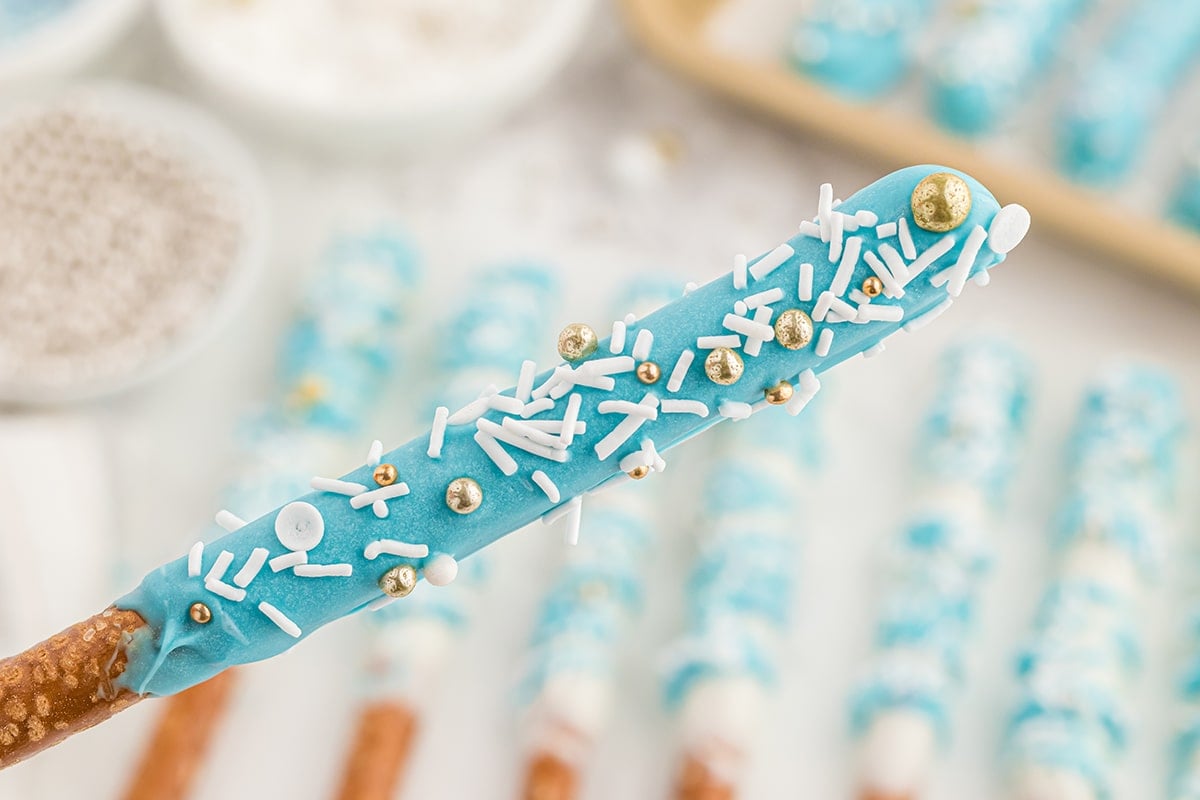
- Holiday sprinkles – No matter which holiday you’re making this pretzel rods recipe for, any choice of sprinkles will work perfectly.
- Pretzel shapes – Although I prefer the rods for their sturdiness, you can certainly use pretzel twists or any other type you prefer.
- Drizzle – I like to add a fancy drizzle on top of the pretzels, but don’t limit yourself to chocolate. Try melted peanut butter or even homemade caramel sauce instead.
How to Make Chocolate Covered Pretzel Rods
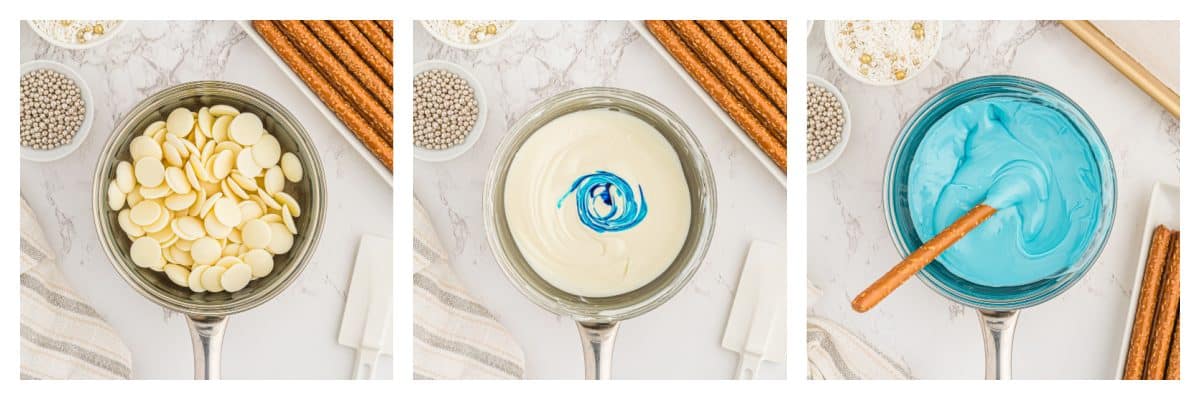
- Melt chocolate in double boiler according to package directions. I find that this is the easiest way to get smooth chocolate. But you can also heat in intervals in a microwave-safe bowl.
- When hot and glossy, swirl pretzel rod into chocolate tapping off excess.
- Place on a parchment paper or wax paper lined cookie sheet.
- While still tacky, sprinkle holiday sprinkles on chocolate pretzel rods.
- Allow to set or place in the refrigerator for 5-10 minutes.
- Keep slightly chilled until ready to eat.
Variations
- Mix up the chocolate – You can use any kind of chocolate you want. Use milk chocolate, dark chocolate or even semi-sweet chocolate. But obviously, you’ll lose the blue tint.
- Change the holiday – Instead of blue chocolate and winter sprinkles, you can change the color and theme to just about any holiday or occasion you can think of. Pink and red for Valentine’s Day, or pink and blue for baby showers.
- Toppings – You don’t even have to use holiday-themed sprinkles at all. Here are some other favorite toppings I like to use:
- Toffee Bits
- Colored Sugar (sprinkles)
- White chocolate chips
- Crushed candy canes
- Mini semi-sweet chocolate chips
- Complementing chocolate drizzle
- Chopped Nuts
- Mini M&Ms
- Mini marshmallows
Storage and Freezing
These chocolate-covered pretzels are fine in the fridge, just know that they might potentially sweat a little. They will still taste perfectly fine.
If kept at the room temperature in an airtight container, it will be about a week before the pretzels start getting a little yucky.
More Fun Holiday Treats
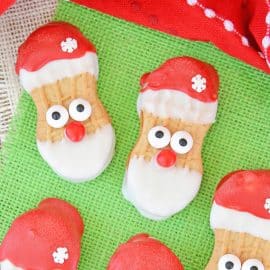
Santa Cookies
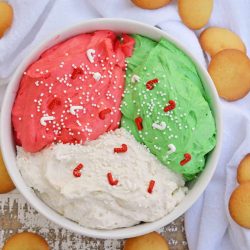
Christmas Dunkaroo Dip
Holiday Chocolate Covered Pretzel Rods
Ingredients
Instructions
- Heat chocolate in double boiler according to package directions.
- When hot and glossy, swirl pretzel rod into chocolate tapping off excess.
- Place on a parchment paper lined baking sheet.
- While still tacky, sprinkle holiday sprinkles on chocolate.
- Allow to set or place in the refrigerator for 5-10 minutes.
- Keep slightly chilled until ready to eat.
- If you’ve tried these, come back and let us know how they were!






Such a simple, festive treat! So adaptable, too. I love that you can change up the colors to fit any theme.
I couldn’t believe how easy these were to make! I even let the kids help. They want to make them in all different colors now.
These are so pretty! I like that they’re blue – they can really fit in all winter long and not just during the holidays. Also perfect for a Frozen themed gathering!
This is an easy and quick treat that is still festive. Love it!
These are such a fun idea and perfect for the festive season!
How cute are these. They would be perfect for a Frozen themed party too.
So true! Why didn’t think of that??
I’m pretty much a sweet and salty addict, lol! It’s so hard to stop eating these once you start.
What a beautiful seasonal recipe. I’m adding this to my New Year’s menu for sure!