Happy Memorial Day, foodie friends. While many of us are planning cookouts and spending time with friends and family, please remember to take a moment to remember why we have Memorial Day.
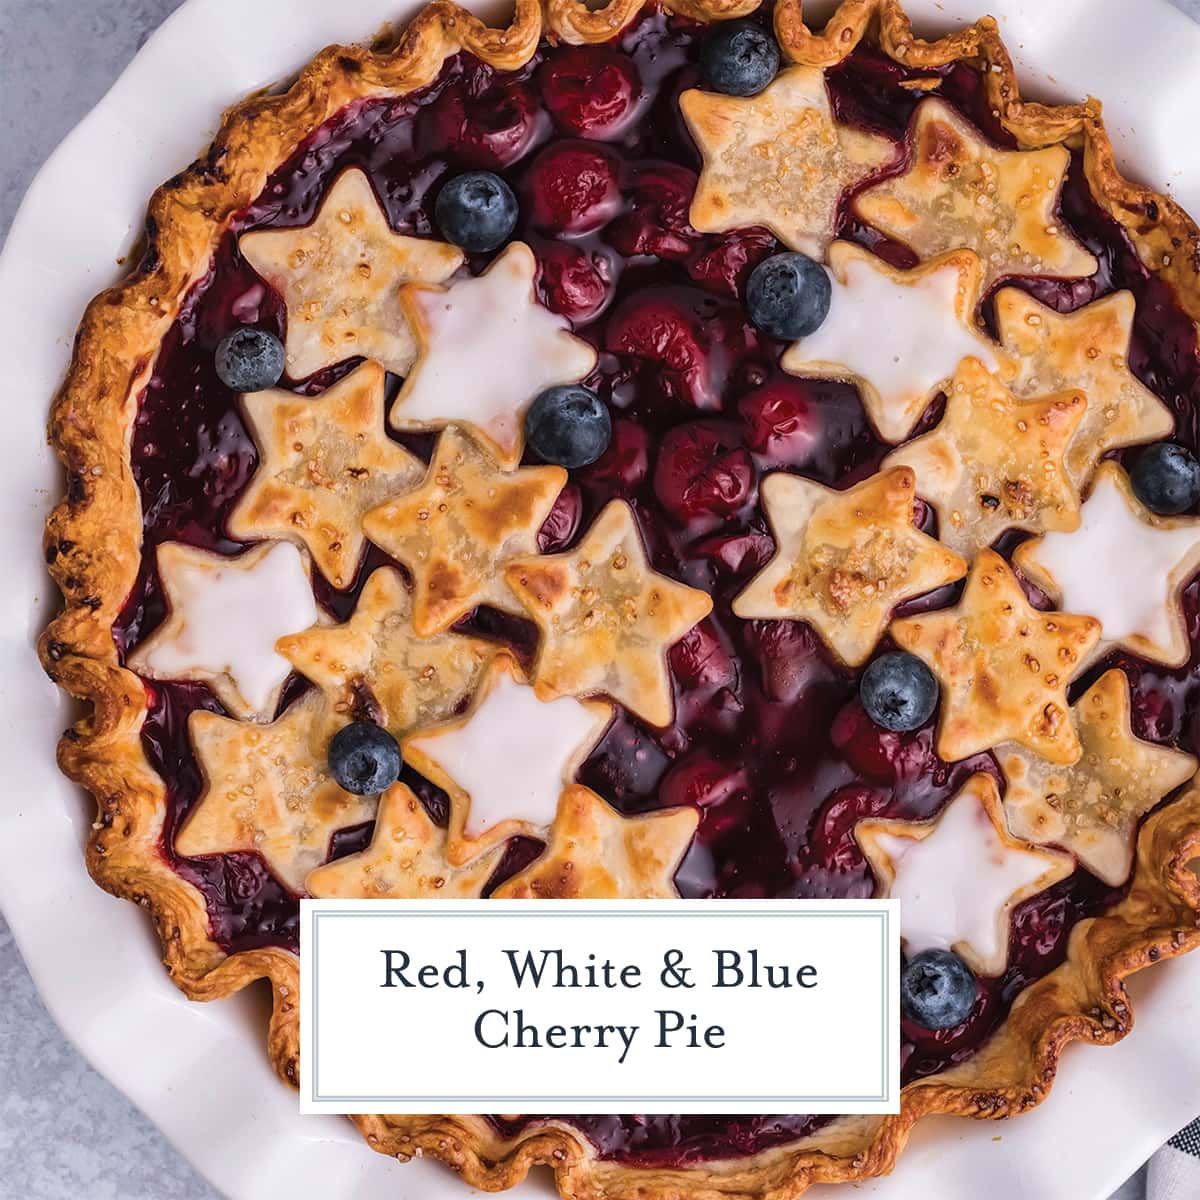
And then make yourself a Red, White and Blue Cherry Pie!
Patriotic Pie
Soldiers have given life and limb to provide us with the freedom to grill hamburgers, toss coleslaw and bake pies. For this week’s Sunday Supper Movement I bring you my Red, White and Blue Cherry Pie.
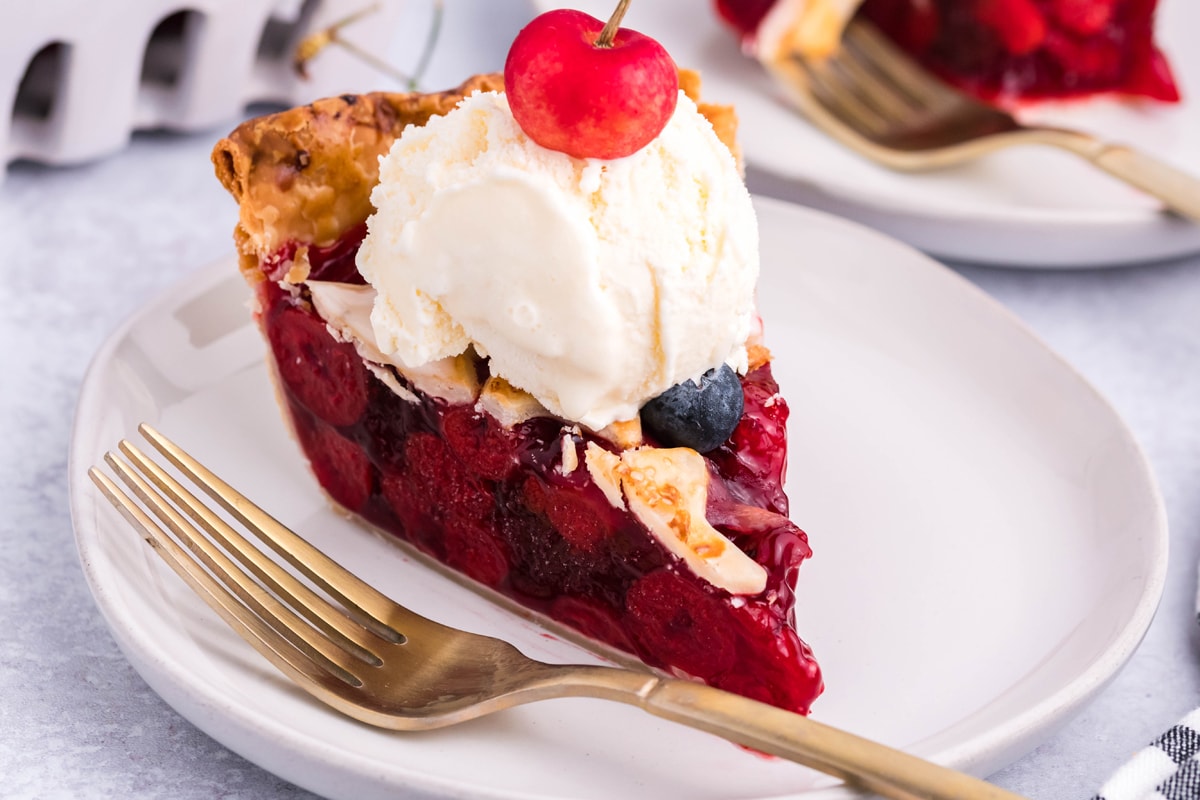
The only thing more American than Cherry Pie is Apple Pie, but Red, White and Blue Cherry Pie takes things to another level of pretty. You all know that I am not an expert dessert decorator. In fact, most of my dessert look like my young children decorated them.
But this one, this one is so easy that even I can do it! And decorating isn’t even the easy part. No real baking skills are required either.
What You’ll Need
Of course you can make any of these items from scratch, but the whole point is to make this super easy.
- cherry pie filling
- 2 refrigerated pie crusts
- egg
- cookie icing
- fresh blueberries
- vanilla ice cream, optional, but who doesn’t like ice cream with pie?
How to Make It
- Unroll one pie crust into a pie dish. Pierce the crust generously with a fork. This helps the hot air release instead of making a big pie bubble. Pinch the edges or let it go “au natural” for a rustic look.
- Par-bake the crust and then remove and fill with cherry pie filling.
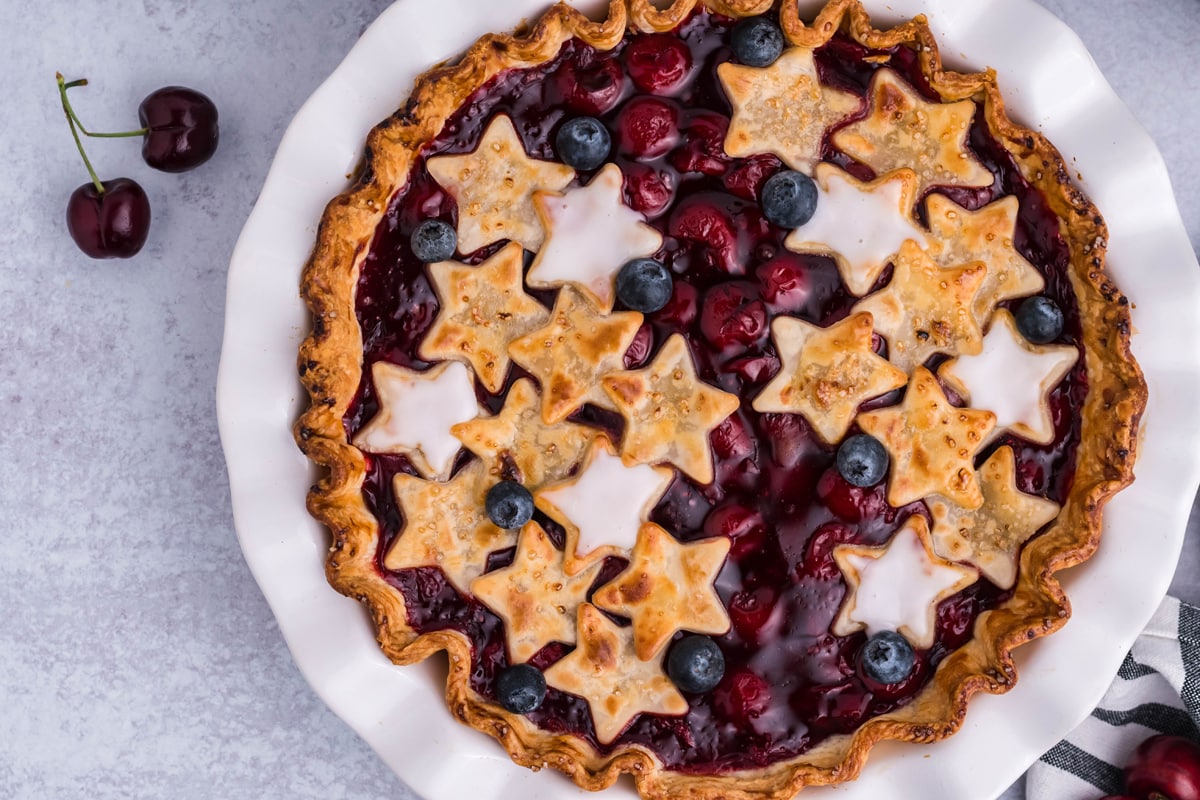
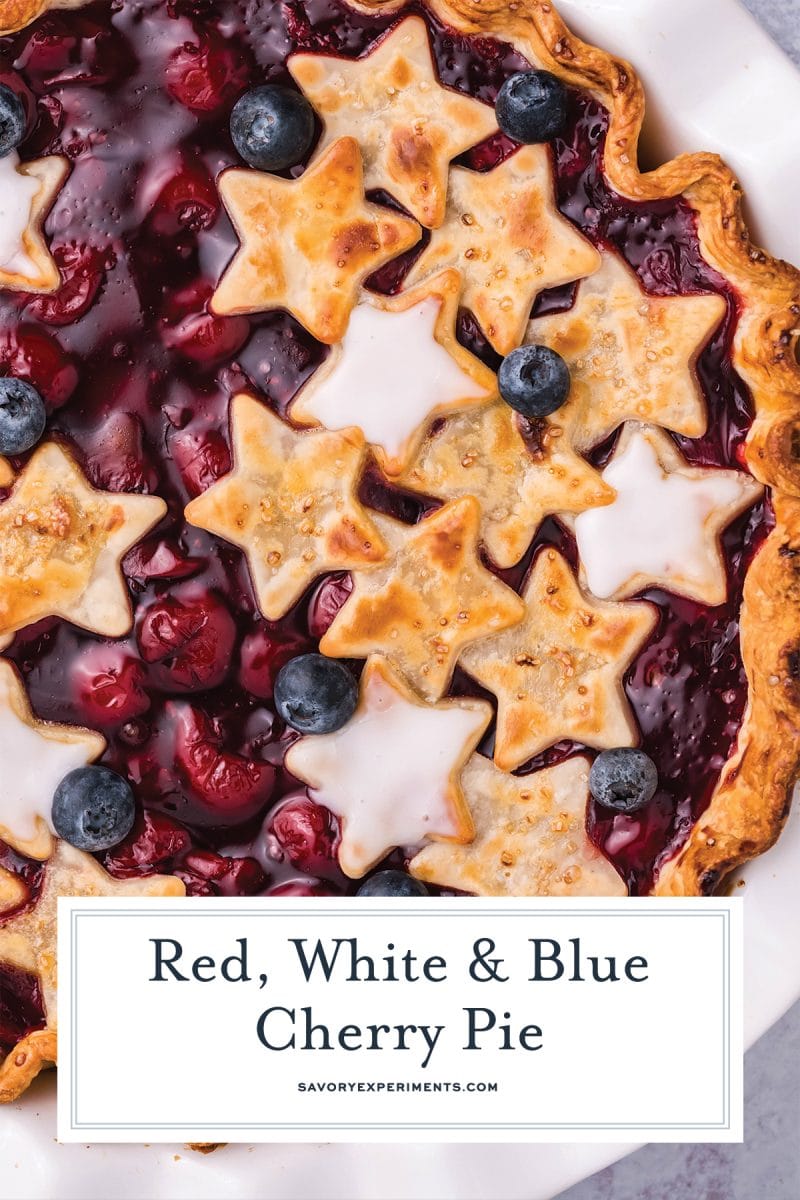
- Unroll on the second pie crust onto a floured work space. Cut out varying sizes of stars and arrange them onto the pie not totally covering the cherry pie filling.
- Brush the pie crust, edges and stars, with beat egg. This helps it brown and get all shiny and pretty.
- Bake until browned, see my notes for how to prevent the edges from burning below.
- Allow to cool fully on a wire rack. Using a wire rack lets the air circulate around the whole pie, cooling it faster and more evenly.
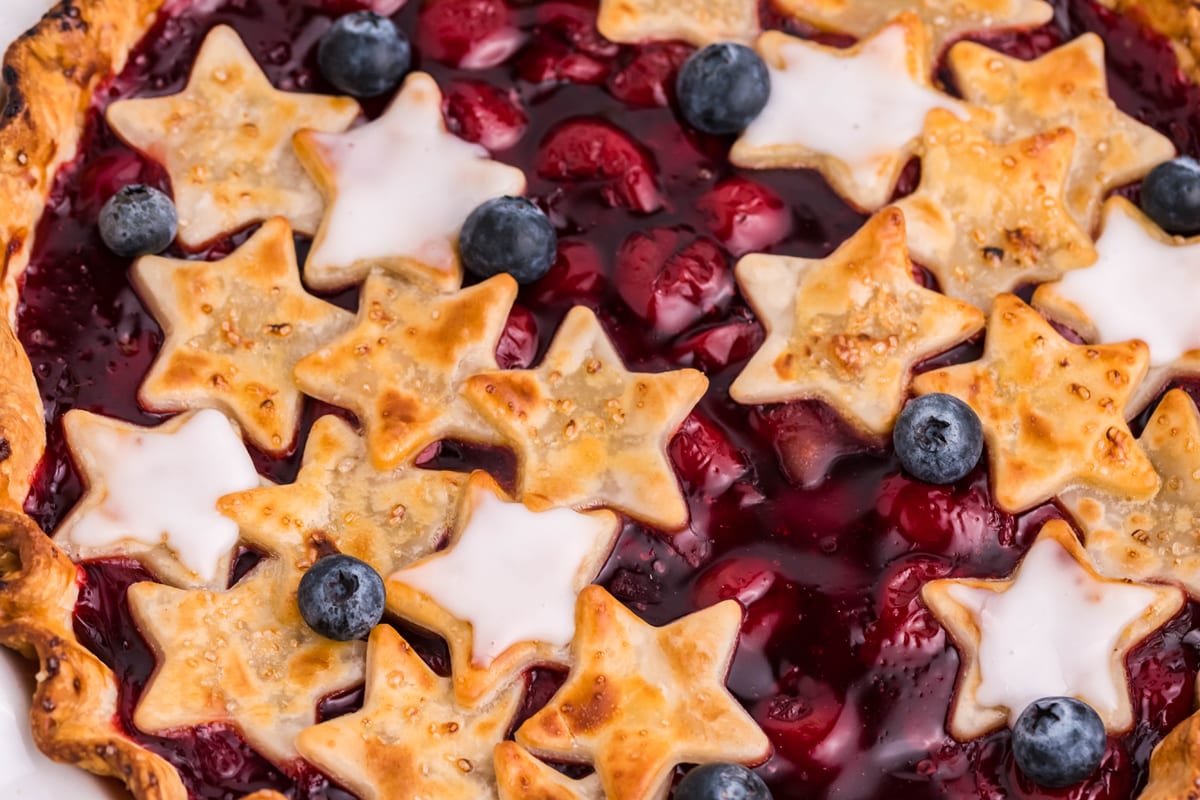
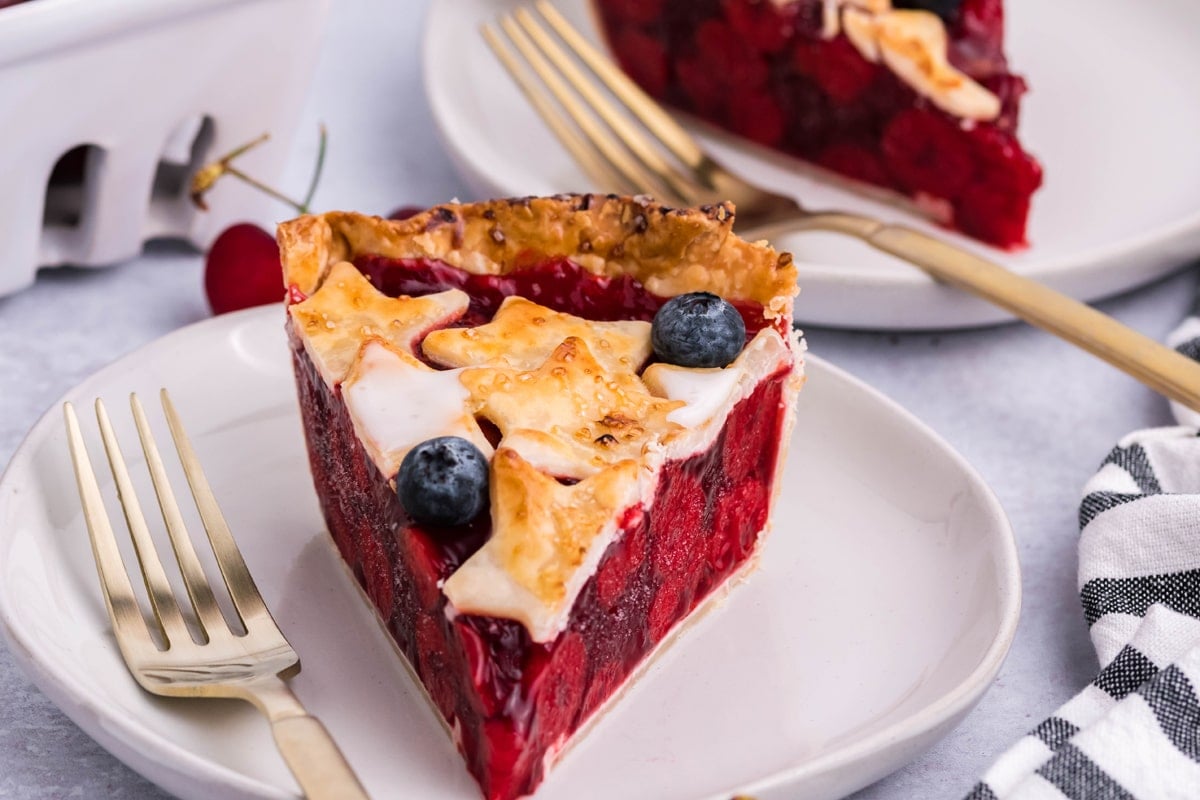
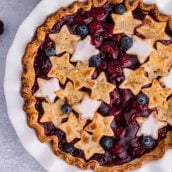
- When cooled, use a bottle of cookie icing to fill in just a few stars with white frosting. Place a few blueberries on the cake as well.
- There you go: Red, White and Blue Cherry Pie!
How to Prevent Pie Crust from Burning
Burnt edges is just a simple fact of pie baking. It doesn’t mean you did anything wrong- it just, well, happens. There are two stand ways to prevent your pie crust from burning.
- Buy and use a silicone protector. They are adjustable and cheap.
- To make a foil shield for a 9-inch pie, fold a 12-inch foil square into quarters. With scissors, cut out the center and round off edges to leave a 2-inch-wide ring. Unfold the ring and place over your pie edges as soon as they start to brown.
- Loosely place a whole sheet of aluminum foil over the pie, but this can also mar the delicate cherry filling so this is the least desirable option.
Storage & Freezing
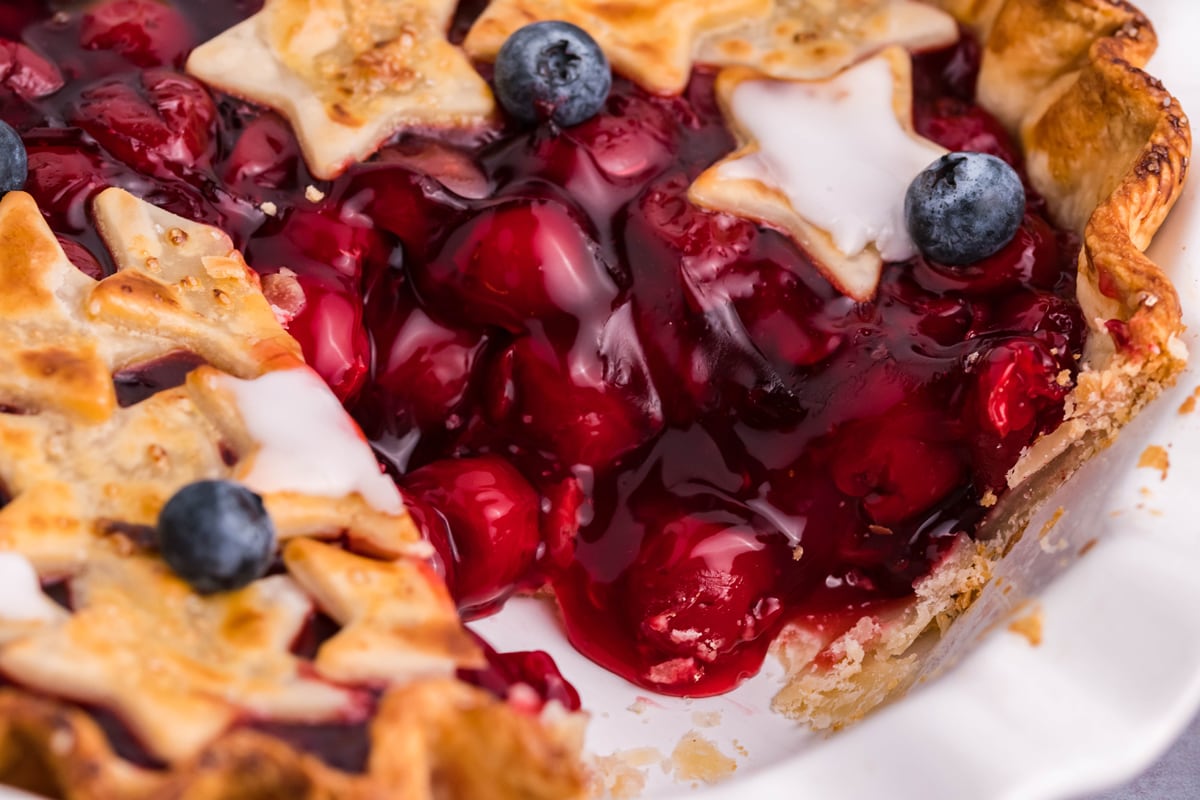
Cherry pie can be stored at room temperature for a day or two, but is best kept tightly covered in the fridge. Slices will cut better and stay put together the colder the pie is when sliced.
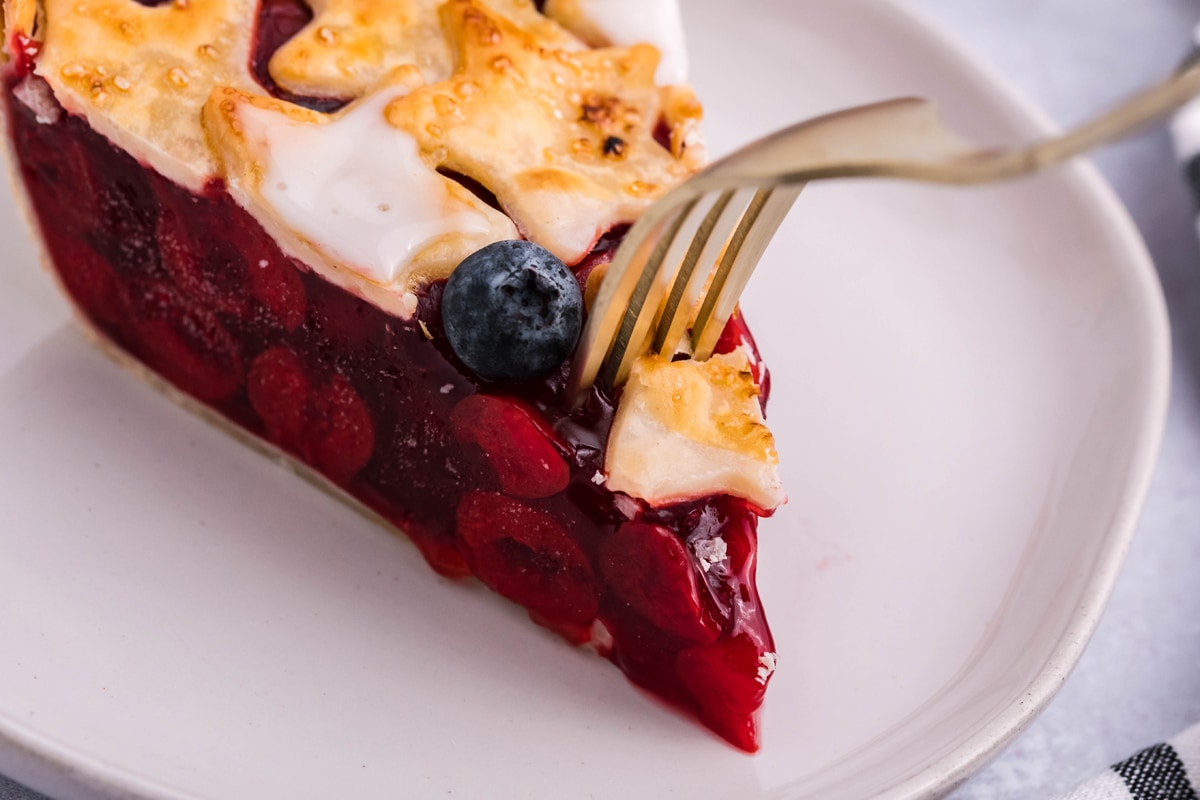
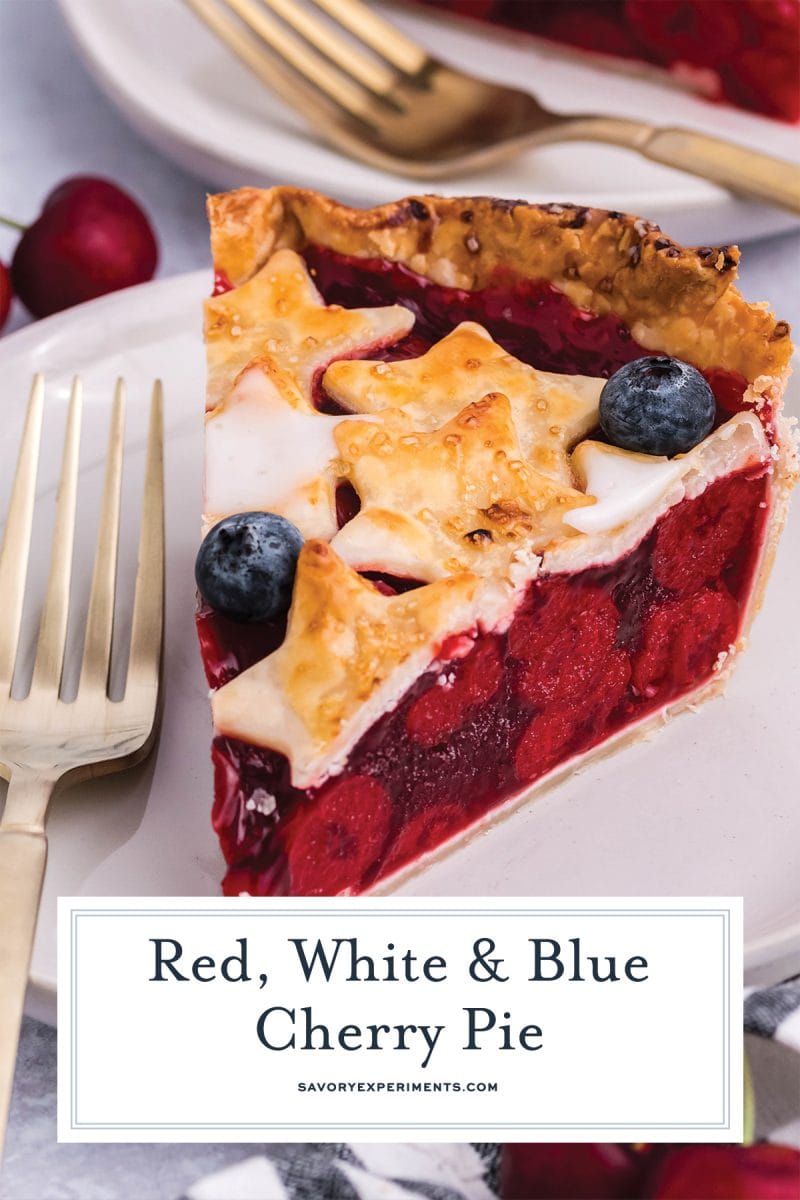
As you can see, these slices are nice a chilly so they are holding their form. Fruit pies tend to thaw fast, so it will only take about 10 minutes of being sliced and on a plate for the slice to lose its chill.
You can freeze this pie, but I recommend doing so before adding the cookie icing and fresh fruit. Wrap tightly in freezer paper and aluminum foil and store for 3 months.
More patriotic themed recipes:
Red, White, and Blue JELLO Shots
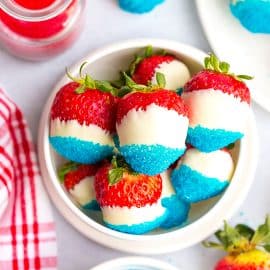
All-American Strawberries
Red, White and Blue Cherry Pie
Equipment
Ingredients
- 40 ounces cherry pie filling
- 2 refrigerated pie crusts , softened according to package directions
- 1 egg , lightly beaten
- cookie icing
- 1/4 cup fresh blueberries
- Vanilla ice cream , optional
Instructions
- Preheat oven to 425°F. Press one pie crust into a 9-inch pie plate. Crimp edges using your thumb and forefinger. Pierce the bottom generously. Bake for 5-6 minutes or until crust just sets.
- Remove from the oven and pour cherry pie filling into the parbaked pie crust.
- Using a 1-inch star shaped cookie cutter, cut 12-14 stars from the second pie crust. Place in a pattern over cherries, overlapping in some places and touching the exterior crust in others.
- In a small bowl, beat egg and brush over pie crust edges and star cut-outs.
- Place in oven and bake for 40-45 minutes. Check during backing baking to see if the crust is starting to brown too much. If so, place aluminum foil or a pie shield over exterior crust or other burning areas.
- Remove and allow to cool fully.
- When cool, outline several stars with cookie frosting and place blueberries around the top of the cake.
- Serve with vanilla ice cream.
- If you've tried this recipe, come back and let us know how it was in the comments or ratings.
Nutrition
More Red, White & Blue Food:
- Baby Back Ribs with Roasted Strawberry Barbecue Sauce by Crazy Foodie Stunts
- Baked Tomato Breakfast Cups by Bobbi’s Kozy Kitchen
- Strawberry Meringue Tartlets by What Smells So Good?
- Blueberry Breakfast Cookies by Pies and Plots
- Blue Velvet Cupcakes by Hezzi-D’s Books and Cooks
- Berry Berry Celebrations by Momma’s Meals
- Patriotic Cocktail by Serena Bakes Simply From Scratch
- Red White And Blue Coleslaw by Nik Snacks
- Red, White, and Blue Parfaits by Life Tastes Good
- Red, White and Blue Sangria by Food Lust People Love
- Red White and Blue Sundae by Desserts Required





The stars on top really are the icing on the cake, or rather pie! So cute and looks so delicious!
This looks marvelous with the cut stars! I bet it was delish!
What a wonderful pie, Jessica! I’m loving it 🙂
Cherry pie is one of the BEST! And your version with blueberries is perfect. Thanks for a great recipe, Jessica!
What a gorgeous pie! I love the stars on top. Beautiful job.
This pie is simply beautiful! Love the cherries with the blueberries and the adorable stars.
That is one gorgeous pie!
These flavors are classic for a reason! Thank you for participating this week.
Berry pies are my favorites—and your cherry version looks marvelous! You’ve topped it so beautifully—pie crust is my nemesis and you’ve aced it, Jessica!!!
Love the stars crust on top. What a way to make a pie so festive.